I am staring at a half-eaten bag of gummy spiders and a block of cheddar cheese that has been sitting out too long, realizing I have exactly forty minutes before the doorbell rings. It is not a pretty picture. The house smells faintly of burnt sugar from the last batch of treats, and my hands are sticky from trying to decorate the guest bathroom door. I had planned something elegant, maybe a sophisticated cheese pairings board with fig jam and expensive crackers. But life, as usual, got in the way. The kids are screaming about costumes in the hallway, the dog is begging for scraps, and the grocery store was out of the good brie I wanted. So here we are, improvising with what is left in the pantry and the fridge.
This spooky sweet Halloween charcuterie board didn’t start with a grand vision. It started with panic and a need to distract three very hungry, very excited children. I grabbed a wooden board that looked like it had seen better days and started throwing things on it. I wanted something that felt festive but didn’t require a culinary degree. You know how it is when you are trying to be a perfect host while simultaneously keeping your sanity intact? That is where this recipe was born. It is messy, it is fun, and it tastes surprisingly good even if you are eating it standing up in the kitchen at 9 PM.
I kept adding things because the colors looked right. Orange and black, of course. But also some purple for that extra pop. I realized that while I was building it, my kids were actually quiet for once, trying to pick out the “best” candy to add to their own sections. It became a game. And that is the secret. This isn’t just about feeding people. It is about creating a moment where everyone can play with their food without guilt. The recipe stuck because it is forgiving. If you mess up the arrangement, nobody cares as long as there is chocolate involved. Honestly, that is the best kind of hosting.
Why You’ll Love This Recipe
Let’s be honest, most charcuterie boards are intimidating. They look like something you’d see in a magazine, with tiny tweezers and cheese shapes that cost more than my weekly grocery budget. This spooky sweet Halloween charcuterie board is different because it is designed for real life. It is not about perfection; it is about personality. I have tested this setup with various groups, from trick-or-treaters to adult parties, and the results are always the same: empty plates and happy faces. Here is why this specific arrangement works so well:
- Quick & Easy: You can put this whole board together in under 20 minutes. There is no cooking required, just assembly. This is perfect for busy weeknights or last-minute party prep when you forgot to invite people until an hour ago.
- Simple Ingredients: You likely already have half of this in your pantry. We are using standard crackers, common cheeses, and candy from the dollar store or supermarket. No fancy grocery trips needed.
- Perfect for Halloween Parties: Whether it is a school event, a neighborhood gathering, or a cozy night in, the theme fits perfectly. It adds that festive touch without feeling childish.
- Crowd-Pleaser: It bridges the gap between kids and adults. The kids get the candy and the fun shapes, while adults can appreciate the cheese and fruit pairings. It always gets rave reviews from both groups.
- Unbelievably Delicious: The texture and flavor combo is next-level comfort food. The salty crunch of the pretzels, the creamy sharpness of the cheddar, and the sweet burst of the gummies create a flavor profile that keeps people coming back for more.
What makes this recipe stand out from the rest is the balance. Many Halloween snacks are just pure sugar, which leads to a crash and a room full of hyperactive kids. This board includes savory elements that ground the sweetness. I use a sharp cheddar and some salty nuts to cut through the sugary treats. It is the kind of snack that makes you close your eyes after the first bite because it just hits the right spot. It is comfort food reimagined for the season—healthier than a bowl of candy corn, but with the same soul-soothing satisfaction. It is perfect for impressing guests without stress, turning a simple snack into something memorable and fun.
What Ingredients You Will Need
This recipe uses simple, wholesome ingredients mixed with some festive treats to deliver bold flavor and satisfying texture without the fuss. The key here is variety. You want a mix of textures—crunchy, chewy, soft, and creamy. This ensures that every bite feels different and keeps the palate interested. Most of these items are pantry staples or easy-to-find grocery store items, which makes prepping this spooky sweet Halloween charcuterie board incredibly low-stress.
- Crackers and Chips (The Base): You need a sturdy vehicle for your toppings. I recommend whole wheat square crackers for a healthier bite, or pretzel crisps for extra saltiness. Rye crisps also work well with cheese. Avoid thin crackers that might break under the weight of the toppings.
- Hard Cheeses (The Savory Anchor): Sharp cheddar is non-negotiable. It stands up well to sweet pairings. I personally prefer a block of extra-sharp cheddar that I can cube myself rather than pre-shredded cheese, which often has anti-caking agents that affect the texture. Also, include a mild cheese like mozzarella balls or gouda to balance the sharpness.
- Soft Cheeses (The Creamy Element): A small wheel of brie or a log of goat cheese adds elegance. These spread easily and pair beautifully with the fruits. If you are watching dairy intake, a vegan cheese log works surprisingly well here too.
- Fresh Fruit (The Color Pop): Grapes are essential. Red and green grapes look like little orbs and add freshness. Apples and pears are great, but they must be sliced just before serving to prevent browning. I use a lemon juice bath to keep them bright.
- Candy and Sweets (The Fun Factor): This is where the Halloween theme shines. Gummy worms, spiders, and bats are classic. Mini chocolate bars or Reese’s Pieces add color. For a “spooky” touch, you can use black licorice or dark chocolate-covered pretzels. I like to buy the individually wrapped candies so guests can grab them easily.
- Nuts and Seeds (The Crunch): Almonds, pecans, or pumpkin seeds add a nice crunch and some protein. Toasting them lightly beforehand brings out their flavor and makes them feel more gourmet.
- Jams and Dips (The Binder): A small bowl of fig jam or apple butter bridges the gap between cheese and candy. It adds a sophisticated touch that adults love. For a kid-friendly dip, caramel or chocolate sauce works great.
If you need to substitute, you can swap the cheddar for pepper jack if you want a little heat. For a gluten-free option, use rice crackers or gluten-free pretzels. The beauty of this board is its flexibility. If you are out of grapes, use strawberries. If you don’t have brie, use cream cheese in a small bowl. Just keep the balance of sweet, salty, and savory.
Equipment Needed
You do not need a lot of fancy gear to make this spooky sweet Halloween charcuterie board. In fact, keeping it simple is part of the charm. Here is what you will need:
- A Serving Board: A large wooden board, slate, or even a clean baking sheet works. I prefer wood because it looks rustic and warm. If you do not have a large board, use multiple plates or platters to create a spread across the table.
- Cheese Knife: A standard butter knife or a small paring knife is fine for cutting cubes and slices. You do not need a professional cheese knife set unless you are a cheese enthusiast.
- Small Bowls or Ramekins: For holding dips, jams, or small candies. Ceramic bowls with a Halloween design can add to the theme. If you are short on space, mini muffin tins work perfectly for holding individual items.
- Fork and Spatula: Have a small fork for spreading soft cheese and a spatula for moving crackers if needed. Labeling small cards with toothpicks can help guests identify what is what.
- Cutting Board: For prepping the fruit and cheese. Keep this separate from the serving board to avoid cross-contamination.
If you do not have ramekins, you can use small plastic containers with the lids removed. They are budget-friendly and disposable, which makes cleanup easier. Just make sure they are clean and dry. For the fruit, a mandoline slicer can help get uniform apple slices, but a sharp knife works fine too. The goal is efficiency, not perfection.
Preparation Method
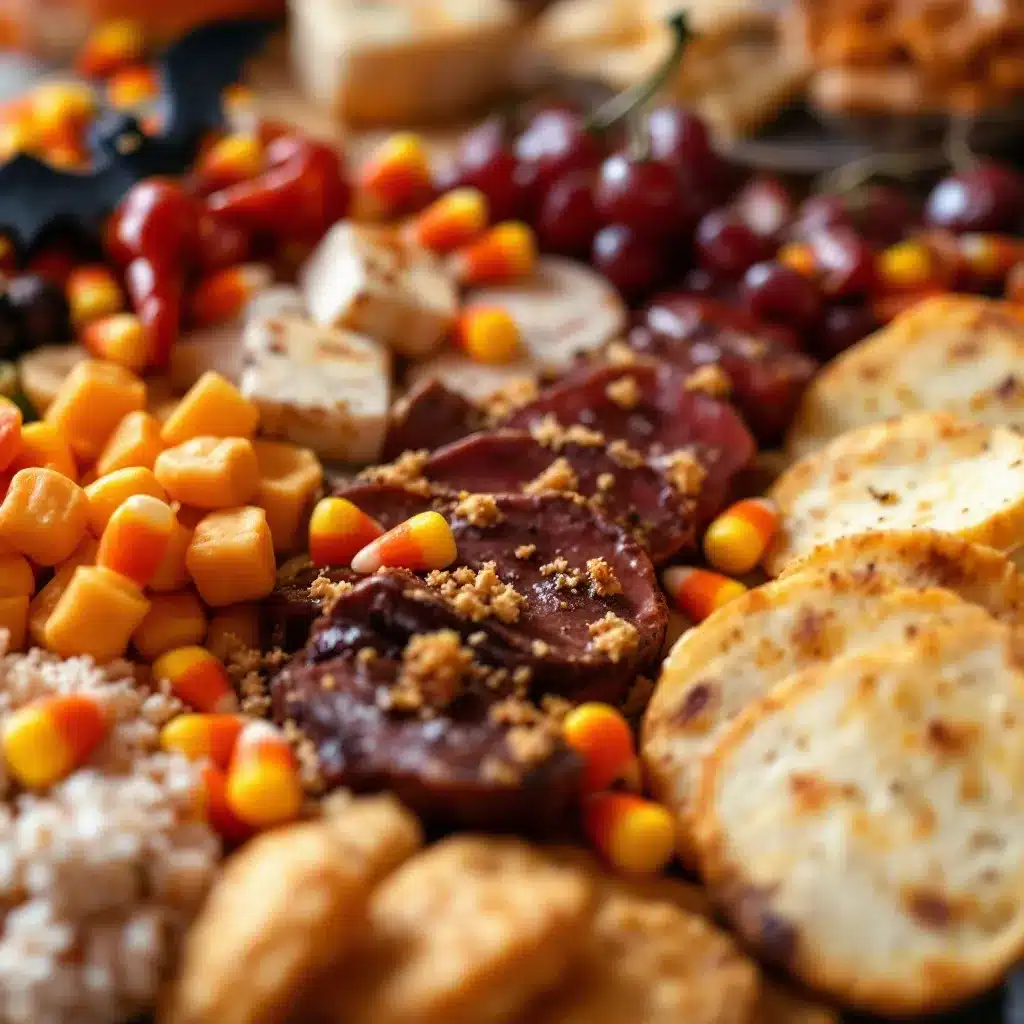
Preparing this spooky sweet Halloween charcuterie board is straightforward, but timing is everything. You want to assemble it as close to serving time as possible to keep the fruit fresh and the crackers crisp. Here is how to do it step-by-step.
- Prep the Fruit (5 minutes): Wash the grapes and pat them dry thoroughly. Wet fruit can make crackers soggy. Slice the apples and pears into thin wedges. Immediately toss them in a bowl with a little lemon juice to prevent browning. Set them aside on a plate. This step is crucial because fruit browns quickly once exposed to air.
- Prepare the Cheeses (5 minutes): Take your hard cheese and cut it into cubes or slices. Cubes are easier for guests to pick up. If using brie or goat cheese, place the whole wheel or log on the board. If you want to make it spooky, you can cut the brie into a face shape or draw on it with edible markers, but plain is fine too. Arrange the cheeses on the board first, as they are the largest items.
- Add the Crackers and Chips (3 minutes): Fan out the crackers or stack the chips on the board. Do not cover the entire surface; leave space for the other items. Place them in clusters or along the edges. This creates visual interest and makes it look intentional. If using pretzels, scatter them around for added texture.
- Place the Dips and Jams (2 minutes): Put the small bowls or ramekins on the board. Fill them with your chosen dips, jams, or sauces. Place these in empty spaces between the larger items. If using a muffin tin, place the whole tin on the board and fill the cups with different items like olives, nuts, or small candies.
- Add the Nuts and Seeds (2 minutes): Sprinkle the nuts and seeds into the gaps. They fill in the empty spaces and add color. Almonds and pecans look great against the orange and black theme. You can also use pumpkin seeds for a seasonal touch.
- Add the Candy and Sweets (5 minutes): This is the fun part. Arrange the gummy worms, spiders, and other candies. You can drape gummy worms over the cheese or hide them among the crackers. Place larger candies like mini chocolate bars in the center of clusters. Be creative. Make a face out of the candies if you want to go all out with the theme.
- Final Touches (1 minute): Step back and look at the board. Add more items where it looks sparse. Make sure there is a good balance of colors. You want pops of orange, black, and purple. Add a few fresh herbs like rosemary sprigs if you want a green accent, but keep it minimal. The board should look abundant and inviting.
The whole process should take about 20 minutes. If you are prepping ahead, keep the fruit and cheese covered in the fridge until an hour before serving. Assemble the board just before guests arrive to ensure everything is at the right temperature and looks fresh.
Cooking Tips & Techniques
Even though there is no cooking involved, there are techniques that can make this board look and taste better. I have learned these through trial and error, including the time I served a board with soggy crackers because I put the jam on too early.
- Room Temperature Cheese: Take your cheese out of the fridge 30 minutes before serving. Cold cheese loses its flavor and aroma. Room temperature cheese is softer and more enjoyable to eat. This is a pro tip that makes a huge difference.
- Prevent Soggy Crackers: Do not place wet items like fruit or jam directly on top of crackers. Keep them separate on the board. If you want to dip, provide a knife or spoon. This keeps the crackers crisp until the moment they are eaten.
- Color Coordination: Think about the colors. Halloween is orange, black, and purple. Use these colors in your ingredients. Orange cheddar, red grapes, black licorice, and purple candy. Visual appeal is half the battle with charcuterie boards.
- Height and Layers: Create height by stacking crackers or propping up cheese slices. This makes the board look more dynamic and less flat. Use small bowls to add vertical interest. It draws the eye and makes the spread look more abundant.
- Labeling: If you have guests with allergies, label the items. Small cards with toothpicks can indicate nuts, dairy, or gluten content. This is a thoughtful touch that shows you care about your guests’ safety.
Avoid overcrowding the board. It is better to have a sparse but elegant look than a cluttered mess. Leave space for guests to reach items without knocking things over. Also, keep in mind that the board will change as people eat from it. It is okay if it looks a bit messy later on. That is part of the fun.
Variations & Adaptations
This spooky sweet Halloween charcuterie board is highly adaptable. You can tweak it based on dietary needs, seasonal availability, or personal preference. Here are a few variations I have tried with great success.
- Gluten-Free Option: Swap standard crackers for gluten-free rice crackers or corn chips. Use gluten-free pretzels. Most candies and cheeses are naturally gluten-free, but always check labels for hidden gluten in processed candies or crackers.
- Vegan Option: Use vegan cheese alternatives for the brie and cheddar. Swap dairy dips for hummus or vegan caramel. The fruit and candy can remain the same. Vegan cheese has improved greatly in recent years, so you can find good options that melt and taste well.
- Savory Twist: Reduce the candy and increase the savory items. Add more nuts, seeds, olives, and pickles. Use spicy mustard or hot sauce instead of sweet jams. This is great for adults who prefer less sugar. You can still keep the Halloween theme with black olives and red pepper flakes.
- Kid-Friendly Version: Focus more on the candy and less on the cheese. Use fun-shaped crackers and include more colorful fruits like strawberries and blueberries. Let the kids help arrange the board, which makes them more excited to eat it. You can use cookie cutters to cut cheese and fruit into shapes.
- Seasonal Swap: In autumn, add roasted squash cubes or sweet potato fries. In spring, use strawberries and white chocolate. The base structure remains the same, but the ingredients change with the season. This keeps the recipe fresh and interesting year-round.
I once tried adding spicy jalapeño slices to the board, and it was a hit with the adults. The heat contrasted nicely with the sweet candies. It is a small change that adds complexity. Do not be afraid to experiment. The best boards are the ones that reflect your personal taste.
Serving & Storage Suggestions
Serving this spooky sweet Halloween charcuterie board is all about presentation and timing. Place the board on a central table where guests can gather. It works well as an appetizer before dinner or as a standalone snack during a party. Serve it at room temperature for the best flavor.
- Complementary Dishes: This board pairs well with roasted vegetables, like the maple-glazed roasted delicata squash, which adds a warm, savory element to the meal. It also goes well with a light soup if served as a starter.
- Beverage Pairings: Serve with apple cider, pumpkin spice lattes, or a light red wine. The sweetness of the board balances well with acidic or tart drinks. For kids, offer juice boxes or sparkling water with fruit slices.
- Storage: If you have leftovers, store the cheese and crackers in airtight containers in the fridge. The fruit should be stored separately to prevent it from absorbing odors. The candy can be kept at room temperature. The board does not reassemble well, so it is best eaten within a day or two.
- Reheating: There is no reheating needed. The board is served cold or at room temperature. If the cheese has hardened in the fridge, let it sit out for 30 minutes before serving to soften it up.
- Flavor Development: The flavors meld together over time. The crackers may absorb some moisture from the fruit or cheese, so it is best to eat the board fresh. The candy retains its texture, so it is safe to eat the next day if stored properly.
Do not try to save the board for days. It is best enjoyed the day it is made. The visual appeal diminishes quickly, and the textures change. Plan to serve it within a few hours of assembly for the best experience.
Nutritional Information & Benefits
This spooky sweet Halloween charcuterie board offers a mix of nutrients, though it is primarily a treat. Here is a general overview of the nutritional benefits.
- Protein: The cheeses and nuts provide a good amount of protein, which helps keep you full and satisfied. This prevents overindulging in the candy.
- Fiber: The fruits and whole grain crackers add fiber, which aids digestion. Grapes and apples are particularly good sources of fiber.
- Calcium: Cheese is a rich source of calcium, which is important for bone health. A serving of cheese can contribute significantly to your daily intake.
- Vitamins: The fruits provide vitamins A and C, which support immune health. Apples and grapes are antioxidant-rich.
- Allergens: This board contains dairy, nuts, and gluten (depending on the crackers). Always check labels and inform guests of potential allergens. For nut-free options, use seeds instead.
From a wellness perspective, this board is better than a bowl of pure candy because it includes savory and fresh elements. It allows for moderation. You can enjoy the sweets while also getting some nutrition from the cheese and fruit. It is a balanced approach to snacking that does not leave you feeling guilty.
Conclusion
This spooky sweet Halloween charcuterie board is a fantastic way to bring festive fun to your next gathering. It is easy to make, visually appealing, and delicious. I love this recipe because it allows me to be creative without spending hours in the kitchen. It is the kind of dish that brings people together, encouraging them to share and try new combinations.
I encourage you to customize it based on your preferences and your guests’ needs. Add your favorite candies, try new cheese pairings, or experiment with different fruits. Make it your own. The process of building the board is just as fun as eating from it.
If you try this recipe, I would love to hear how it turned out. Please leave a comment below with your thoughts or share your variations. Did you add any unique items? How did your guests react? Your feedback helps me improve and inspires others to try this recipe. Share this post with friends who love Halloween parties or need easy party ideas.
Thank you for reading. Happy Halloween, and happy snacking!
Frequently Asked Questions
Can I make this board ahead of time?
You can prep the ingredients a day in advance, but assemble the board just before serving. This keeps the fruit fresh and the crackers crisp. Prepping ahead saves time on the day of the party.
What cheeses work best for this board?
Sharp cheddar and brie are great choices. They offer a good balance of flavors and textures. You can also include gouda or goat cheese for variety. Avoid soft, runny cheeses that might make a mess.
How do I prevent the fruit from browning?
Toss sliced apples and pears in lemon juice immediately after cutting. This prevents oxidation and keeps them looking fresh. Grapes do not need this treatment.
Can I make this board gluten-free?
Yes, simply use gluten-free crackers and pretzels. Most cheeses, fruits, and candies are naturally gluten-free, but always check labels for processed items.
What drinks pair well with this board?
Apple cider, pumpkin spice lattes, and light red wines are excellent pairings. For non-alcoholic options, try sparkling water with fruit or juice boxes for kids.
Pin This Recipe!
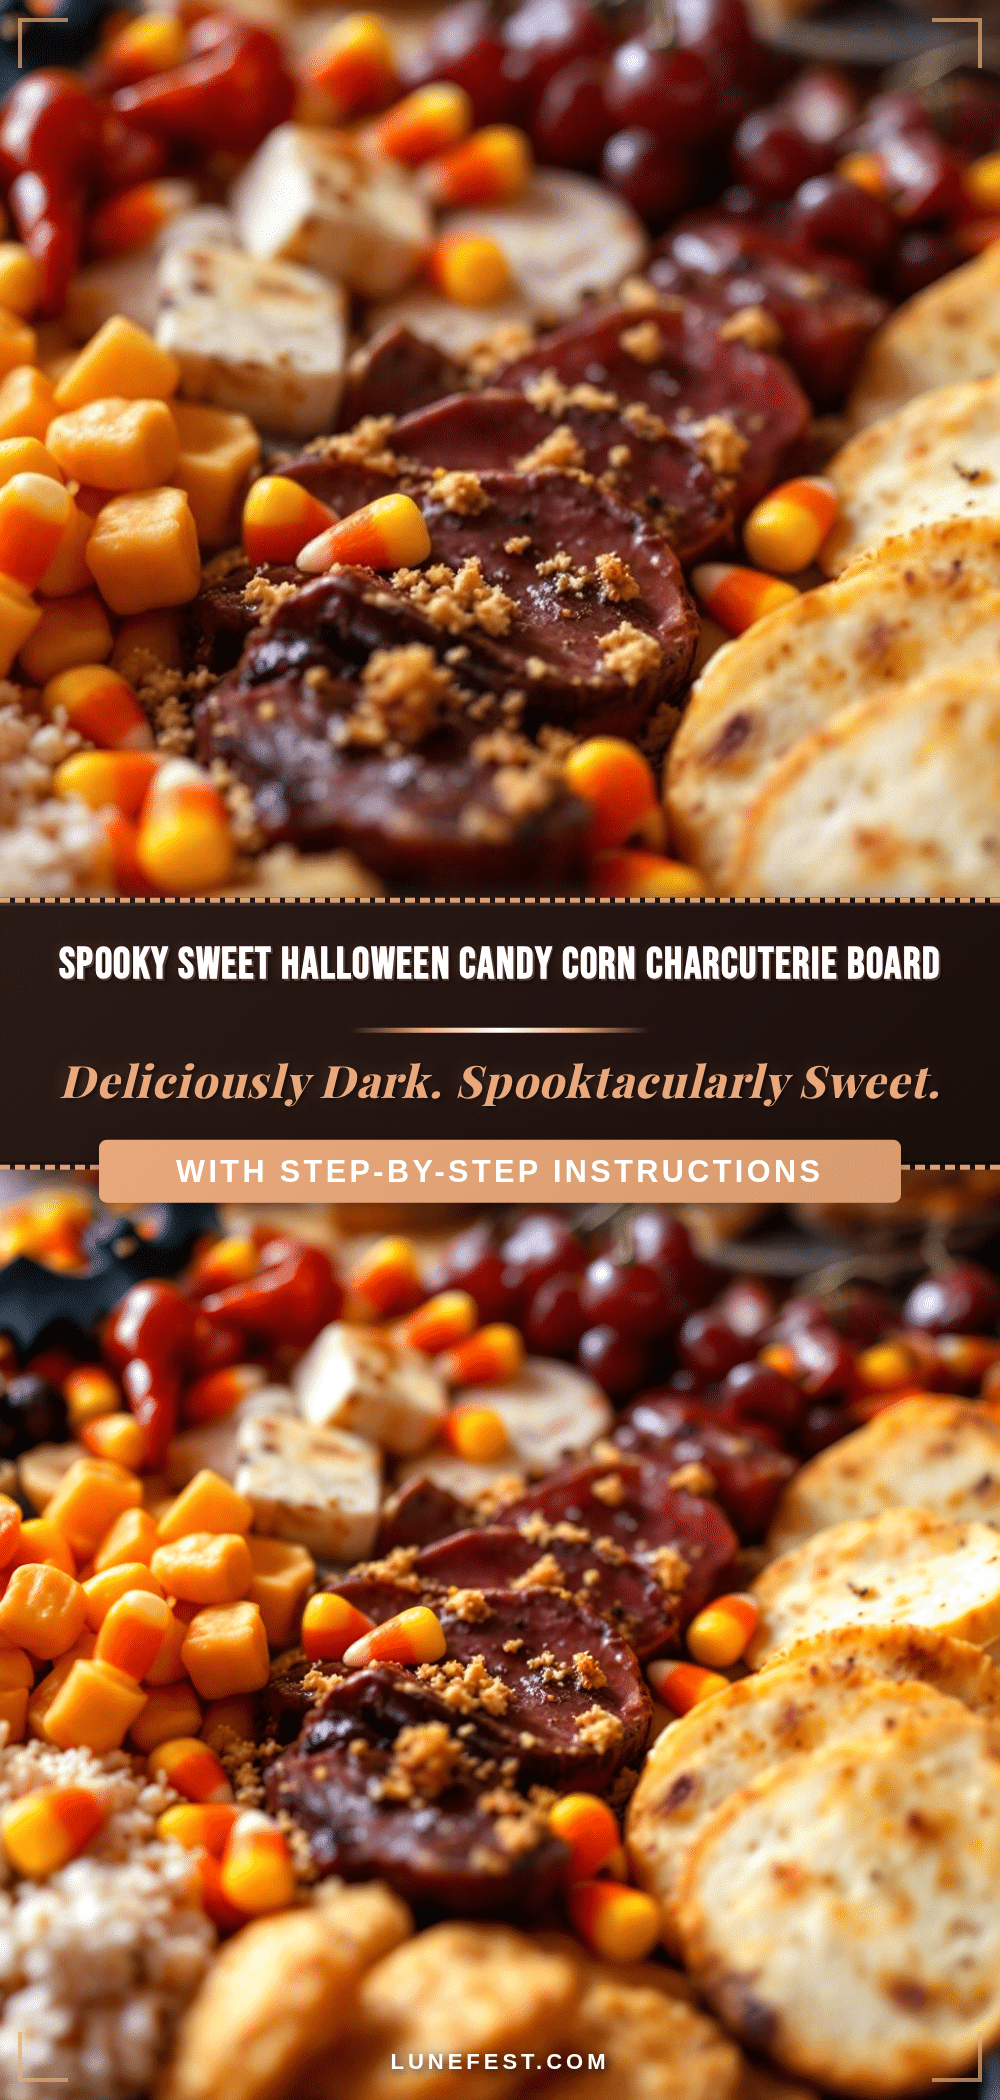
Spooky Sweet Halloween Charcuterie Board: 5 Easy Party Ideas
A festive, no-cook Halloween charcuterie board that balances sweet candies with savory cheeses and fruits, perfect for parties and easy to assemble in under 20 minutes.
- Prep Time: 20 minutes
- Cook Time: 0 minutes
- Total Time: 20 minutes
- Yield: 8 servings
- Category: Appetizer
- Cuisine: American
Ingredients
- Sharp cheddar cheese (cut into cubes)
- Mild cheese such as mozzarella balls or gouda
- Soft cheese such as brie or goat cheese
- Whole wheat square crackers or pretzel crisps
- Red and green grapes
- Apples and pears (sliced and tossed with lemon juice)
- Gummy worms, spiders, and bats
- Mini chocolate bars or Reese’s Pieces
- Black licorice or dark chocolate-covered pretzels
- Almonds, pecans, or pumpkin seeds (toasted)
- Fig jam or apple butter
- Caramel or chocolate sauce (optional for kids)
Instructions
- Wash and dry grapes thoroughly. Slice apples and pears into thin wedges and toss with lemon juice to prevent browning.
- Cut hard cheeses into cubes or slices. Place soft cheeses (brie/goat cheese) whole or cut into shapes on the board.
- Arrange cheeses on the board first as they are the largest items.
- Fan out crackers or stack chips along the edges or in clusters, leaving space for other items.
- Place small bowls or ramekins containing dips, jams, or sauces in empty spaces between larger items.
- Sprinkle nuts and seeds into gaps to fill empty spaces and add color.
- Arrange Halloween-themed candies (gummy worms, spiders, etc.) creatively, draping them over cheese or hiding among crackers.
- Step back and adjust for color balance (orange, black, purple) and visual appeal.
- Serve at room temperature for best flavor.
Notes
Take cheese out of the fridge 30 minutes before serving to bring to room temperature for better flavor. Prevent soggy crackers by keeping wet items like fruit and jam separate from dry crackers. For a gluten-free option, use rice crackers or gluten-free pretzels. For a vegan option, use vegan cheese alternatives and dips.
Nutrition
- Serving Size: Varied bites from th
- Calories: 350
- Sugar: 20
- Sodium: 450
- Fat: 18
- Saturated Fat: 8
- Carbohydrates: 35
- Fiber: 4
- Protein: 12
Keywords: Halloween, charcuterie board, party snacks, no-cook recipe, easy appetizer, spooky treats, cheese board, kid-friendly snacks


