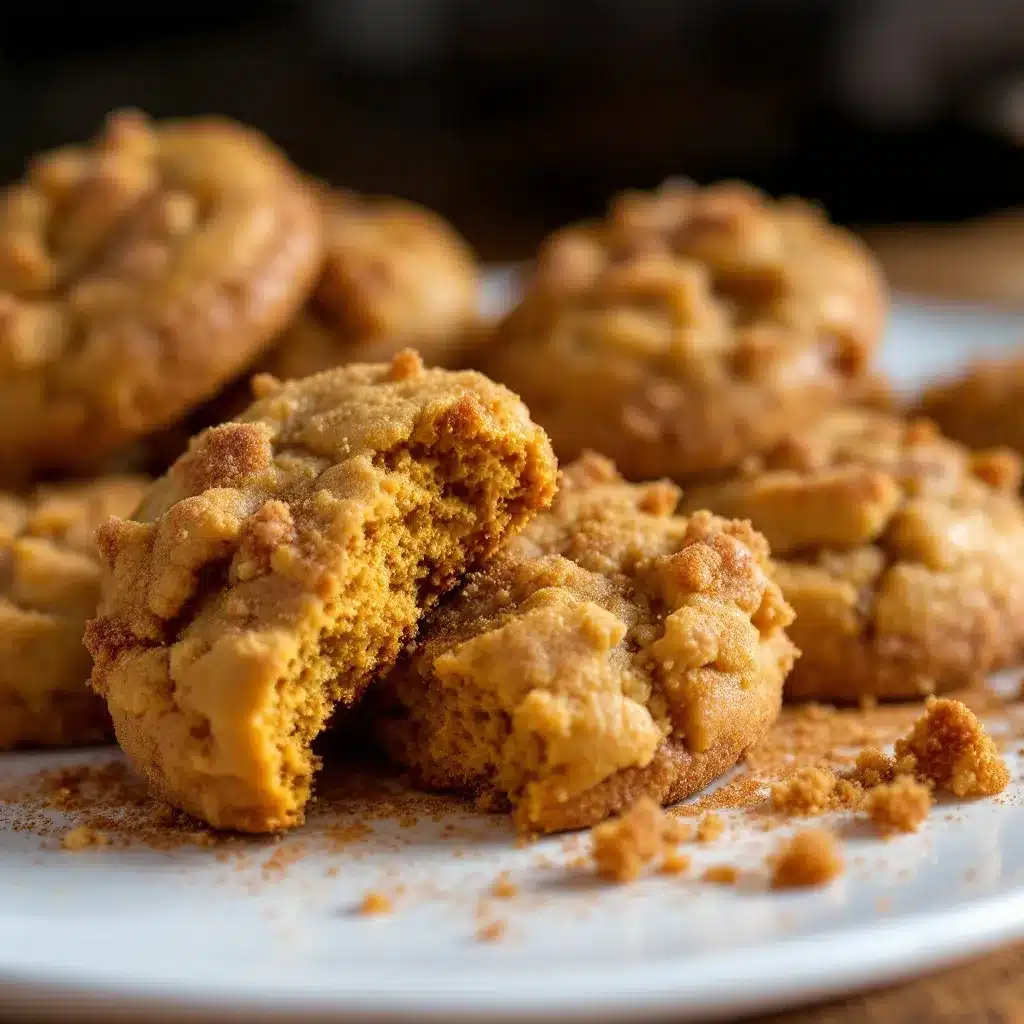
The paper-thin, crinkled top. That’s what I was after.
Not the pumpkin flavor, not the cinnamon-sugar coating — though those matter, obviously. But that specific texture, that crackled, almost weathered-looking surface that tells you before you even bite that this cookie is going to be soft in the middle. I stared at the first batch cooling on the wire rack, and honestly, I felt a little ridiculous for being so fixated on a wrinkle. But there it was. That crinkled top was the whole point.
I had been testing pumpkin cookie recipes for weeks, and everything either came out cakey (which is fine for a muffin, not a snickerdoodle) or too flat, like the pumpkin had just given up and surrendered to gravity. I wanted a cookie that looked like a snickerdoodle — that classic crackled surface — but tasted like October in a single bite. This version of Soft Baked Pumpkin Snickerdoodle Cookies is what finally worked. The crinkle is real. The center stays tender for days. And the cinnamon-sugar coating? It’s the crunchy little reward for getting through the dough-chilling step, which I know nobody loves but absolutely everybody needs.
These aren’t the kind of cookies that scream for attention. They’re quiet. They sit on the plate looking unassuming, maybe a little homely with all those wrinkles, and then someone takes a bite and goes quiet too. That’s the moment I bake for. The one where the texture does the talking.
Why You’ll Love This Recipe
I’ve made a lot of pumpkin cookies over the years, and most of them fall into one of two camps: dry and disappointing, or so moist they barely hold together. These Soft Baked Pumpkin Snickerdoodle Cookies land right in that sweet spot where the texture actually works. Here’s why they’re worth the butter and sugar:
- Soft centers that last — These cookies stay tender for 3-4 days, which is basically a miracle in the pumpkin baking world. The secret is the moisture ratio and a trick I learned after one too many flat batches.
- No weird ingredients — You don’t need pudding mix, cream cheese, or any of those “hacks” that make pumpkin cookies taste like science experiments. Just real butter, canned pumpkin, and basic pantry staples.
- That crackled top — The crinkled surface isn’t just pretty. It creates little ridges that catch the cinnamon-sugar coating, so every bite has that crunchy-sweet hit before the soft interior takes over.
- Perfect for fall baking without the fuss — These come together in about 30 minutes of active time, plus chilling. They’re impressive enough for a Thanksgiving dessert table but simple enough for a random Tuesday when you just need pumpkin in your life.
- Freezer-friendly — The dough freezes beautifully, which means you can have fresh pumpkin snickerdoodles whenever the craving hits without starting from scratch each time.
I tested these cookies six times before I got the texture right. The first batch spread into greasy puddles. The second batch was practically edible hockey pucks. But batch number three? That’s when I saw the first real crinkle, and I actually texted a picture to my sister like a complete lunatic. She didn’t get it. But you will.
What Ingredients You Will Need
This recipe uses simple, wholesome ingredients that work together to create that signature soft-baked texture without any fuss. Most of these are probably already in your kitchen, which is exactly how I like my fall baking to go.
For the Cookies
- Unsalted butter, softened (1 cup / 2 sticks) — Use real butter here, not margarine. The flavor is irreplaceable, and the fat structure helps create that tender crumb. I prefer Kerrygold for the richness, but any good-quality unsalted butter works.
- Granulated sugar (1 cup / 200g) — White sugar gives these cookies their signature crackled top. Don’t substitute brown sugar here; it changes the spread and texture too much.
- Light brown sugar, packed (½ cup / 100g) — This adds moisture and a hint of molasses depth that plays beautifully with the pumpkin. Make sure it’s packed firmly in the measuring cup.
- Pumpkin puree (¾ cup / 170g) — Use 100% pure pumpkin puree, not pumpkin pie filling. Libby’s is my go-to because it’s consistently thick and not watery. If your pumpkin looks loose, blot it with paper towels before using.
- Large egg (1, room temperature) — Room temperature egg incorporates more smoothly into the creamed butter and sugar, giving you a better emulsion.
- Vanilla extract (2 teaspoons) — Pure vanilla extract makes a difference here. The pumpkin doesn’t overpower it, so you actually taste the vanilla.
- All-purpose flour (2 ¾ cups / 345g) — Spoon and level your flour; don’t scoop straight from the bag. Too much flour makes dense cookies, and nobody wants that.
- Cornstarch (2 tablespoons) — This is my secret weapon for soft cookies. It tenderizes the gluten and keeps the centers pillowy for days.
- Baking soda (1 teaspoon)
- Baking powder (½ teaspoon)
- Salt (½ teaspoon) — Don’t skip this. Salt balances the sweetness and makes the pumpkin flavor pop.
- Ground cinnamon (1½ teaspoons)
- Ground ginger (½ teaspoon)
- Ground nutmeg (¼ teaspoon)
- Ground cloves (⅛ teaspoon) — Just a whisper. Cloves can dominate quickly, so go light.
For the Cinnamon-Sugar Coating
- Granulated sugar (⅓ cup / 65g)
- Ground cinnamon (1½ tablespoons) — I use Saigon cinnamon here for the stronger, warmer flavor. Regular cinnamon works fine too, just don’t skimp on the amount.
One note about the pumpkin: I’ve tested this with homemade pumpkin puree, and while the flavor is lovely, the texture is looser. If you go that route, you’ll need to drain the puree in a cheesecloth-lined strainer for about an hour to remove excess water. Otherwise, your dough will be too sticky to roll, and the cookies will spread into sad little puddles. Ask me how I know.
Equipment Needed
- Stand mixer or hand mixer — You need something to cream the butter and sugar properly. A whisk and some elbow grease works in a pinch, but your arm will hate you.
- Large mixing bowls (at least two)
- Whisk — For combining the dry ingredients evenly.
- Rubber spatula — For scraping down the bowl and folding in the flour without overmixing.
- Cookie scoop (1.5 tablespoon size) — This gives you evenly sized cookies that bake uniformly. A #40 scoop is perfect.
- Baking sheets (2-3) — Light-colored aluminum sheets work best. Dark sheets can cause the bottoms to brown too quickly.
- Parchment paper or silicone baking mats — Lining your sheets prevents sticking and helps with even browning.
- Wire cooling racks — Essential for cooling the cookies properly so they don’t steam and get soggy on the bottom.
- Small shallow bowl — For the cinnamon-sugar coating mixture.
- Plastic wrap — For chilling the dough.
If you don’t have a stand mixer, a hand mixer works perfectly fine. I actually used a hand mixer for my first three test batches before I upgraded, and the results were identical. The key is just making sure your butter is properly softened so the mixer can do its job without straining.
Preparation Method
This recipe takes about 3 hours from start to finish, but most of that is inactive chilling time. The actual hands-on work is maybe 30 minutes. Here’s exactly how to do it:
- Cream the butter and sugars — In a large mixing bowl, beat the softened butter, granulated sugar, and brown sugar together on medium speed for 3-4 minutes until light and fluffy. Scrape down the sides and bottom of the bowl at least once. You’re looking for a pale, airy mixture that looks almost like whipped butter. Don’t rush this step; proper creaming is what gives the cookies their structure.
- Add the wet ingredients — Beat in the pumpkin puree, egg, and vanilla extract on medium speed until fully combined. The mixture will look a little curdled at this point — that’s normal. Don’t panic. The pumpkin and butter don’t naturally want to emulsify, but the flour will bring everything together in the next step.
- Whisk the dry ingredients — In a separate bowl, whisk together the flour, cornstarch, baking soda, baking powder, salt, cinnamon, ginger, nutmeg, and cloves. Make sure everything is evenly distributed. I like to use a fork to break up any clumps in the spices.
- Combine wet and dry — Gradually add the dry ingredients to the wet mixture, mixing on low speed just until no streaks of flour remain. Stop as soon as the dough comes together. Overmixing at this stage develops too much gluten, which makes tough cookies. Use your spatula to give the dough a few final folds from the bottom, just to make sure everything is incorporated.
- Chill the dough — Cover the bowl with plastic wrap and refrigerate for at least 2 hours, or up to 3 days. This step is non-negotiable. The pumpkin adds so much moisture that the dough needs time to firm up; otherwise, your cookies will spread into flat, greasy disks. I learned this the hard way with batch one.
- Preheat and prepare — When you’re ready to bake, preheat your oven to 350°F (175°C). Line two baking sheets with parchment paper or silicone mats.
- Make the cinnamon-sugar coating — In a small shallow bowl, whisk together the granulated sugar and cinnamon until evenly combined.
- Shape and coat the cookies — Using a 1.5-tablespoon cookie scoop, portion out the chilled dough. Roll each portion into a smooth ball between your palms. The dough will be slightly sticky but manageable. Drop each ball into the cinnamon-sugar mixture and roll to coat completely. Place the coated dough balls on the prepared baking sheets, spacing them about 2 inches apart. I fit 9 cookies per standard half-sheet pan.
- Bake — Bake for 10-12 minutes, rotating the pans halfway through. The cookies should look puffed and set around the edges but still soft and slightly underdone in the center. The tops will have developed that beautiful crinkled texture. Don’t overbake; they continue to set on the hot pan after coming out of the oven.
- Cool on the pan — Let the cookies rest on the baking sheet for 5 minutes. This allows them to finish setting up without overbaking. After 5 minutes, transfer them to a wire rack to cool completely. The centers will sink slightly and the crinkles will deepen as they cool.
A few visual cues to watch for: The dough should be scoopable but not sticky after chilling. If it’s still too soft to roll after 2 hours, give it another 30 minutes. The baked cookies should look matte on top with visible cracks, and the edges should be just barely golden. If the edges are brown, they’ve been in too long.
Cooking Tips & Techniques
After six batches and more pumpkin-dusted countertops than I care to admit, here’s what I learned about getting these cookies exactly right:
Don’t skip the cornstarch. I know it seems like an extra step, but cornstarch is what keeps these cookies soft for days. It inhibits gluten formation, which means the crumb stays tender even after the cookies have fully cooled. Without it, you get a denser, more bread-like texture that’s fine but not snickerdoodle-level soft.
Chill the dough in portions if you’re impatient. I discovered this trick by accident when I needed cookies faster than the full 2-hour chill would allow. Scoop the dough into balls before chilling, place them on a parchment-lined plate, and refrigerate for just 45 minutes. The smaller portions chill faster, and you can roll them in cinnamon sugar and bake directly from the fridge. The crinkled top isn’t quite as pronounced, but it’s close enough for a cookie emergency.
Watch your oven temperature. My first few batches came out uneven because my oven runs hot. If yours does too, reduce the temperature to 340°F and add a minute to the baking time. An oven thermometer is worth the $8 investment, I promise. I burned an entire batch of these cookies while testing because I trusted the display temperature instead of an actual thermometer.
Press down the dough balls slightly. Snickerdoodles traditionally bake into slightly domed rounds, but pumpkin cookies tend to stay a bit puffier. If you want a flatter, more traditional snickerdoodle shape, gently press each dough ball down to about ½-inch thickness before baking. Just know that this reduces the crinkled top effect slightly.
Double the cinnamon sugar. The recipe as written gives you exactly enough coating for one batch with maybe a tablespoon left over. If you’re a cinnamon-sugar enthusiast like me, make a double batch of the coating mixture. You can always save the extra for toast or apple slices, and you won’t run out halfway through rolling your last few cookies.
Variations & Adaptations
These cookies are surprisingly adaptable, and I’ve tested several variations that turned out well:
Gluten-Free Version — Substitute the all-purpose flour with a 1:1 gluten-free baking flour blend that contains xanthan gum. I’ve used Bob’s Red Mill 1-to-1 Baking Flour with excellent results. The texture is slightly more delicate, so handle the dough gently when rolling. You may need to add 1-2 extra tablespoons of flour if the dough feels too sticky.
Dairy-Free Option — Replace the butter with a high-quality vegan butter stick (not tub margarine). I’ve had good results with both Earth Balance and Miyoko’s. The cookies spread slightly more, so chill the dough for an extra 30 minutes to compensate.
Pumpkin Spice Latte Twist — Add 1 tablespoon of instant espresso powder dissolved in 1 teaspoon of hot water along with the wet ingredients. The coffee doesn’t make these taste like mocha; it just deepens the pumpkin spice flavors and adds a subtle warmth that’s absolutely addictive. This version pairs perfectly with a creamy homemade pumpkin spice latte for the ultimate fall afternoon treat.
White Chocolate Chip Version — Fold ¾ cup of white chocolate chips into the dough after mixing. The sweetness of the white chocolate plays beautifully against the spiced pumpkin flavor. Just be aware that the chips make the dough slightly harder to roll, so wet your hands slightly if the dough sticks.
Maple Glaze Finish — For an extra-special version, skip the cinnamon-sugar coating and instead drizzle the cooled cookies with a simple maple glaze. Whisk together 1 cup powdered sugar, 2 tablespoons maple syrup, and 1 tablespoon milk until smooth. The glaze adds a glossy finish and a maple flavor that complements the pumpkin perfectly. I made these for a Friendsgiving gathering and they disappeared before the turkey even hit the table.
Lower Sugar Option — Reduce the granulated sugar to ¾ cup and the brown sugar to ⅓ cup. The cookies will be less sweet but still flavorful. The texture changes slightly — they’re a bit less tender — but it’s a reasonable trade-off if you’re watching your sugar intake.
Serving & Storage Suggestions
These cookies are best served at room temperature, about 20 minutes after they’ve finished cooling on the rack. That’s when the centers are perfectly soft and the cinnamon-sugar coating is still crunchy. If you can resist eating them warm, they actually improve after a few hours — the flavors meld and deepen, and the texture evens out.
For serving, I like to arrange them on a simple white platter with a few cinnamon sticks scattered around for visual interest. They pair beautifully with a hot cup of coffee, a pumpkin chai latte, or a cold glass of milk. If you’re serving them for a fall gathering, consider adding them to a dessert board with apple slices, caramel dip, and spiced nuts.
Storage: Keep the cookies in an airtight container at room temperature for up to 5 days. Place a slice of plain bread in the container to help maintain moisture — the bread absorbs excess air and keeps the cookies soft. Replace the bread slice every other day. I’ve tested this method extensively, and it works like a charm.
Freezing: You have two options here. Freeze the baked cookies in a single layer on a baking sheet, then transfer to a freezer bag for up to 3 months. Thaw at room temperature for about 30 minutes. Or freeze the unbaked dough balls (before coating in cinnamon sugar) on a baking sheet, then transfer to a freezer bag. When you’re ready to bake, roll the frozen dough balls in cinnamon sugar and bake straight from frozen, adding 2-3 minutes to the baking time. The texture is nearly identical to fresh-made, which is why I always keep a batch of dough in my freezer during fall.
Reheating: If you want that just-baked warmth, microwave a cookie for 8-10 seconds. Any longer and the sugar coating gets sticky. Alternatively, pop them in a 300°F oven for 3-4 minutes for a more even warm-through.
Nutritional Information & Benefits
Per cookie (based on 36 cookies per batch):
- Calories: 145
- Total Fat: 6g
- Saturated Fat: 3.5g
- Cholesterol: 20mg
- Sodium: 85mg
- Total Carbohydrates: 22g
- Dietary Fiber: 1g
- Sugars: 13g
- Protein: 2g
These cookies aren’t health food, and I’m not going to pretend they are. But the pumpkin puree does add some real nutritional value — vitamin A for eye health, fiber for digestion, and antioxidants that fight inflammation. The cinnamon also has anti-inflammatory properties and may help regulate blood sugar levels, which is nice considering the sugar content.
One cookie satisfies a sweet craving without sending you into a sugar coma, which is more than I can say for most bakery cookies. I usually eat two with my afternoon coffee and feel perfectly satisfied without that heavy, overly-full feeling.
If you’re looking for a healthier option, try the lower sugar variation or swap half the all-purpose flour for whole wheat pastry flour. The texture changes slightly — a bit more rustic — but the flavor is still wonderful.
Conclusion
These Soft Baked Pumpkin Snickerdoodle Cookies are the fall baking recipe I’ve been chasing for years. They have that perfect crinkled top, the tender center that stays soft for days, and the cinnamon-sugar coating that makes snickerdoodles so irresistible in the first place. The pumpkin adds moisture and flavor without making the cookies cakey or dense, and the spice blend is warm without being overwhelming.
What I love most about this recipe is how forgiving it is. Yes, the chilling time is important, but once you’ve got that down, everything else falls into place. The dough comes together in one bowl, the ingredients are all pantry staples, and the results are consistently good. I’ve made these for cookie exchanges, Thanksgiving dinners, and random Tuesday nights when I just needed something cozy to bake. They’ve never let me down.
I’d love to hear how these turn out for you. Did you add the white chocolate chips? Try the maple glaze? Find a different spice combination that worked? Drop a comment below and let me know — I read every single one, and your variations often inspire my next test batch. And if you’re looking for more fall baking inspiration, don’t miss my maple pecan pumpkin cheesecake bars — they’re the perfect next step once you’ve mastered these cookies.
Happy baking, friends. May your crinkles be many and your cookies stay soft.
Frequently Asked Questions
Can I use pumpkin pie filling instead of pumpkin puree?
No, please don’t. Pumpkin pie filling has added sugar and spices that will throw off the recipe completely. The cookies will be too sweet, too wet, and the texture will be gummy. Stick with 100% pure pumpkin puree for the best results.
Why did my cookies spread into flat disks?
This usually happens for one of two reasons: the dough wasn’t chilled long enough, or the butter was too soft when you started. Make sure your butter is softened but still cool to the touch, and don’t skip the 2-hour chill. If your kitchen is warm, chill the dough for 3 hours instead.
Can I make these cookies without a mixer?
Absolutely. You’ll need a good whisk and some arm strength for the creaming step. Beat the butter and sugar together with a wooden spoon until light and fluffy — it takes about 5 minutes of vigorous stirring. Everything else can be mixed by hand without any issue.
How do I get a more pronounced crinkled top?
The crinkled top comes from the sugar in the dough and the chilling process. Make sure you’re using the full amount of granulated sugar (not reducing it), and chill the dough for the full 2 hours. Rolling the dough balls in a generous amount of cinnamon sugar also helps create that crackled effect as the cookies bake.
Can I double this recipe?
Yes, this recipe doubles beautifully. Just make sure your mixer bowl is large enough to handle the increased volume. The chilling time stays the same, but you may need to bake in additional batches depending on how many baking sheets you have. The dough also keeps in the refrigerator for up to 3 days, so you can bake half now and half later.
Pin This Recipe!
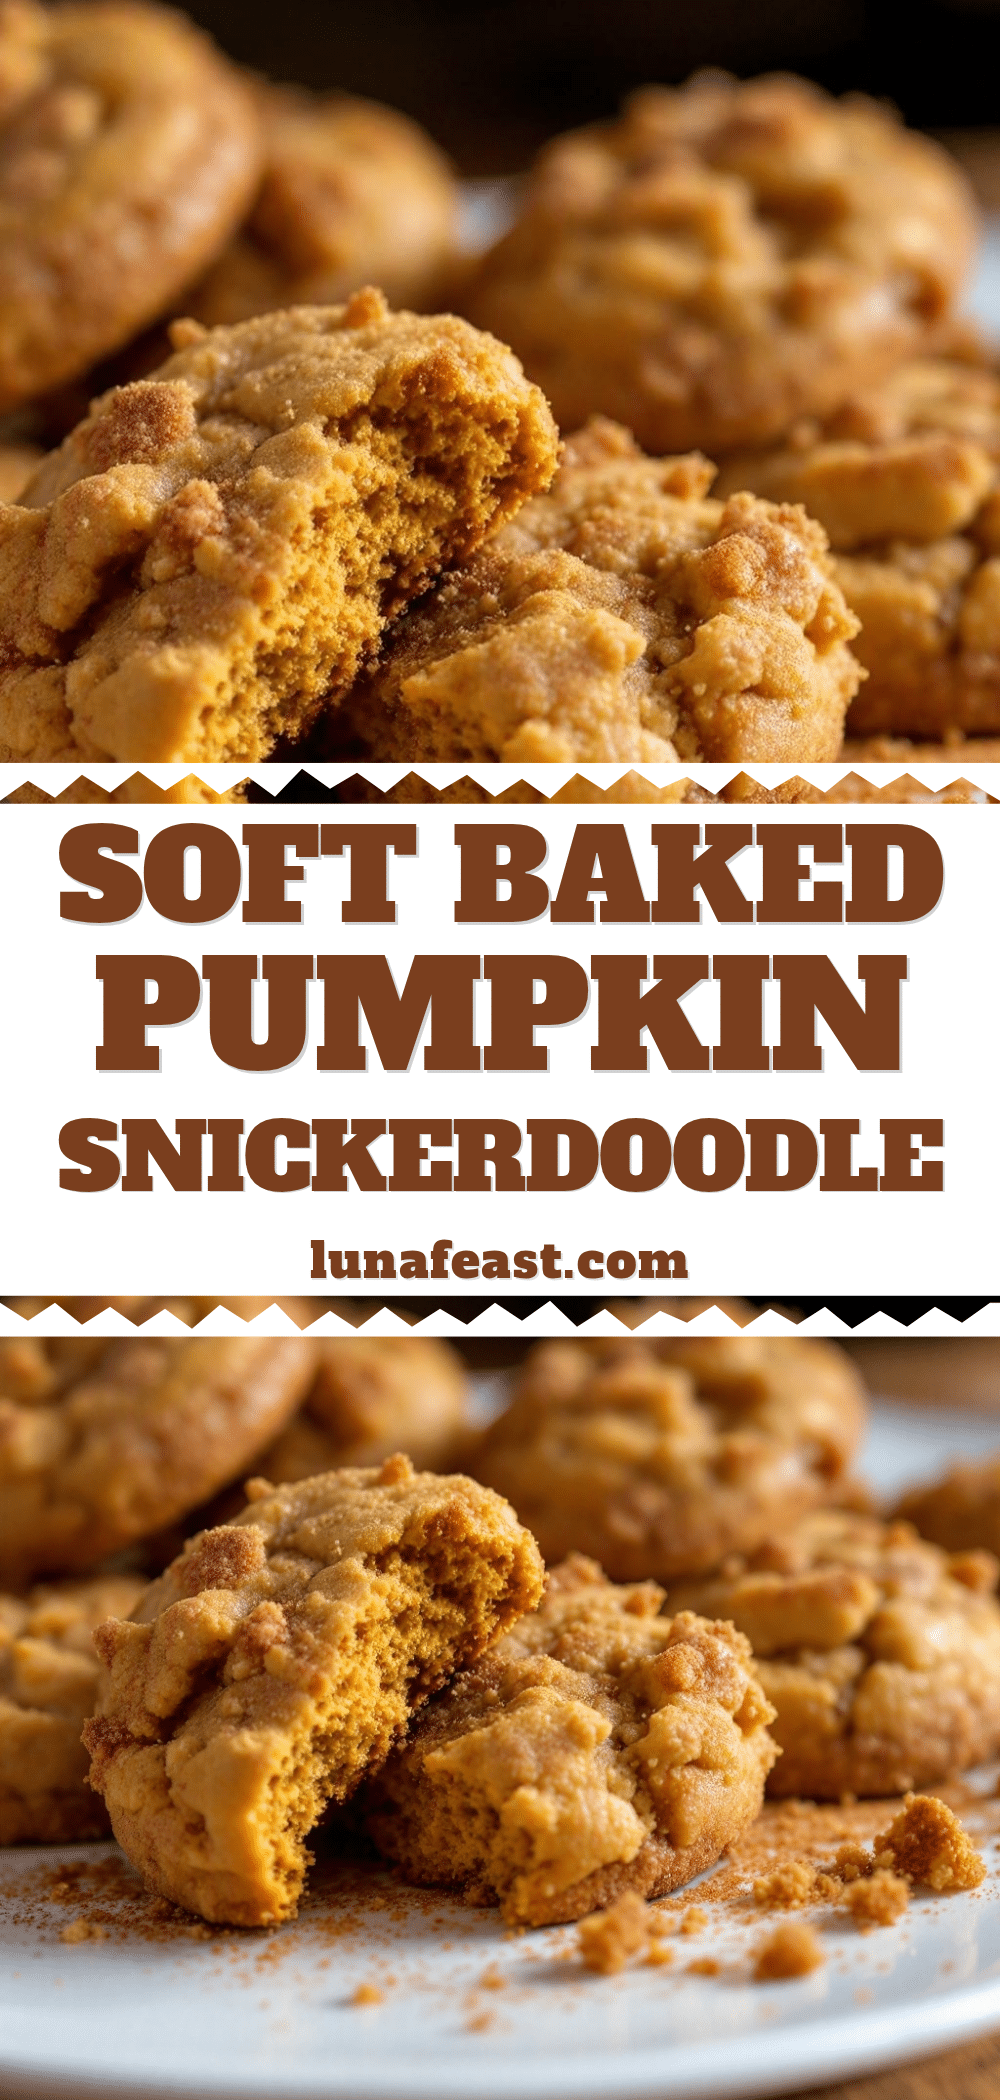
Soft Baked Pumpkin Snickerdoodle Cookies Easy Recipe
These soft baked pumpkin snickerdoodle cookies have a perfectly crinkled top, tender center, and cinnamon-sugar coating. Made with real pumpkin and simple pantry staples, they stay soft for days and are perfect for fall baking.
- Prep Time: 30 minutes
- Cook Time: 12 minutes
- Total Time: 3 hours (includes 2 hours chilling)
- Yield: 36 cookies 1x
- Category: Dessert
- Cuisine: American
Ingredients
- 1 cup (2 sticks) unsalted butter, softened
- 1 cup (200g) granulated sugar
- ½ cup (100g) light brown sugar, packed
- ¾ cup (170g) pumpkin puree (100% pure, not pie filling)
- 1 large egg, room temperature
- 2 teaspoons vanilla extract
- 2 ¾ cups (345g) all-purpose flour
- 2 tablespoons cornstarch
- 1 teaspoon baking soda
- ½ teaspoon baking powder
- ½ teaspoon salt
- 1½ teaspoons ground cinnamon
- ½ teaspoon ground ginger
- ¼ teaspoon ground nutmeg
- ⅛ teaspoon ground cloves
- ⅓ cup (65g) granulated sugar (for coating)
- 1½ tablespoons ground cinnamon (for coating)
Instructions
- Cream the butter and sugars: In a large mixing bowl, beat the softened butter, granulated sugar, and brown sugar together on medium speed for 3-4 minutes until light and fluffy. Scrape down the sides and bottom of the bowl at least once.
- Add the wet ingredients: Beat in the pumpkin puree, egg, and vanilla extract on medium speed until fully combined. The mixture may look curdled; that’s normal.
- Whisk the dry ingredients: In a separate bowl, whisk together the flour, cornstarch, baking soda, baking powder, salt, cinnamon, ginger, nutmeg, and cloves until evenly distributed.
- Combine wet and dry: Gradually add the dry ingredients to the wet mixture, mixing on low speed just until no streaks of flour remain. Do not overmix. Use a spatula to give the dough a few final folds from the bottom.
- Chill the dough: Cover the bowl with plastic wrap and refrigerate for at least 2 hours, or up to 3 days.
- Preheat and prepare: When ready to bake, preheat oven to 350°F (175°C). Line two baking sheets with parchment paper or silicone mats.
- Make the cinnamon-sugar coating: In a small shallow bowl, whisk together the granulated sugar and cinnamon until evenly combined.
- Shape and coat the cookies: Using a 1.5-tablespoon cookie scoop, portion out the chilled dough. Roll each portion into a smooth ball. Drop each ball into the cinnamon-sugar mixture and roll to coat completely. Place on prepared baking sheets, spacing about 2 inches apart.
- Bake: Bake for 10-12 minutes, rotating the pans halfway through. Cookies should look puffed and set around the edges but still soft in the center with a crinkled top.
- Cool on the pan: Let the cookies rest on the baking sheet for 5 minutes, then transfer to a wire rack to cool completely.
Notes
Chilling the dough is non-negotiable to prevent spreading. For a more pronounced crinkled top, use the full amount of granulated sugar and chill for the full 2 hours. The dough can be frozen for up to 3 months. For a gluten-free version, use a 1:1 gluten-free baking flour blend with xanthan gum.
Nutrition
- Serving Size: 1 cookie
- Calories: 145
- Sugar: 13
- Sodium: 85
- Fat: 6
- Saturated Fat: 3.5
- Carbohydrates: 22
- Fiber: 1
- Protein: 2
Keywords: pumpkin snickerdoodle, soft baked cookies, fall cookies, pumpkin cookies, snickerdoodle recipe, easy pumpkin cookies


