The way she stabbed that strawberry—slow, deliberate, with the focus of a tiny surgeon—I knew we were onto something. My five-year-old, who usually treats fruit like it’s a punishment, was suddenly building edible rainbows on sticks. It was 3:15 on a Tuesday, the kitchen floor was sticky with something I refuse to identify, and she was completely, utterly absorbed. No whining about homework, no begging for screen time, just the quiet, satisfying *pop* of grapes and melon sliding onto a bamboo skewer. That moment, honestly, felt like a small miracle.
I’d been desperate for a snack that wasn’t a packaged bar or another yogurt pouch. Something that felt like a treat but was secretly just… fruit. The rainbow idea came from a half-remembered Pinterest pin I’d seen at 2 AM while feeding the baby. I figured it would keep her busy for five minutes. I didn’t expect it to become our new after-school ritual. These Easy Rainbow Fruit Kabobs are now the thing she asks for before I can even get her backpack off. They’re colorful, they’re fun, and they make her actually eat the fruit I put in her lunchbox.
And the best part? They’re so simple, she can practically make them herself. Which, if you’ve ever tried to negotiate with a hangry kindergartner, is worth its weight in gold. This isn’t a recipe that requires a fancy spiralizer or a trip to a specialty market. It’s about grabbing what you have, finding a pattern in the colors, and turning snack time into a little moment of calm. It’s the kind of snack that sticks with you—not because it’s complicated, but because it’s real.
Why You’ll Love This Recipe
Let’s be real for a second. After-school snacks can be a battlefield. You want something healthy, they want something fun. These rainbow fruit kabobs? They’re the peace treaty you’ve been looking for. I’ve tested this with my own kids, my neighbor’s notoriously picky eaters, and even a group of second-graders at a birthday party. The result is always the same: empty plates and happy faces.
- Quick & Easy: These come together in under 15 minutes. Seriously. If you have a little helper, it might take 20, but that’s part of the fun. Perfect for that frantic window between school pickup and soccer practice.
- Simple Ingredients: No fancy grocery trips needed. You can use whatever fruit you have on hand. Strawberries, grapes, blueberries, melon—it’s all fair game. The rainbow is just a suggestion, not a rule.
- Perfect for After-School Snacks: This is the ultimate hands-on activity for kids. They get to build their own snack, which makes them way more likely to actually eat it. It’s a win-win for everyone.
- Crowd-Pleaser: I’ve yet to meet a kid (or adult, honestly) who can resist a fruit kabob. They’re fun to look at, easy to hold, and the combination of sweet, juicy fruit is always a hit.
- Unbelievably Delicious: When you get that perfect bite with a little bit of every color? It’s pure magic. The sweetness of the melon, the tartness of the kiwi, the pop of the grapes—it’s a flavor party in your mouth.
What makes this different from just a bowl of fruit? It’s the presentation. There’s something about food on a stick that makes it instantly more appealing. Kids feel like they’re getting a special treat, and you know they’re getting a serving of vitamins. It’s comfort food reimagined—healthier, faster, but with the same soul-soothing satisfaction. Perfect for turning a cranky after-school meltdown into a moment of creative fun.
What Ingredients You Will Need
This recipe is wonderfully flexible, but here’s a guide to building the perfect rainbow. The key is to pick fruits that are firm enough to stay on the skewer and have vibrant colors. I’ve learned the hard way that overripe bananas just turn into a mushy mess—trust me on that one.
- Red: Strawberries, hulled and halved or quartered if large. Look for bright red, firm berries. If strawberries aren’t in season, you can use raspberries or even a few pomegranate arils for a pop of red.
- Orange: Cantaloupe or honeydew, cut into 1-inch cubes. You can also use mandarin orange segments (drained well) or sliced mango. A firm, ripe mango is a total game-changer here.
- Yellow: Fresh pineapple, cut into 1-inch cubes. Canned pineapple works in a pinch, but pat it very dry so it doesn’t make the other fruit soggy. Yellow bell pepper is a surprisingly good savory option, too.
- Green: Kiwi, peeled and sliced into rounds or half-moons. Green grapes are also perfect. For a fun twist, you can use a honeydew melon ball.
- Blue/Purple: Fresh blueberries are the easiest option. Blackberries or purple grapes also work beautifully. This is the color that really makes the rainbow pop!
For the skewers: You’ll need 8-inch wooden or bamboo skewers. I recommend soaking them in water for 10 minutes before using, especially if you’re making these ahead of time. This prevents them from splintering and makes them safer for little hands. You can also use reusable metal skewers or even sturdy plastic straws cut in half for a kid-friendly option.
Pro-Tip: When I’m making these for a party, I like to add a little “dip.” A small bowl of vanilla yogurt, a drizzle of honey, or even a little melted dark chocolate makes them feel extra special. It’s not necessary for the daily snack, but it’s a fun option for a playdate or a holiday gathering.
Equipment Needed
You don’t need a lot of fancy gear for this recipe, which is part of its beauty. Here’s what you’ll likely already have in your kitchen:
- Cutting board: A sturdy one is best. I prefer a large wooden board for this, but any clean surface will do.
- Sharp knife: A good chef’s knife or a paring knife for hulling strawberries and cutting the larger fruits. A kid-safe knife is great if you have a little helper.
- Melon baller (optional): This is a fun tool if you want perfectly round fruit pieces. It’s not necessary, but kids love the shapes. I found a cheap set at a dollar store that works great.
- Wooden or bamboo skewers: 8-inch skewers are the perfect size for little hands. I buy them in bulk at the grocery store. Soaking them in water for 10 minutes beforehand helps prevent splinters.
- Large plate or platter: For arranging the finished kabobs. A white plate makes the colors really pop for photos!
If you don’t have skewers, don’t worry. You can use sturdy toothpicks for mini kabobs, or simply arrange the fruit in rainbow patterns on a plate. The presentation is still fun without the stick.
Preparation Method
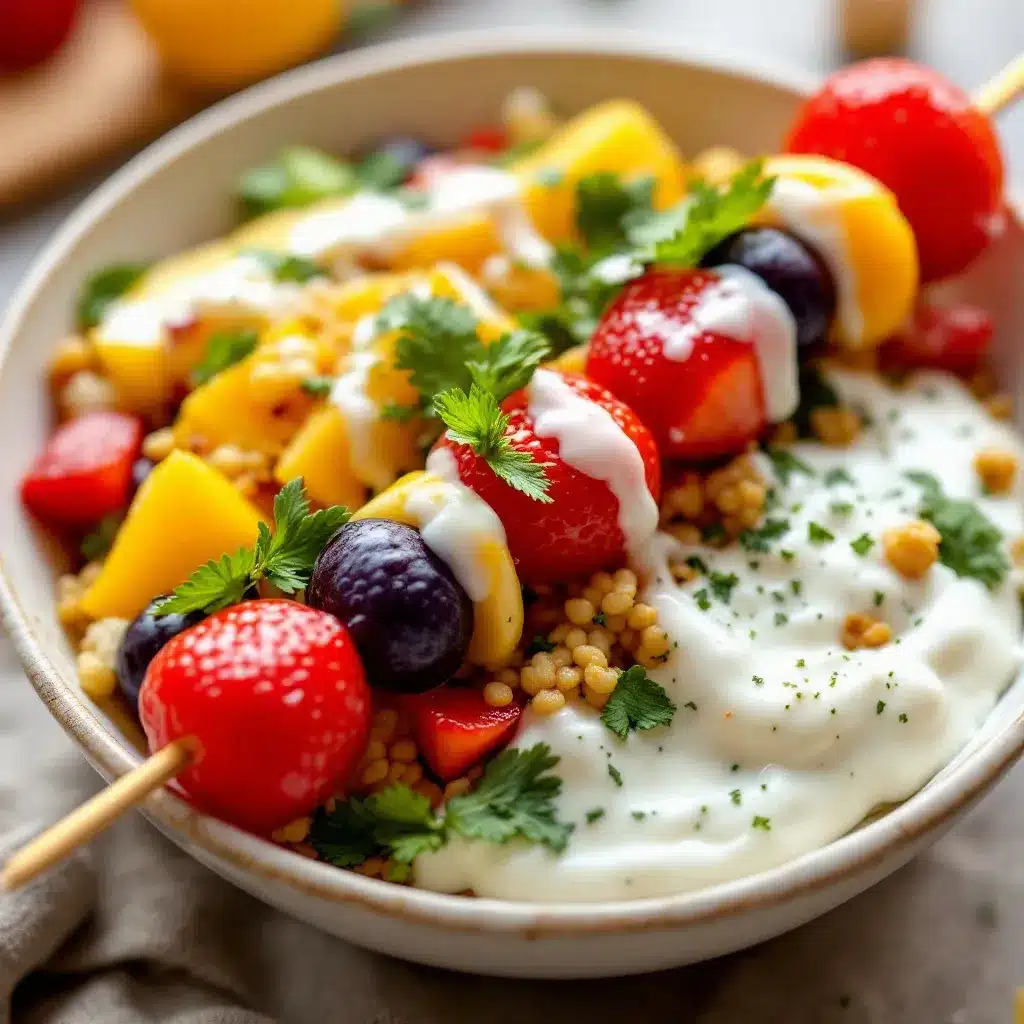
Alright, let’s get to the fun part. This is where you can really let the kids take the lead. I find that setting everything up in an assembly line makes the process smooth and mess-free. Here’s how I do it:
- Prep the fruit (5 minutes): Wash all your fruit thoroughly. Hull the strawberries and slice them in half (or quarters if they’re huge). Peel the kiwi and slice it into rounds. Cut the pineapple and melon into 1-inch cubes. I like to keep the blueberries and grapes whole. Pat everything dry with a clean kitchen towel—wet fruit makes for slippery kabobs.
- Set up your station (2 minutes): Arrange the prepared fruit in separate bowls, organized by color. This makes it easy for little hands to grab what they need. I usually put the bowls in rainbow order: red, orange, yellow, green, blue/purple. It’s a great visual cue for the kids.
- Soak the skewers (10 minutes): If you’re using wooden skewers, place them in a shallow dish of water. This is a step you can do while you’re prepping the fruit. It makes them less likely to splinter and is safer for kids.
- Assemble the kabobs (5-10 minutes): This is the main event! Show your child how to gently push the fruit onto the skewer. Start with a strawberry (red), then a piece of cantaloupe (orange), then pineapple (yellow), then a kiwi slice (green), and finish with a blueberry (blue/purple). You can repeat the pattern if you have a longer skewer, but one full rainbow per stick is perfect for a snack.
- Repeat and arrange (2 minutes): Continue until you’ve used up all your fruit. Place the finished kabobs on a large plate or platter. I like to fan them out in a rainbow shape for a pretty presentation. It makes them even more irresistible.
Sensory Cue: You’ll know the fruit is perfectly ripe when it gives slightly to gentle pressure but isn’t mushy. The strawberries should be fragrant, and the pineapple should smell sweet. If the fruit is too hard, it will be difficult to skewer and not as enjoyable to eat.
My Personal Tip: If you’re making these for a lunchbox, use shorter skewers or even toothpicks. You can also cut the fruit into smaller pieces to make them easier for tiny mouths. I’ve also found that threading the fruit onto a piece of uncooked spaghetti (the thick kind) works in a pinch—just be aware it will get a little soft, so it’s best for immediate eating.
Cooking Tips & Techniques
I’ve made a lot of fruit kabobs in my time, and I’ve definitely learned a few things the hard way. Here are my best tips for kabob success:
- Don’t overpack the skewer. Leave a little space between each piece of fruit. This makes them easier to eat and prevents the fruit from getting squished. Think of it as a necklace, not a crowded train.
- Keep pieces uniform. Try to cut your fruit into similar-sized pieces. This ensures that each bite has a little bit of everything and makes the kabob look more polished. A melon baller is your best friend here.
- Use firm fruit. Overripe fruit will fall apart on the skewer. Stick to fruit that’s ripe but still has some structure. Bananas are a no-go for this reason—they turn brown and mushy too quickly.
- Make it a game. If your kids are picky, turn the assembly into a challenge. “Can you make a red-orange-yellow-green-blue pattern?” or “Let’s see who can make the tallest kabob!” It makes the process fun and takes the pressure off eating.
- Prep ahead. You can wash and cut the fruit up to a day in advance. Store each type of fruit in a separate airtight container in the fridge. Then, when snack time rolls around, all you have to do is assemble. This is a lifesaver on busy school days.
One mistake I made: I once tried to use frozen fruit. Don’t do it. It turns into a slushy, drippy mess as it thaws. Stick with fresh fruit for the best texture and presentation. You can use frozen fruit in a smoothie bowl, but not for these kabobs.
Variations & Adaptations
One of the best things about this recipe is how adaptable it is. You can change it up based on what’s in season, what your kids like, or what you have on hand. Here are a few of my favorite variations:
- Dairy-Free “Yogurt” Dip: Instead of a yogurt dip, blend a ripe banana with a splash of coconut milk and a teaspoon of vanilla. It’s creamy, sweet, and completely dairy-free. My kids love it even more than regular yogurt.
- Seasonal Swaps: In the summer, use fresh peaches, nectarines, and plums. In the fall, try apple slices (tossed in a little lemon juice to prevent browning) and pear chunks. In the winter, use citrus segments and pomegranate arils. The rainbow can adapt to any season.
- Chocolate Drizzle: For a special treat, melt some dark or white chocolate and drizzle it over the assembled kabobs. You can even sprinkle them with a little sea salt or crushed nuts. This makes them feel like a fancy dessert.
- Savory Twist: For a more filling snack, alternate fruit with cubes of mild cheddar or mozzarella cheese. The combination of sweet and salty is surprisingly delicious. You can also add a few cubes of cooked chicken for a protein boost.
- Freezer-Friendly: You can freeze the assembled kabobs on a baking sheet, then transfer them to a freezer bag. They make a great cold treat on a hot day. Just let them thaw for a few minutes before serving so they’re not rock hard.
I once made a version with star-shaped fruit pieces for a Fourth of July party. I used a small cookie cutter to cut the melon and pineapple into stars. It was a huge hit with the kids and looked so festive on the table. Don’t be afraid to get creative with shapes and patterns!
Serving & Storage Suggestions
These rainbow fruit kabobs are best served fresh, but they can be made ahead of time with a few precautions. Here’s how to serve and store them for maximum enjoyment:
- Serving Temperature: Serve them chilled or at room temperature. I like to arrange them on a large white platter and fan them out in a rainbow shape. It makes a beautiful presentation for a party or a simple after-school snack.
- Complementary Dishes: These kabobs pair perfectly with a creamy no-bake banana pudding icebox cake for a fun dessert spread. For a savory snack, try them alongside easy 5-minute ham and cheese roll-ups for a balanced plate. They’re also a great addition to a lunchbox alongside easy bento chicken teriyaki lunch boxes.
- Storage: Store leftover kabobs in an airtight container in the refrigerator for up to 24 hours. The fruit will start to release its juices, so they’re best eaten the same day. If you’re making them ahead, keep the fruit pieces separate and assemble just before serving.
- Reheating: You don’t need to reheat these! They’re meant to be enjoyed cold or at room temperature. If you’ve stored them in the fridge, just let them sit out for 5-10 minutes before serving to take the chill off.
- Flavor Development: The fruit will release its natural juices as it sits, which can make the kabobs a little sweeter over time. However, the texture will also soften, so they’re best enjoyed within a few hours of assembly.
Presentation Tip: For a party, I like to arrange the kabobs in a tall glass or a mason jar. It looks like a bouquet of edible flowers! You can also stand them up in a small vase or a block of floral foam (covered with a napkin) for a stunning centerpiece.
Nutritional Information & Benefits
These rainbow fruit kabobs are a nutritional powerhouse disguised as a fun snack. Here’s a quick breakdown of what you’re getting in each colorful bite:
- Estimated Nutritional Values (per kabob, using typical fruit): Approximately 60-80 calories, 1g protein, 15g carbohydrates, 3g fiber, and 0g fat. These numbers will vary based on the specific fruits you use.
- Health Benefits: Each color represents a different set of vitamins and antioxidants. Red fruits (strawberries) are rich in vitamin C. Orange fruits (cantaloupe) are packed with beta-carotene. Yellow fruits (pineapple) contain bromelain, an anti-inflammatory enzyme. Green fruits (kiwi) are a great source of vitamin K. Blue/purple fruits (blueberries) are loaded with antioxidants that support brain health.
- Dietary Considerations: This recipe is naturally gluten-free, dairy-free, vegan, and nut-free. It’s a safe and healthy option for most dietary restrictions. Always check for cross-contamination if you’re serving someone with a severe allergy.
- Potential Allergens: The fruits themselves are generally hypoallergenic, but be mindful of any dips or additions you serve alongside. If you’re serving these at a school event, it’s always a good idea to check for any known allergies.
- My Personal Wellness Perspective: I love that this snack feels like a treat but is actually just fruit. It’s a great way to get my kids to eat a variety of produce without any fuss. I feel good about giving them something that’s both delicious and nutritious.
For a more filling snack, you can pair these kabobs with a high-protein mug mac and cheese or a handful of nuts for a balanced mini-meal. They’re also a fantastic way to use up any leftover fruit you have in the fridge.
Conclusion
So there you have it—the snack that turned our chaotic after-school hours into a moment of calm, creative fun. These Easy Rainbow Fruit Kabobs are more than just a pretty plate of fruit. They’re a tool for getting kids involved in the kitchen, a way to make healthy eating exciting, and a simple solution to that 3 PM meltdown we all know too well.
I love this recipe because it’s forgiving. It doesn’t care if your strawberries are a little small or if you’re out of kiwi. It’s about the process, the colors, and the joy of creating something together. The first time my daughter made her own kabob, she looked at it like she’d painted a masterpiece. And honestly? She kind of had.
I’d love to hear how your rainbow kabobs turn out! Did your kids come up with any fun patterns? Did you try a dip that was a hit? Drop a comment below and share your creations. And if you’re looking for another fun, hands-on snack idea, check out these no-bake peanut butter oat energy bites—they’re just as easy and perfect for lunchboxes. Happy snacking!
Frequently Asked Questions
Can I make these fruit kabobs the night before?
You can, but they’re best enjoyed the same day. If you need to prep ahead, wash and cut the fruit and store each type in a separate airtight container in the fridge. Assemble the kabobs just before serving to keep the fruit fresh and firm.
What if my child has a nut allergy?
This recipe is naturally nut-free, making it a safe choice for most nut allergies. Just be sure to check the labels on any dips or additions you serve alongside, like yogurt or chocolate, to ensure they are processed in a nut-free facility.
Can I use frozen fruit for these kabobs?
I don’t recommend it. Frozen fruit will release a lot of water as it thaws, making the kabobs soggy and messy. Stick with fresh fruit for the best texture and presentation. Save the frozen fruit for smoothies or baking.
How do I prevent the fruit from turning brown?
Fruits like apples, pears, and bananas are prone to browning. If you want to use them, toss the cut pieces in a little lemon juice or pineapple juice before assembling. This will help slow down the oxidation process and keep them looking fresh.
What are the best fruits for a rainbow pattern?
For a classic rainbow, use strawberries (red), cantaloupe (orange), pineapple (yellow), kiwi (green), and blueberries (blue/purple). You can also use raspberries, mango, honeydew, blackberries, or purple grapes. The key is to choose fruits with vibrant, distinct colors.
Pin This Recipe!
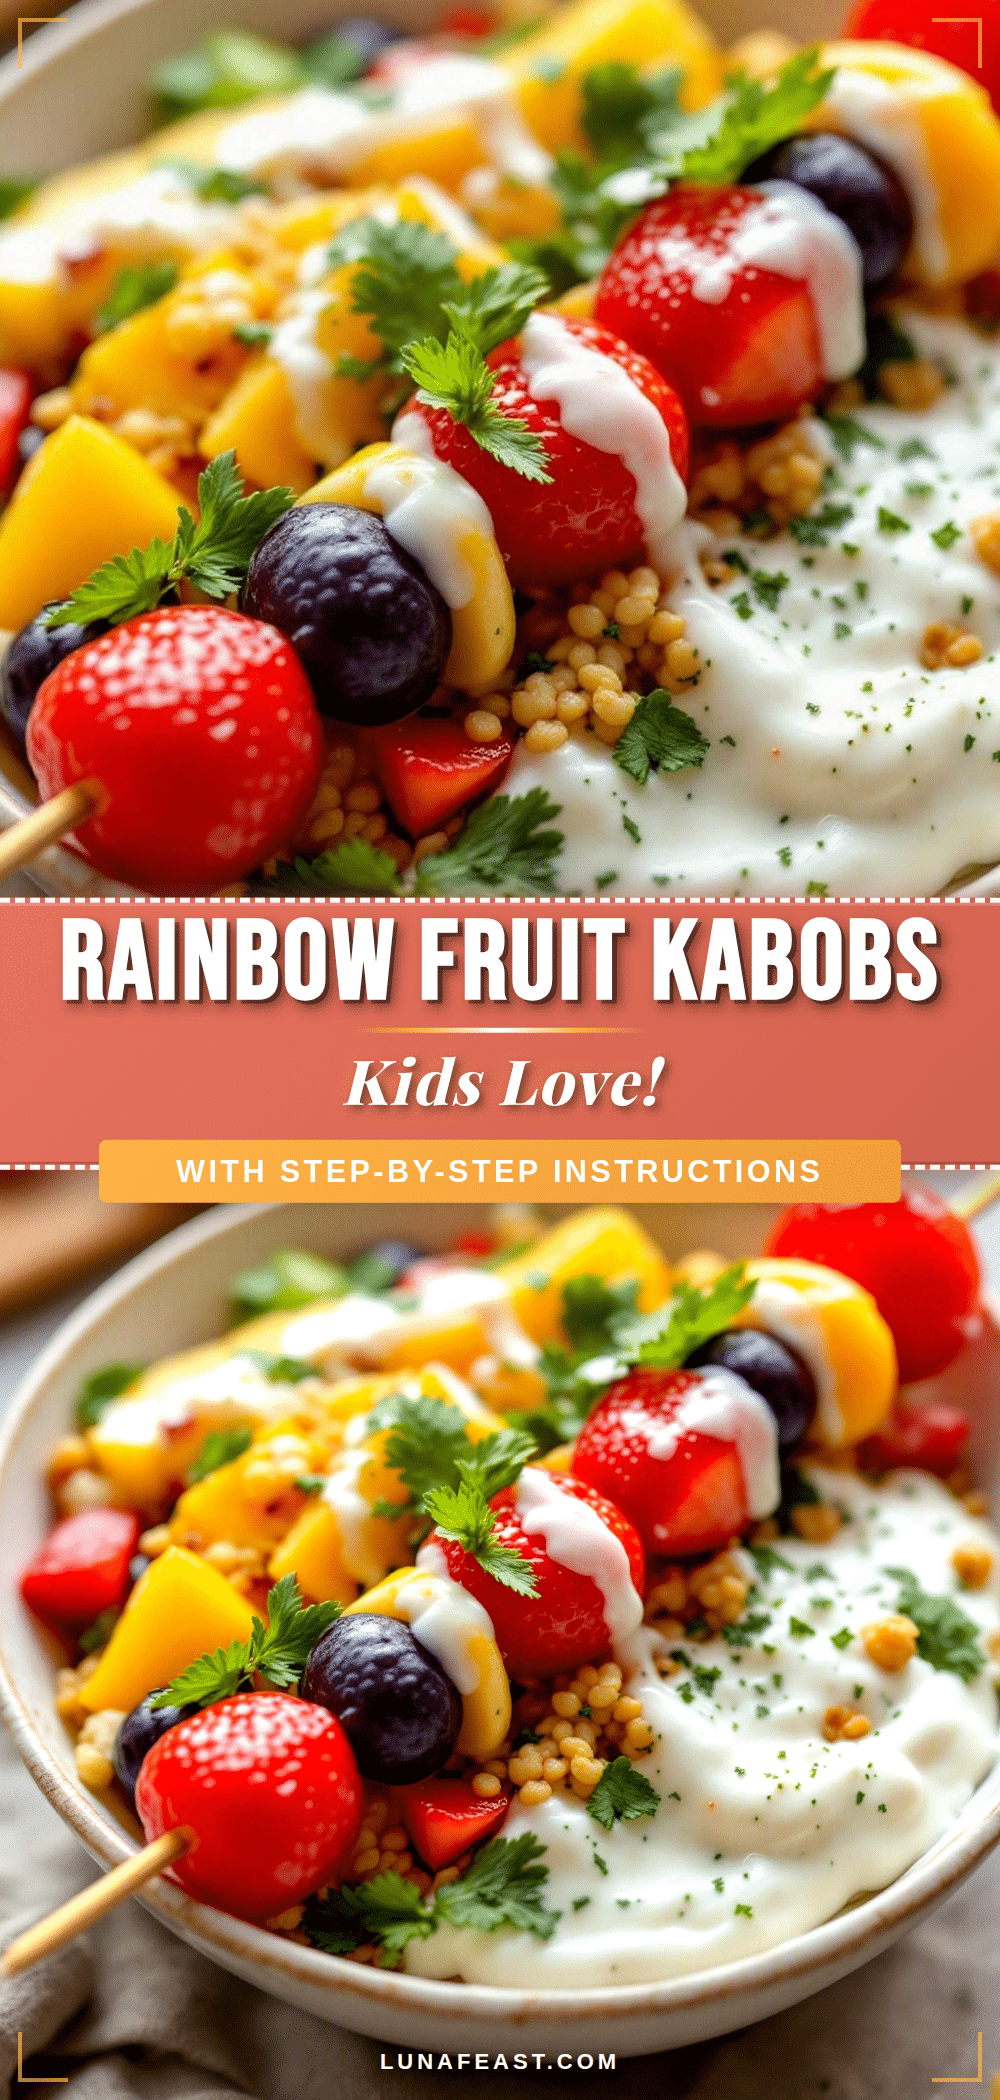
Easy Rainbow Fruit Kabobs for a Perfect After-School Snack
These colorful and fun fruit kabobs are the perfect after-school snack that kids can help make. They’re quick, easy, and a great way to get children excited about eating fruit.
- Prep Time: 15 minutes
- Cook Time: 0 minutes
- Total Time: 15 minutes
- Yield: 4 servings 1x
- Category: Snack
- Cuisine: American
Ingredients
- Strawberries, hulled and halved or quartered if large
- Cantaloupe or honeydew, cut into 1-inch cubes
- Fresh pineapple, cut into 1-inch cubes
- Kiwi, peeled and sliced into rounds or half-moons
- Fresh blueberries
- 8-inch wooden or bamboo skewers
Instructions
- Wash all fruit thoroughly. Hull strawberries and slice in half or quarters. Peel kiwi and slice into rounds. Cut pineapple and melon into 1-inch cubes. Keep blueberries and grapes whole. Pat everything dry.
- Arrange prepared fruit in separate bowls, organized by color in rainbow order: red, orange, yellow, green, blue/purple.
- If using wooden skewers, soak them in a shallow dish of water for 10 minutes to prevent splintering.
- Assemble kabobs by gently pushing fruit onto skewers in rainbow order: start with a strawberry (red), then cantaloupe (orange), pineapple (yellow), kiwi (green), and finish with blueberries (blue/purple). Repeat pattern if using longer skewers.
- Place finished kabobs on a large plate or platter, fanning them out in a rainbow shape for presentation.
Notes
Soak wooden skewers in water for 10 minutes before using to prevent splintering. For a special treat, serve with vanilla yogurt, honey, or melted dark chocolate for dipping. You can also use reusable metal skewers or sturdy plastic straws cut in half for a kid-friendly option.
Nutrition
- Serving Size: 1 kabob
- Calories: 70
- Sugar: 12
- Carbohydrates: 15
- Fiber: 3
- Protein: 1
Keywords: fruit kabobs, rainbow fruit, after-school snack, kid-friendly snack, healthy snack, easy snack


