That first scrape of the spatula against the bowl—the kind that catches on ribbons of glossy, golden caramel before they slide back into the cream—still makes me pause. It takes me straight to my grandmother’s kitchen, that tiny, impossibly hot space where she’d stand over a bubbling pot of sugar, refusing to let anyone else touch it. She’d whirl around and point that wooden spoon at me, caramel dripping like honey, and say, “Don’t you dare stir it.” I never understood why until I burned my first batch years later.
Honestly, homemade ice cream always felt like a project for people with fancy machines and way too much patience. But this recipe? It’s different. It’s the kind of kitchen magic that feels almost unfair—no churning, no ice cream maker, no special gadgets. Just a few ingredients, a little arm muscle for whipping cream, and the kind of salted caramel that makes you close your eyes on the first bite. It’s the dessert I make when I need to impress without the stress, or when I just want a quiet scoop of something that tastes like a hug on a hot summer night.
This isn’t just another no-churn ice cream. It’s the one that convinced my skeptical husband that homemade could beat store-bought. And honestly? It might convince you too.
Why You’ll Love This Recipe
Let’s be real for a second. I’ve tested no-churn ice creams that turned into icy blocks of sadness, and caramel sauces that crystallized into a sugary mess. This one? It’s the survivor. It’s the recipe I’ve made for birthday parties, lazy Sunday afternoons, and even as a last-minute dessert when friends showed up unannounced. Here’s why it works:
- No Machine Required — Seriously. No ice cream maker, no churning, no cranking. Just a mixer and a freezer.
- Perfectly Creamy Texture — The secret is in the sweetened condensed milk and the way the heavy cream whips up into soft peaks. It creates that scoopable, velvety texture without the ice crystals.
- Real Salted Caramel Flavor — We’re not using artificial extracts here. You’ll make a proper stovetop caramel that gets swirled into the base, creating ribbons of buttery, salty-sweet goodness in every bite.
- Simple Pantry Ingredients — You probably have sugar, butter, heavy cream, and salt in your kitchen right now. No weird stabilizers or hard-to-find items.
- Customizable — Once you master the base, you can add chocolate chips, crushed pretzels, or even a swirl of peanut butter. I’ve done it all, and it always works.
- Better Than Store-Bought — I’m not exaggerating. The flavor is richer, the texture is creamier, and you control exactly how much salt goes in. Plus, you get the bragging rights of saying, “I made this.”
This recipe isn’t just good—it is the kind that makes you close your eyes after the first bite. It’s comfort food reimagined—healthier (well, sort of), faster, but with the same soul-soothing satisfaction. Perfect for impressing guests without stress, or turning a simple meal into something memorable.
What Ingredients You Will Need
This recipe uses simple, wholesome ingredients to deliver bold flavor and satisfying texture without the fuss. Most of these are pantry staples, which is exactly what you want when a caramel craving hits at 9 PM on a Tuesday.
For the Salted Caramel Sauce
- 1 cup (200g) granulated sugar — Regular white sugar works best. Don’t substitute with brown sugar here; it changes the caramel chemistry.
- 6 tablespoons (85g) unsalted butter, cut into small pieces — I use Kerrygold for its richness, but any good unsalted butter works. Salted butter will make the final caramel too salty.
- 1/2 cup (120ml) heavy cream, at room temperature — Cold cream will seize the caramel, so let it sit out for 10 minutes before using.
- 1 teaspoon flaky sea salt (like Maldon) — Plus more for finishing. This is non-negotiable for that signature salted caramel kick.
- 1 teaspoon vanilla extract — Pure vanilla, not imitation. It rounds out the caramel flavor beautifully.
For the Ice Cream Base
- 2 cups (480ml) cold heavy cream — Must be cold for whipping. I keep my bowl and beaters in the freezer for 10 minutes before starting.
- 1 can (14 ounces/397g) sweetened condensed milk — The full-fat version. Low-fat or dairy-free alternatives won’t give the same creamy texture.
- 1 teaspoon vanilla extract — Again, pure vanilla. It enhances the caramel without overpowering it.
- Pinch of salt — Just a tiny pinch to balance the sweetness.
Ingredient Tips: For the caramel, I’ve tried using a cheaper brand of butter and honestly, the difference is noticeable. Spend the extra dollar on good butter. For the heavy cream, look for one with at least 36% milk fat. It whips up firmer and creates a more stable ice cream. If you’re feeling adventurous, you can add 1/2 cup of crushed pretzels or toffee bits when you swirl in the caramel for extra crunch.
Equipment Needed
You don’t need much for this recipe, and that’s the beauty of it. Here’s what I use every single time:
- Medium heavy-bottomed saucepan — Essential for the caramel. Thin pans can cause hot spots that burn the sugar before it melts evenly.
- Stand mixer or hand mixer — You can whip cream by hand with a whisk, but your arm will hate you. I use my trusty KitchenAid for this.
- Large mixing bowl — For whipping the cream and folding everything together.
- Loaf pan (9×5-inch) or freezer-safe container — A standard metal loaf pan works perfectly. Glass or ceramic also works, but metal freezes faster.
- Parchment paper or plastic wrap — To press directly onto the surface of the ice cream to prevent ice crystals.
- Rubber spatula — For folding and scraping every last bit of caramel.
- Candy thermometer (optional but helpful) — You can make caramel by color and smell alone, but a thermometer takes the guesswork out. Aim for 340°F (170°C) for a deep amber caramel.
Budget-Friendly Tip: If you don’t have a loaf pan, use a 4-cup glass measuring cup or even a clean takeout container. Just make sure it’s freezer-safe. And if you don’t have a stand mixer, a hand mixer works just as well—it takes about 3-4 minutes to whip the cream to soft peaks.
Preparation Method
Ready to make the best no-churn ice cream of your life? Let’s do this. The key is to work in stages and not rush the caramel. Trust me, I’ve learned that lesson the hard way.
Step 1: Make the Salted Caramel Sauce
- Place the granulated sugar in a medium heavy-bottomed saucepan over medium heat. Do not stir. Just let it sit and melt. It will start to liquefy around the edges first. Swirl the pan gently if needed, but do not use a spoon—stirring can cause crystallization.
- Cook the sugar until it turns a deep amber color, about 6-8 minutes. Watch it closely. It goes from golden to burnt in seconds. If you’re using a thermometer, look for 340°F (170°C).
- Remove the pan from heat immediately. Add the butter pieces and whisk vigorously until melted and combined. The mixture will bubble up—that’s normal.
- Slowly pour in the room-temperature heavy cream while whisking constantly. The caramel will steam and bubble violently. Keep whisking until smooth.
- Stir in the flaky sea salt and vanilla extract. Let the caramel cool in the pan for 10 minutes, then transfer to a heatproof jar or bowl. Cool completely before using. You can speed this up by placing it in the fridge for 30 minutes, but stir it every 10 minutes to keep it from separating.
Step 2: Whip the Cream
- In a large mixing bowl (or the bowl of your stand mixer), pour in the cold heavy cream. Add the pinch of salt.
- Whip on medium-high speed until soft peaks form. This means the cream holds its shape when you lift the whisk, but the tips flop over slightly. Don’t overwhip—if it turns into butter, you’ve gone too far. This takes about 3-4 minutes with a hand mixer, 2-3 minutes in a stand mixer.
- In a separate bowl, whisk together the sweetened condensed milk and vanilla extract until smooth.
- Gently fold the sweetened condensed milk mixture into the whipped cream. Use a rubber spatula and fold from the bottom up, turning the bowl as you go. Stop when no white streaks remain. Be gentle—you want to keep the air bubbles in the cream.
Step 3: Swirl in the Caramel
- Pour about half of the ice cream base into your loaf pan or freezer container. Spread it evenly.
- Drizzle about half of the cooled salted caramel sauce over the base. Use a knife or skewer to gently swirl it through the cream. Don’t overmix—you want distinct ribbons of caramel, not a uniform color.
- Pour the remaining ice cream base on top. Drizzle the rest of the caramel over it and swirl again.
- Press a piece of parchment paper or plastic wrap directly onto the surface of the ice cream. This prevents ice crystals from forming.
- Cover the pan with a lid or another layer of plastic wrap. Freeze for at least 6 hours, but overnight is best. The texture gets creamier as it sets.
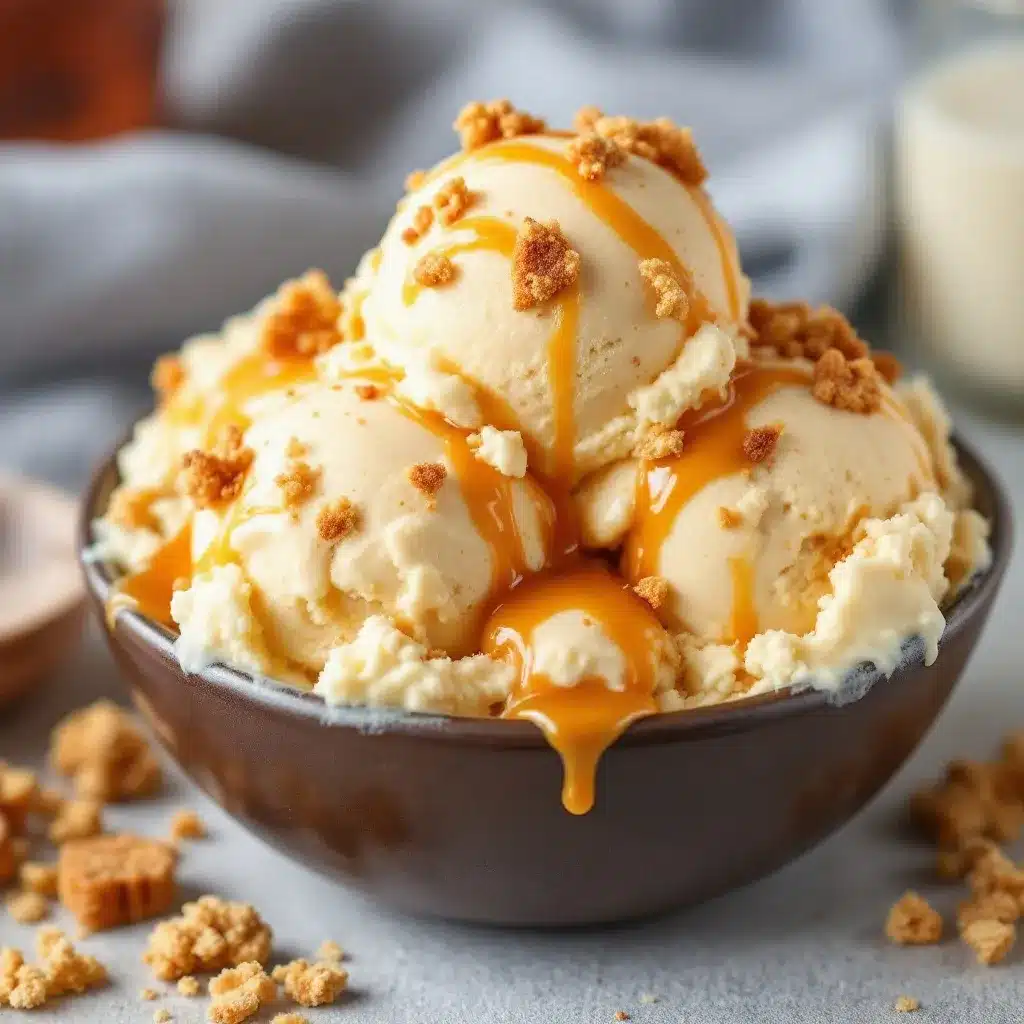
Sensory Cue: When you swirl the caramel, you should see golden ribbons snaking through the pale cream. It should look like a marble cake—beautiful and slightly uneven. That’s exactly what you want.
Cooking Tips & Techniques
I’ve made this recipe more times than I can count, and I’ve definitely messed it up a few times. Here’s what I learned the hard way so you don’t have to:
- Don’t rush the caramel. The first time I made this, I cranked the heat to high to speed things up. The sugar burned on the edges before the center even melted. Low and slow is the way. Medium heat, patience, and a watchful eye.
- Room temperature cream is crucial. If you pour cold cream into hot caramel, it will seize into a hard, lumpy mess. I’ve done it. It’s fixable—just gently reheat and whisk—but it’s easier to avoid. Set your cream out 15 minutes before you start.
- Whip cream to soft peaks, not stiff. Stiff peaks can make the ice cream slightly grainy. Soft peaks keep it silky and scoopable straight from the freezer.
- Let the ice cream sit out for 5 minutes before scooping. No-churn ice cream freezes harder than churned ice cream. Letting it soften slightly makes scooping effortless.
- Reserve some caramel for serving. I always save about 1/4 cup of the caramel sauce to drizzle over the scoops. It makes the presentation look like it came from a fancy ice cream parlor.
Variations & Adaptations
One of the best things about this recipe is how easily it bends to your cravings. Here are some variations I’ve tried and loved:
- Salted Caramel & Chocolate Chip — Fold in 1/2 cup of mini chocolate chips after swirling the caramel. The bitterness of dark chocolate (70% cacao) balances the sweet caramel perfectly.
- Vegan Version — Use full-fat coconut cream (chilled and whipped) instead of heavy cream, and use a vegan sweetened condensed coconut milk. The caramel can be made with vegan butter and coconut cream. It’s slightly less creamy but still delicious.
- Peanut Butter Swirl — Warm 1/2 cup of creamy peanut butter with 2 tablespoons of maple syrup, then drizzle and swirl it alongside the caramel. Trust me on this one—it’s like a candy bar in ice cream form.
- Spiced Caramel — Add 1/2 teaspoon of cinnamon and a pinch of cayenne to the caramel sauce while it cooks. The warmth of the spices pairs beautifully with the salt.
- Boozy Bourbon Caramel — Add 2 tablespoons of bourbon to the caramel after removing it from the heat. The alcohol keeps the ice cream slightly softer and adds a smoky depth.
I once made a batch with crushed salted caramel apple crisp crumble folded in, and it was honestly one of the best decisions I’ve ever made in my kitchen. The oats softened slightly in the ice cream, creating little pockets of texture that made every spoonful different.
Serving & Storage Suggestions
This ice cream is best served slightly softened, about 5-10 minutes out of the freezer. Scoop it into chilled bowls or cones—I’m partial to waffle cones for that extra crunch.
Serving Ideas:
- Drizzle with extra salted caramel sauce and a sprinkle of flaky sea salt.
- Serve alongside a warm slice of banana bread for an incredible dessert combo.
- Use it as a topping for warm apple pie or brownies. The hot-and-cold contrast is unbeatable.
- Make an ice cream float by dropping a scoop into root beer or cream soda.
Storage: Keep the ice cream in a tightly sealed container in the freezer for up to 2 weeks. After that, it can develop ice crystals and lose its creamy texture. If you notice ice forming, press a fresh piece of plastic wrap directly onto the surface before sealing the lid. Do not refreeze melted ice cream—the texture will be grainy and unpleasant.
Reheating the Caramel: If your leftover caramel sauce thickens in the fridge, microwave it in 10-second bursts, stirring between each, until it’s pourable again. It keeps in an airtight jar in the fridge for up to 2 weeks—perfect for drizzling over pancakes or homemade granola bars.
Nutritional Information & Benefits
Let’s be honest—this is a treat, not a health food. But knowing what’s in it is still helpful. Per serving (about 1/2 cup, based on 8 servings):
- Calories: 420
- Fat: 28g
- Carbohydrates: 38g
- Protein: 4g
- Sugar: 35g
- Sodium: 220mg
Health Benefits (sort of): The heavy cream provides a good dose of vitamin A and healthy fats, which help keep you full. The salt in the caramel can help replenish electrolytes on a hot day. And honestly? The mental health benefit of eating something this delicious is real. I believe in balance—enjoying real, homemade treats in moderation is part of a happy life.
Dietary Considerations: This recipe contains dairy and gluten-free (as written). For a dairy-free version, see the variations section above. It is not low-carb or keto-friendly due to the sugar content.
Conclusion
This easy no-churn salted caramel ice cream has become my go-to for every occasion—from lazy summer afternoons to holiday dessert tables. It’s the recipe that proves you don’t need fancy equipment or professional training to make something truly spectacular. Just a few ingredients, a little patience with the caramel, and the willingness to trust the process.
I love this recipe because it feels like a secret weapon. When guests ask, “Wait, you made this? No machine?” I get to smile and say, “Yep, and it’s easier than you think.” That moment of surprise and delight never gets old.
I’d love to hear how yours turns out. Did you add a twist? Did you double the caramel? (I won’t judge.) Drop a comment below and share your version. And if you loved it, share this recipe with a friend who needs a little homemade sweetness in their life. Happy scooping!
Frequently Asked Questions
Can I use store-bought caramel sauce instead of making my own?
You can, but the texture and flavor won’t be the same. Homemade caramel has a deeper, more complex flavor and a thicker consistency that swirls beautifully without sinking to the bottom. Store-bought caramel is often thinner and more syrupy, which can make the ice cream icy. If you’re in a pinch, look for a high-quality jarred caramel and thicken it by simmering it on the stove for 5 minutes before cooling.
Why did my caramel turn into a hard, sugary lump?
This usually happens when sugar crystallizes. It can be caused by stirring the sugar while it melts, using a wet spoon, or having a drop of water fall into the pan. To fix it, add 2 tablespoons of water and gently reheat the mixture until the sugar dissolves again, then continue cooking. If it’s too far gone, start over—it happens to everyone at least once.
Can I make this without a mixer?
Yes, but your arm will get a workout. You can whip the heavy cream by hand using a whisk and a large bowl. It takes about 5-8 minutes of vigorous whisking to reach soft peaks. Alternatively, you can use a jar with a tight lid and shake it—this takes about 3-4 minutes of shaking. Both methods work, just be prepared for a little arm fatigue.
How long does this ice cream need to freeze?
At least 6 hours, but overnight is best. The ice cream needs time to set fully so it becomes scoopable. If you’re in a hurry, pour the mixture into a shallow metal pan (like an 8×8-inch baking dish) to speed up freezing. It should be ready in about 4 hours, but the texture won’t be as creamy as a slower freeze.
Can I double this recipe?
Absolutely. Just double all ingredients and use a larger container, like a 9×13-inch baking dish or two loaf pans. The freezing time will be slightly longer—about 8-10 hours—because of the larger volume. Just make sure your caramel sauce is completely cool before adding it to the cream base.
Pin This Recipe!
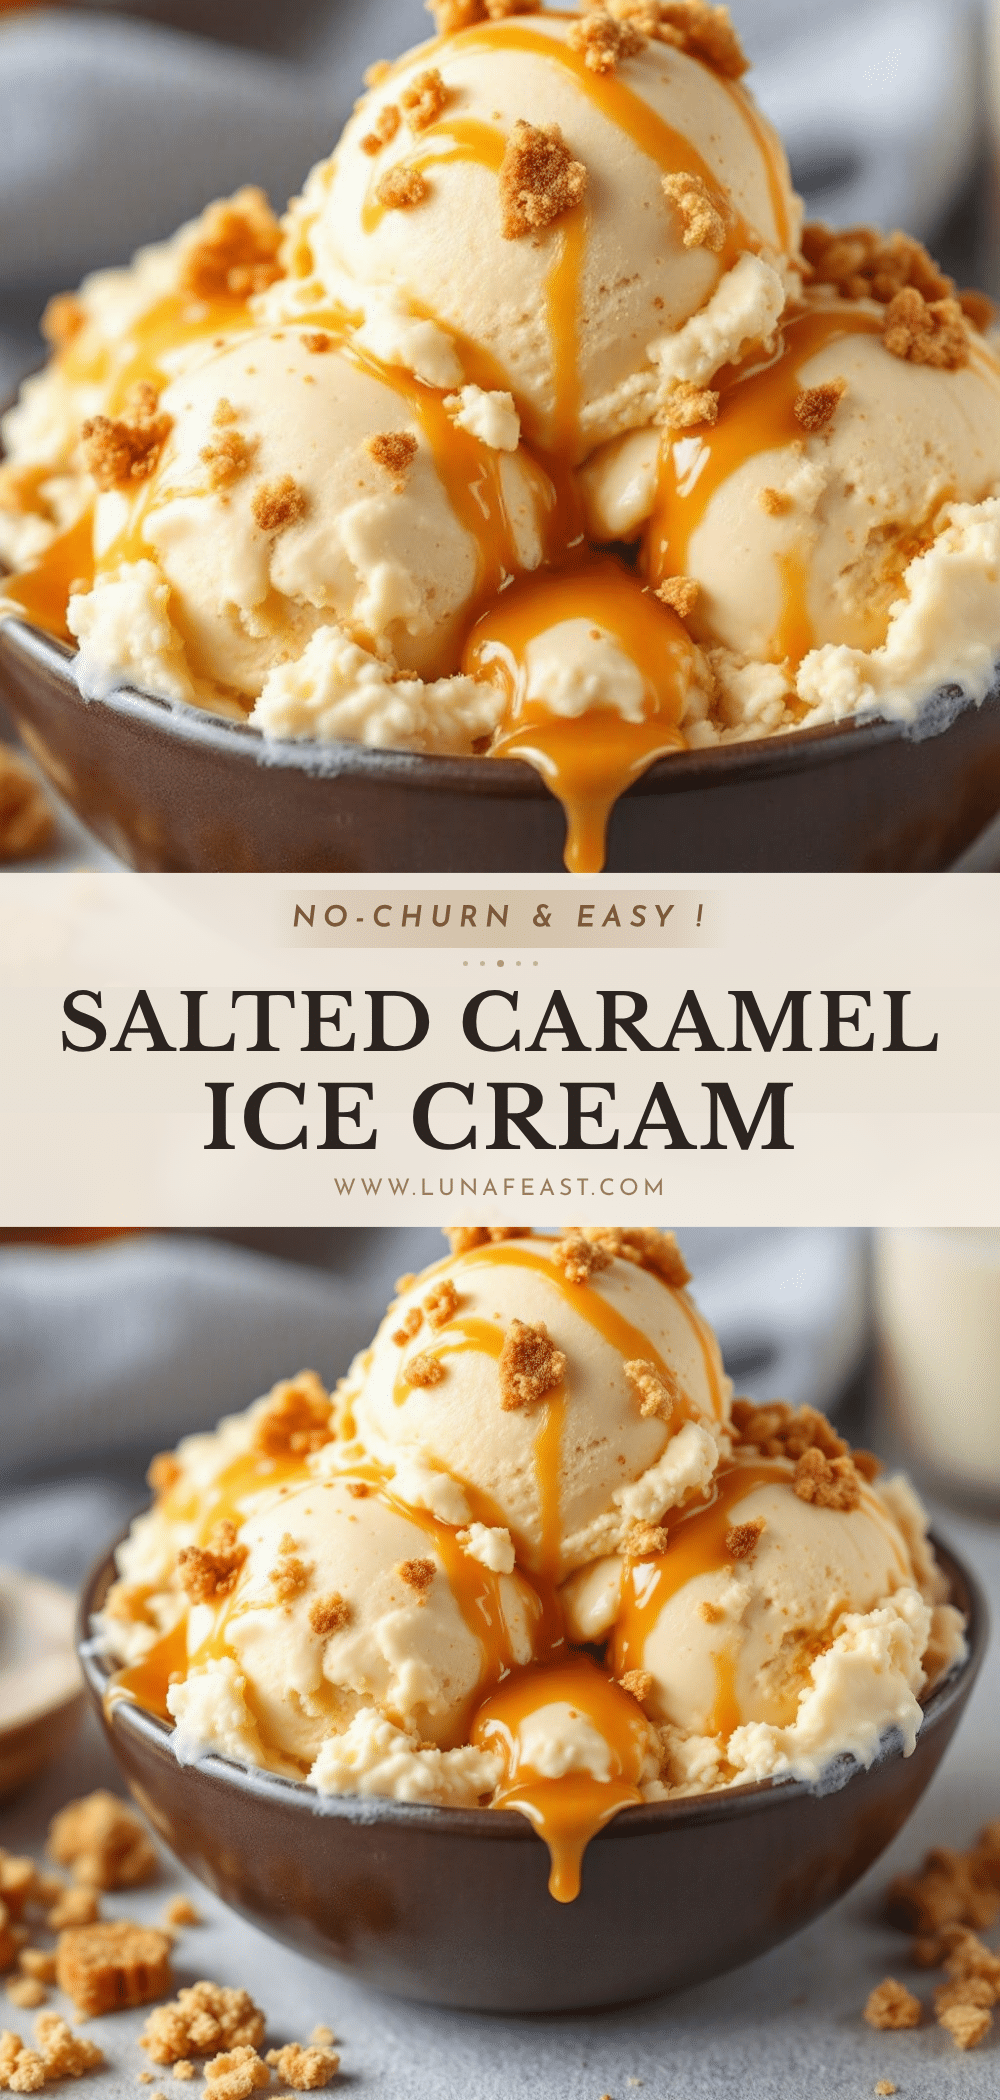
Easy No-Churn Salted Caramel Ice Cream (Best Homemade Recipe)

This easy no-churn salted caramel ice cream is creamy, rich, and made without an ice cream maker. With a homemade salted caramel swirl, it’s the perfect summer dessert that tastes better than store-bought.
- Prep Time: 20 minutes
- Cook Time: 10 minutes
- Total Time: 6 hours 30 minutes (including freezing)
- Yield: 8 servings 1x
- Category: Dessert
- Cuisine: American
Ingredients
- 1 cup (200g) granulated sugar
- 6 tablespoons (85g) unsalted butter, cut into small pieces
- 1/2 cup (120ml) heavy cream, at room temperature
- 1 teaspoon flaky sea salt
- 1 teaspoon vanilla extract
- 2 cups (480ml) cold heavy cream
- 1 can (14 ounces/397g) sweetened condensed milk
- 1 teaspoon vanilla extract
- Pinch of salt
Instructions
- Make the Salted Caramel Sauce: Place the granulated sugar in a medium heavy-bottomed saucepan over medium heat. Do not stir. Let it melt until it turns a deep amber color, about 6-8 minutes. Remove from heat, add butter and whisk until melted. Slowly pour in room-temperature heavy cream while whisking constantly. Stir in flaky sea salt and vanilla extract. Cool completely.
- Whip the Cream: In a large mixing bowl, pour cold heavy cream and add a pinch of salt. Whip on medium-high speed until soft peaks form, about 3-4 minutes with a hand mixer.
- In a separate bowl, whisk together sweetened condensed milk and vanilla extract until smooth. Gently fold into the whipped cream until no white streaks remain.
- Swirl in the Caramel: Pour half of the ice cream base into a loaf pan. Drizzle half of the cooled caramel sauce over it and gently swirl. Add remaining base and caramel, swirl again.
- Press parchment paper or plastic wrap directly onto the surface. Cover and freeze for at least 6 hours, preferably overnight.
Notes
Don’t rush the caramel; use room temperature cream to prevent seizing. Whip cream to soft peaks, not stiff. Let ice cream sit out for 5 minutes before scooping. Reserve some caramel for serving.
Nutrition
- Serving Size: 1/2 cup
- Calories: 420
- Sugar: 35
- Sodium: 220
- Fat: 28
- Carbohydrates: 38
- Protein: 4
Keywords: no-churn ice cream, salted caramel, homemade ice cream, easy ice cream, no machine ice cream


