“Do you have any of those burritos left? The ones that don’t taste like cardboard?” My daughter asked, staring at the empty counter with the kind of desperation only a middle schooler can muster.
I hadn’t realized it was that bad. The freezer was supposed to be stocked. Instead, it held only a bag of frozen peas and a mystery container from three weeks ago. That moment, right before the school bus horn blared, was the catalyst for our new morning routine. We needed a backup plan that wasn’t just toast or cereal.
Let’s face it, the back-to-school rush is chaotic. Between finding missing sneakers and packing lunches, breakfast often becomes an afterthought. But it doesn’t have to be that way. These easy back-to-school freezer breakfast burritos changed everything for us. They are the ultimate safety net for those mornings when the alarm clock feels like an enemy.
I remember the first batch I made. It was a Sunday afternoon fueled by iced coffee and a desire to reclaim my mornings. I threw together eggs, cheese, and whatever veggies were wilting in the crisper drawer. The result was warm, fluffy, and actually edible at 7:00 AM.
Now, these burritos are the anchor of our week. They travel well in backpacks and stay warm long enough to get through the first period. Honestly, they are better than most gas station options, and you know how much I value that comparison. This recipe isn’t just about convenience; it’s about giving you back your sanity during the busiest season of the year.
Why You’ll Love This Recipe
After testing this recipe dozens of times with different fillings and tortilla types, I can confidently say these are the best breakfast burritos for busy families. They hit that sweet spot between homemade quality and freezer-friendly durability.
- Quick & Easy: The initial prep takes about 15 minutes, but the magic happens in the freezer. When morning hits, you just grab and go. It is perfect for those rushed weeknights or early school mornings.
- Simple Ingredients: You likely already have everything in your kitchen. Eggs, cheese, tortillas, and a protein. No fancy grocery trips needed. This simplicity is what makes it sustainable for weekly meal prep.
- Perfect for School Days: These are designed to be portable. They fit in standard lunchboxes and don’t require reheating if eaten cold, though they are best warm. They are a lifesaver for carpool lines.
- Crowd-Pleaser: Kids love them because they are familiar. Adults love them because they are filling. I have fed this to picky eaters who usually refuse anything with “egg” in the name, and they always ask for seconds.
- Unbelievably Delicious: The texture is key. By using soft flour tortillas and keeping the filling moist, you avoid the dry, crumbly burrito disaster. It is comfort food reimagined for the modern parent.
What makes this recipe different is the assembly technique. Most freezer burritos get soggy because of steam trapped inside. I use a specific cooling method that ensures the tortilla stays pliable even after weeks in the freezer. It is not just another version; it is the tested, tried-and-true version that saves mornings.
It is the kind of meal that lets you breathe. You can grab one, walk out the door, and know your family is fed. It turns a stressful morning into a smooth routine. Plus, they pair wonderfully with other quick meals like our cozy fall harvest grain bowl if you need a dinner idea for later.
What Ingredients You Will Need
This recipe relies on simple, wholesome ingredients to deliver bold flavor and satisfying texture without the fuss. The goal is to use pantry staples that are affordable and easy to find. You want ingredients that hold up well to freezing and reheating.
For the Filling:
- Eggs: Large eggs, beaten. I use about 12 for a big batch. Room temperature eggs mix more evenly.
- Milk or Cream: A splash of whole milk or heavy cream adds richness. Use dairy-free milk if needed for allergies.
- Breakfast Sausage: Italian sausage or turkey sausage, cooked and crumbled. Look for leaner options to reduce grease.
- Bacon: Crispy bacon bits, chopped. If you prefer less salt, use applewood smoked bacon.
- Cheese: Shredded cheddar or Mexican blend. Pre-shredded cheese has anti-caking agents, so fresh shredded melts better.
- Vegetables: Diced bell peppers, onions, and spinach. Frozen diced onion and pepper mixes save time.
- Seasonings: Salt, black pepper, and a pinch of garlic powder. Keep it simple so the flavors don’t clash.
For the Wrapper:
- Flour Tortillas: Large, 10-inch burrito-sized tortillas. I recommend brands like Mission or La Tortilla Factory for their durability. They stretch well without tearing.
- Butter or Oil: For brushing the outside of the tortilla before wrapping. This helps them brown if you choose to pan-fry them later.
I always buy the large family-size packs of tortillas when they are on sale. It makes the cost per burrito very low. Also, make sure your cheese is finely shredded. Large chunks can create air pockets that lead to freezer burn spots.
Equipment Needed
You don’t need fancy gadgets to make these. A few basic kitchen tools are all you require.
- Large Skillet: A 12-inch non-stick skillet is ideal for cooking the eggs and sausage in bulk. It allows for even heat distribution.
- Mixing Bowl: A medium bowl for whisking the eggs and milk together.
- Spatula: A silicone spatula is best for folding the eggs gently. It prevents scrambling them into tiny pieces.
- Cutting Board: For chopping vegetables and bacon. Keep it clean to avoid cross-contamination.
- Freezer Bags or Wrap: Heavy-duty freezer bags or plastic wrap for individual storage. Aluminum foil can work but may stick if not oiled.
If you don’t have a large skillet, you can use two smaller ones, but it will take longer. I also suggest investing in a good quality silicone spatula. Cheap ones melt or leave bits of rubber in your food. For storage, I prefer plastic wrap because it creates a tighter seal than bags, preventing freezer burn effectively.
Preparation Method
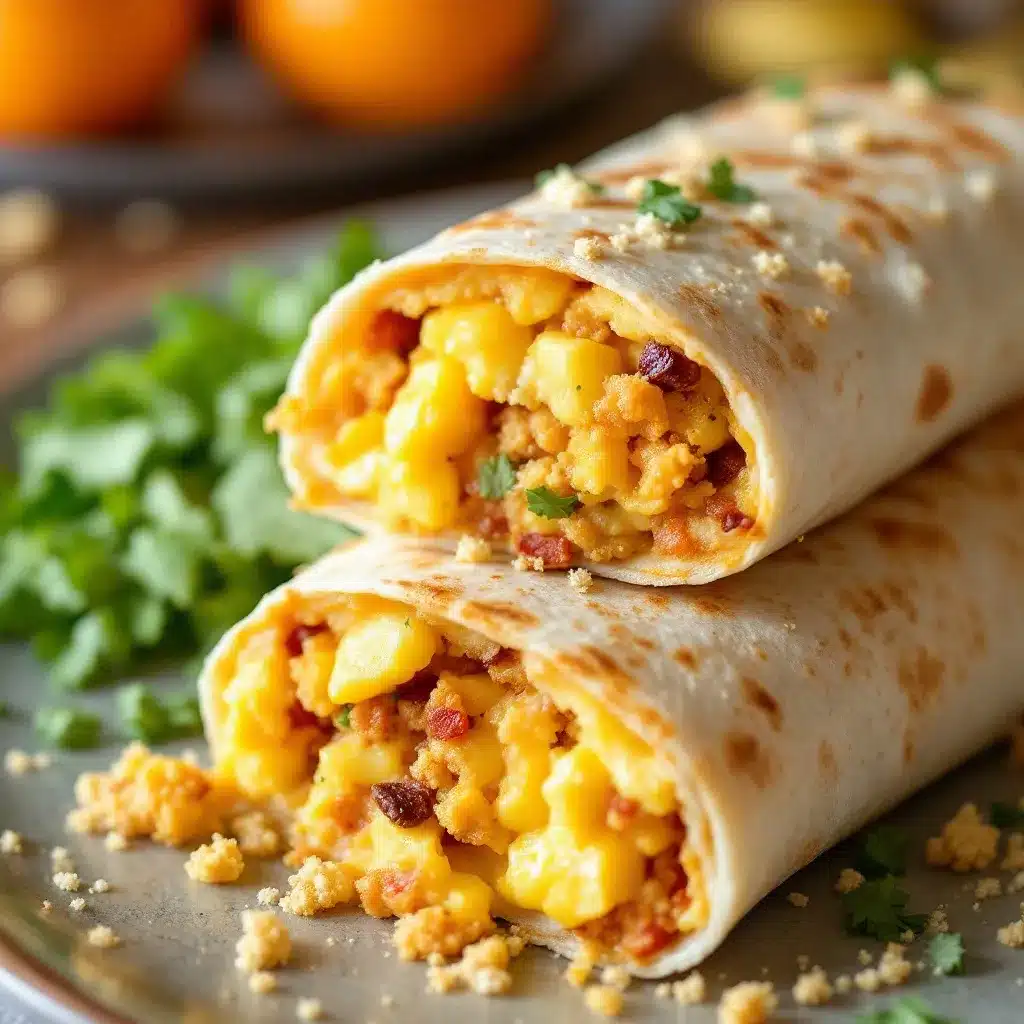
Follow these steps carefully to ensure your burritos stay soft and delicious. Precision matters here, especially with the wrapping.
- Cook the Protein (10 minutes): Heat your large skillet over medium heat. Add the sausage and cook until browned and cooked through. If using bacon, cook it until crispy. Remove the meat from the pan and drain excess grease on paper towels. Set aside.
- Sauté Vegetables (5 minutes): In the same pan, add a little oil. Toss in the diced peppers, onions, and spinach. Cook until the onions are translucent and the spinach is wilted. Season with salt and pepper. Remove and set aside with the meat.
- Scramble the Eggs (5 minutes): In a mixing bowl, whisk the eggs, milk, and garlic powder. Pour the mixture into the skillet over medium-low heat. Let it sit for a few seconds, then gently fold with a spatula. Cook until the eggs are just set but still slightly wet. They will continue cooking later. Remove from heat.
- Cool the Filling (15 minutes): This is the most critical step. Spread the egg and meat mixture onto a large baking sheet or plate. Let it cool completely to room temperature. If you wrap warm filling, steam will form and make the tortillas soggy and prone to mold.
- Assemble the Burritos: Lay a tortilla flat on a clean surface. Place a portion of the filling in the center. Top with shredded cheese. Fold the sides in, then roll tightly from the bottom up. The roll should be snug but not tight enough to burst.
- Wrap for Freezing: Wrap each burrito tightly in plastic wrap. Then, place them in a heavy-duty freezer bag. Squeeze out as much air as possible before sealing. Label with the date.
I usually make a batch of six at a time. This fits perfectly in one standard freezer bag. Be careful not to overfill the tortilla. A heavy burrito will tear when you try to roll it. Aim for a moderate amount of filling for the best texture.
Cooking Tips & Techniques
Getting the texture right is where most people fail. Here is how to avoid common mistakes.
Avoid Sogginess: Never wrap hot food. I cannot stress this enough. Let the filling cool completely. If you are short on time, you can spread it on a tray and put it in the fridge for 20 minutes to speed up the process.
Tortilla Choice: Do not use corn tortillas. They crack when frozen and reheated. You need the elasticity of flour tortillas. If you need gluten-free options, look for high-quality almond flour tortillas, but be gentle as they tear easily.
Moisture Control: If using fresh vegetables like tomatoes or zucchini, remove the seeds and excess water first. Too much water leads to ice crystals in the freezer. Cooked veggies are safer because the water has already evaporated.
Rolling Technique: Roll the burrito like a sleeping bag. Tuck the sides in firmly before rolling. This keeps the filling contained. If you leave the sides loose, the burrito will unravel in the bag.
Batch Cooking: I often cook the sausage and eggs in two batches to ensure they don’t steam. Crowding the pan lowers the temperature and makes the eggs rubbery. Take your time with the cooking phase for better results.
Variations & Adaptations
One of the best things about this recipe is its flexibility. You can customize it based on what you have or dietary needs.
- Veggie-Heavy: Add extra spinach, mushrooms, or roasted sweet potatoes. This adds volume and nutrients without adding much cost. It is great for getting kids to eat more vegetables.
- Spicy Kick: Add diced jalapeños or a dash of hot sauce to the eggs. Top with pepper jack cheese for extra heat. This is perfect for adults who need a caffeine alternative jolt.
- Meat-Free: Skip the sausage and use black beans or chickpeas as a protein source. Season the beans with cumin and chili powder for a southwestern twist.
- Low-Carb: Use low-carb tortillas or wrap the filling in a large slice of ham. The ham wrap holds up surprisingly well in the freezer.
- Breakfast Potato: Add diced hash browns or roasted potato cubes to the filling. This makes it even more filling and satisfying for active mornings.
I have tried adding crumbled feta cheese, which adds a nice tang. It pairs well with the spinach and tomato variation. Don’t be afraid to experiment. The base recipe is forgiving and adapts well to new flavors.
Serving & Storage Suggestions
These burritos are designed for convenience, but how you serve them matters.
Reheating: Remove the plastic wrap before reheating. For the best texture, microwave the burrito for 1-2 minutes on high. Let it rest for 30 seconds to allow the heat to distribute evenly. Alternatively, you can pan-fry it in a little butter for a crispy exterior. This adds a nice crunch that microwaving lacks.
Storage: These burritos will last in the freezer for up to 3 months. After that, they may develop freezer burn. Always keep them in airtight packaging. I recommend using a date marker on the bag so you can rotate your stock.
Pairings: Serve with a piece of fresh fruit or a glass of orange juice. They also go well with a side of yogurt. If you need a lunch idea, these pair nicely with our creamy Italian pasta salad for a full day of meals.
The flavors actually improve after a day or two in the freezer as the ingredients meld together. They are best eaten within the first month for peak freshness.
Nutritional Information & Benefits
While these are indulgent, they are also a balanced meal option.
- Protein: Each burrito contains about 20-25 grams of protein from eggs and meat. This keeps you full until lunch.
- Fat: The fat content comes from cheese and sausage. Using turkey sausage or lower-fat cheese can reduce this.
- Carbohydrates: The tortilla provides energy. Whole wheat tortillas add fiber.
- Dietary Notes: These are not gluten-free unless specified. They contain dairy and eggs. For nut-free homes, they are safe.
I like that they provide sustained energy. Unlike sugary cereals, the protein and fat combo prevents mid-morning crashes. It is a practical choice for busy parents who need reliability.
Conclusion
These easy back-to-school freezer breakfast burritos are a game-changer. They save time, reduce morning stress, and ensure everyone starts the day with a nutritious meal. I love them because they give me back my mornings and keep my family happy.
I encourage you to try this recipe and customize it to your family’s taste. Experiment with different cheeses and veggies. Once you make them, you will wonder how you survived without them.
Please leave a comment below with your favorite filling combinations. Share your adaptations and let me know how they worked out. I love hearing from readers who have made this their new routine.
Here’s to stress-free mornings and happy bellies. Happy cooking!
Frequently Asked Questions
Can I freeze these burritos without plastic wrap?
It is not recommended. Plastic wrap creates a tight seal that prevents freezer burn. If you want to avoid plastic, use beeswax wraps or silicone covers, but ensure they are airtight.
How do I reheat them in the oven?
Wrap the burrito in foil and bake at 350°F for 20-25 minutes. This method is slower but gives a more even heat distribution than the microwave.
Can I use egg whites instead of whole eggs?
Yes, you can use liquid egg whites or cartoned egg substitute. They work well, though the texture may be slightly less rich. Add a little extra cheese to compensate for the lost fat.
Do these burritos thaw before eating?
You can eat them straight from the freezer if you microwave them long enough. However, they taste better if thawed in the fridge overnight. If you are in a rush, microwaving from frozen works fine.
Can I make these ahead of time for the whole month?
Yes, you can double or triple the recipe. Just ensure you have enough freezer space. I usually make two batches at the start of the school year. They freeze well for up to three months.
Pin This Recipe!
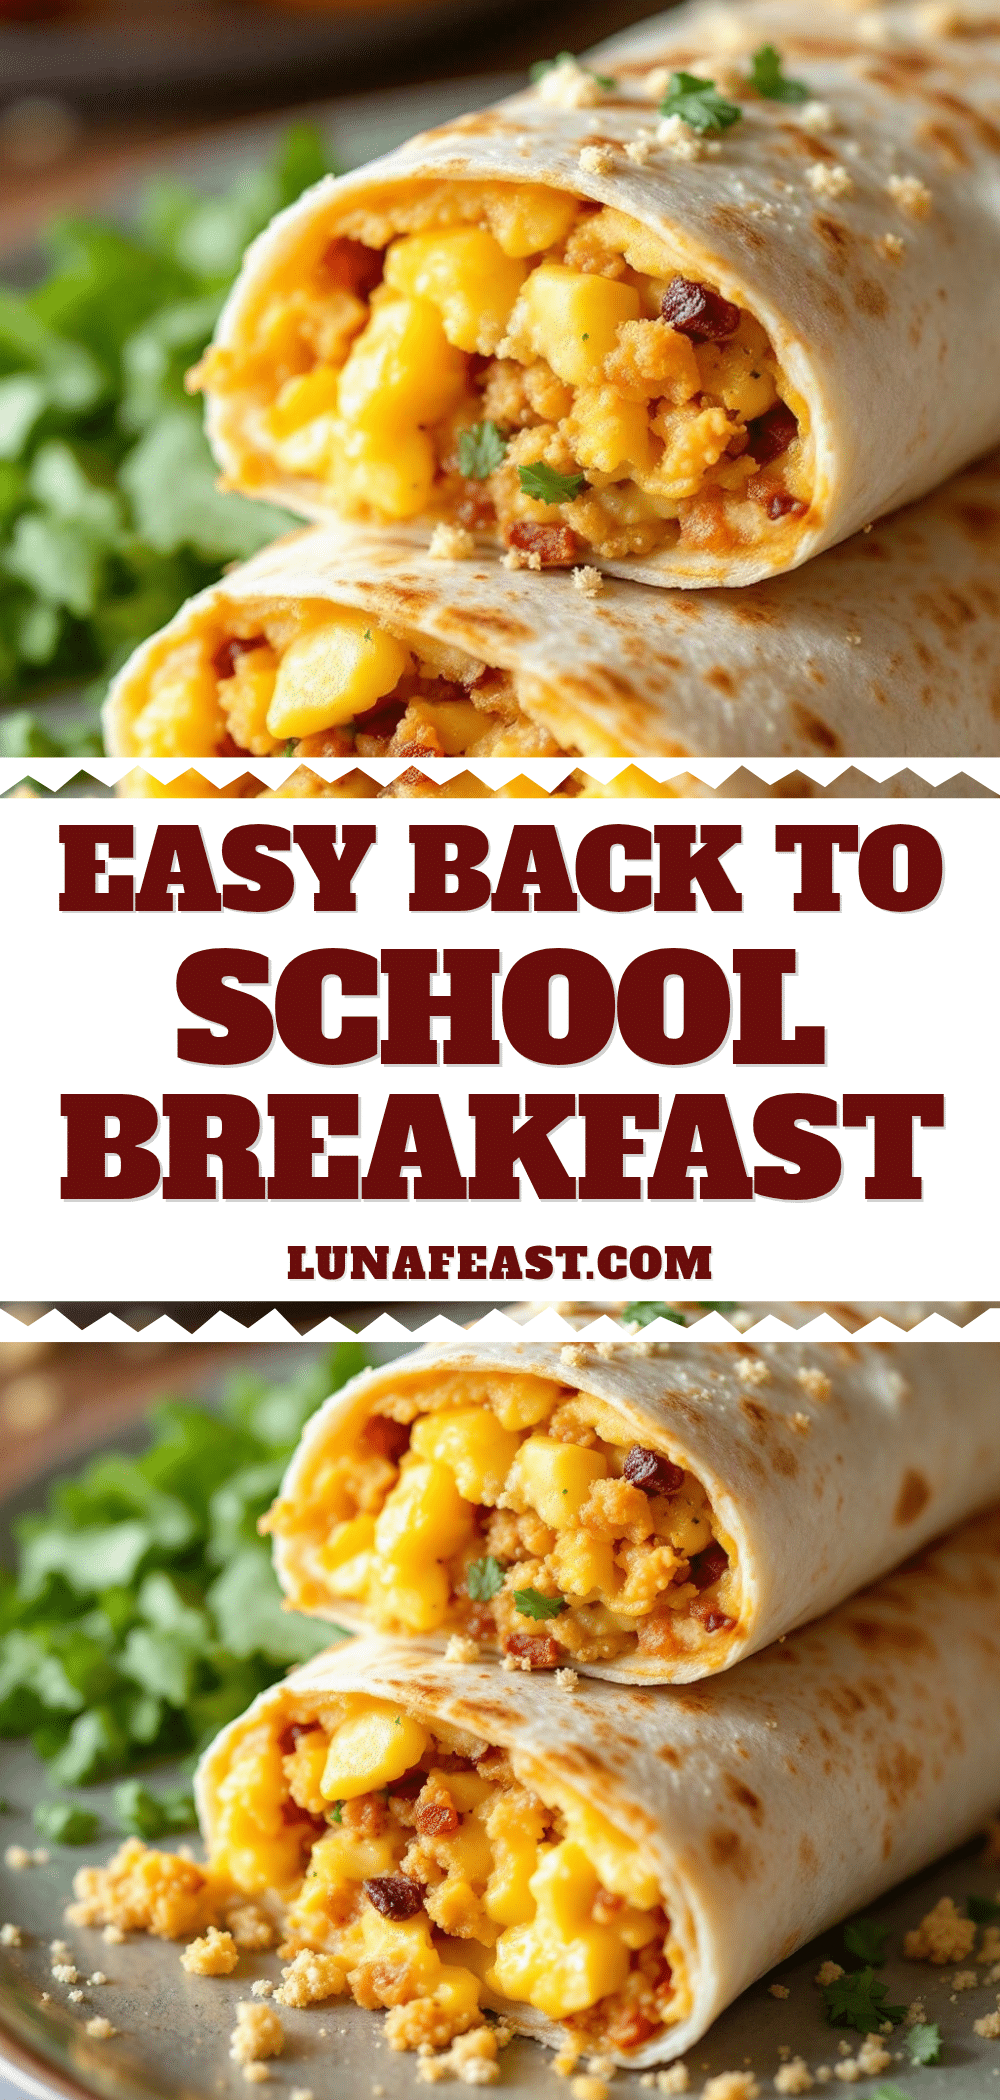
Easy Back-to-School Freezer Breakfast Burritos
These freezer-friendly breakfast burritos are the ultimate morning solution for busy families. Made with eggs, cheese, sausage, and veggies, they are quick to prep, easy to store, and delicious when reheated.
- Prep Time: 15 minutes
- Cook Time: 20 minutes
- Total Time: 35 minutes
- Yield: 6 servings 1x
- Category: Breakfast
- Cuisine: American
Ingredients
- 12 large eggs, beaten
- Splash of whole milk or heavy cream (or dairy-free alternative)
- Breakfast sausage (Italian or turkey), cooked and crumbled
- Crispy bacon bits, chopped
- Shredded cheddar or Mexican blend cheese
- Diced bell peppers
- Diced onions
- Spinach
- Salt
- Black pepper
- Pinch of garlic powder
- Large 10-inch flour tortillas
- Butter or oil for brushing
Instructions
- Heat a large skillet over medium heat. Add sausage and cook until browned and cooked through. If using bacon, cook until crispy. Remove meat and drain excess grease.
- In the same pan, add a little oil. Sauté diced peppers, onions, and spinach until onions are translucent and spinach is wilted. Season with salt and pepper. Remove and set aside with the meat.
- In a mixing bowl, whisk eggs, milk, and garlic powder. Pour into the skillet over medium-low heat. Let sit for a few seconds, then gently fold with a spatula until just set but still slightly wet. Remove from heat.
- Spread the egg and meat mixture onto a large baking sheet or plate. Let it cool completely to room temperature to prevent sogginess.
- Lay a tortilla flat. Place a portion of the cooled filling in the center. Top with shredded cheese.
- Fold the sides in, then roll tightly from the bottom up. Ensure the roll is snug but not tight enough to burst.
- Wrap each burrito tightly in plastic wrap. Place in a heavy-duty freezer bag, squeeze out air, and label with the date.
Notes
It is critical to let the filling cool completely before wrapping to avoid steam buildup which causes sogginess. Do not use corn tortillas as they crack when frozen; use flour tortillas for elasticity. For best texture, ensure cheese is finely shredded to avoid air pockets.
Nutrition
- Serving Size: 1 burrito
- Calories: 350
- Sugar: 2
- Sodium: 600
- Fat: 22
- Saturated Fat: 8
- Carbohydrates: 25
- Fiber: 2
- Protein: 20
Keywords: breakfast burritos, freezer meals, meal prep, back to school, easy breakfast, egg burritos, family breakfast


