The crunch is loud. It’s the kind of sound that cuts through the roar of the crowd on the TV and the clinking of beer glasses in the kitchen. It’s not just noise; it’s a promise. That sharp, audible snap tells you everything you need to know before the cheese even melts. Honestly, most nachos fail because they surrender too easily. They get soggy, limp, and sad within ten minutes of sitting out. I’ve eaten my share of drowned chips, and I’m done with it.
I made this Crispy One-Pan Football Sunday Nachos recipe because I wanted that specific resistance in my teeth. You know that feeling? When you pull a chip away and it holds its shape, coated in a shell of cheese and spice, not a puddle of grease? That’s the whole point. I was tired of playing the game of musical chairs with snack plates, rushing to eat before they turned into cardboard. This one-pan method changed the geometry of game day snacking.
The secret isn’t in the cheese blend, though that helps. It’s in the pan. By baking the chips in a single layer with the toppings distributed evenly, you create a barrier. The heat circulates around every chip, toasting the edges while the cheese melts just enough to bind, not drown. It’s physics, but it feels like magic.
I remember the first time I pulled this pan out of the oven. The smell hit me first—sharp cheddar, toasted corn, and a hint of cumin. But the real victory was the first bite. It stayed crisp for minutes. My friends stopped talking about the score to ask what I did differently. I didn’t tell them it was about spacing and heat management. I just pointed to the empty pan.
This recipe sticks because it respects the chip. It doesn’t treat it as a vehicle for mess, but as a structural component. You’ll find yourself listening for that crunch over the referee’s whistle. It’s a small thing, but it’s the only thing that matters when the fourth quarter is on the line and the snacks are gone.
Why You’ll Love This Crispy One-Pan Football Sunday Nachos Recipe
Let’s be real for a second. Game day food is usually a gamble. You either get a spread that’s elaborate and delicious, or you get a bag of pretzels and hope for the best. This recipe sits squarely in the “delicious” column, but without the three hours of prep time. I’ve tested this method through multiple seasons, tweaking the cheese ratios and pan sizes to find that sweet spot between crispy and gooey. It’s not just another nacho recipe; it’s a solved problem for anyone who hates soggy bottoms.
Here is why this version wins every time:
- Quick & Easy: The entire process takes about 10-15 minutes from oven to table. This is perfect for those moments when the kickoff is imminent and you realize you forgot to buy snacks. No fancy techniques required, just heat and timing.
- Simple Ingredients: You likely have 80% of this in your pantry right now. Tortilla chips, shredded cheese, canned jalapeños, and maybe some beans. It’s not a grocery trip; it’s a raid of your cupboards. If you need to grab something, it’s usually just one stop at the corner store.
- Perfect for Game Day: Whether it’s the Super Bowl, a playoff game, or just watching the local team, this dish is built for sharing. It’s a communal platter that encourages grabbing a handful and getting back to the action without missing a play.
- Crowd-Pleaser: Kids love the cheese. Adults love the crunch. It’s hard to find a guest who won’t dig in. I’ve served this at tailgates where the crowd thinned out, and this pan was always the last thing standing.
- Unbelievably Delicious: The texture is the star. Because the chips are baked in a single layer, they don’t steam. They crisp up. The flavor profile is bold—salty, spicy, and savory—without being overwhelming. It’s comfort food that actually feels satisfying, not heavy.
What makes this different from the standard bag-of-chips-and-spoonful-of-salsa method? It’s the structural integrity. Most recipes drown the chips in sauce. This one uses the cheese and toppings to create a cohesive unit. The chips toast in the oven, absorbing just enough aroma from the spices without losing their snap. It’s the kind of nacho that makes you pause mid-chew to appreciate the engineering. It’s better than the ultimate game day loaded nacho bar because it’s faster and less messy to manage.
What Ingredients You Will Need
This recipe relies on quality basics to deliver maximum flavor with minimal effort. The goal here is to let the chips shine while the toppings add layers of taste and texture. You don’t need gourmet ingredients; you need the right ones. I’ve found that using pre-shredded cheese actually works better here because of the anti-caking agents, which help it melt smoothly without becoming greasy.
Here is what you’ll need to assemble your masterpiece:
For the Base
- Tortilla Chips: 1 large bag (about 10-12 ounces). Use sturdy, restaurant-style chips. Thin, fragile chips will break under the weight of the toppings. I prefer brands with a high corn content for that authentic crunch.
- Seasoning Blend: 1 teaspoon cumin, 1 teaspoon smoked paprika, and ½ teaspoon garlic powder. This is the secret weapon. It coats the chips before the cheese even touches them, ensuring every bite is seasoned.
For the Cheese Layer
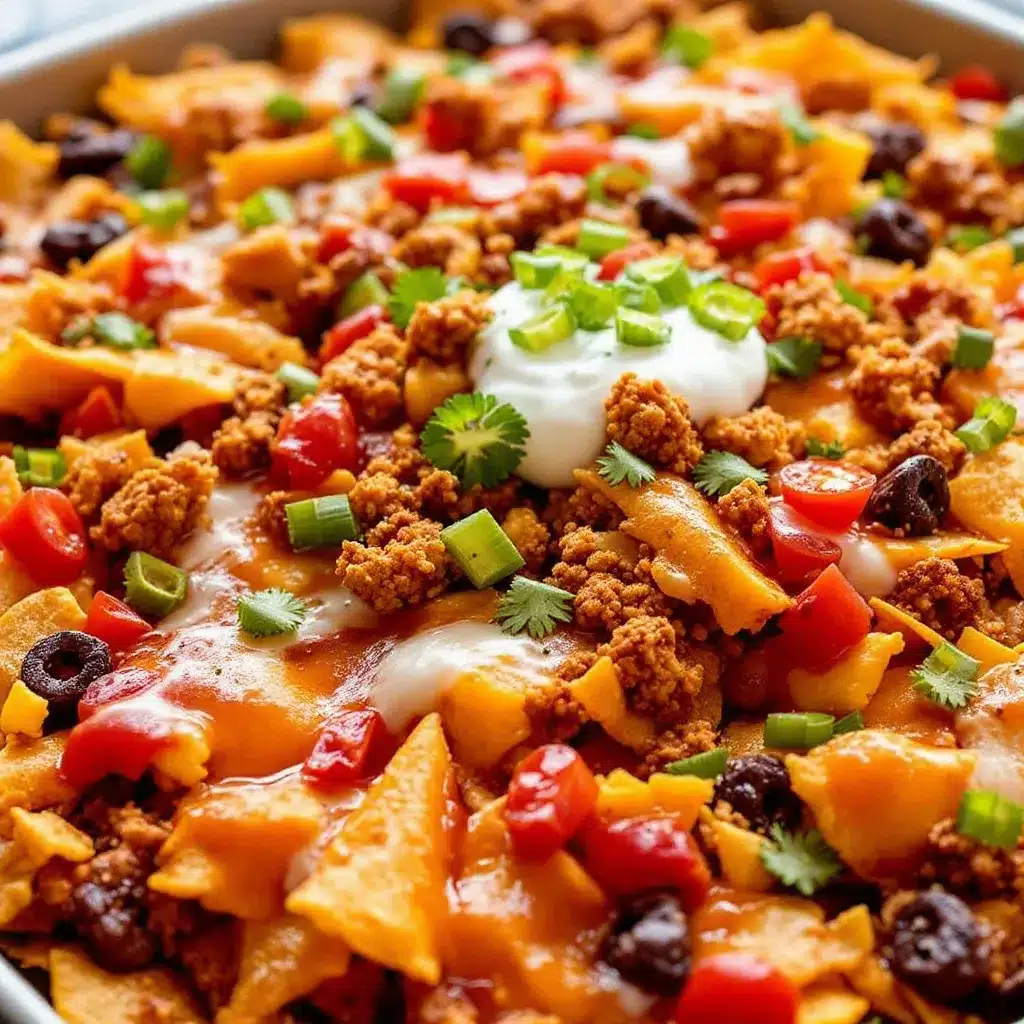
- Sharp Cheddar Cheese: 1.5 cups, shredded. Sharp cheddar provides the flavor punch. Mild cheddar is too bland for this. Shred it yourself if you can; it melts better.
- Mozzarella Cheese: 1 cup, shredded. This is for the stretch and the melt. It balances the sharpness of the cheddar and gives that classic pull.
For the Toppings
- Canned Jalapeños: ½ cup, sliced. Drain them well. Excess liquid is the enemy of crispiness. If you like it hotter, keep some of the juice.
- Black Beans: 1 can (15 oz), rinsed and drained. These add protein and substance. They also help weigh down the chips slightly, keeping them flat.
- Black Olives: ½ cup, sliced. A classic addition that adds a briny contrast to the salty cheese.
- Green Onions: 2 stalks, thinly sliced. These are for garnish and a fresh, sharp bite after baking.
For the Finish
- Sour Cream: ½ cup. Serve on the side or dollop on top after baking.
- Fresh Cilantro: A small handful, chopped. Adds a pop of color and freshness.
If you’re looking for a dip alternative, this pairs well with my 5-minute pretzel cheese dip if you want a cooler element to balance the hot pan. But honestly, the nachos stand on their own.
Equipment Needed
You don’t need a lot of gear for this, which is the best part. The main event is your baking sheet.
- Large Baking Sheet: A standard half-sheet pan (18×13 inches) is ideal. It needs to be large enough to hold the chips in a single layer. If your chips overlap too much, they steam instead of crisp. A rimmed baking sheet is best to catch any drips.
- Measuring Spoons: Basic set for the spices. Precision here matters for flavor balance.
- Colander: Essential for draining the beans and jalapeños. Wet ingredients are the enemy of the crisp.
- Sharp Knife and Cutting Board: For slicing the olives and green onions.
- Grater (Optional): If you buy blocks of cheese instead of bags, a box grater works wonders. Pre-shredded is fine, but fresh-shredded melts more evenly.
I’ve tried using pizza stones, but they don’t hold enough chips. A flat baking sheet is the most efficient tool. If you’re short on space, you can use two smaller pans, but you’ll need to bake them sequentially or in different zones of the oven. Stick to one pan if you can—it makes serving easier and keeps the aesthetic cohesive.
Preparation Method
Getting this right is all about layering and timing. Follow these steps closely, and you’ll have crispy, restaurant-quality nachos in no time.
- Preheat the Oven: Set your oven to 400°F (200°C). This high heat is crucial. It needs to melt the cheese quickly before the chips absorb too much oil. Let the oven fully preheat while you assemble.
- Prepare the Chips: Pour your tortilla chips onto the baking sheet. Arrange them in a single layer. This is non-negotiable. If you pile them up, the bottom ones will get soggy. You want maximum surface area exposure to the heat. If your bag is huge, use two pans.
- Season the Chips: Sprinkle the cumin, smoked paprika, and garlic powder evenly over the chips. Use your hands to toss them gently if needed, ensuring every chip gets a dusting of spice. This step infuses flavor from the base up.
- Add the Cheese: Sprinkle the shredded cheddar and mozzarella evenly over the chips. Don’t skimp. You want a generous layer. The cheese acts as the glue for the toppings. Spread it out so there are no bare spots.
- Layer the Toppings: Distribute the drained black beans, sliced jalapeños, and black olives over the cheese. Again, keep it even. You don’t want one person getting all the jalapeños while another gets only beans. This is about fairness.
- Bake: Place the pan in the preheated oven. Bake for 8-10 minutes. Watch it closely after the 7-minute mark. You want the cheese to be bubbling and slightly golden, and the chip edges to be toasted. If the cheese browns too much, it can turn bitter.
- Rest and Garnish: Remove the pan from the oven. Let it sit for 2-3 minutes. This allows the cheese to set slightly, making it easier to pick up chips without everything sliding off. Sprinkle with fresh green onions and cilantro.
- Serve: Serve immediately. These nachos are best enjoyed hot and crisp. Add dollops of sour cream on the side or directly on top if you prefer a cooler contrast.
The key is speed. Once they come out of the oven, the clock starts ticking on crispiness. Eat them while they’re hot.
Cooking Tips & Techniques
I’ve learned a few hard lessons with nachos over the years. Here’s how to avoid the common pitfalls.
- Drain Everything: I can’t stress this enough. Wet beans, wet jalapeños, wet salsa—any of these will turn your crispy chips into soggy disasters. Use a colander and pat them dry with a paper towel if necessary.
- Don’t Overcrowd the Pan: If your chips are piled on top of each other, they steam. Steam is the enemy of crisp. Use two pans if you have to. Better to have two smaller batches than one soggy one.
- Shred Your Own Cheese: Pre-shredded cheese contains cellulose to prevent clumping. This can make the cheese grainy when melted. If you have time, shred a block of cheddar and mozzarella. It melts smoother and tastes better.
- Watch the Oven: Ovens vary. One minute can mean the difference between golden and burnt. Keep an eye on the cheese. When it’s bubbling and starting to spot brown, it’s done.
- Let It Rest: This is counterintuitive, but necessary. Hot cheese is liquid. Letting it sit for 2-3 minutes allows it to firm up slightly, making the nachos easier to handle. It also lets the flavors meld.
I once tried to rush this process by cranking the heat to 450°F. The cheese burned before the chips were warm. Lesson learned. Consistency beats intensity every time.
Variations & Adaptations
This recipe is a canvas. Here are a few ways to make it your own.
- Spicy Buffalo: Toss the chips in a little buffalo sauce before adding the cheese. Top with blue cheese dressing instead of sour cream. This pairs well with crispy baked chicken wings if you’re serving a full meal.
- Vegetarian Delight: Swap the beans for roasted bell peppers and corn. Add a layer of refried beans at the bottom for extra creaminess. It’s hearty and satisfying.
- Protein Power: Add cooked ground beef or shredded chicken. If using beef, season it with taco seasoning and drain well before adding. This turns the snack into a more substantial meal.
- Gluten-Free: Use certified gluten-free tortilla chips. Most corn chips are naturally gluten-free, but always check the label to avoid cross-contamination.
- Dairy-Free: Use dairy-free cheese shreds. They’ve improved a lot, but they might not melt as smoothly. You may need to bake a minute longer.
I tried adding pulled pork once, and it was amazing. The smoky flavor of the pork complemented the cumin perfectly. It’s a game-changer if you have leftovers.
Serving & Storage Suggestions
Serve these nachos straight from the pan. Place the pan on a trivet in the center of the table. Surround it with bowls of sour cream, salsa, guacamole, and hot sauce. Let everyone customize their bite.
If you have leftovers (unlikely, but possible), store them in an airtight container in the fridge for up to 2 days. Reheat them in the oven at 350°F for 5-10 minutes to restore crispiness. The microwave will make them soft and chewy, which is not what you want.
The flavors actually improve slightly after resting for a few minutes, as the spices have time to permeate the chips. But they are best fresh.
Nutritional Information & Benefits
While these nachos are a treat, they do offer some nutritional value. Corn chips provide carbohydrates for energy. Black beans are a good source of fiber and protein. Cheese adds calcium and protein. However, they are also high in sodium and saturated fat, so enjoy in moderation.
For a healthier twist, use baked chips and low-fat cheese. It won’t be as indulgent, but it’s lighter. I usually balance this rich dish with a fresh salad, like my fresh Greek cucumber salad, to cut through the richness.
Conclusion
This Crispy One-Pan Football Sunday Nachos recipe is a winner. It’s easy, it’s delicious, and it delivers on the promise of crunch. I love it because it takes the stress out of game day snacking. You can focus on the game, knowing the food is handled.
Customize it to your taste. Add more jalapeños, less cheese, whatever works for you. The base recipe is reliable.
Try it out and let me know how it goes. Did the crunch hold? Did your guests love it? Leave a comment below. And share your variations. I’m always looking for new ideas.
Enjoy the game, and enjoy the nachos.
Frequently Asked Questions
Can I make these nachos ahead of time?
It’s best to make them fresh. You can prep the toppings in advance, but assemble and bake right before serving to ensure crispiness.
What type of chips work best?
Restaurant-style tortilla chips are best. They are thicker and sturdier than standard chips, so they hold up better under the toppings.
Can I use fresh jalapeños instead of canned?
Yes, but make sure to remove the seeds and ribs to control the heat. Sauté them briefly to remove excess moisture before adding.
How do I keep the chips from getting soggy?
Drain all wet ingredients thoroughly. Use a single layer of chips. Don’t overload the pan. Bake at a high temperature for a short time.
Can I freeze leftover nachos?
It’s not recommended. Freezing will ruin the texture of the chips. They will become soft and mushy when reheated. Better to eat them fresh or refrigerate for a short time.
Pin This Recipe!
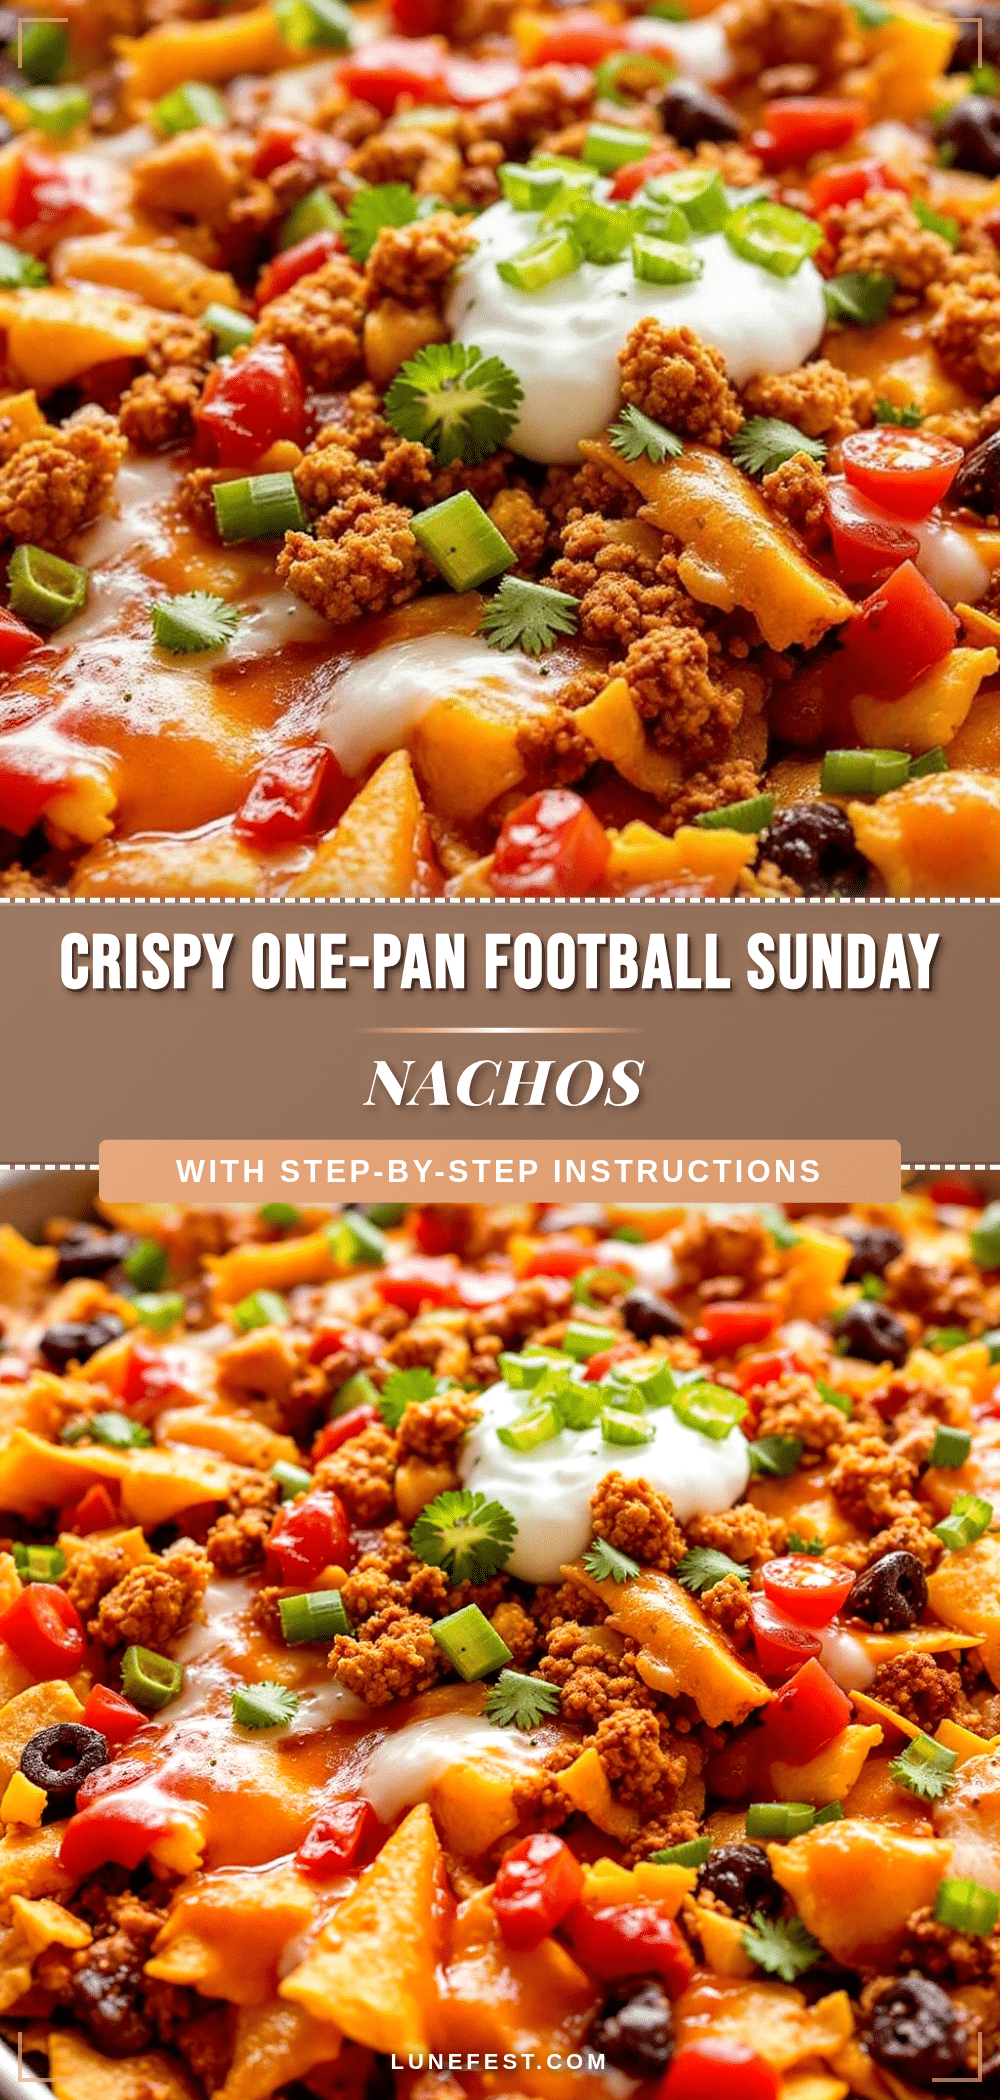
Crispy One-Pan Football Sunday Nachos
A game-day favorite featuring sturdy tortilla chips baked in a single layer with a blend of sharp cheddar and mozzarella, topped with black beans, jalapeños, and olives for maximum crunch and minimal sogginess.
- Prep Time: 5 minutes
- Cook Time: 10 minutes
- Total Time: 15 minutes
- Yield: 6 servings 1x
- Category: Appetizer
- Cuisine: American
Ingredients
- 1 large bag (10–12 oz) sturdy restaurant-style tortilla chips
- 1 teaspoon cumin
- 1 teaspoon smoked paprika
- 1/2 teaspoon garlic powder
- 1.5 cups sharp cheddar cheese, shredded
- 1 cup mozzarella cheese, shredded
- 1/2 cup canned jalapeños, sliced and drained
- 1 can (15 oz) black beans, rinsed and drained
- 1/2 cup black olives, sliced
- 2 stalks green onions, thinly sliced
- 1/2 cup sour cream (for serving)
- Small handful fresh cilantro, chopped
Instructions
- Preheat oven to 400°F (200°C).
- Arrange tortilla chips in a single layer on a large rimmed baking sheet.
- Sprinkle cumin, smoked paprika, and garlic powder evenly over the chips and toss gently to coat.
- Sprinkle shredded cheddar and mozzarella cheese evenly over the chips.
- Distribute drained black beans, sliced jalapeños, and black olives over the cheese layer.
- Bake for 8-10 minutes until cheese is bubbling and slightly golden.
- Remove from oven and let rest for 2-3 minutes to allow cheese to set.
- Garnish with green onions and cilantro.
- Serve immediately with sour cream on the side.
Notes
Ensure all wet ingredients like beans and jalapeños are thoroughly drained to maintain crispiness. Do not overcrowd the pan; use two pans if necessary to keep chips in a single layer. Letting the nachos rest for a few minutes after baking helps the cheese set for easier handling.
Nutrition
- Serving Size: Approximately 1/6 of
- Calories: 450
- Sugar: 2
- Sodium: 650
- Fat: 28
- Saturated Fat: 12
- Carbohydrates: 35
- Fiber: 5
- Protein: 15
Keywords: nachos, football snacks, game day food, crispy nachos, one pan recipe, easy appetizer, party food, cheddar cheese, jalapeño nachos


