The second commercial break hit and three people asked me for the recipe. I wasn’t even done eating yet. My cousin had her phone out, typing notes as I described the baking powder trick. My uncle just pointed at the empty platter and raised his eyebrows — that was his way of asking for more. I had to laugh because honestly, I almost brought store-bought wings. You know those days when you’re running late for a party and think, “They won’t notice the difference”? I’m glad I didn’t give in to that thought.
It started because I was tired of greasy, sad baked wings. You know the ones — they come out of the oven looking pale and steamed, not crispy. I spent a solid month testing batches on random Tuesday nights. My neighbors probably thought I was running a wing operation out of my apartment. But eventually, I cracked it. The secret isn’t fancy equipment or deep frying. It’s a simple technique that gives you that crackling skin without the mess of hot oil.
These crispy baked chicken wings for football Sunday changed how I watch the game. They’re the kind of snack that keeps people hovering around the kitchen island instead of sitting on the couch. And honestly, that’s my favorite kind of recipe — one that brings people together, even during a timeout.
Why You’ll Love This Recipe
I’ve tested this recipe more times than I care to admit. Some batches were disasters — soggy skin, bland meat, you name it. But this version? It’s the one I keep coming back to. Here’s why it works:
- No Deep Frying Required: You get that shatteringly crispy skin without the mess, smell, or danger of hot oil. Your kitchen stays clean and your arms stay un-splattered.
- Simple Pantry Ingredients: You probably have everything already. No weird specialty items or obscure spices. Just good, honest ingredients that do the job.
- Perfect for Game Day: These wings hold up beautifully during a four-hour game. They stay crispy even after sitting out, which is rare for baked wings.
- Crowd-Pleaser Status: I’ve served these at parties, potlucks, and quiet dinners. They disappear every single time. Even the people who swear they don’t like baked wings change their minds.
- Customizable Heat Level: You control the spice. Make them mild for the kids or crank up the heat for the brave souls in the group.
What makes these wings different from every other baked wing recipe? It’s the technique. Most recipes skip the crucial step of drying the skin properly. I use a combination of air-drying and a secret ingredient — baking powder — that creates the perfect crispy exterior. This isn’t just another version of baked wings. It’s the version that finally works.
There’s something special about biting into a wing that cracks when you bite it. The sound alone tells you it’s going to be good. These wings deliver that experience every single time, and they do it without a deep fryer.
What Ingredients You Will Need
This recipe uses simple, honest ingredients to create wings that taste like they came from your favorite sports bar. Nothing fancy here — just smart choices that make a big difference.
- Chicken Wings (3 pounds): Look for party wings if possible — they’re already separated into flats and drums. If you buy whole wings, you’ll need to cut them yourself at the joints. Save the wing tips for making stock later. I prefer buying fresh over frozen for the best texture, but thawed frozen wings work fine too.
- Baking Powder (2 teaspoons): This is the secret weapon. Not baking soda — baking powder. It raises the pH of the skin and helps it brown and crisp up beautifully. Make sure it’s aluminum-free to avoid any metallic aftertaste.
- Cornstarch (1 tablespoon): This adds an extra layer of crunch. It absorbs moisture from the skin and creates that shatteringly crisp exterior. You can skip it in a pinch, but don’t — it makes a real difference.
- Salt (1.5 teaspoons): I use kosher salt for its clean flavor and easy handling. Table salt works too, but reduce the amount slightly since it’s more concentrated.
- Black Pepper (1 teaspoon): Freshly ground is best. It adds a subtle warmth that complements the chicken without overpowering it.
- Garlic Powder (1 teaspoon): Not garlic salt. Garlic powder distributes evenly and adds savory depth without the moisture that fresh garlic would bring.
- Paprika (1 teaspoon): Use sweet paprika for color and mild flavor. Smoked paprika works beautifully if you want a deeper, smokier taste.
- Cayenne Pepper (½ teaspoon): Adjust this based on your heat tolerance. Leave it out for mild wings or double it for serious spice lovers.
- Neutral Oil (2 tablespoons): Avocado oil or grapeseed oil works best. They have high smoke points and neutral flavors. Olive oil can work but keep the oven temperature lower to avoid burning.
For the sauce, you have options. A classic buffalo sauce needs just hot sauce and melted butter. I like Frank’s RedHot for that tangy, vinegary kick. Mix ½ cup hot sauce with ¼ cup melted butter and you’re golden.
Equipment Needed
You don’t need much for this recipe, which is part of the beauty. Here’s what you’ll need:
- Baking Sheet: A rimmed baking sheet is essential. The rim catches any drips and prevents a mess in your oven. I use a half-sheet pan — it’s the perfect size for 3 pounds of wings.
- Wire Rack: This is non-negotiable. A wire rack set inside the baking sheet allows air to circulate all around the wings. No rack means soggy bottoms. If you don’t have one, you can flip the wings halfway through, but the results won’t be as good.
- Paper Towels: You’ll need these for drying the wings thoroughly. Pat them dry until they feel tacky to the touch. This step is crucial.
- Large Mixing Bowl: For tossing the wings with the seasoning mixture. A glass or stainless steel bowl works well — plastic can retain odors.
- Tongs: For flipping the wings halfway through baking. Silicone-tipped tongs won’t scratch your baking sheet.
- Small Bowl: For mixing the sauce ingredients while the wings bake.
If you don’t have a wire rack, you can use a broiler pan or even a cooling rack that’s oven-safe. Just make sure whatever you use can handle 425°F heat. I’ve ruined a few cheap racks by forgetting to check the temperature rating — learn from my mistakes.
Preparation Method
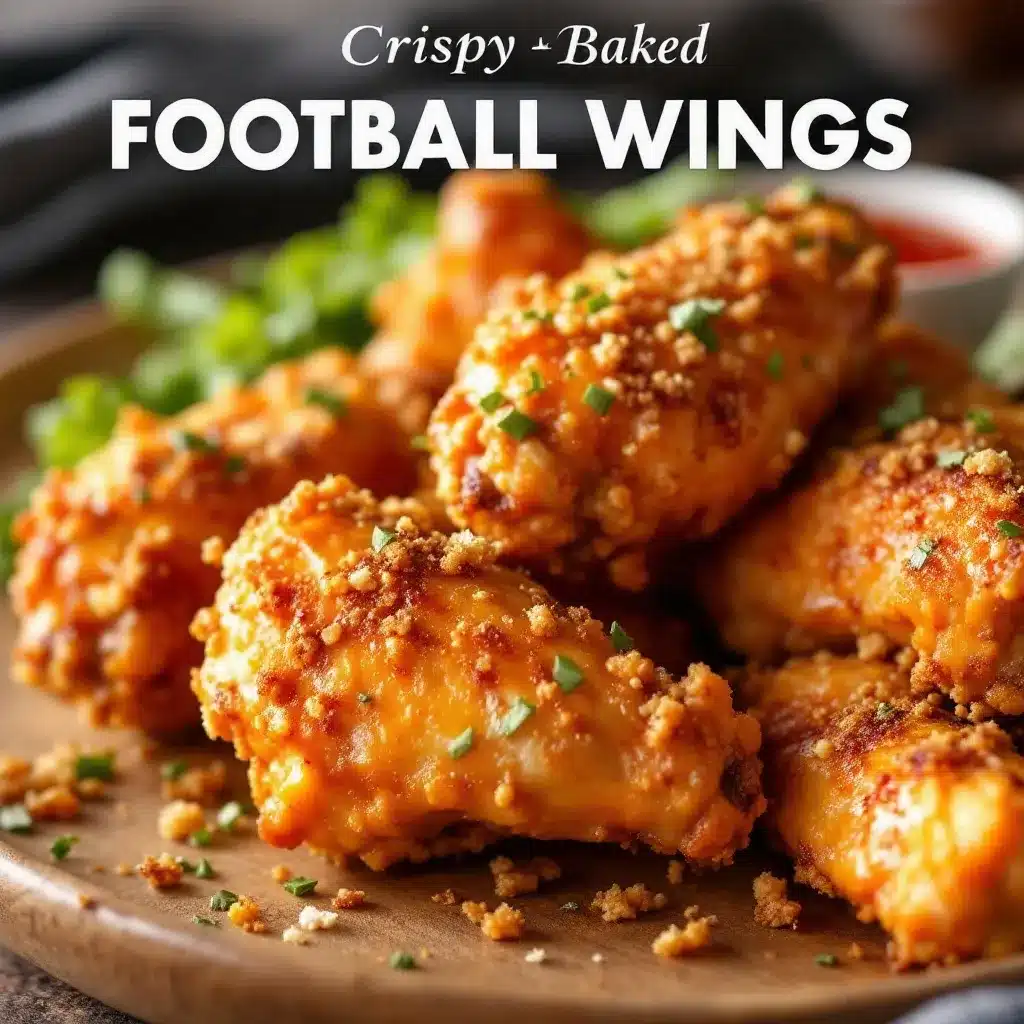
Let’s get these wings crispy. Follow these steps carefully and you’ll have the best baked wings of your life.
- Prep the Wings (10 minutes): Start by patting the wings completely dry with paper towels. This is the most important step. Wet skin won’t crisp up. If you have time, leave the wings uncovered in the fridge for 2-4 hours to air-dry. This step is optional but highly recommended for maximum crispiness.
- Mix the Dry Ingredients: In a small bowl, combine the baking powder, cornstarch, salt, pepper, garlic powder, paprika, and cayenne. Whisk until evenly distributed. The baking powder should be clump-free — break up any lumps with your fingers.
- Season the Wings: Place the dried wings in a large mixing bowl. Sprinkle the seasoning mixture over them and toss with your hands until every wing is evenly coated. Don’t be shy — really work it into the skin. The mixture should look like a dry rub, not a paste.
- Rest the Wings (optional but recommended): Let the seasoned wings sit at room temperature for 15-20 minutes. This allows the salt to penetrate the meat and the baking powder to start working its magic. If you’re in a rush, you can skip this step.
- Preheat the Oven: Set your oven to 425°F (220°C). Place the oven rack in the upper third position — this helps the wings brown evenly. Give the oven a full 20 minutes to reach temperature.
- Arrange on the Rack: Place a wire rack inside your rimmed baking sheet. Arrange the wings in a single layer with space between each piece. Crowding the pan will steam the wings instead of crisping them. If necessary, use two baking sheets.
- Bake for 30 Minutes: Place the baking sheet in the preheated oven. Bake for 30 minutes without opening the door. The wings will start to brown and the fat will render out.
- Flip and Rotate: After 30 minutes, remove the baking sheet from the oven. Use tongs to flip each wing over. Rotate the baking sheet front to back for even cooking. Return to the oven.
- Bake for Another 15-20 Minutes: Continue baking until the wings are deep golden brown and the skin is crispy. The internal temperature should reach 165°F (74°C) when checked with a meat thermometer. For extra-crispy wings, broil for 2-3 minutes at the end — watch carefully so they don’t burn.
- Make the Sauce: While the wings bake, prepare your sauce. For classic buffalo, melt ¼ cup butter and whisk in ½ cup hot sauce. Keep it warm on low heat. For a dry rub finish, skip the sauce entirely — these wings are flavorful enough on their own.
- Toss and Serve: Transfer the hot wings to a large bowl. Pour the sauce over them and toss until evenly coated. Serve immediately with celery sticks, carrot sticks, and your favorite dipping sauce. Blue cheese or ranch — the debate continues.
One thing I learned the hard way: don’t toss the wings in sauce until right before serving. If you sauce them too early, the skin will soften. Keep the sauce warm on the stove and toss in batches as needed.
Cooking Tips & Techniques
After countless batches of trial and error, here are the tips that make the biggest difference:
The Drying Secret: I cannot stress this enough — dry those wings thoroughly. I use paper towels and actually press them into the skin to absorb as much moisture as possible. If I have time, I leave them uncovered in the fridge overnight. The fridge air dries the skin even further, which means crispier results.
Baking Powder vs. Baking Soda: This is a common mix-up. Baking powder is what you want. Baking soda will leave a metallic taste on your wings. Trust me, I made that mistake once and the whole batch went in the trash. Check your labels carefully.
Don’t Skip the Cornstarch: The cornstarch creates a thin, crispy coating that holds the seasoning. Without it, the baking powder can leave a slightly chalky texture. The combination of both gives you that shatteringly crisp exterior.
Temperature Consistency: Let your oven fully preheat before adding the wings. Opening the door too early drops the temperature and affects crispiness. If your oven runs hot or cold, use an oven thermometer to check. Mine runs 25°F hot, so I set it to 400°F instead of 425°F.
The Broiler Trick: For extra-crispy skin, finish the wings under the broiler for 2-3 minutes. Watch them like a hawk — broilers can go from perfect to burnt in seconds. I’ve ruined more than one batch by walking away “just for a second.”
Batch Size Matters: Don’t overcrowd the pan. If you’re making wings for a crowd, use multiple baking sheets or cook in batches. Crowded wings steam instead of crisp. I learned this when I tried to cram 5 pounds of wings onto one sheet. The result was sad, soggy wings that nobody wanted to eat.
Variations & Adaptations
One of the best things about this recipe is how adaptable it is. Here are some of my favorite variations:
Buffalo Wing Variation: Toss the baked wings in classic buffalo sauce made with hot sauce and melted butter. Add a tablespoon of honey for a sweet-heat combo that’s absolutely addictive. I serve these with blue cheese dressing and celery sticks for the full experience.
Honey Garlic Variation: Mix ¼ cup honey, 2 tablespoons soy sauce, 2 cloves minced garlic, and a splash of rice vinegar. Toss the wings in this mixture after baking. The sweetness caramelizes beautifully and the garlic adds savory depth. This is my go-to when I want something different from buffalo.
Lemon Pepper Variation: Skip the cayenne and add 1 tablespoon lemon zest and 1 teaspoon dried lemon pepper seasoning to the dry rub. Finish with fresh lemon juice and extra black pepper. It’s bright, tangy, and perfect for people who don’t like spicy food.
Air Fryer Adaptation: If you have an air fryer, this recipe works beautifully. Cook at 380°F for 12-15 minutes, shaking the basket halfway through. The air fryer circulates heat even more efficiently than the oven, giving you incredibly crispy wings in less time. I’ve made my crispy air fryer honey garlic chicken wings using this same technique and they turn out perfect every time.
Dry Rub Finish: For a no-sauce option, increase the dry rub ingredients and skip the sauce entirely. The wings are flavorful enough to stand alone. I sometimes add smoked paprika and cumin for a barbecue-inspired dry rub that’s incredible.
Spicy Korean Gochujang: Mix 3 tablespoons gochujang paste, 2 tablespoons honey, 1 tablespoon soy sauce, and 1 teaspoon sesame oil. Toss the baked wings in this sauce and garnish with sesame seeds and green onions. It’s a flavor bomb that will surprise your guests.
Serving & Storage Suggestions
These wings are best served hot and fresh from the oven, but they hold up surprisingly well. Here’s how to serve and store them:
Serving Temperature: Serve the wings immediately after tossing in sauce. The skin is at its crispiest right out of the oven. If you’re serving at a party, keep them warm in a low oven (200°F) on the wire rack — this prevents them from steaming in the sauce.
Presentation Ideas: Arrange the wings on a large platter lined with parchment paper or a paper towel to absorb excess oil. Add celery sticks, carrot sticks, and small bowls of ranch and blue cheese dressing. For game day, serve them alongside spinach artichoke dip in a football bread bowl and football cheese ball with pretzel laces for the ultimate spread.
Complementary Dishes: These wings pair perfectly with loaded sheet pan nachos with beef and queso and creamy buffalo chicken dip in a bread bowl. For a complete game day menu, add slow cooker pulled pork sliders and crockpot chili with crunchy cornbread croutons.
Refrigerator Storage: Store leftover wings in an airtight container in the refrigerator for up to 4 days. Keep the sauce separate if possible — the wings stay crispier that way. If they’re already sauced, they’ll soften but still taste great.
Freezer Storage: You can freeze baked wings for up to 3 months. Let them cool completely, then place them in a single layer on a baking sheet and freeze until solid. Transfer to a freezer bag, removing as much air as possible. To reheat, bake directly from frozen at 375°F for 15-20 minutes.
Reheating Tips: The best way to reheat wings is in the oven or air fryer. Microwave reheating makes the skin soggy. Place the wings on a wire rack over a baking sheet and reheat at 375°F for 10-12 minutes. For air fryer reheating, cook at 350°F for 5-7 minutes. The wings come out almost as crispy as the first time.
Nutritional Information & Benefits
Here’s the nutritional breakdown for a serving of 4-5 wings (without sauce):
- Calories: 320-380
- Protein: 28-32g
- Fat: 22-26g
- Carbohydrates: 2-4g
- Fiber: 0g
- Sugar: 0g
- Sodium: 600-800mg (varies with seasoning)
Chicken wings are a good source of high-quality protein, which supports muscle health and keeps you feeling full. The skin contains collagen, which is beneficial for joint health and skin elasticity. Baking instead of frying significantly reduces the fat content — these wings have about 40% less fat than their deep-fried counterparts.
This recipe is naturally gluten-free, keto-friendly, and low-carb. The baking powder and cornstarch are the only potential concerns for strict keto dieters — use arrowroot powder instead of cornstarch if needed. For a dairy-free option, use a dairy-free butter substitute in the sauce.
I like to balance out the indulgence of game day with plenty of fresh vegetables on the side. Celery and carrot sticks add crunch, fiber, and vitamins without adding many calories. It’s all about balance, right?
Conclusion
These crispy baked chicken wings for football Sunday have become a tradition in my house. They’re the recipe I turn to when I want to impress without stress, feed a crowd without frying, and enjoy the game without missing a single play. The crackling skin, the juicy meat, the way they disappear before halftime — that’s what keeps me coming back to this recipe.
I hope you give these wings a try for your next game day gathering. Customize the heat level, try different sauces, and make them your own. That’s the beauty of a good base recipe — it’s a starting point for your own kitchen adventures.
When you make them, I’d love to hear how they turned out. Drop a comment below and let me know your favorite wing sauce combination. Did you go classic buffalo? Honey garlic? Something totally unexpected? Share your wins (and your learning moments) — we’re all in this kitchen together.
Now go enjoy those wings. The game’s about to start!
Frequently Asked Questions
Can I use frozen wings for this recipe?
Yes, but thaw them completely in the refrigerator first. Frozen wings release a lot of moisture as they thaw, so pat them extra dry before seasoning. I recommend fresh wings for the best texture, but thawed frozen wings work in a pinch.
Why are my wings not crispy?
The most common reasons are insufficient drying, overcrowding the pan, or not using enough baking powder. Make sure your wings are thoroughly dried, arranged in a single layer with space between them, and coated evenly with the baking powder mixture. Also, check your oven temperature — it needs to be hot enough to render the fat and crisp the skin.
Can I make these wings ahead of time?
You can season the wings up to 24 hours in advance and keep them uncovered in the refrigerator. This actually improves the texture by drying the skin further. Bake them fresh on game day for the best results. If you need to reheat, use the oven or air fryer to restore crispiness.
What’s the best sauce for these wings?
Classic buffalo sauce is always a winner — mix ½ cup hot sauce with ¼ cup melted butter. But don’t stop there. Honey garlic, lemon pepper, barbecue, and Korean gochujang are all fantastic options. I often make two or three different sauces so guests can choose their favorite.
How do I know when the wings are fully cooked?
Use a meat thermometer to check the internal temperature. The wings are done when they reach 165°F (74°C) at the thickest part, away from the bone. You can also check by cutting into a wing — the meat should be white and opaque, not pink. The skin should be golden brown and crispy to the touch.
Pin This Recipe!
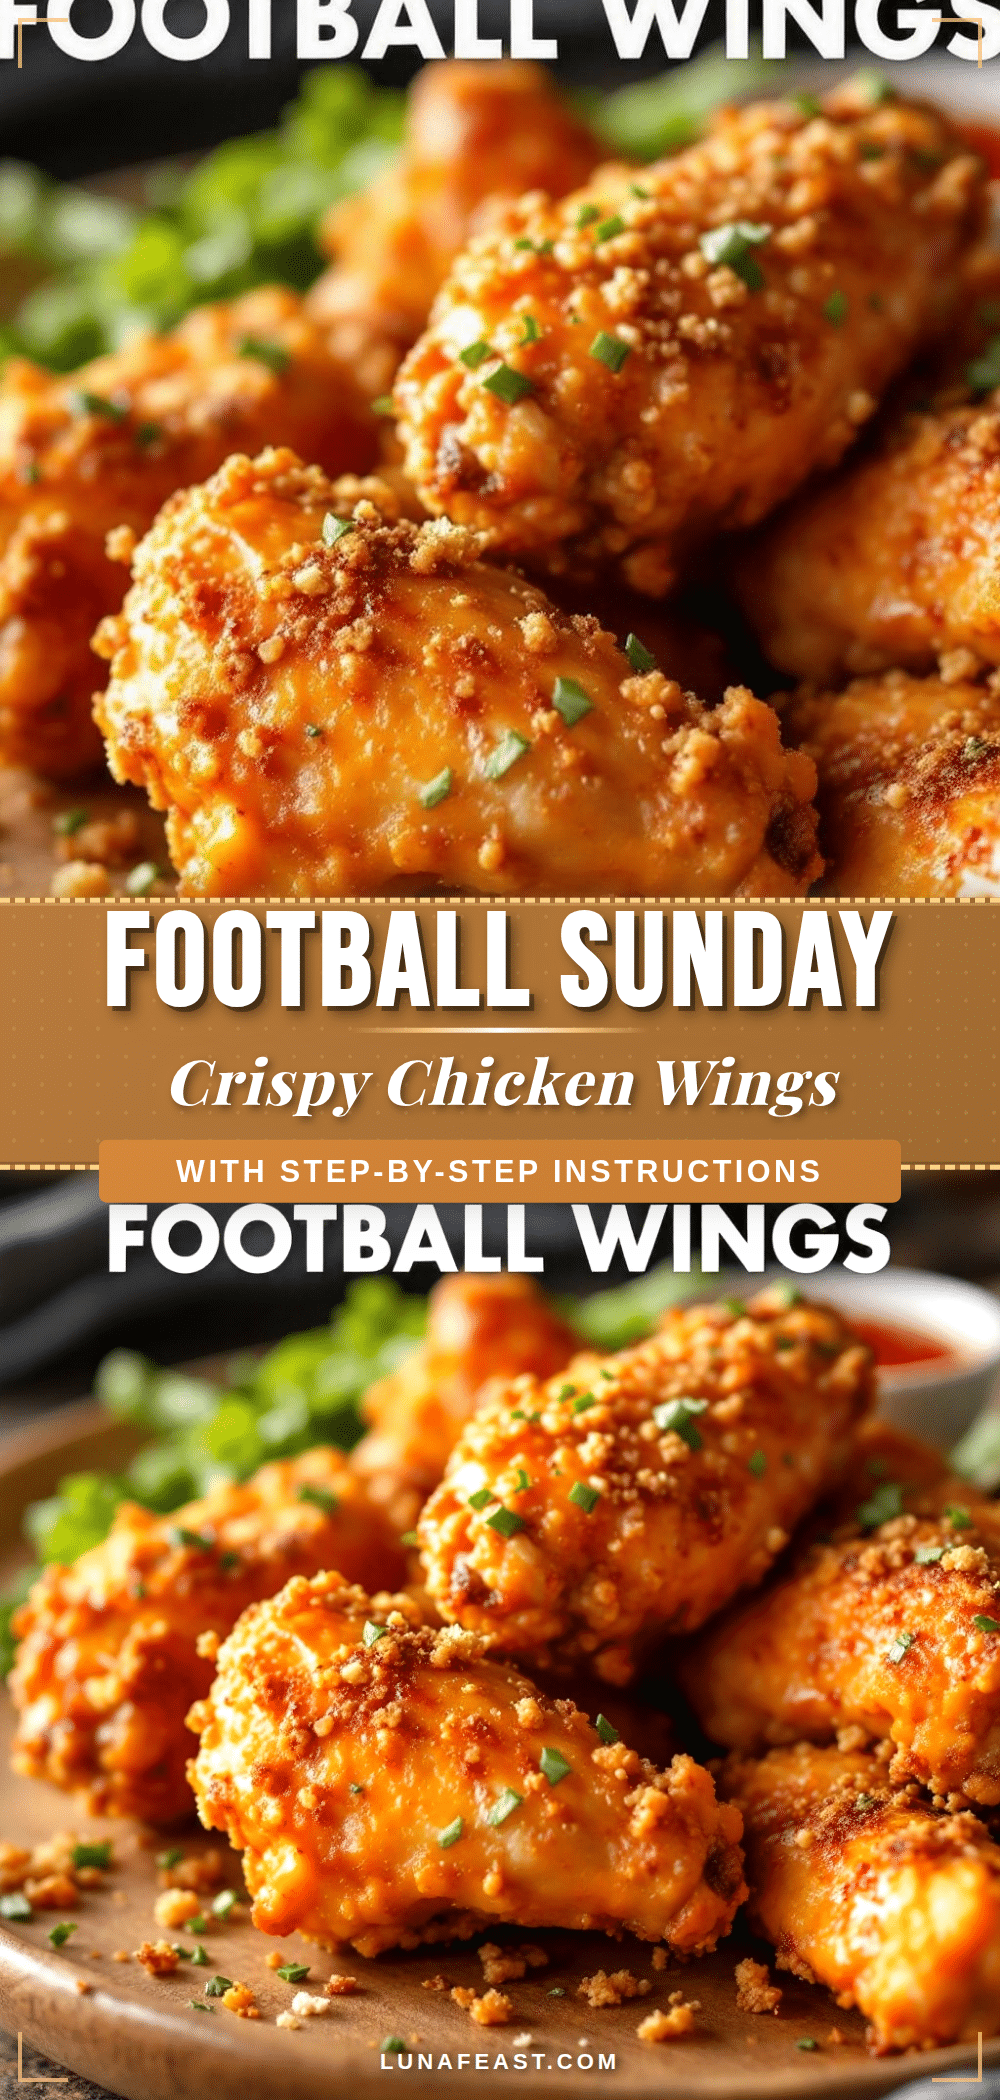
Crispy Baked Chicken Wings for Football Sunday

These crispy baked chicken wings use a simple baking powder trick to achieve shatteringly crispy skin without deep frying. Perfect for game day, they stay crispy even after sitting out and are customizable with your favorite sauces.
- Prep Time: 15 minutes
- Cook Time: 45 minutes
- Total Time: 1 hour
- Yield: 4 servings 1x
- Category: Appetizer
- Cuisine: American
Ingredients
- 3 pounds chicken wings (party wings preferred)
- 2 teaspoons baking powder (aluminum-free)
- 1 tablespoon cornstarch
- 1.5 teaspoons kosher salt
- 1 teaspoon freshly ground black pepper
- 1 teaspoon garlic powder
- 1 teaspoon paprika (sweet or smoked)
- ½ teaspoon cayenne pepper (adjust to taste)
- 2 tablespoons neutral oil (avocado or grapeseed)
- ½ cup hot sauce (e.g., Frank’s RedHot)
- ¼ cup unsalted butter, melted
Instructions
- Prep the Wings (10 minutes): Pat the wings completely dry with paper towels. For maximum crispiness, leave them uncovered in the fridge for 2-4 hours to air-dry.
- Mix the Dry Ingredients: In a small bowl, combine baking powder, cornstarch, salt, pepper, garlic powder, paprika, and cayenne. Whisk until evenly distributed, breaking up any lumps.
- Season the Wings: Place dried wings in a large mixing bowl. Sprinkle seasoning mixture over them and toss with your hands until every wing is evenly coated.
- Rest the Wings (optional but recommended): Let seasoned wings sit at room temperature for 15-20 minutes.
- Preheat the Oven: Set oven to 425°F (220°C). Place oven rack in the upper third position. Allow 20 minutes for full preheating.
- Arrange on the Rack: Place a wire rack inside a rimmed baking sheet. Arrange wings in a single layer with space between each piece.
- Bake for 30 Minutes: Place baking sheet in preheated oven. Bake for 30 minutes without opening the door.
- Flip and Rotate: After 30 minutes, remove baking sheet. Use tongs to flip each wing. Rotate the baking sheet front to back.
- Bake for Another 15-20 Minutes: Continue baking until deep golden brown and crispy. Internal temperature should reach 165°F (74°C). For extra-crispy wings, broil for 2-3 minutes at the end.
- Make the Sauce: While wings bake, melt ¼ cup butter and whisk in ½ cup hot sauce. Keep warm on low heat.
- Toss and Serve: Transfer hot wings to a large bowl. Pour sauce over them and toss until evenly coated. Serve immediately with celery and carrot sticks.
Notes
Dry wings thoroughly for best crispiness. Do not skip the cornstarch. Use aluminum-free baking powder to avoid metallic taste. Do not overcrowd the pan. For extra-crispy skin, finish under broiler for 2-3 minutes. Toss wings in sauce just before serving to keep skin crispy.
Nutrition
- Serving Size: 4-5 wings
- Calories: 350
- Sodium: 700
- Fat: 24
- Saturated Fat: 8
- Carbohydrates: 3
- Protein: 30
Keywords: crispy baked chicken wings, game day wings, football Sunday wings, baked wings, buffalo wings, chicken wings recipe, easy wings


