My husband did not trust chicken wings in an air fryer. He said it out loud, standing in the kitchen doorway, watching me pat a dozen flats and drumettes dry with paper towels. “They’re never going to be crispy,” he said. “Not like real fried wings.” And honestly? I got it. Air fryers have a lot to prove when it comes to wings. We’ve all been there—biting into a wing that promised crunch but delivered sad, rubbery skin. So I didn’t argue. I just kept drying those wings and mixing up a honey garlic glaze that smelled like the kind of thing you’d fight over at a tailgate.
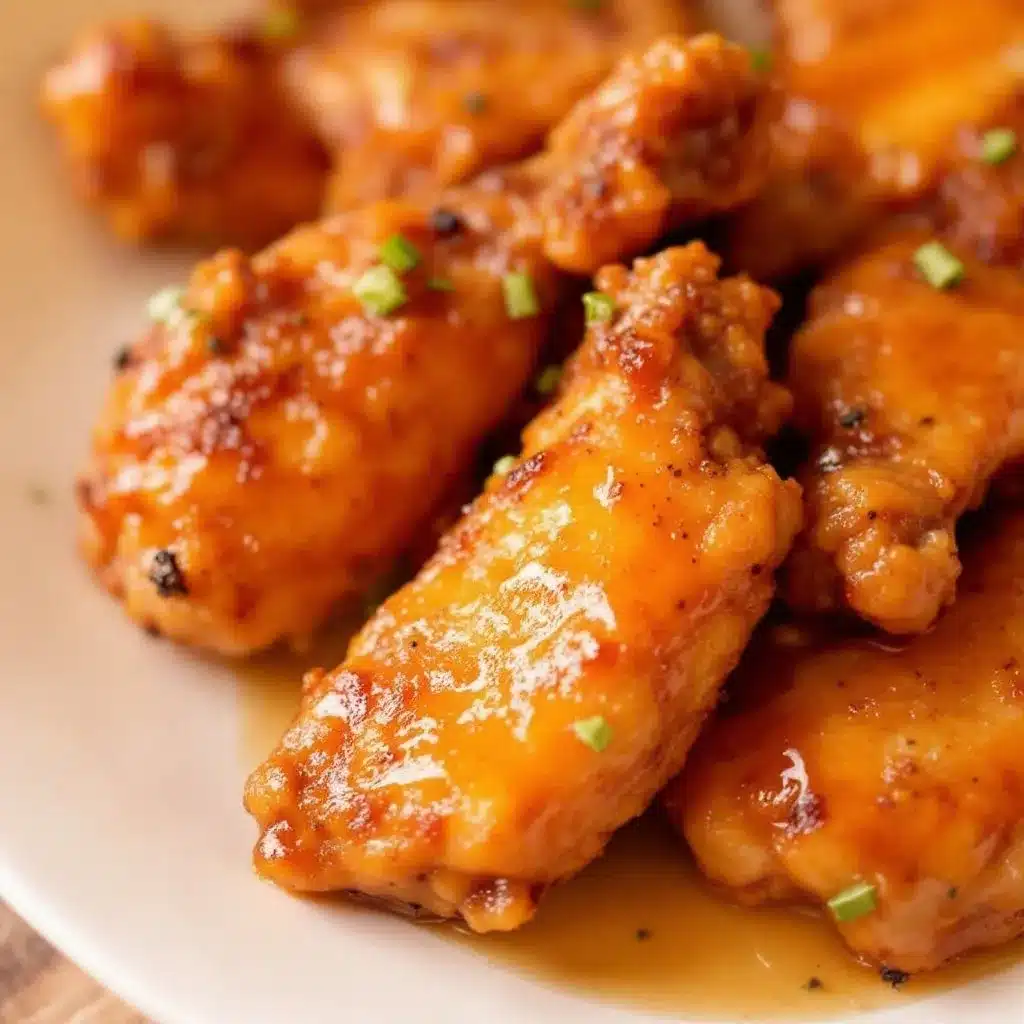
Thirty minutes later, he was standing at the counter, sauce on his chin, reaching for another one. “Okay,” he said. “These are actually good.” That’s the thing about this recipe. It doesn’t need a big sales pitch. It just needs to land on a plate and prove itself. These crispy air fryer honey garlic chicken wings come out with skin so shatteringly crisp you’d swear they were deep-fried, but they’re not. They’re tossed in a sticky-sweet honey garlic glaze that coats every ridge and crevice without making the skin soggy. That’s the trick—glazing at the right moment, not a second too soon.
I’ve made a lot of wings in my day. Baked wings that took forever and still came out flabby. Fried wings that were amazing but left my kitchen smelling like a diner for three days. These air fryer wings hit the sweet spot. They’re fast—25 minutes from fridge to table—and they deliver that perfect contrast of crunchy skin and saucy, caramelized coating. This isn’t a recipe that needs a lot of fussing. It’s the kind of thing you make on a Tuesday when you’re craving something satisfying, or for game day when you want to impress without breaking a sweat. Trust me on this one. Even the skeptics come around.
Why You’ll Love This Recipe
Let me tell you why these wings have earned a permanent spot in my weekly rotation. I’ve tested this recipe more times than I care to count, tweaking the temperature, the timing, the amount of cornstarch. What I landed on is the version that works every single time, no matter what air fryer you’re using.
- Quick & Easy : From start to finish, you’re looking at about 25 minutes. No marinating overnight, no complicated steps. Just pat, season, air fry, glaze, and eat.
- Simple Ingredients : You probably have most of this in your kitchen right now. Chicken wings, a few pantry spices, honey, soy sauce, garlic. That’s it. No fancy trips to a specialty store.
- Perfect for Game Day or Weeknight Cravings : These wings work for a crowd or just for you. They’re the kind of thing you whip up when you want something indulgent but don’t want to spend an hour in the kitchen.
- Crowd-Pleaser : I’ve served these to picky kids, wing snobs, and people who “don’t really like chicken wings.” Every single plate came back empty. The honey garlic combo is universally loved—sweet, savory, sticky, and impossible to resist.
- Unbelievably Crispy Without Deep Frying : This is the part that gets people. The skin gets genuinely crunchy, thanks to a little cornstarch and the right air fryer technique. No oil bath required.
What makes this recipe different from all the other honey garlic wing recipes out there? It’s the method. Most recipes tell you to toss the wings in sauce right out of the air fryer, which turns that beautiful crispy skin into a sad, wet mess. I figured out a better way. You glaze the wings, then pop them back in the air fryer for just a couple of minutes. That extra step caramelizes the sauce onto the skin, locking in the crunch while the glaze sets. It’s a small thing, but it makes all the difference.
There’s something about biting into one of these wings that just feels right. The crackle of the skin, the burst of sweet and savory, the little kick of garlic. It’s comfort food that doesn’t weigh you down. And honestly? It’s the kind of recipe that makes you feel like a kitchen hero without actually doing that much work.
What Ingredients You Will Need
This recipe keeps things simple. You don’t need a long list of obscure ingredients to make wings that taste this good. Here’s what you’ll need and why each one matters.
For the Wings
- 2 pounds chicken wings (about 12-14 wings, separated into flats and drumettes) — Look for fresh wings if you can find them. Frozen works too, just make sure they’re fully thawed and patted very dry. I usually buy a family pack and separate them myself. It’s cheaper and you get more consistent pieces.
- 1 tablespoon cornstarch — This is the secret to crispy skin. It helps draw out moisture and creates that shatteringly crunchy exterior. Don’t skip it. I’ve tried swapping in arrowroot powder and it worked okay, but cornstarch gives the best results.
- 1 teaspoon baking powder (aluminum-free) — Another crispiness booster. Baking powder raises the pH of the skin, which helps it brown and crisp up faster. Make sure it’s aluminum-free or you’ll get a metallic taste.
- 1 teaspoon garlic powder — Not the same as fresh garlic. Garlic powder adds a subtle background flavor that complements the glaze without overpowering it.
- 1 teaspoon onion powder — Adds depth. You won’t taste it directly, but you’d notice if it were missing.
- 1/2 teaspoon salt — I use fine sea salt. It distributes more evenly than kosher salt for this application.
- 1/4 teaspoon black pepper — Freshly ground if you have it.
For the Honey Garlic Glaze
- 1/3 cup honey — Use a good quality honey. The flavor really comes through. I like a mild wildflower honey, but clover works great too.
- 3 tablespoons soy sauce (low sodium) — Regular soy sauce works, but low sodium gives you more control over the salt level. Tamari or coconut aminos are great substitutes if you’re gluten-free.
- 4 cloves garlic, minced — Fresh garlic is non-negotiable here. The pre-minced stuff in a jar just doesn’t have the same punch. Take the extra 30 seconds to mince fresh cloves.
- 1 tablespoon rice vinegar — This brightens up the glaze and cuts through the sweetness. Apple cider vinegar works in a pinch.
- 1 teaspoon sesame oil (optional) — Adds a lovely nutty flavor. Leave it out if you don’t have it, but it really rounds out the glaze.
- 1/2 teaspoon red pepper flakes (optional) — For a little heat. I add this about half the time, depending on my mood.
A quick note on ingredient sourcing: I’ve tried this recipe with different brands of soy sauce and honey, and the flavor does shift slightly. For the soy sauce, I prefer Kikkoman for its balanced flavor. For honey, local honey is always my first choice—it’s usually less processed and has more complex flavor notes. If you’re looking for a similar approach to other weeknight dinners, the easy budget-friendly chicken fried rice on this site follows the same philosophy of simple ingredients delivering big flavor.
Equipment Needed
You don’t need a lot of fancy gear for these wings, but having the right tools makes the process smoother.
- Air fryer — Any basket-style air fryer works. I use a 5.8-quart model, which fits about 2 pounds of wings in a single layer. If yours is smaller, cook in batches. Overcrowding is the enemy of crispiness.
- Large mixing bowl — For tossing the wings with the dry seasoning. A glass or stainless steel bowl works best.
- Paper towels — You’ll go through a lot of these. Patting the wings dry is the most important step for crispy skin.
- Small saucepan — For making the glaze. A 1-quart saucepan is perfect.
- Whisk — For combining the glaze ingredients smoothly.
- Tongs — For flipping the wings halfway through cooking and for tossing them in the glaze. Silicone-tipped tongs won’t scratch your air fryer basket.
- Pastry brush (optional but helpful) — For brushing the glaze onto the wings if you want to be precise. I usually just toss them in a bowl.
- Instant-read thermometer — Not strictly necessary, but helpful if you’re nervous about undercooking. Chicken wings are done at 165°F internal temperature, but I usually pull them at 175°F for better texture.
If you don’t have an air fryer, you can bake these wings at 425°F for about 40-45 minutes, flipping halfway. They won’t be quite as crispy, but they’ll still be good. I’ve also made these on a grill over indirect heat, and that works beautifully too.
Preparation Method
Let’s get cooking. I’ll walk you through every step so you get perfect wings on your first try.
Step 1: Prep the Wings
Start by patting the chicken wings completely dry with paper towels. This is not a step to rush. Wet skin steams instead of crisping, and nobody wants steamed wings. I go through at least 5-6 paper towels for 2 pounds of wings. If you have time, let the wings sit uncovered in the fridge for 30 minutes after drying. That extra air-drying time makes a noticeable difference in crispiness.
If your wings aren’t already separated, cut them at the joint. You’ll get a flat and a drumette from each wing. Discard the wing tips or save them for stock. I keep a bag in the freezer and make stock when it’s full.
Step 2: Season the Wings
In a large mixing bowl, combine the cornstarch, baking powder, garlic powder, onion powder, salt, and pepper. Whisk them together so the cornstarch and baking powder are evenly distributed. Add the dried wings to the bowl and toss until every piece is coated. I use my hands for this—it’s faster and you can feel if any spots are missed.
The coating should look dusty and dry, not pasty. If it looks wet, you didn’t dry the wings enough. That’s okay, just add another teaspoon of cornstarch and toss again.
Step 3: Air Fry the Wings
Preheat your air fryer to 400°F for 3-5 minutes. Arrange the wings in a single layer in the basket. Don’t overcrowd—leave a little space between each wing for air to circulate. If you need to cook in batches, do it. Crowded wings steam instead of crisping.
Cook at 400°F for 12 minutes. Flip the wings with tongs, then cook for another 10-12 minutes. The total time depends on your air fryer and the size of your wings. Start checking at the 20-minute mark. You’re looking for deep golden brown skin that looks crispy and slightly puffed. The internal temperature should be at least 165°F, but I prefer 175°F for wings—the higher temp renders more fat and gives you better texture.
While the wings cook, make the glaze.
Step 4: Make the Honey Garlic Glaze
In a small saucepan, combine the honey, soy sauce, minced garlic, rice vinegar, sesame oil (if using), and red pepper flakes (if using). Place over medium heat and whisk everything together. Bring it to a gentle simmer, then reduce the heat to low. Let it bubble away for 3-4 minutes, stirring occasionally, until it thickens slightly. You’ll know it’s ready when it coats the back of a spoon and leaves a clear trail when you run your finger through it.
Remove from heat and set aside. The glaze will continue to thicken as it cools, so don’t overcook it. If it gets too thick, whisk in a teaspoon of warm water.
Step 5: Glaze and Finish
When the wings are done, transfer them to a clean bowl. Pour about half the glaze over the wings and toss gently with tongs until every piece is coated. Here’s the key: don’t stop there. Return the glazed wings to the air fryer basket in a single layer and cook at 400°F for another 2-3 minutes. This caramelizes the glaze onto the skin, locking in that crunch.
Remove the wings from the air fryer and brush or drizzle with the remaining glaze. I like to save a little extra for serving on the side. Let the wings rest for 2-3 minutes before serving. The glaze will set slightly, and the wings will be easier to handle.
Cooking Tips & Techniques
I’ve made a lot of mistakes with wings so you don’t have to. Here’s what I’ve learned.
Don’t skip the drying step. This is the number one mistake people make. Even a little moisture on the skin will prevent it from crisping. I pat each wing individually, and I change paper towels halfway through. It feels excessive, but it works.
Cornstarch and baking powder are non-negotiable. I tried making these wings without them once, thinking the air fryer would do all the work. Nope. The skin was edible but not crispy. These two ingredients are what give you that deep-fried texture without the oil.
Watch your air fryer. Every air fryer runs a little differently. My first batch of these wings came out burnt on one side because I didn’t flip them soon enough. Now I set a timer for 12 minutes, flip, and check at the 10-minute mark after that. Get to know your machine.
Glaze at the right moment. If you toss the wings in glaze straight out of the air fryer and serve them, the skin will be soggy within minutes. The extra 2-3 minute air fryer blast after glazing is what sets this recipe apart. It caramelizes the sugar in the honey and locks in the crunch.
Batch cooking matters. If you’re making wings for a crowd, keep the cooked wings warm in a 200°F oven while you finish the rest. Don’t pile them in a bowl—spread them on a baking sheet so they stay crispy. I learned this the hard way when I made 4 pounds of wings for a party and they all steamed together in a covered dish. Devastating.
For more air fryer success, check out the crispy air fryer pork chops on this site. The same principles apply—dry the meat, don’t overcrowd, and let the air fryer do its thing.
Variations & Adaptations
One of the best things about this recipe is how easy it is to change up. Here are some variations I’ve tried and loved.
Spicy Honey Garlic Wings — Add an extra teaspoon of red pepper flakes to the glaze, or stir in a tablespoon of sriracha. I like to serve these with a side of ranch or blue cheese dressing to cool things down. My husband requests this version almost every time.
Lemon Honey Garlic Wings — Add the zest of one lemon and a tablespoon of fresh lemon juice to the glaze. The citrus brightens everything up and cuts through the richness. This is my go-to for summer cookouts.
Gluten-Free Version — Use tamari or coconut aminos instead of soy sauce. Everything else is naturally gluten-free. Just double-check your baking powder label—some brands contain wheat starch.
Baked Version — If you don’t have an air fryer, bake these wings at 425°F on a wire rack set over a baking sheet. Bake for 20 minutes, flip, and bake for another 20-25 minutes. Glaze and return to the oven for 5 minutes. The wire rack is important—it lets air circulate under the wings so they crisp up on all sides.
Grilled Version — Cook the wings over indirect heat on a grill at 375-400°F for about 25-30 minutes, flipping halfway. Glaze in the last 5 minutes of cooking. You’ll get a nice smoky flavor that pairs beautifully with the honey garlic.
Keto-Friendly Option — Replace the honey with a sugar-free honey substitute or use a combination of monk fruit sweetener and a little water. The glaze won’t caramelize quite the same way, but it’s still delicious. I’ve also made these with just butter, garlic, and a splash of soy sauce for a low-carb option that’s shockingly good.
If you enjoy experimenting with chicken recipes, the creamy marry me chicken with sun-dried tomatoes is another favorite that’s easy to adapt for different dietary needs.
Serving & Storage Suggestions
These wings are best served hot, straight from the air fryer. But let’s talk about how to serve them and what to do with leftovers.
Serving Temperature and Presentation — Serve the wings on a platter with the extra glaze drizzled on top. Sprinkle with sesame seeds and sliced green onions for a pop of color and freshness. I like to line the platter with parchment paper for easy cleanup—the glaze gets sticky.
What to Serve With Them — These wings pair beautifully with a simple cucumber salad or crunchy coleslaw. The cool, fresh vegetables balance the sticky-sweet glaze. For a heartier meal, serve with steamed rice or crispy roasted potatoes. If you’re making these for game day, set out bowls of ranch dressing, blue cheese dressing, and extra celery and carrot sticks.
Storage Instructions — Leftover wings keep in an airtight container in the refrigerator for up to 4 days. The glaze will soften the skin over time, but they’re still good. I don’t recommend freezing these wings—the texture suffers too much when thawed and reheated.
Reheating Methods — The air fryer is your best friend for reheating. Preheat to 375°F and cook the wings for 3-4 minutes until heated through and crispy again. You can also reheat them in a 400°F oven on a wire rack for about 8-10 minutes. Avoid the microwave—it turns the skin rubbery and the glaze becomes a sticky mess.
How Flavors Develop — Honestly, these wings are best the day they’re made. The glaze is at its peak right after cooking, when it’s sticky and caramelized. That said, the flavors do meld together overnight, and cold wings straight from the fridge make a surprisingly good snack the next day. I won’t judge you.
Nutritional Information & Benefits
Here’s the nutritional breakdown for one serving (about 4-5 wings, based on 4 servings total). Keep in mind these are estimates and will vary based on exact ingredients and portion sizes.
- Calories: 380-420
- Protein: 28g
- Fat: 22g
- Carbohydrates: 24g
- Fiber: 0g
- Sugar: 20g
- Sodium: 780mg
Health Benefits of Key Ingredients — Chicken wings are a good source of protein, which supports muscle health and keeps you feeling full. Garlic has anti-inflammatory properties and may support immune function. Honey provides quick energy and contains antioxidants. That said, this is an indulgent recipe—it’s not health food, and that’s okay.
Dietary Considerations — This recipe is naturally dairy-free and nut-free. For a gluten-free version, swap the soy sauce for tamari or coconut aminos. If you’re watching your sugar intake, you can reduce the honey by half or use a sugar-free substitute, but the glaze won’t caramelize as nicely.
Potential Allergens — Soy (if using traditional soy sauce). Sesame (if using sesame oil). Check your labels if you have specific allergies.
My Personal Take — I believe in balance. These wings are a treat, not an everyday meal. But when you’re craving something satisfying and delicious, they hit the spot without requiring a deep fryer or a gallon of oil. That’s a win in my book.
Conclusion
These crispy air fryer honey garlic chicken wings have become a staple in my kitchen for good reason. They’re fast, they’re foolproof, and they deliver that perfect combination of crunchy skin and sticky-sweet glaze that makes everyone reach for seconds. Whether you’re a seasoned cook or someone who’s still figuring out their air fryer, this recipe is for you.
I love how adaptable these wings are. Add more heat, dial it back, swap the honey for something else—the base recipe is solid enough to handle whatever twist you throw at it. That’s the kind of recipe worth keeping in your back pocket.
So here’s what I want you to do: make these wings. Invite someone over, or don’t. Eat them straight off the platter while they’re still hot and sticky. And then come back and tell me how it went. Did you add extra garlic? Did you double the red pepper flakes? Did your skeptical husband change his mind? I want to hear it all. Drop a comment below or tag me in your photos. Happy cooking, friends.
Frequently Asked Questions
Can I use frozen chicken wings for this recipe?
Yes, but you need to thaw them completely first. Pat them very dry after thawing—frozen wings release a lot of moisture as they defrost. If you try to cook them from frozen, the skin will steam instead of crisp, and you’ll end up with sad, rubbery wings.
Why are my air fryer wings not crispy?
This usually happens for one of three reasons: the wings weren’t dried properly, the basket was overcrowded, or you skipped the cornstarch and baking powder. Check each of these factors next time. Also, make sure your air fryer is preheated—starting with a cold basket won’t give you that initial blast of heat needed for crispiness.
Can I make the glaze ahead of time?
Absolutely. The glaze keeps well in an airtight container in the refrigerator for up to a week. Just warm it gently on the stove or in the microwave before using. If it’s too thick after refrigeration, whisk in a teaspoon of warm water to loosen it up.
How do I prevent the glaze from burning in the air fryer?
The key is timing. Don’t add the glaze until the wings are fully cooked through. Then toss them in the glaze and return them to the air fryer for only 2-3 minutes. Any longer and the sugar in the honey will start to burn. Keep an eye on them—burnt honey has a bitter, unpleasant taste.
Can I use chicken thighs or drumsticks instead of wings?
Yes, but you’ll need to adjust the cooking time. Chicken thighs and drumsticks are thicker than wings, so they’ll need about 5-8 minutes more cooking time. Use an instant-read thermometer to check for doneness—165°F for thighs and drumsticks. The glaze and technique remain the same.
Pin This Recipe!
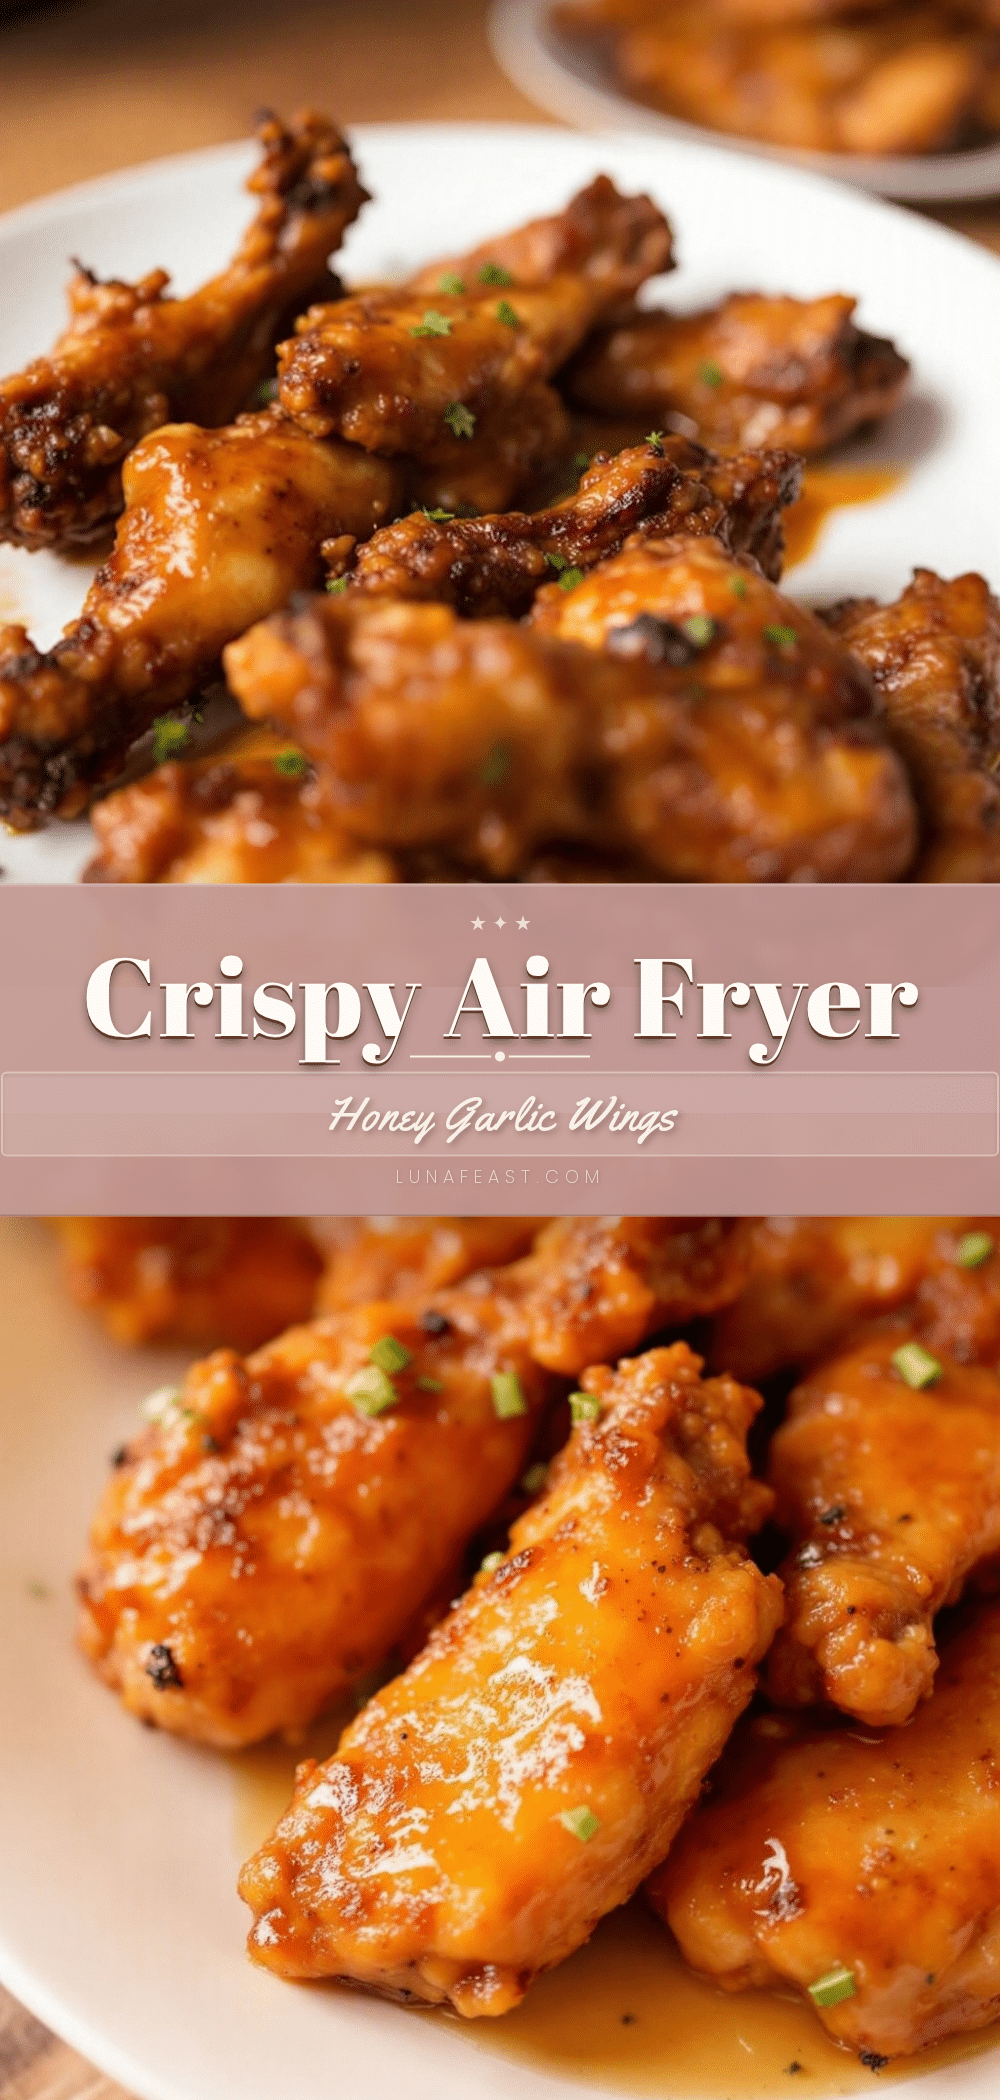
Crispy Air Fryer Honey Garlic Chicken Wings: Easy 25-Min Recipe

These crispy air fryer honey garlic chicken wings come out with shatteringly crisp skin and a sticky-sweet glaze, ready in just 25 minutes. Perfect for game day or a quick weeknight dinner.
- Prep Time: 10 minutes
- Cook Time: 15 minutes
- Total Time: 25 minutes
- Yield: 4 servings 1x
- Category: Appetizer
- Cuisine: American
Ingredients
- 2 pounds chicken wings (about 12–14 wings, separated into flats and drumettes)
- 1 tablespoon cornstarch
- 1 teaspoon baking powder (aluminum-free)
- 1 teaspoon garlic powder
- 1 teaspoon onion powder
- 1/2 teaspoon salt
- 1/4 teaspoon black pepper
- 1/3 cup honey
- 3 tablespoons low sodium soy sauce
- 4 cloves garlic, minced
- 1 tablespoon rice vinegar
- 1 teaspoon sesame oil (optional)
- 1/2 teaspoon red pepper flakes (optional)
Instructions
- Pat the chicken wings completely dry with paper towels. If your wings aren’t separated, cut them at the joint into flats and drumettes.
- In a large mixing bowl, combine cornstarch, baking powder, garlic powder, onion powder, salt, and pepper. Whisk to combine.
- Add the dried wings to the bowl and toss until every piece is evenly coated.
- Preheat your air fryer to 400°F for 3-5 minutes. Arrange the wings in a single layer in the basket, leaving space between each wing.
- Cook at 400°F for 12 minutes. Flip the wings with tongs, then cook for another 10-12 minutes until deep golden brown and crispy. Internal temperature should be at least 165°F (preferably 175°F).
- While the wings cook, make the glaze: In a small saucepan, combine honey, soy sauce, minced garlic, rice vinegar, sesame oil (if using), and red pepper flakes (if using). Bring to a gentle simmer over medium heat, then reduce heat to low and cook for 3-4 minutes until slightly thickened.
- When the wings are done, transfer them to a clean bowl. Pour about half the glaze over the wings and toss gently with tongs to coat.
- Return the glazed wings to the air fryer basket in a single layer and cook at 400°F for another 2-3 minutes to caramelize the glaze.
- Remove wings from the air fryer and brush or drizzle with the remaining glaze. Let rest for 2-3 minutes before serving.
Notes
Don’t skip drying the wings thoroughly; moisture prevents crispiness. Cornstarch and baking powder are essential for crispy skin. Glaze the wings after cooking and return to the air fryer for 2-3 minutes to caramelize the sauce without making the skin soggy. If your air fryer is smaller, cook in batches to avoid overcrowding.
Nutrition
- Serving Size: 4-5 wings
- Calories: 400
- Sugar: 20
- Sodium: 780
- Fat: 22
- Saturated Fat: 6
- Carbohydrates: 24
- Protein: 28
Keywords: air fryer chicken wings, honey garlic wings, crispy wings, game day appetizer, quick chicken recipe


