Why You’ll Love This Recipe
Let’s be real for a second. Cooking a full dinner during football season feels like a chore. You’re distracted by the game, the commercials are loud, and the last thing you want to do is stand over a stove for forty-five minutes. This nacho board changes the entire dynamic of game day. It’s not just food; it’s an experience. It’s the centerpiece that gets people moving around the kitchen, grabbing plates, and chatting while the game plays out in the background. I’ve tested dozens of nacho recipes over the years, from slow-cooker dips to baked chip piles, and this one is the undisputed champion. It strikes that perfect balance between messy finger food and actual meal-worthy satisfaction.
- Quick & Easy: You can have this ready in under 15 minutes. I’m talking zero chopping, zero cooking, just assembly. Perfect for those Sunday afternoons when the kickoff is imminent and you’re running late.
- Simple Ingredients: No fancy grocery trips needed. You likely already have tortilla chips, shredded cheese, and some form of protein in your kitchen. It’s pantry-friendly comfort food at its finest.
- Perfect for Game Day: Whether it’s the Super Bowl, a playoff matchup, or just a casual Sunday watch party, this board fits the vibe. It’s interactive, which keeps guests engaged and away from the remote control wars.
- Crowd-Pleaser: Kids love the cheese pull. Adults love the variety. It’s universally liked because everyone can build their own masterpiece. It’s the kind of dish that disappears before the first quarter ends.
- Unbelievably Delicious: The texture combo is next-level. You get the crunch of the chip, the gooeyness of the melted cheese, the heat of the jalapeños, and the freshness of the cilantro. It’s comfort food reimagined for the modern snacker.
What makes this recipe different from the rest? It’s the layering technique. Most people just dump everything on top, but that leads to soggy chips and uneven flavor distribution. By layering the protein and cheese in between the chips, you ensure every bite has a bit of everything. It’s a small tweak that makes a huge difference. This isn’t just another version; it’s the version that will have your friends asking for the recipe before they even finish their first plate. It’s the kind of meal that makes you feel like a hero host without the stress.
What Ingredients You Will Need
This recipe relies on simple, wholesome ingredients to deliver bold flavor and satisfying texture without the fuss. The beauty of a nacho board is that it’s highly customizable, but the foundation needs to be solid. You want ingredients that hold up to heat and don’t get soggy too quickly. I always recommend using sturdy, thick-cut tortilla chips because they can support the weight of all the toppings without breaking. For the cheese, a blend is always better than a single type. Sharp cheddar brings the flavor, while Monterey Jack brings the melt. If you’re looking for trusted brands, I personally prefer Kirkland Signature shredded cheese blends from Costco for their consistent melt and fresh taste, but any good quality pre-shredded cheese will work in a pinch. Just avoid the ones with too much potato starch, which can prevent proper melting.
- For the Base:
- One large bag of thick-cut tortilla chips (look for “restaurant style” for best structural integrity)
- One large baking sheet or wooden serving board (if using a board, ensure it’s food-safe)
- For the Protein Layer:
- One pound of ground beef or turkey, browned and drained (I like using 80/20 beef for juiciness, but turkey is a leaner option)
- One packet of taco seasoning (or homemade mix of cumin, chili powder, and paprika)
- Optional: One cup of shredded rotisserie chicken for a quicker version
- For the Cheese Blend:
- Two cups of sharp cheddar cheese, shredded (shred your own for best results)
- Two cups of Monterey Jack cheese, shredded
- One cup of pepper jack cheese, shredded (for a little kick)
- For the Toppings & Garnish:
- One cup of black beans, rinsed and drained (canned is fine, just rinse well to remove sodium)
- One cup of corn kernels (frozen or canned, drained)
- One cup of salsa (chunky style works best for texture)
- One cup of sour cream (for dolloping)
- One avocado, sliced (add right before serving to prevent browning)
- One bunch of fresh cilantro, chopped
- One jalapeño, thinly sliced (fresh for heat, pickled for tang)
- Green onions, sliced into thin rounds
If you’re looking to substitute, you can easily swap the ground beef for a plant-based crumble if you have vegetarian guests. The taco seasoning holds it all together, so don’t skip that flavor profile. For the cheese, you can use a Mexican blend if you’re in a hurry, but the sharp cheddar is key for that tangy bite that cuts through the richness. Remember, the quality of your chips matters more than you think. A stale chip will ruin the whole experience, so buy fresh and keep them in a cool, dry place until game day.
How do I keep the chips from getting soggy?
This is the #1 question I get. The secret is layering and timing. Never let the hot toppings sit on the chips for too long before serving. If you’re making a huge board for a party, consider making two smaller boards instead of one giant one. This way, you can replace the first board once it’s half-eaten, ensuring everyone gets crispy chips. Also, keep the wet ingredients like salsa and sour cream in small bowls on the side or in designated sections so they don’t drip onto the chips until the guest adds them. This little trick keeps the texture perfect from the first bite to the last.
Equipment Needed
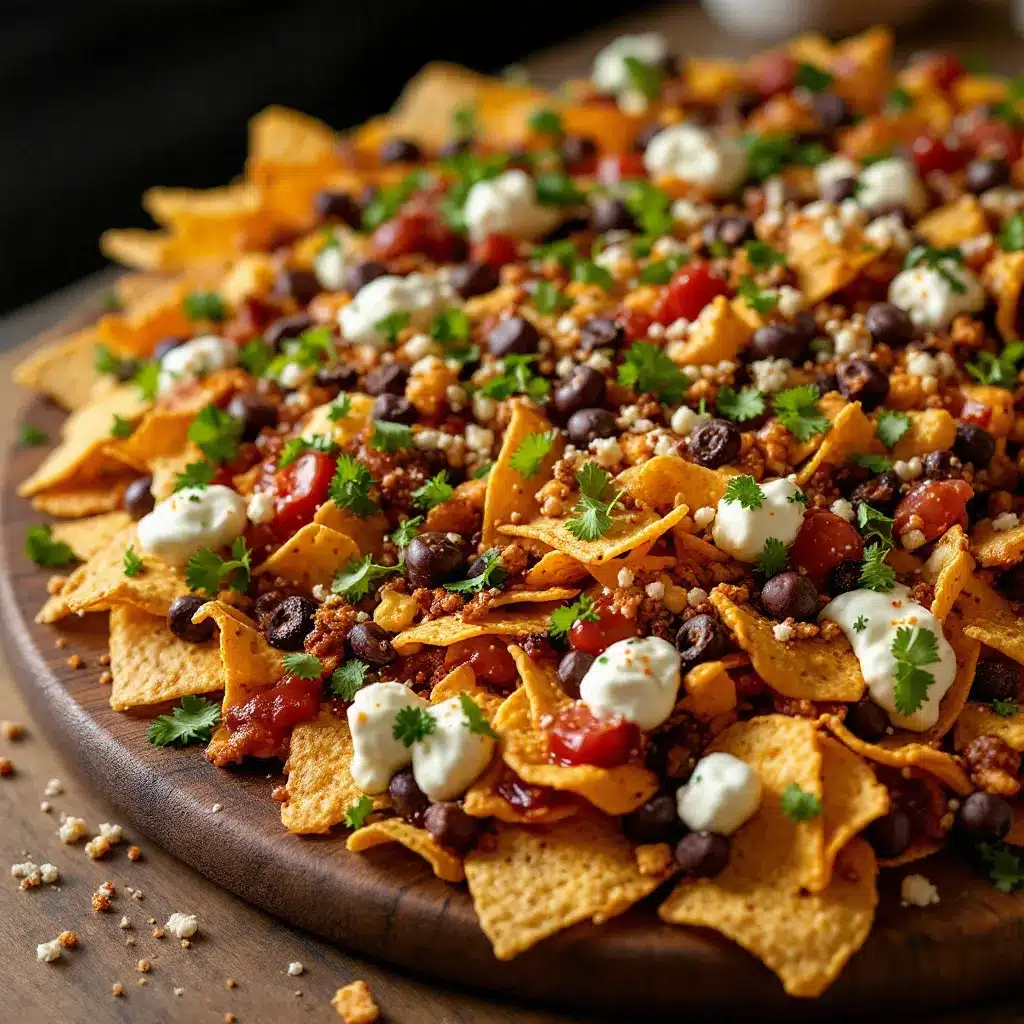
You don’t need a lot of fancy gear to pull this off, which is part of the charm. The most important tool is your baking sheet. I use a large, rimmed baking sheet because it contains any drips and makes cleanup a breeze. If you’re using a wooden board for presentation, make sure it’s large enough to hold all the ingredients comfortably. A standard 18×13 inch sheet is perfect for a crowd of six to eight people. If you’re doubling the recipe, you’ll need two sheets. I also recommend having a few small ramekins or bowls ready for the wet toppings like salsa, sour cream, and guacamole. This keeps the board looking organized and prevents cross-contamination of flavors. A good pair of tongs is helpful for spreading the meat and beans evenly. And, of course, a skillet for browning the ground beef. If you’re using rotisserie chicken, you can skip the skillet entirely. For melting the cheese, your oven’s broiler is your best friend. It melts cheese faster and more evenly than any other method. Just keep a close eye on it so it doesn’t burn. I also keep a silicone spatula handy for scraping any leftover cheese or meat from the bowls. It’s all about having the right tools to make the assembly process smooth and stress-free.
Preparation Method
Getting this board together is straightforward, but there’s a method to the madness that ensures every bite is perfect. Start by preheating your oven to 375°F (190°C). You’ll be using this heat to warm the chips and melt the cheese, so get it going early. While the oven heats up, focus on your protein. If you’re using ground beef or turkey, heat a large skillet over medium-high heat. Add the meat and break it apart with a wooden spoon as it cooks. This takes about 5-7 minutes. You want it browned and cooked through, with no pink left. Once it’s cooked, drain any excess fat. This step is crucial for preventing a greasy nacho experience. Stir in the taco seasoning and a splash of water if needed to create a sauce-like consistency. Let it simmer for another 2 minutes to let the flavors meld. Taste and adjust salt if necessary. If you’re using rotisserie chicken, you can skip this step and just shred the meat with two forks.
Next, take your baking sheet and lay down a single layer of tortilla chips. Don’t overlap them too much; you want them to lay flat so the cheese can reach every chip. Sprinkle a generous amount of your cheese blend over the chips. Now, add a layer of your seasoned meat. Distribute it evenly, but don’t pile it too high in one spot. Add another layer of chips on top of the meat. This layering technique is what makes the nachos so satisfying. Continue this process until you’ve used all your chips, meat, and most of your cheese. Reserve some of the cheese for the very top. If you’re making two sheets, divide the ingredients evenly. Once your chips are layered and topped with the remaining cheese, place the baking sheets in the preheated oven. Bake for 5-7 minutes, or until the cheese is bubbly and starting to turn golden brown at the edges. Keep a close eye on the broiler setting if you prefer a faster melt, but watch it like a hawk to avoid burning.
While the nachos are baking, prepare your cold toppings. Slice the avocados, chop the cilantro, slice the jalapeños, and drain the beans and corn. You want everything ready to go the second the hot trays come out of the oven. Once the nachos are done, remove them from the oven. Immediately dollop the sour cream over the hot cheese. The residual heat will slightly warm the sour cream, making it creamier. Scatter the black beans, corn, and fresh cilantro over the top. Add the avocado slices last, as they don’t need heat. Finally, garnish with green onions and sliced jalapeños. Serve immediately while the cheese is still gooey and the chips are still crisp. This entire process takes about 20 minutes from start to finish. It’s quick, it’s easy, and the result is worth every second. Trust me, your guests will be impressed by how little effort it took and how much flavor you packed into one board.
Can I make this ahead of time?
You can prep the ingredients ahead, but the assembly should be done right before serving. You can brown the meat and chop all the vegetables the day before. Store them in airtight containers in the fridge. When game day arrives, just assemble and bake. This saves you precious time when the game is about to start. However, do not assemble the board and let it sit for hours. The chips will absorb moisture from the toppings and become soggy. Freshness is key to a great nacho board.
Cooking Tips & Techniques
There are a few pro tips I’ve learned over the years of hosting game day parties that can take your nachos from good to legendary. First, always shred your own cheese. Pre-shredded cheese contains anti-caking agents that prevent it from melting smoothly. You’ll end up with stringy, clumpy cheese instead of a smooth, creamy blanket. Buy a block of cheddar and Monterey Jack and shred it yourself. It takes five minutes and makes a world of difference. Second, don’t skimp on the seasoning. The meat needs to be flavorful because it’s the main protein. If you’re using taco seasoning, use the whole packet. If you’re making your own, don’t be shy with the cumin and chili powder. Third, consider adding a layer of refried beans at the bottom. This adds creaminess and helps bind the chips together, making them easier to pick up. It’s a classic Tex-Mex trick that works every time. Fourth, if you’re worried about the chips breaking, use a sturdy chip like a restaurant-style tortilla chip. Thinner chips might snap under the weight of the toppings. Finally, don’t forget the acid. A squeeze of lime juice over the finished board cuts through the richness of the cheese and meat, brightening up the entire dish. It’s a small step that elevates the flavor profile significantly.
What if I don’t have an oven?
If you’re serving on a wooden board, you can’t put it in the oven. In that case, use a microwave-safe plate or bowl. Layer the chips and cheese in a microwave-safe dish and microwave in 30-second intervals until the cheese is melted. It won’t be as evenly melted as the oven method, but it works in a pinch. Alternatively, you can melt the cheese in a saucepan over low heat and pour it over the chips. This gives you a queso-style nacho experience, which is also delicious.
Variations & Adaptations
One of the best things about a nacho board is its flexibility. You can adapt it to fit any dietary need or flavor preference. For a vegetarian version, swap the ground beef for a plant-based crumble or add extra beans and corn. You can also add grilled vegetables like bell peppers and onions for extra texture. If you’re looking for a lighter option, use baked tortilla chips and Greek yogurt instead of sour cream. For a spicy kick, add diced habanero peppers or use a spicy salsa verde. I once made a version with pulled pork instead of beef, and it was a huge hit. The smoky flavor of the pork paired beautifully with the cheese. You can also try a breakfast version with scrambled eggs, bacon, and hash browns. It’s a great way to use up leftovers. Just remember to adjust the seasoning to match the new protein. If you’re using chicken, stick to the taco seasoning. If you’re using pork, add some smoked paprika. The possibilities are endless, and that’s what makes this recipe so versatile. Don’t be afraid to experiment with different combinations. Your guests will appreciate the effort and the unique flavor profile.
Can I freeze leftover nachos?
It’s not recommended to freeze assembled nachos. The chips will become soggy and lose their crunch upon thawing. However, you can freeze the cooked meat and beans separately. When you want to make nachos again, just thaw the meat, reheat it, and assemble with fresh chips and cheese. This way, you can enjoy the convenience of leftovers without sacrificing quality.
Serving & Storage Suggestions
When it comes to serving, presentation matters. If you’re using a baking sheet, place it on a heat-resistant trivet or a wooden board to protect your table. If you’re using a large wooden board, arrange the wet toppings in small bowls scattered around the board. This creates a visually appealing look and keeps the chips crisp. Serve the nachos hot, straight from the oven. Pair them with cold drinks like beer, margaritas, or iced tea. For a complete meal, you can serve them alongside a fresh salad or some crispy baked chicken wings. As for storage, any leftovers should be stored in an airtight container in the refrigerator for up to two days. To reheat, place the nachos on a baking sheet and warm them in the oven at 350°F for 10 minutes. This helps restore the crispness of the chips. Avoid microwaving leftovers if you want to maintain texture. The flavors will meld together over time, making the second day even more flavorful, but the texture will suffer. So, try to eat them all in one sitting! It’s rare that you’ll have leftovers, but if you do, you’ll know what to do.
How long do nachos stay fresh?
They are best enjoyed within 30 minutes of assembly. After that, the chips start to lose their crunch and absorb moisture from the toppings. For the best experience, make small batches and refresh them throughout the game. This keeps the energy high and the food fresh.
Nutritional Information & Benefits
While nachos are definitely a treat, they can be part of a balanced game day meal. Tortilla chips provide carbohydrates for energy, which is important if you’re active during the day. The ground beef offers protein, which helps with muscle repair and satiety. Cheese adds calcium and healthy fats. Black beans are a great source of fiber and plant-based protein. Avocados provide heart-healthy monounsaturated fats. Of course, the calorie count can add up quickly, so moderation is key. If you’re watching your intake, use fewer chips and more veggies. Swap sour cream for Greek yogurt to reduce fat and increase protein. Use lean ground turkey instead of beef. These small changes can make the dish healthier without sacrificing flavor. Remember, game day is about enjoying the moment, so don’t stress too much about every calorie. Just make smart choices where you can and enjoy the rest. This recipe is a guilt-free pleasure when balanced with other healthy foods.
Are these nachos gluten-free?
They can be! Just ensure your tortilla chips are certified gluten-free. Many corn tortilla chips are naturally gluten-free, but always check the label for cross-contamination warnings. Also, verify that your taco seasoning and other packaged ingredients are gluten-free. This recipe is easily adaptable for gluten-free diets.
Conclusion
There’s something magical about a loaded nacho board. It’s more than just food; it’s a gathering point. It’s the dish that brings people together, sparks conversation, and satisfies cravings. This Ultimate Loaded Football Nacho Board for Game Day is my go-to for a reason. It’s easy, delicious, and always a hit. I encourage you to try it for your next game day. Customize it to your liking, add your favorite toppings, and make it your own. I’d love to hear how it turns out for you. Leave a comment below with your favorite variations or tips. Share your photos on social media and tag me. Let’s celebrate the joy of game day food together. This recipe is simple, but it’s made with love. And that’s what makes it special. So grab your chips, grab your friends, and get ready for a game day feast. You won’t regret it.
FAQs
Can I use store-bought salsa?
Yes, absolutely. Store-bought salsa is convenient and often tastes great. Look for a chunky salsa for better texture. If you have time, making your own pico de gallo adds a fresh, bright flavor that pairs well with the rich cheese.
What kind of cheese melts best?
Monterey Jack and Cheddar are the best for melting. Monterey Jack is creamy and melts smoothly, while Cheddar adds flavor. A blend of both is ideal. Avoid pre-shredded cheese if possible, as it doesn’t melt as well.
Can I make this in a slow cooker?
Yes, you can make slow cooker nachos. Layer the chips and cheese in the slow cooker and cook on low for 1-2 hours. Add the hot toppings before serving. This is great for keeping the nachos warm throughout the game.
How do I prevent the chips from breaking?
Use sturdy, thick-cut tortilla chips. Avoid overlapping them too much when layering. Also, don’t overload the chips with too many heavy toppings. Distribute the toppings evenly for best results.
Can I add other proteins?
Definitely. Shredded chicken, pulled pork, or even bacon bits work well. Just ensure the protein is seasoned and flavorful. You can also use plant-based proteins for a vegetarian option.
Pin This Recipe!
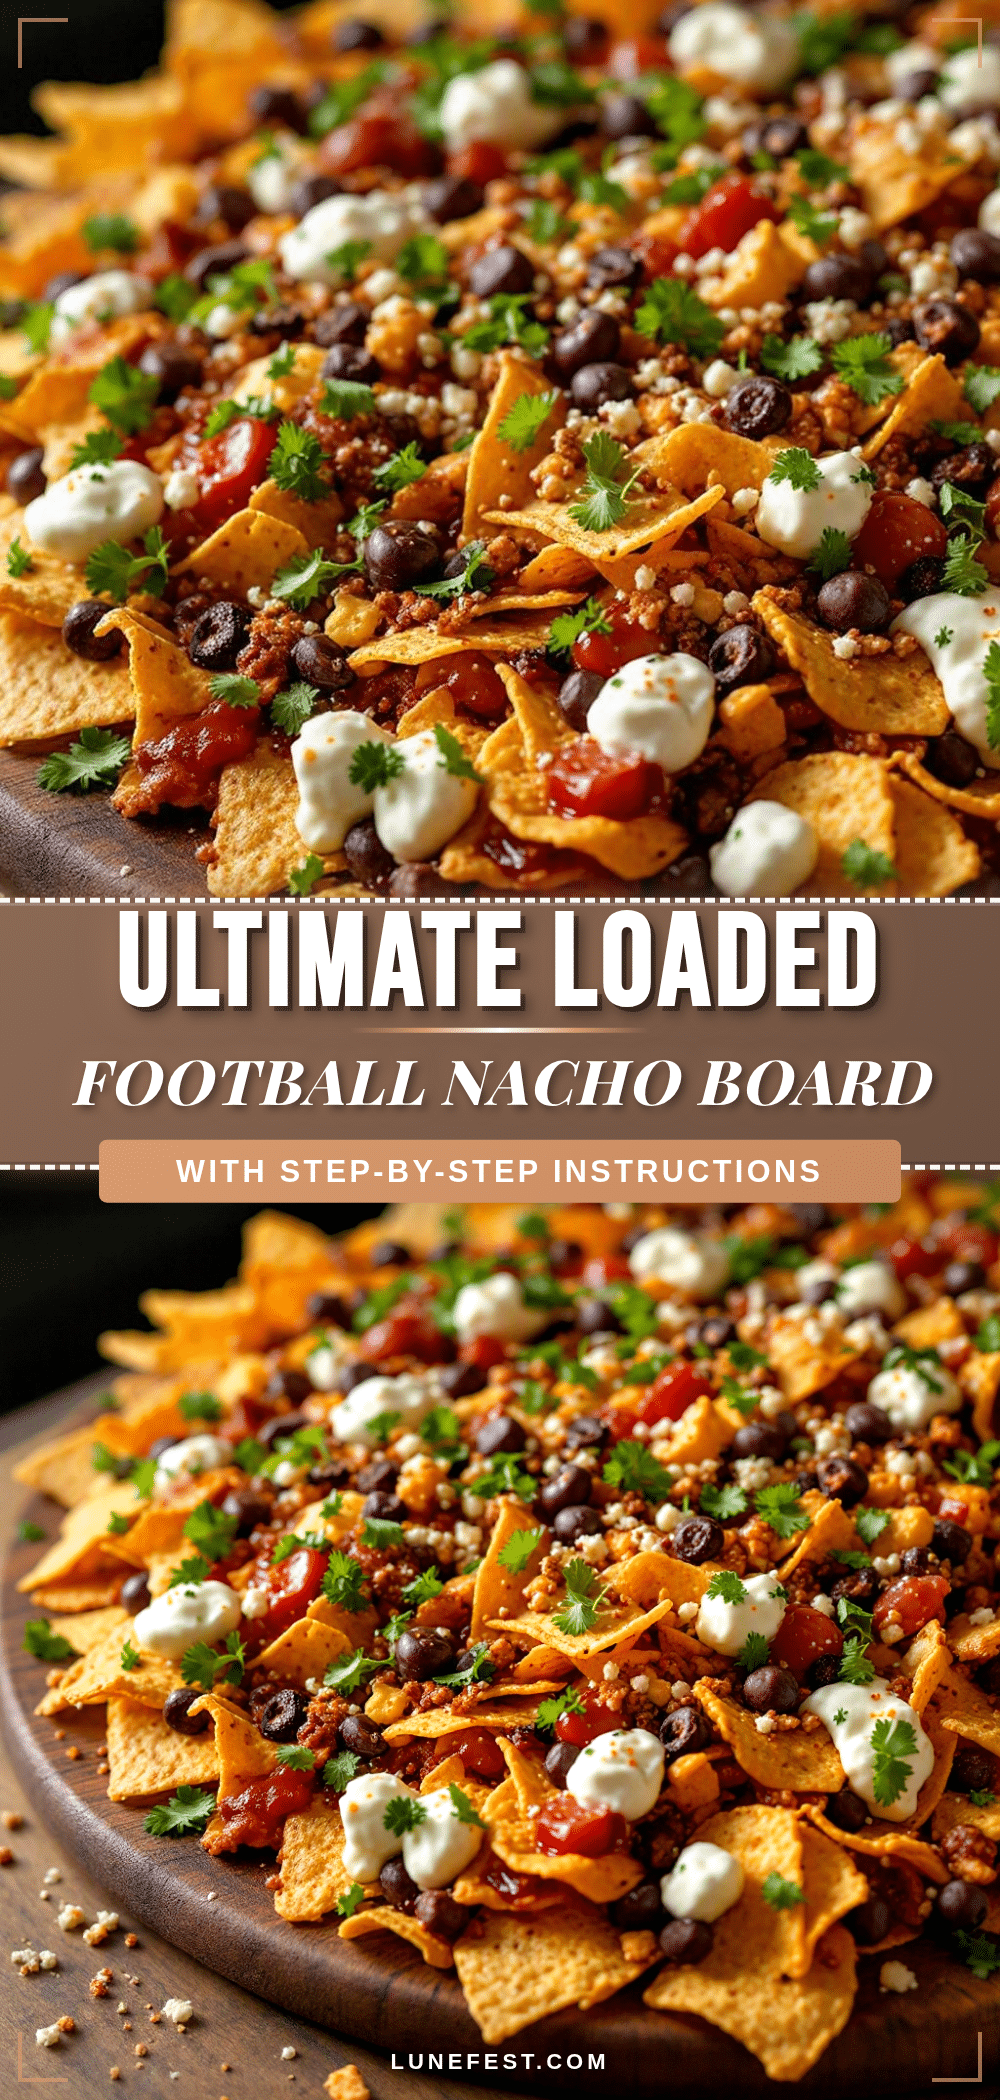
Ultimate Loaded Football Nacho Board: 5-Min Game Day Snack
A quick, easy, and crowd-pleasing game day snack featuring layered tortilla chips, seasoned ground beef, melted cheese blend, and fresh toppings. This recipe uses a layering technique to prevent soggy chips and ensure every bite is flavorful.
- Prep Time: 15 minutes
- Cook Time: 10 minutes
- Total Time: 25 minutes
- Yield: 6 to 8 servings 1x
- Category: Appetizer
- Cuisine: Mexican
Ingredients
- 1 large bag thick-cut tortilla chips (restaurant style)
- 1 pound ground beef or turkey, browned and drained
- 1 packet taco seasoning (or homemade mix of cumin, chili powder, and paprika)
- 2 cups sharp cheddar cheese, shredded
- 2 cups Monterey Jack cheese, shredded
- 1 cup pepper jack cheese, shredded
- 1 cup black beans, rinsed and drained
- 1 cup corn kernels, drained
- 1 cup chunky salsa
- 1 cup sour cream
- 1 avocado, sliced
- 1 bunch fresh cilantro, chopped
- 1 jalapeño, thinly sliced
- Green onions, sliced into thin rounds
Instructions
- Preheat oven to 375°F (190°C).
- In a large skillet over medium-high heat, brown the ground beef or turkey, breaking it apart with a wooden spoon (5-7 minutes). Drain excess fat.
- Stir in taco seasoning and a splash of water if needed. Simmer for 2 minutes to meld flavors.
- Lay a single layer of tortilla chips on a large rimmed baking sheet.
- Sprinkle a generous amount of the cheese blend over the chips.
- Add a layer of seasoned meat, distributing it evenly.
- Add another layer of chips on top of the meat.
- Repeat the layering process (chips, cheese, meat) until ingredients are used, reserving some cheese for the top.
- Bake for 5-7 minutes until cheese is bubbly and edges are golden brown.
- While baking, prepare cold toppings: slice avocado, chop cilantro, slice jalapeños, and drain beans/corn.
- Remove nachos from oven. Immediately dollop sour cream over hot cheese.
- Scatter black beans, corn, and fresh cilantro over the top.
- Add avocado slices last.
- Garnish with green onions and sliced jalapeños.
- Serve immediately while cheese is gooey and chips are crisp.
Notes
[‘Layering is key to preventing soggy chips; place wet toppings like salsa and sour cream in separate bowls on the side if serving a large crowd.’, ‘Shred your own cheese for better melting; pre-shredded cheese contains anti-caking agents.’, ‘Use sturdy, thick-cut tortilla chips to support the weight of toppings.’, ‘Do not assemble the board too far in advance as chips will absorb moisture and become soggy.’, ‘For a vegetarian version, swap ground beef for plant-based crumble or extra beans.’]
Nutrition
- Serving Size: Approximately 1/6 to
- Calories: 650
- Sugar: 4
- Sodium: 980
- Fat: 42
- Saturated Fat: 18
- Carbohydrates: 45
- Fiber: 6
- Protein: 28
Keywords: game day snacks, football nachos, loaded nachos, easy appetizer, party food, nacho board, quick recipes, crowd pleaser


