I did not trust brown butter in a soft, pillowy cookie until last Tuesday. Honestly, I thought the nutty, toasted flavor sounded like a mistake when paired with pumpkin puree. I have always been a purist about snickerdoodles. They are supposed to be tangy, sweet, and strictly cinnamon-forward. Adding a dark, caramelized butter felt like complicating something that was already perfect. My neighbor had sent a tin of these cookies to me weeks prior, claiming they were the “best fall treat.” I ate one and politely nodded, thinking the pumpkin was just masking a stale base.
Then came the rainstorm. The kind that pours against the window and makes you want to stay in bed all day. I had leftover pumpkin puree and a half-stick of butter that needed using. I decided to test the theory myself, mostly to prove it wrong. I watched the butter foam and turn amber in the pan. It smelled like hazelnuts and toasted sugar. I mixed it with the pumpkin, the flour, and the cream of tartar. The dough was sticky. It looked nothing like the crisp, clean dough I was used to rolling.
I baked a single batch on a whim. The kitchen filled with that deep, roasted scent that makes your stomach growl before the timer even rings. I pulled one out while it was still slightly underdone in the center. It collapsed softly onto the wire rack. I waited ten minutes, just to be safe. Then I took a bite. The texture was impossibly soft. The brown butter added a depth that regular butter never achieved. It wasn’t a mistake. It was a revelation. Now, I make them every weekend.
Why You’ll Love This Recipe
There is a specific kind of magic that happens when you combine the tang of a traditional snickerdoodle with the warmth of pumpkin spice. This recipe isn’t just another fall cookie; it is the result of many failed attempts to get the moisture balance right. I have tested this dough with different flours, different pumpkins, and even different brands of brown butter. This version is the winner. It delivers a chewy center with crisp edges that shatter when you bite into them.
Here is why this recipe stands out from the crowd:
- Quick & Easy: You can have these cookies from start to finish in about 20 minutes of active prep time. The brown butter cools while you mix the dry ingredients, so there is no waiting around. It is perfect for busy weeknights or when you need a last-minute treat for guests.
- Simple Ingredients: You likely already have everything in your kitchen. No fancy grocery trips are needed. Just pantry staples like flour, sugar, and spices, plus the pumpkin and butter.
- Perfect for Gifting: These cookies stack beautifully in tins. They are sturdy enough to travel but soft enough to melt in your mouth. They make a wonderful housewarming gift or a neighborly gesture.
- Crowd-Pleaser: Even people who claim they “don’t like pumpkin” usually love these. The brown butter flavor distracts from the vegetable aspect, making it taste like a gourmet dessert rather than a health food.
- Unbelievably Delicious: The texture is next-level. The cream of tartar gives that classic snickerdoodle tang, while the pumpkin keeps it moist for days. It is comfort food reimagined.
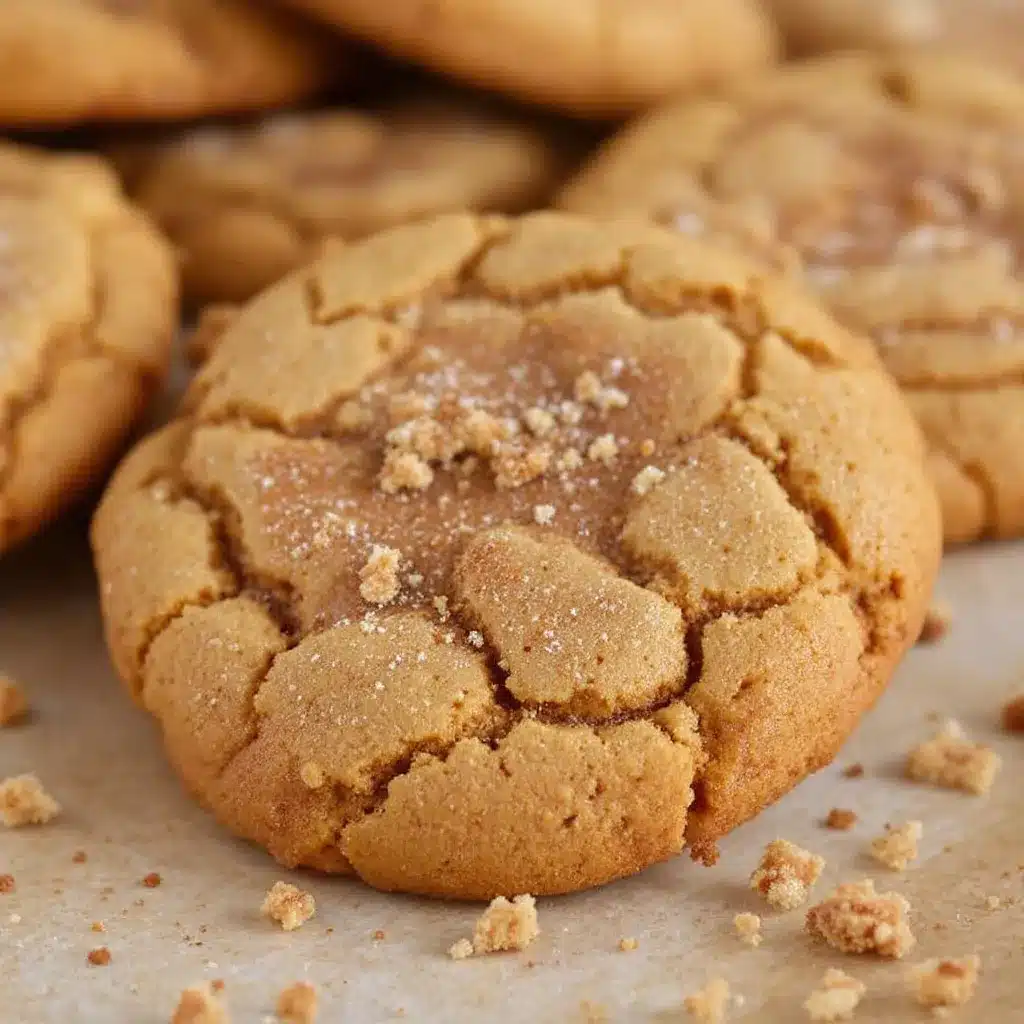
What makes this recipe different is the technique. Most pumpkin cookies become dense cakes. By browning the butter first, we add a layer of complexity that keeps the cookie light. The Maillard reaction in the butter provides a savory note that balances the sweet cinnamon sugar coating. It is the kind of cookie that makes you close your eyes after the first bite. It feels indulgent but actually comes together faster than ordering takeout.
What Ingredients You Will Need
This recipe uses simple, wholesome ingredients to deliver bold flavor and satisfying texture without the fuss. The key to success lies in the quality of the butter and the ratio of pumpkin to flour. You want enough pumpkin for flavor and moisture, but not so much that the cookies spread too thin. Here is what you need to gather:
- Unsalted Butter (1 cup / 2 sticks): High quality matters here since it is the main flavor driver. I recommend using a brand with at least 80% fat content. Salted butter can work, but you will need to reduce the added salt in the recipe.
- Pumpkin Puree (½ cup): Make sure you use 100% pure pumpkin puree, not pumpkin pie filling. The filling has added sugar and spices that will throw off the balance. Look for a firm, small-curd puree for best texture. In summer, you can swap in roasted sweet potato puree for a similar effect.
- All-Purpose Flour (2 ½ cups): Standard flour works best for that tender chew. If you need a gluten-free option, use a 1:1 gluten-free flour blend, but note that the texture may be slightly more crumbly.
- Baking Soda (1 teaspoon): This helps the cookies spread and brown. Do not substitute with baking powder, as the chemical reaction is different.
- Cream of Tartar (1 teaspoon): This is the secret ingredient for snickerdoodles. It creates that tangy flavor and helps the cookies stay soft. If you run out, you can use a bit more lemon juice, but the flavor will change.
- Baking Powder (½ teaspoon): A little lift to ensure the cookies don’t become too flat.
- Ground Cinnamon (2 teaspoons): Use fresh cinnamon if you can. Old spices lose their punch quickly. I prefer ground cinnamon for the dough to keep the texture smooth.
- Ground Ginger (½ teaspoon): Adds a subtle warmth that complements the pumpkin without overpowering it.
- Nutmeg (¼ teaspoon): Just a pinch. Too much nutmeg can make the cookies taste medicinal.
- Granulated Sugar (1 cup): For the dough itself. This provides structure and crispness.
- Brown Sugar (½ cup, packed): Adds moisture and a caramel note that pairs perfectly with the brown butter.
- Large Eggs (2): Room temperature eggs incorporate better into the batter. Cold eggs can cause the butter to seize up slightly.
- Vanilla Extract (1 teaspoon): Pure vanilla extract is best. Avoid imitation vanilla, which can taste artificial.
- Salt (½ teaspoon): Enhances all the other flavors. Do not skip this.
For the coating, you will need ½ cup granulated sugar mixed with 1 tablespoon ground cinnamon. Rolling the dough balls in this mixture before baking creates that signature crackly, sweet exterior.
Equipment Needed
You do not need fancy gadgets to make these cookies. A few basic tools are all you really need. The most important piece of equipment is a heavy-bottomed saucepan for browning the butter. A light pan might burn the butter quickly and unevenly. A stainless steel or copper pan is ideal because you can see the color changes clearly.
- Heavy-Bottomed Saucepan: Essential for browning the butter. It allows for even heat distribution.
- Mixing Bowls: One large bowl for wet ingredients and one medium bowl for dry ingredients.
- Whisk: A standard wire whisk works perfectly for combining the dry ingredients and beating the eggs.
- Silicone Spatula: Better than a wooden spoon for scraping the bowl and folding in the pumpkin. It ensures no flour pockets remain.
- Baking Sheets: Light-colored aluminum sheets are best. Dark sheets can cause the bottoms to burn too quickly.
- Parchment Paper or Silicone Baking Mats: These prevent sticking and make cleanup a breeze. I prefer silicone mats for consistency.
- Cooling Rack: Allows air to circulate under the cookies so they don’t get soggy from steam.
- Cookie Scoop: A medium-sized scoop (about 1.5 tablespoons) ensures uniform size. Uniformity is key for even baking.
If you don’t have a cookie scoop, a tablespoon works fine, but the cookies may spread differently. For maintenance, always let your saucepan cool completely before washing to preserve the seasoning if it is cast iron, though stainless steel is easier to clean. Budget-friendly options are widely available at dollar stores, but investing in a good spatula will change your baking life.
Preparation Method
Let’s break down the steps. This process is straightforward, but timing is everything.
- Brown the Butter (5 minutes): Start by melting the butter in your saucepan over medium heat. Stir constantly. It will foam up, then settle. Watch closely. Once the foam subsides, you will see brown specks at the bottom. The milk solids are browning. Smell it. It should smell nutty and toasted. Immediately remove from heat and pour into a heatproof bowl to stop the cooking. Let it cool for 10-15 minutes. You want it warm, not hot, so it doesn’t cook the eggs.
- Mix Dry Ingredients (2 minutes): In a medium bowl, whisk together the flour, baking soda, baking powder, cream of tartar, cinnamon, ginger, nutmeg, and salt. Whisking aerates the flour, which helps with texture. Set this aside.
- Cream Sugars and Butter (3 minutes): In a large bowl, combine the cooled brown butter, granulated sugar, and brown sugar. Whisk vigorously until the mixture is smooth and glossy. This step is crucial for incorporating air.
- Add Wet Ingredients (2 minutes): Add the eggs one at a time, whisking well after each addition. Add the vanilla extract and the pumpkin puree. Whisk until fully combined. The mixture might look slightly separated at first, but keep whisking. It will come together.
- Combine Wet and Dry (2 minutes): Gradually add the dry ingredients to the wet mixture. Use a spatula to fold it in. Stop as soon as the flour disappears. Overmixing develops gluten, which makes cookies tough. You want a soft, slightly sticky dough.
- Chill the Dough (15-30 minutes): This step is optional but recommended. If the dough is too warm, the cookies will spread too much. Pop the bowl in the fridge for 15 minutes. If you are in a huge hurry, you can skip this, but the cookies may be thinner.
- Preheat Oven and Prep Sheets (2 minutes): Preheat your oven to 350°F (175°C). Line two baking sheets with parchment paper.
- Make Cinnamon Sugar Coating: In a shallow bowl, mix the ½ cup sugar and 1 tablespoon cinnamon.
- Scoop and Roll (5 minutes): Scoop balls of dough (about 1.5 tablespoons each) and roll them in the cinnamon sugar mixture. Place them on the baking sheets, spacing them at least 2 inches apart. They will spread.
- Bake (10-12 minutes): Bake for 10-12 minutes. The edges should be set and slightly golden, but the centers should still look soft and puffy. Do not overbake. They will continue to cook on the hot pan.
- Cool (10 minutes): Let the cookies sit on the baking sheet for 5 minutes. Then transfer to a wire rack to cool completely. They firm up as they cool.
Why do my cookies spread too much?
This usually happens if the butter was too warm when mixed, or if the dough wasn’t chilled. Ensure your butter is just cooled, not melted. Chilling the dough solidifies the fat, which delays spreading in the oven.
Why do my cookies look pale?
If they are not browning, your oven might be running cool. Use an oven thermometer to check. Also, ensure you are using light-colored baking sheets. Dark sheets absorb more heat and can burn the bottoms before the tops brown.
Cooking Tips & Techniques
Browning butter is a technique that changes everything. It adds a nutty depth that regular melted butter simply cannot match. The key is to not walk away. Butter goes from brown to burnt very quickly. If you smell burning, it is too late. Trust your nose more than your eyes.
A common mistake is using too much pumpkin. Pumpkin adds moisture. Too much moisture leads to dense, gummy cookies. Stick to the ½ cup measure. If your pumpkin puree seems watery, you can strain it through a cheesecloth for 15 minutes to remove excess liquid. This small step makes a huge difference in texture.
Another tip is to underbake slightly. These cookies are meant to be soft and chewy. If you bake them until they are hard, they will be dry. Pull them when they look just barely done. The residual heat will finish the cooking process.
I once tried adding chocolate chips to this dough. It was okay, but the brown butter flavor got lost. This recipe shines best on its own. The cinnamon sugar coating is the star. Make sure you roll the dough balls generously in the sugar. The coating creates that signature crackly top that snickerdoodle lovers crave.
Multitasking is your friend here. While the butter is browning, measure your dry ingredients. While the butter cools, mix the sugar coating. This keeps the process smooth and prevents any last-minute rushes.
Variations & Adaptations
This recipe is versatile. Here are a few ways to change it up:
- Gluten-Free Option: Substitute the all-purpose flour with a high-quality 1:1 gluten-free flour blend. Add ¼ teaspoon of xanthan gum if your blend doesn’t include it. This helps mimic the elasticity of gluten.
- Dairy-Free: Use a high-fat vegan butter stick instead of regular butter. Brown it the same way. Note that the flavor will be slightly different, but still delicious.
- Spice It Up: Add a pinch of cardamom or allspice for a more complex fall flavor profile. These spices pair beautifully with pumpkin and brown butter.
- Add-Ins: Fold in ½ cup of white chocolate chips or pecans. The crunch of nuts contrasts nicely with the soft cookie. White chocolate chips add extra sweetness and creaminess.
- Mini Cookies: Use a small cookie scoop (1 teaspoon) to make bite-sized treats. Bake for 6-8 minutes. These are perfect for parties and gift boxes.
I once made these with maple syrup instead of some of the sugar. It added a wonderful autumnal note, but the cookies were slightly darker. If you try this, reduce the granulated sugar by ¼ cup and add 2 tablespoons of maple syrup.
Serving & Storage Suggestions
These cookies are best served at room temperature. They are too soft to eat warm, but they develop the best texture as they cool. Pair them with a hot cup of coffee or a glass of cold milk. The contrast of temperatures is delightful.
For storage, keep the cookies in an airtight container at room temperature for up to 5 days. Place a slice of bread in the container with the cookies. The bread releases moisture, which keeps the cookies soft. If you want to freeze them, bake them first, let them cool completely, and then freeze in a single layer on a baking sheet. Once frozen, transfer to a freezer bag. They will last for up to 3 months. Thaw at room temperature before serving.
The flavors actually improve after a day. The spices meld together, and the moisture distributes evenly. If you make them ahead for a party, they will be even better on the second day.
Nutritional Information & Benefits
Each cookie contains approximately 120 calories. The brown butter adds healthy fats, and the pumpkin provides vitamin A and fiber. However, these are still treats, so enjoy them in moderation. The cinnamon in the coating has anti-inflammatory properties. The nutmeg contains manganese, which supports bone health. While not a health food, this recipe uses real ingredients rather than processed additives. It is a guilt-free indulgence compared to store-bought alternatives. For those with dietary restrictions, the gluten-free and dairy-free adaptations make it accessible to more people. Just be mindful of cross-contamination if you have severe allergies.
Conclusion
Soft Brown Butter Pumpkin Snickerdoodle Cookies are a testament to the power of simple techniques. The brown butter transforms a basic cookie into something gourmet. The pumpkin adds seasonal warmth without heaviness. I hope you try this recipe and find it as rewarding as I did. Customize it with your favorite spices or add-ins. Make a batch and share it with someone you love. The joy of baking is in the sharing.
Please leave a comment below if you make these. I love hearing about your variations and successes. Share a photo on social media and tag me. I want to see your beautiful cookies. Happy baking!
FAQs
Can I use pumpkin pie filling instead of pure pumpkin puree?
No. Pumpkin pie filling contains added sugars and spices that will make the cookies too sweet and alter the texture. Always use 100% pure pumpkin puree.
Why is cream of tartar important in this recipe?
Cream of tartar provides the tangy flavor characteristic of snickerdoodles. It also reacts with the baking soda to help the cookies rise and stay soft. Without it, they will taste more like standard sugar cookies.
How do I know when the butter is browned correctly?
Look for a golden-brown color at the bottom of the pan and smell a nutty, toasted aroma. The foam will settle down. Be careful not to let it burn, as burnt butter tastes bitter.
Can I freeze the dough before baking?
Yes. Scoop the dough balls and freeze them on a baking sheet. Once solid, transfer to a bag. Bake directly from frozen, adding 1-2 minutes to the baking time.
Why did my cookies turn out flat?
This usually happens if the butter was too warm or if the dough wasn’t chilled. Ensure the butter is cooled to room temperature and chill the dough for at least 15 minutes before baking.
Pin This Recipe!
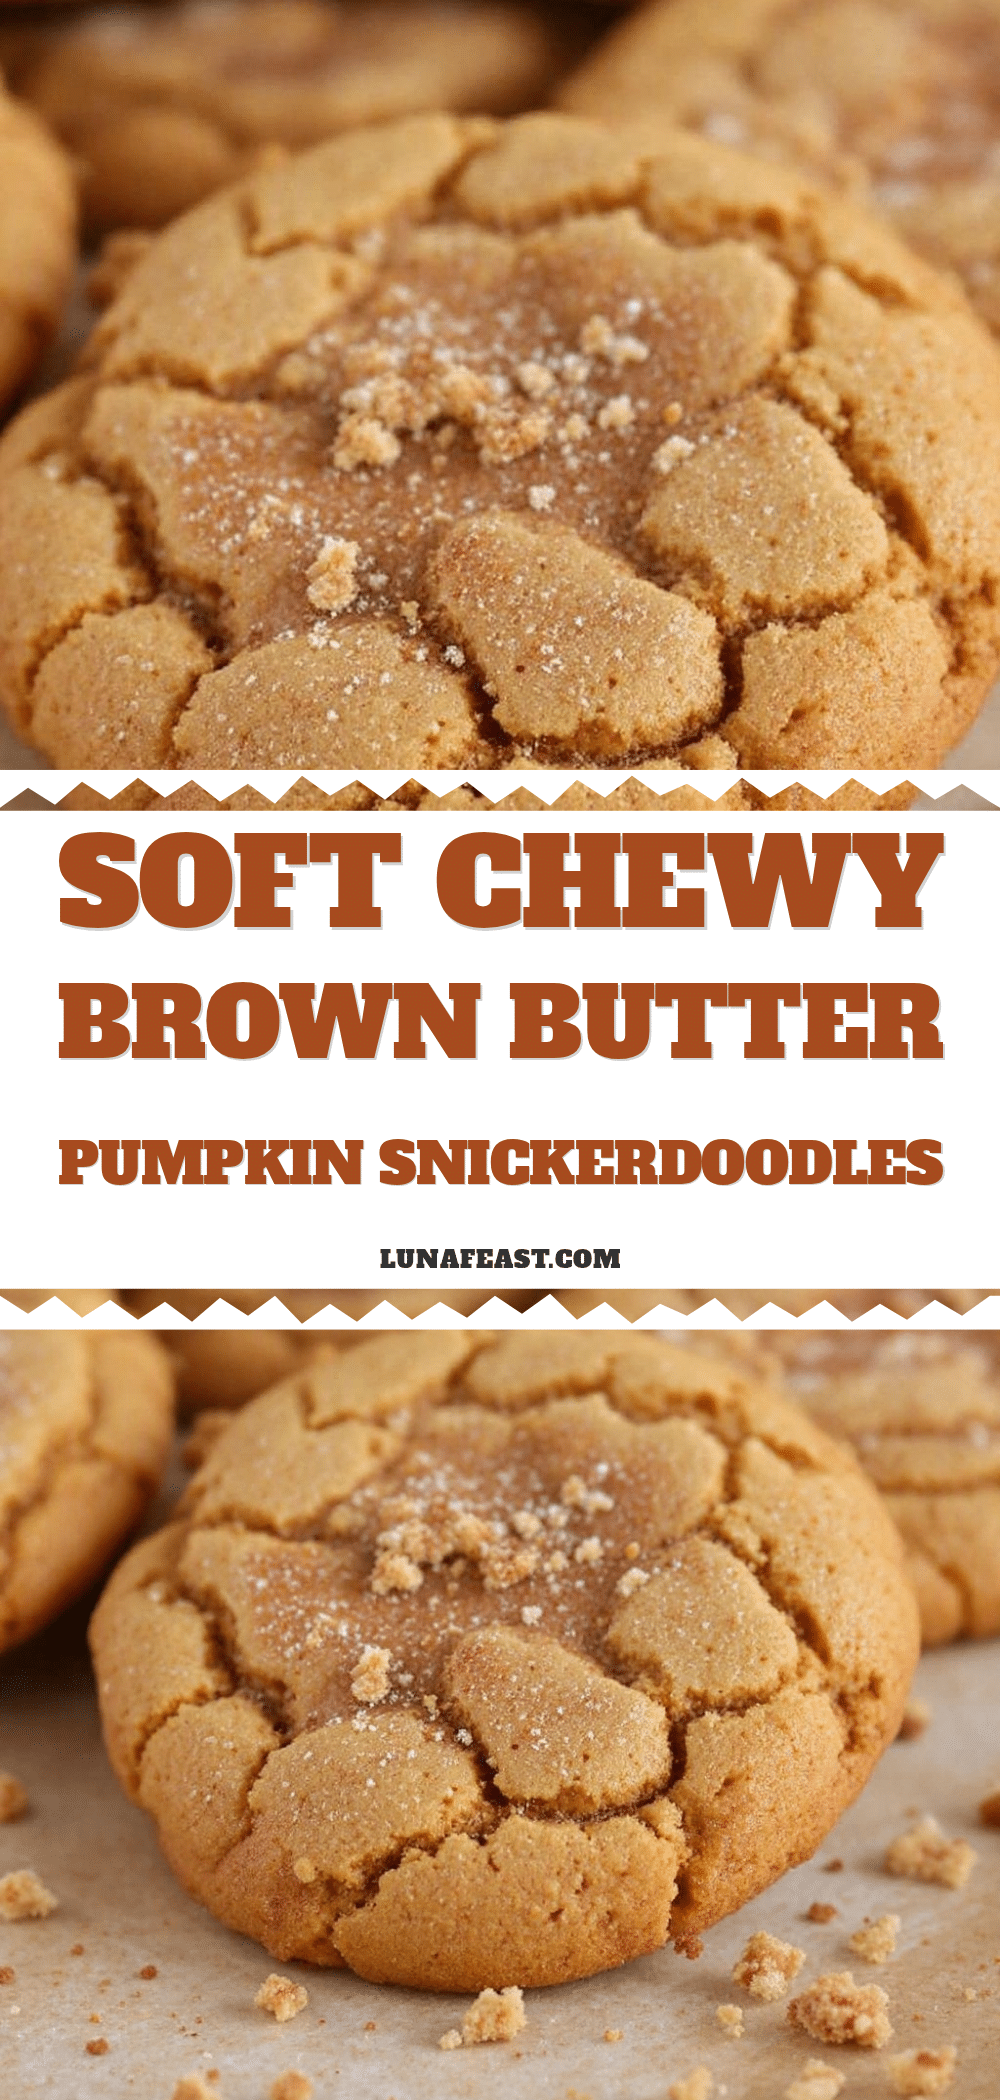
Soft Brown Butter Pumpkin Snickerdoodle Cookies
A soft, pillowy cookie that combines the tang of a traditional snickerdoodle with the warmth of pumpkin and the nutty depth of brown butter. These cookies feature a chewy center, crisp edges, and a signature cinnamon-sugar coating.
- Prep Time: 20 minutes
- Cook Time: 12 minutes
- Total Time: 32 minutes
- Yield: Approximately 24 cookies 1x
- Category: Dessert
- Cuisine: American
Ingredients
- 1 cup (2 sticks) unsalted butter
- ½ cup 100% pure pumpkin puree
- 2 ½ cups all-purpose flour
- 1 teaspoon baking soda
- 1 teaspoon cream of tartar
- ½ teaspoon baking powder
- 2 teaspoons ground cinnamon
- ½ teaspoon ground ginger
- ¼ teaspoon nutmeg
- 1 cup granulated sugar (for dough)
- ½ cup packed brown sugar
- 2 large eggs, room temperature
- 1 teaspoon vanilla extract
- ½ teaspoon salt
- ½ cup granulated sugar (for coating)
- 1 tablespoon ground cinnamon (for coating)
Instructions
- Melt butter in a heavy-bottomed saucepan over medium heat. Stir constantly until it foams, settles, and turns amber with brown specks and a nutty aroma. Remove from heat and pour into a heatproof bowl to cool for 10-15 minutes until warm.
- In a medium bowl, whisk together flour, baking soda, baking powder, cream of tartar, cinnamon, ginger, nutmeg, and salt.
- In a large bowl, combine the cooled brown butter, granulated sugar, and brown sugar. Whisk vigorously until smooth and glossy.
- Add eggs one at a time, whisking well after each addition. Add vanilla extract and pumpkin puree, whisking until fully combined.
- Gradually add dry ingredients to the wet mixture. Fold with a spatula until flour disappears. Do not overmix.
- Chill dough in the refrigerator for 15-30 minutes (optional but recommended).
- Preheat oven to 350°F (175°C). Line baking sheets with parchment paper or silicone mats.
- Mix ½ cup granulated sugar and 1 tablespoon cinnamon in a shallow bowl.
- Scoop dough balls (approx. 1.5 tablespoons) and roll in cinnamon sugar mixture. Place on baking sheets 2 inches apart.
- Bake for 10-12 minutes until edges are set and slightly golden, but centers remain soft.
- Let cookies sit on the baking sheet for 5 minutes, then transfer to a wire rack to cool completely.
Notes
Ensure butter is cooled but not melted before mixing with eggs to prevent seizing. Do not use pumpkin pie filling; use 100% pure pumpkin puree. For best texture, do not overbake; cookies firm up as they cool. Store in an airtight container with a slice of bread to maintain softness.
Nutrition
- Serving Size: 1 cookie
- Calories: 120
- Sugar: 10
- Sodium: 150
- Fat: 6
- Saturated Fat: 4
- Carbohydrates: 16
- Fiber: 0.5
- Protein: 1
Keywords: pumpkin cookies, snickerdoodle, brown butter, fall baking, soft cookies, cinnamon sugar, gluten-free option, dairy-free option


