“Hey, do you think we have enough cheese?” my friend asked, holding up a small wedge like it was about to make or break the whole party. Honestly, I had no clue if it was enough, but that moment was the start of one of the best graduation celebrations I ever hosted. The charcuterie board was supposed to be a quick afterthought—just something to throw together while the grill was warming up. But as guests gathered around, nibbling and chatting, I realized this was no ordinary snack spread. The Perfect Graduation Party Charcuterie Board transformed the vibe, making the whole night feel relaxed, festive, and a little fancy without any fuss.
It wasn’t planned like those Pinterest-perfect spreads you see online. Nope, it was more like me darting between the kitchen and backyard, grabbing whatever looked good from the fridge and pantry. Yet, somehow, it all came together beautifully. The colors, the textures, the flavors—they mixed in a way that made everyone reach for more. No one was just “snacking”; they were celebrating with every bite.
That night stuck with me because it made me realize how a simple charcuterie board could do so much more than fill plates. It created moments—conversations sparked over a slice of sharp cheddar paired with honey, laughter over the last grape tomato disappearing, and quiet smiles as everyone savored a perfect bite. If you’re wondering how to pull off a Perfect Graduation Party Charcuterie Board for Celebrations that feels effortless but looks like you spent hours, this story is for you. It’s the kind of board that invites joy, connection, and a little indulgence, all wrapped up in one beautiful platter.
Why You’ll Love This Recipe
After testing countless combinations and layouts, I can say this charcuterie board recipe is a crowd-pleaser every time. Whether you’ve thrown together snacks before or you’re totally new to boards, it’s easy to pull off with minimal stress.
- Quick & Easy: Comes together in under 30 minutes, so you can focus on celebrating rather than stressing.
- Simple Ingredients: Uses pantry staples and fresh produce you likely already have, making last-minute prep a breeze.
- Perfect for Celebrations: Ideal for graduation parties, but also works for birthdays, potlucks, or casual get-togethers.
- Crowd-Pleaser: Kids and adults alike can’t get enough of the variety—there’s something for everyone.
- Unbelievably Delicious: Balances savory, sweet, creamy, and crunchy textures for a satisfying flavor experience.
This isn’t just another charcuterie idea. The magic lies in the thoughtful ingredient pairings and a few personal touches—like sprinkling toasted nuts for crunch or drizzling a touch of aged balsamic glaze over fresh fruit. Plus, using a mix of soft and hard cheeses ensures texture variety that keeps every bite interesting.
It’s the kind of board that makes you want to close your eyes and savor each bite, the perfect backdrop to laughter and stories shared among friends. Trust me, once you try this, your graduation celebrations (and other special moments) won’t feel complete without it.
What Ingredients You Will Need
This recipe uses straightforward, wholesome ingredients to craft a board that’s as beautiful as it is tasty. You won’t need anything fancy, just a few fresh and pantry staples that come together effortlessly.
- Cheeses:
- Sharp cheddar, sliced (adds bold flavor)
- Brie, whole wheel or wedges (soft and creamy texture)
- Manchego, sliced thin (nutty and firm)
- Goat cheese log, plain or herbed (spreadable and tangy)
- Meats:
- Prosciutto, thinly sliced (delicate saltiness)
- Soppressata or salami, sliced (adds spice)
- Honey-glazed ham, rolled (a sweet touch)
- Fresh Produce:
- Seedless grapes, red and green (fresh and sweet)
- Cherry tomatoes, halved (juicy pop)
- Fresh figs or sliced pears (seasonal, adds sweetness)
- Baby carrots or cucumber slices (for crunch and color)
- Crunchy Elements:
- Marcona almonds or toasted walnuts (nutty crunch)
- Whole-grain or plain crackers (choose your favorite brand like Mary’s Gone Crackers for best texture)
- Baguette slices or mini toasts, lightly toasted
- Extras & Spreads:
- Fig jam or apricot preserves (sweet contrast)
- Honey, for drizzling
- Olives, mixed varieties (briny bite)
- Dijon mustard or grainy mustard (optional tang)
Feel free to swap goat cheese with a dairy-free version if needed, or use gluten-free crackers to keep it allergen-friendly. If fresh figs aren’t in season, dried apricots or dates work just as well. The key is balancing flavors and textures—soft cheeses against crunchy nuts, salty meats with sweet fruits. That’s what makes this board stand out.
Equipment Needed
Putting together a stunning charcuterie board doesn’t require fancy gadgets—just a few trusty kitchen tools you probably already own.
- Large wooden cutting board or serving platter: A flat surface with some size to spread out the ingredients. I prefer a rustic wooden board for that cozy feel.
- Sharp knives: For slicing cheeses, meats, and fruits cleanly. A serrated knife works great for the baguette slices.
- Small bowls or ramekins: Perfect for holding small items like olives, nuts, or spreads so they don’t roll around.
- Tongs or small serving forks: Helpful for guests to pick up items without fingers getting messy.
- Cheese knives or spreaders: For soft cheeses and goat cheese to make serving smooth.
If you don’t have a large wooden board, a few smaller plates arranged together works just fine. In a pinch, even a clean baking sheet lined with parchment can do the trick. Just remember—the presentation is part of the fun, but the goal is to keep it simple and inviting.
Preparation Method
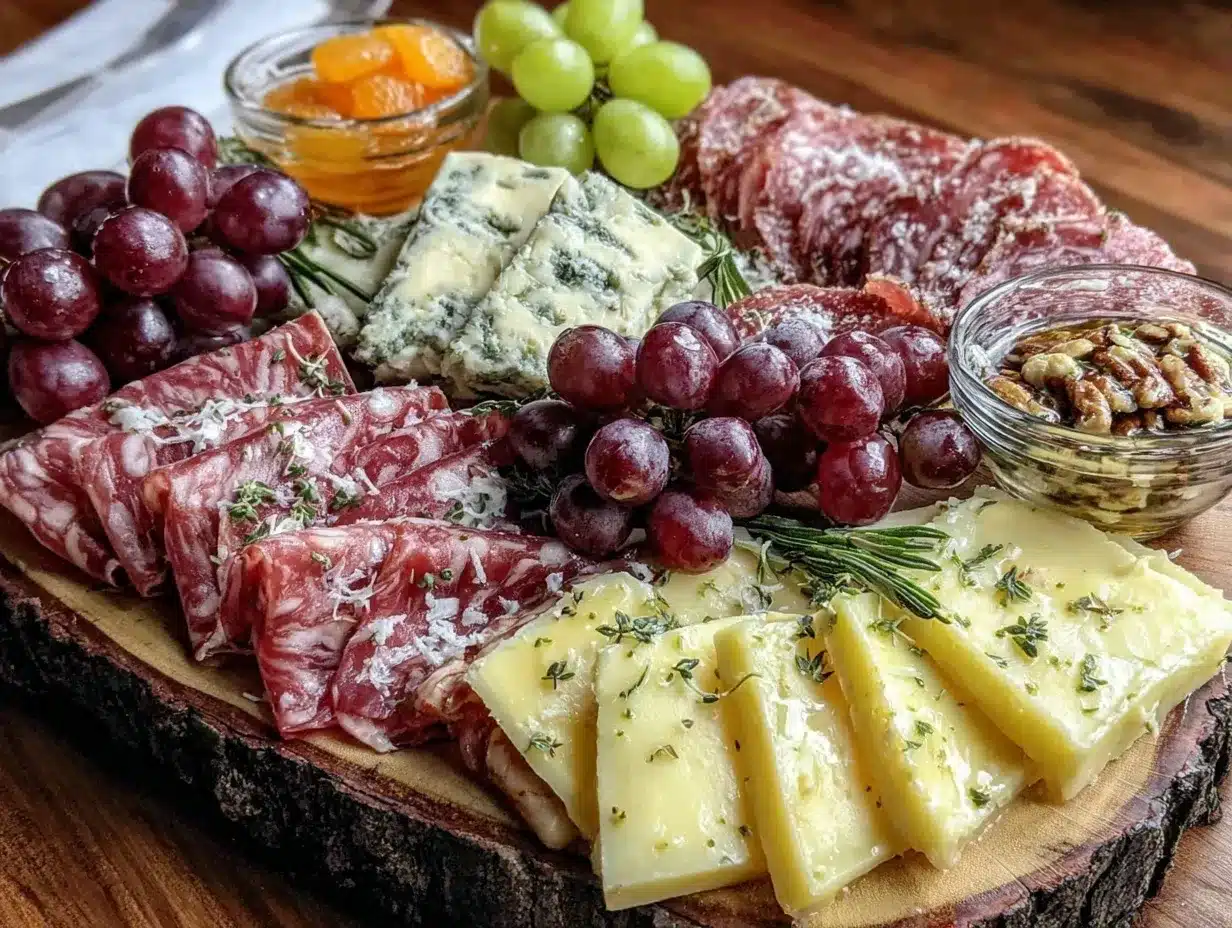
- Prep the cheeses: About 10 minutes. Slice the cheddar, manchego, and prosciutto thinly. Leave brie whole or cut into wedges. Place the goat cheese log on the board with a spreader nearby. If the brie is cold, let it sit at room temperature for 15 minutes before serving to bring out the full flavor and creamy texture.
- Arrange the meats: 5 minutes. Roll or fold slices of prosciutto, soppressata, and ham into bite-sized bundles. Place them spaced out on the board to add height and texture contrast.
- Wash and prep produce: 10 minutes. Rinse grapes and cherry tomatoes. Cut tomatoes in halves. Slice figs or pears thinly if using. Arrange these in clusters on the board for bursts of color and freshness.
- Add crunchy elements: 5 minutes. Toast baguette slices lightly if desired. Place crackers and nuts in small piles or bowls around the board to fill gaps and add crunch.
- Fill small bowls or ramekins: 3 minutes. Spoon fig jam, honey, olives, and mustard into bowls placed strategically on the board to keep wet items contained.
- Final touches: Drizzle a bit of honey over the goat cheese or fresh fruit for a sweet finish. Scatter a few fresh herb sprigs (like rosemary or thyme) for color and aroma.
- Serve with style: Provide cheese knives, spreaders, and tongs for easy serving. A few napkins or small plates nearby complete the setup.
One tip—assemble the board shortly before guests arrive to keep everything fresh and vibrant. If you need to prep ahead, slice and store ingredients separately in airtight containers, then assemble last minute.
Cooking Tips & Techniques
Charcuterie boards might look effortless, but a few tricks make a big difference in presentation and flavor balance.
- Balance the textures: Make sure to include a mix of creamy (brie, goat cheese), crunchy (nuts, crackers), chewy (dried fruits), and fresh (grapes, tomatoes) elements to keep each bite interesting.
- Don’t overcrowd: Leave a little space between items to avoid a cluttered look. Negative space helps each ingredient shine.
- Temperature matters: Bring cheeses to room temperature before serving so flavors bloom. Cold cheese tastes dull and firm.
- Use odd numbers: Arrange items in groups of three or five for a natural, visually appealing setup.
- Roll or fold meats: This adds height and makes grabbing slices easier. Don’t just lay them flat.
- Fresh herbs or edible flowers: Adding small sprigs of rosemary or thyme not only looks pretty but adds a subtle aroma. Just don’t overdo it.
- Practice makes perfect: The first time I made this board, I piled everything together too tightly. Since then, spacing and layering have become my go-to approach for a balanced look.
Variations & Adaptations
This charcuterie board is flexible and easy to adapt depending on your guest preferences or what’s in season.
- Vegetarian Version: Skip the meats and add marinated artichokes, roasted red peppers, and extra nuts or crunchy chickpeas.
- Seasonal Twists: In the fall, swap fresh figs for roasted butternut squash cubes or sliced apples. During summer, add juicy watermelon chunks or fresh peaches.
- Diet-Friendly Options: Use gluten-free crackers or seed crackers for gluten sensitivity. Swap cheeses for dairy-free alternatives like cashew-based spreads.
- Spicy Kick: Add pickled jalapeños or a spicy salami to bring heat to the board.
- Personal Favorite Variation: I once made a version featuring smoked salmon alongside cream cheese dollops, capers, and fresh dill. It was an unexpected hit and added a nice seafood twist perfect for more upscale celebrations.
Serving & Storage Suggestions
Serve your charcuterie board at room temperature so all the flavors come through. If you’ve chilled the cheeses or meats, take them out about 30 minutes before serving.
Pair it with crisp white wine, sparkling water, or a light rosé for a refreshing contrast. Complementary dishes like fresh salads or a simple pasta salad go well if you want to round out the meal.
To store leftovers, wrap each component separately in plastic wrap or airtight containers and refrigerate. Cheeses can last 3-5 days, while fresh produce is best eaten within 1-2 days for optimal texture.
When reheating bread or toasts, a quick 5-minute warm-up in the oven at 350°F (175°C) brings back that perfect crunch. Keep in mind that the flavors often meld and deepen overnight, so sometimes a next-day board tastes even better.
Nutritional Information & Benefits
This charcuterie board offers a balanced mix of protein, healthy fats, and fiber. Cheeses provide calcium and quality protein, while fresh fruits lend vitamins and antioxidants.
Including nuts adds heart-healthy fats and a satisfying crunch, making it a more wholesome option than typical party snacks. The fresh produce also adds hydration and fiber, which help balance the richness of meats and cheeses.
For those watching carbs, this board can be customized easily by choosing low-carb crackers or skipping the bread. It’s naturally gluten-free if you avoid wheat crackers, and dairy-free versions can be included with alternative cheeses.
Overall, it’s a festive, satisfying spread that feels indulgent but includes nutritious ingredients, perfect for celebrating milestones with a bit of mindful eating.
Conclusion
The Perfect Graduation Party Charcuterie Board for Celebrations has become one of my go-to recipes because it’s so adaptable, delicious, and inviting. It’s the kind of dish that turns casual gatherings into memorable moments without fuss or stress.
Feel free to make it your own by swapping ingredients and adding personal touches based on your guests’ tastes. I love how this board brings people together—everyone finds a favorite bite and the conversation flows naturally.
If you’re planning a celebration, this charcuterie board recipe will make your party feel special and effortless at the same time. I’d love to hear how you customize yours or what unexpected combos you try next!
Here’s to many more celebrations filled with good food, laughter, and shared joy.
FAQs
- How far in advance can I prepare the charcuterie board? You can prep most ingredients a day ahead but assemble the board just before serving for freshness.
- What cheeses work best for a graduation charcuterie board? A mix of soft (brie, goat cheese) and hard (cheddar, manchego) cheeses creates great texture and flavor balance.
- Can I make this board vegan or dairy-free? Absolutely! Use vegan cheeses, skip meats, and add extra veggies, nuts, and fruit for variety.
- What should I serve with the charcuterie board? Light wines, sparkling water, or a rosé pair wonderfully. For food, simple salads or easy pasta dishes complement the board well.
- How can I make the board look more festive? Add fresh herbs, edible flowers, or colorful seasonal fruits to brighten up the presentation.
Before you go, if you enjoy easy party recipes, you might like the creamy buffalo chicken dip that’s always a hit at gatherings. Also, for a morning-after treat or a brunch companion, the fluffy sheet pan pancakes make feeding a crowd simple and delicious.
Pin This Recipe!
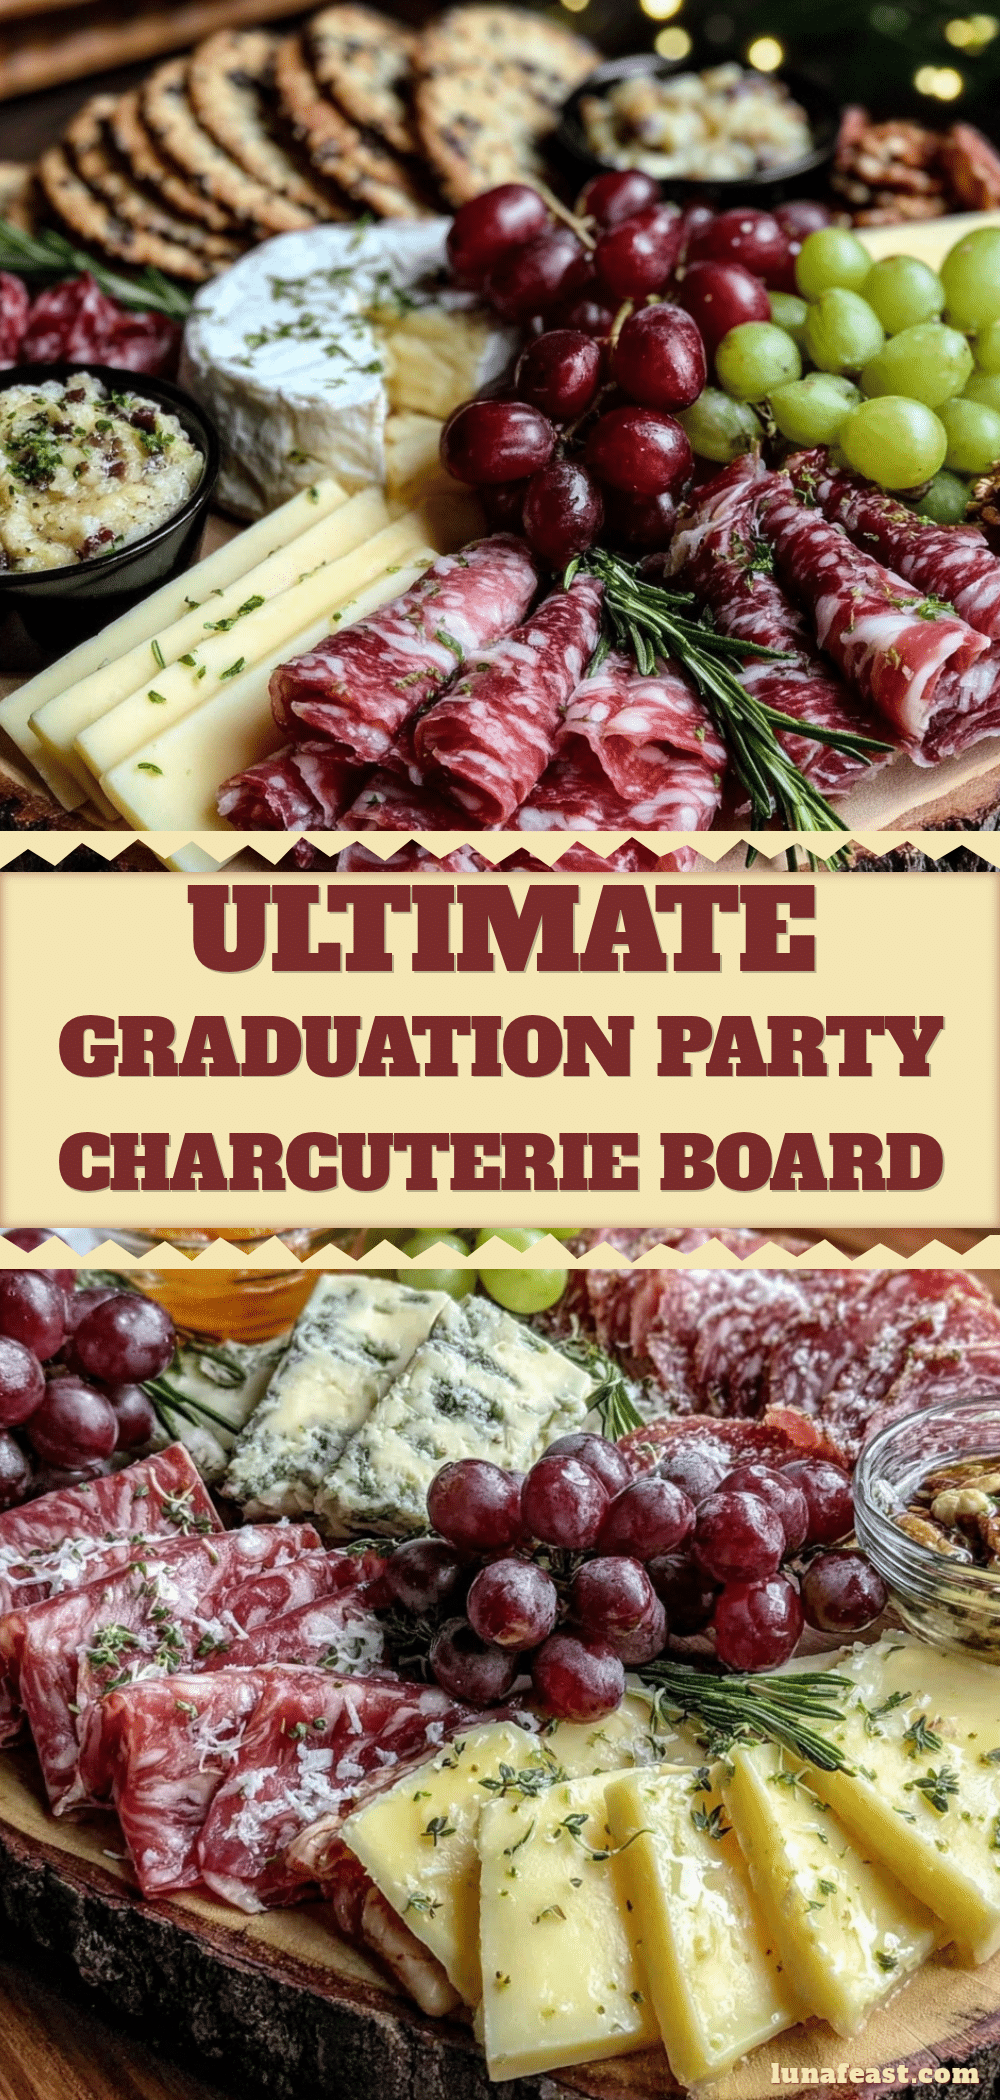
Perfect Graduation Party Charcuterie Board

An easy, crowd-pleasing charcuterie board perfect for graduation parties and celebrations, featuring a balanced mix of cheeses, meats, fresh produce, nuts, and crackers for a festive and delicious spread.
- Prep Time: 25 minutes
- Cook Time: 5 minutes
- Total Time: 30 minutes
- Yield: 8 servings
- Category: Appetizer
- Cuisine: American
Ingredients
- Sharp cheddar cheese, sliced
- Brie cheese, whole wheel or wedges
- Manchego cheese, sliced thin
- Goat cheese log, plain or herbed
- Prosciutto, thinly sliced
- Soppressata or salami, sliced
- Honey-glazed ham, rolled
- Seedless grapes, red and green
- Cherry tomatoes, halved
- Fresh figs or sliced pears
- Baby carrots or cucumber slices
- Marcona almonds or toasted walnuts
- Whole-grain or plain crackers
- Baguette slices or mini toasts, lightly toasted
- Fig jam or apricot preserves
- Honey, for drizzling
- Olives, mixed varieties
- Dijon mustard or grainy mustard (optional)
Instructions
- Prep the cheeses: Slice cheddar, manchego, and prosciutto thinly. Leave brie whole or cut into wedges. Place goat cheese log on the board with a spreader nearby. Let brie sit at room temperature for 15 minutes before serving if cold.
- Arrange the meats: Roll or fold slices of prosciutto, soppressata, and ham into bite-sized bundles. Place spaced out on the board to add height and texture contrast.
- Wash and prep produce: Rinse grapes and cherry tomatoes. Halve tomatoes. Slice figs or pears thinly if using. Arrange in clusters on the board.
- Add crunchy elements: Toast baguette slices lightly if desired. Place crackers and nuts in small piles or bowls around the board.
- Fill small bowls or ramekins: Spoon fig jam, honey, olives, and mustard into bowls placed strategically on the board.
- Final touches: Drizzle honey over goat cheese or fresh fruit. Scatter fresh herb sprigs like rosemary or thyme for color and aroma.
- Serve with style: Provide cheese knives, spreaders, and tongs for easy serving. Have napkins or small plates nearby.
Notes
Assemble the board shortly before guests arrive to keep ingredients fresh. Bring cheeses to room temperature before serving for best flavor. Use odd numbers of items for visual appeal. Store leftovers separately wrapped and refrigerate. Reheat bread/toasts in oven at 350°F for 5 minutes to restore crunch.
Nutrition
- Serving Size: Approximately 1/8th
- Calories: 320
- Sugar: 8
- Sodium: 520
- Fat: 22
- Saturated Fat: 9
- Carbohydrates: 15
- Fiber: 3
- Protein: 12
Keywords: charcuterie board, graduation party, easy appetizer, cheese board, party snacks, celebration food, crowd-pleaser