I burned banana bread seven times before I figured out the sour cream trick. Not burned the whole loaf—just the bottom crust, that dark, bitter layer that tastes like regret and makes you pick at it with a butter knife, hoping to salvage the middle. For years, I thought I was doing something wrong, or that my oven had a personal vendetta against quick breads. Turns out, the problem was moisture—or rather, the lack of it. I was using the same recipe my grandmother clipped from a magazine in 1972, and it was dry, dense, and honestly, kind of boring. It wasn’t until a friend mentioned adding sour cream to her banana bread that I stopped and actually listened. She said it like it was obvious, like everyone knew this secret except me. And she was right.
The first time I tried it, I was skeptical. Sour cream in a sweet bread? It felt wrong, like putting ketchup on a birthday cake. But I had three overripe bananas on the counter, the kind that attract fruit flies, and I was desperate for something that didn’t taste like a cardboard brick. I folded in a half-cup of full-fat sour cream, crossed my fingers, and slid the pan into the oven. Forty-five minutes later, I pulled out a loaf that was golden on top, tender in the middle, and—miracle of miracles—not burned on the bottom. The crumb was soft, almost velvety, and the banana flavor was somehow more intense, like the sour cream had woken it up. I ate two slices standing at the counter, still warm, butter melting into every nook. That was the moment I stopped being a banana bread skeptic and started being a banana bread evangelist.
This recipe is the one I’ve made at least twice a month for the last three years. It’s the one I bring to potlucks, the one I bake when friends have a bad day, the one that disappears fastest from the kitchen counter. The sour cream isn’t just a gimmick—it’s the thing that makes this bread stay moist for days, that gives it a tender crumb without being gummy, that keeps the bottom from turning into a charcoal disc. I’ve tested it with low-fat sour cream, Greek yogurt, and even buttermilk, and nothing works quite like the real deal. So trust me on this one. I burned a lot of banana bread so you don’t have to.
Why You’ll Love This Recipe
Let me tell you why this particular loaf is worth your time—and your precious ripe bananas. I’ve tested this recipe more times than I can count, tweaking the flour ratio, the baking time, and the sour cream amount until it was absolutely perfect. Here’s what makes it stand out:
- Incredibly Moist: The sour cream adds fat and acidity, which keeps the bread tender and prevents that dry, crumbly texture you get with standard recipes. It stays moist for up to four days—if it lasts that long.
- Simple Ingredients: You probably have everything in your kitchen right now. No fancy extracts, no weird specialty flours, no trips to a gourmet grocery store. Just pantry staples that come together beautifully.
- Perfect for Overripe Bananas: You know those sad, spotty bananas sitting on your counter? They’re perfect for this recipe. In fact, the riper they are, the better the bread tastes. It’s the ultimate rescue mission for neglected fruit.
- Crowd-Pleaser: I’ve brought this to brunches, office parties, and family gatherings, and it always gets the same reaction—quiet smiles, a second slice, and someone asking for the recipe. It’s not flashy, but it’s reliably delicious.
- Foolproof Method: No complicated techniques, no stand mixer required, no temperamental steps. If you can mash bananas and stir a bowl, you can make this bread. It’s forgiving, too—I’ve accidentally overmixed it, underbaked it, and even dropped the pan (don’t ask), and it still turned out great.
This isn’t just another banana bread recipe. It’s the one that makes you close your eyes after the first bite, the one that reminds you why simple food can be so satisfying. It’s comfort food at its finest—warm, sweet, buttery, and made with love. And honestly? It’s the kind of recipe that makes you feel like a better baker than you actually are.
What Ingredients You Will Need
This recipe uses simple, wholesome ingredients to deliver that signature moist texture and rich banana flavor. Most of these are pantry staples, so you can whip up a loaf whenever those spotty bananas start calling your name from the counter.
- Ripe Bananas (3 medium, mashed, about 1 ½ cups): The darker and spotter, the better. Really ripe bananas have more sugar and a stronger flavor, which makes the bread taste deeper and sweeter. If your bananas aren’t quite ripe enough, you can roast them in the oven at 300°F for 15 minutes to speed things up.
- All-Purpose Flour (1 ¾ cups, 210g): Standard all-purpose flour gives the bread a tender but sturdy crumb. I’ve tested this with bread flour and it was too tough, so stick with AP. For a whole wheat option, substitute up to half the flour with whole wheat pastry flour.
- Granulated Sugar (¾ cup, 150g): Just enough sweetness to complement the bananas without being cloying. You can reduce it to ½ cup if your bananas are extremely ripe and sweet.
- Sour Cream (½ cup, 120g, full-fat preferred): This is the secret weapon. The fat and acidity tenderize the gluten, keeping the bread soft and moist. I use full-fat Daisy sour cream for the best results—low-fat versions have more water and less fat, which can make the bread denser. Greek yogurt works in a pinch, but the texture won’t be quite as tender.
- Unsalted Butter (½ cup, 113g, melted and cooled): Butter adds richness and flavor. I prefer unsalted so I can control the salt level. If you only have salted butter, reduce the added salt to ¼ teaspoon.
- Large Eggs (2, room temperature): Eggs provide structure and help bind everything together. Room temperature eggs incorporate more evenly into the batter, so take them out of the fridge 30 minutes before baking.
- Vanilla Extract (1 teaspoon): A splash of vanilla enhances the banana flavor without overpowering it. Use pure vanilla extract if you have it—the flavor is noticeably better than imitation.
- Baking Soda (1 teaspoon): This is the primary leavening agent. Make sure it’s fresh—test it by dropping a little into vinegar; if it fizzes vigorously, it’s still active.
- Salt (½ teaspoon): Salt balances the sweetness and enhances all the flavors. Don’t skip it, even if you’re watching your sodium—it makes a real difference.
- Optional Mix-ins: ½ cup chopped walnuts, pecans, or chocolate chips. I love adding dark chocolate chips for a little indulgence, but the bread is fantastic plain too.
Equipment Needed
You don’t need a fancy kitchen to make this banana bread. Here’s what you’ll need:
- 9×5-inch Loaf Pan: Standard size works best. If you use an 8×4 pan, you’ll need to increase the baking time by 5-10 minutes. Glass or ceramic pans also work, but they conduct heat differently—check for doneness a few minutes early.
- Large Mixing Bowl: For mashing bananas and combining wet ingredients.
- Medium Mixing Bowl: For whisking dry ingredients.
- Whisk or Fork: For mashing bananas and mixing. I actually prefer a potato masher for the bananas—it’s faster and gives you more control over the texture.
- Rubber Spatula: For folding the batter together without overmixing.
- Parchment Paper: Lining the pan makes removal a breeze. You can also grease the pan with butter and dust it with flour, but parchment is easier.
- Cooling Rack: Essential for even cooling. If you don’t have one, you can use the inverted loaf pan lid or even a clean dish towel—just make sure air can circulate underneath.
- Toothpick or Cake Tester: For checking doneness. A wooden skewer works too.
If you don’t have a loaf pan, you can bake this in an 8×8 square pan or even a muffin tin (bake muffins for 18-22 minutes). The texture will be slightly different, but it’ll still be delicious.
Preparation Method
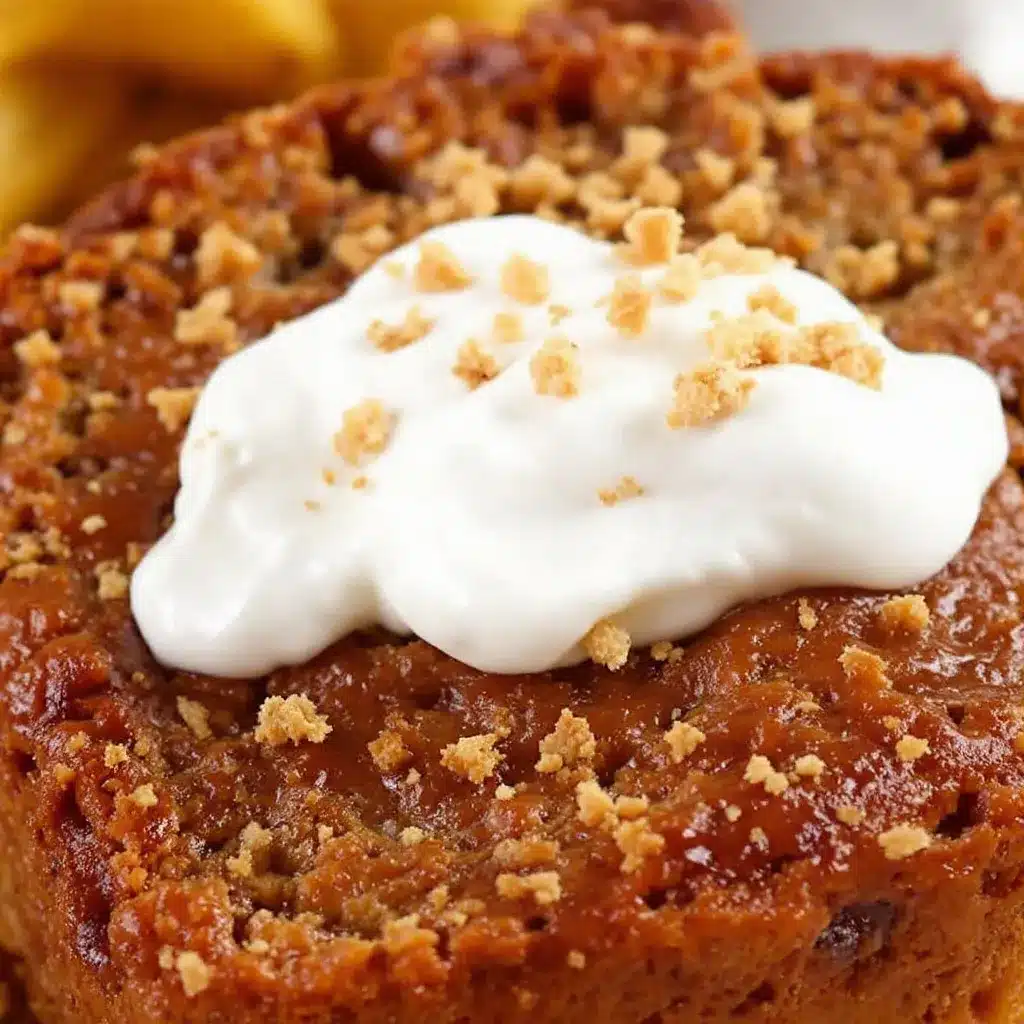
Let’s walk through this step by step. I promise it’s easier than you think.
- Preheat your oven to 350°F (175°C). Position the rack in the center of the oven. While it’s heating, line your 9×5-inch loaf pan with parchment paper, leaving a little overhang on the two long sides—this creates handles for easy removal. Grease the exposed ends lightly with butter or nonstick spray.
- Mash the bananas. In a large mixing bowl, add your three ripe bananas. Mash them with a fork or potato masher until they’re mostly smooth with a few small lumps. You want some texture—completely smooth puree can make the bread a bit gummy. Aim for a consistency that looks like chunky applesauce. Measure out 1 ½ cups of mashed banana; if you have extra, save it for smoothies.
- Add the wet ingredients. To the mashed bananas, add the melted and cooled butter, sour cream, eggs, and vanilla extract. Whisk everything together until smooth and well combined. The mixture will look slightly curdled at first—that’s normal, especially if your eggs were cold. Just keep whisking until it comes together.
- Whisk the dry ingredients. In a separate medium bowl, whisk together the flour, sugar, baking soda, and salt. Make sure the baking soda is evenly distributed—clumps can cause uneven rising. If you’re adding mix-ins like nuts or chocolate chips, toss them in the flour mixture now; this keeps them from sinking to the bottom of the loaf.
- Combine wet and dry ingredients. Pour the dry ingredients into the bowl with the wet ingredients. Use a rubber spatula to fold them together gently. Stir just until you no longer see streaks of flour—about 10 to 12 folds. A few small lumps are totally fine. Overmixing at this stage develops gluten, which will make your bread tough and dense instead of tender. Trust me, I’ve made that mistake more times than I care to admit.
- Pour the batter into the prepared pan. Use your spatula to scrape every last bit into the pan. Spread the batter evenly, smoothing the top. Give the pan a gentle tap on the counter to release any air bubbles.
- Bake for 50-60 minutes. Place the pan in the preheated oven and bake until a toothpick inserted into the center comes out clean or with just a few moist crumbs. The top should be golden brown and cracked in a few places—that’s a good sign. If the top is browning too quickly (after about 40 minutes), tent the pan loosely with aluminum foil for the remaining bake time.
- Cool in the pan for 10 minutes. This allows the bread to set and makes it easier to remove. Then, use the parchment handles to lift the loaf out of the pan and transfer it to a wire rack. Let it cool completely before slicing—about 1 hour. I know it’s tempting to cut into it warm, but it will be too fragile and might crumble. Patience pays off here.
Sensory cues to watch for: The batter should be thick but scoopable, like a very thick cake batter. When the bread is done, the kitchen will smell incredible—like a bakery. The top will be a deep golden brown, and the loaf will feel firm to the touch but spring back slightly when pressed. If you hear a faint crackling sound as it cools, that’s the crust settling—perfectly normal.
Cooking Tips & Techniques
After making this recipe dozens of times, I’ve picked up a few tricks that make a real difference. Here are my best tips:
- Don’t overmix the batter. This is the number one mistake people make. Mix until the flour just disappears—a few streaks are fine. Overmixing develops gluten, which makes the bread tough. Think of it like making pancakes; you want a tender crumb, not a chewy one.
- Use room temperature ingredients. Cold eggs and sour cream can seize the melted butter, creating a lumpy batter that doesn’t bake evenly. Take everything out of the fridge 30 minutes before you start. If you forget, place the eggs in a bowl of warm water for 5 minutes, and microwave the sour cream for 10 seconds on low power.
- Check for doneness with a thermometer. If you have an instant-read thermometer, the internal temperature of the bread should be around 200-205°F when it’s done. This is more reliable than the toothpick test, especially if you’re baking at high altitude or in a humid climate.
- Let it cool completely. I know I said this already, but it’s worth repeating. Slicing warm banana bread is like trying to cut warm butter—it just squishes. The bread continues to set as it cools, and the flavor actually deepens. If you can wait overnight, the texture will be even better the next day.
- Use the parchment paper trick. Lining the pan with parchment paper with overhang makes removal effortless. No more fighting with a stuck loaf or having it break apart when you try to flip it out.
- Toast leftover slices. If your bread is a day or two old, pop a slice in the toaster or toaster oven for a few minutes. The outside gets crispy, the inside stays soft, and it tastes almost as good as fresh. Add a pat of butter while it’s still warm—pure heaven.
Variations & Adaptations
One of the best things about this recipe is how versatile it is. Here are some of my favorite variations:
- Chocolate Chip Banana Bread: Fold in ½ cup of dark chocolate chips (or semi-sweet, if you prefer) along with the dry ingredients. The chocolate melts into little pockets of gooey goodness. I’ve also used white chocolate chips for a sweeter version, but dark chocolate is my go-to.
- Nutty Banana Bread: Add ½ cup of chopped walnuts or pecans. Toast them in a dry skillet over medium heat for 3-4 minutes first—it brings out their nutty flavor and keeps them crunchy in the bread. I learned this trick from my mom, and it makes a world of difference.
- Gluten-Free Version: Substitute the all-purpose flour with a 1:1 gluten-free baking flour blend (like Bob’s Red Mill). Add 1 teaspoon of xanthan gum if your blend doesn’t already include it. The texture will be slightly more delicate, but it’s still delicious.
- Vegan Adaptation: Use flax eggs (2 tablespoons ground flaxseed mixed with 6 tablespoons water) and a dairy-free sour cream or coconut yogurt. The texture won’t be quite as tender, but it’s a solid option for plant-based eaters.
- Spiced Banana Bread: Add 1 teaspoon of cinnamon, ½ teaspoon of nutmeg, and ¼ teaspoon of ground ginger to the dry ingredients. This gives the bread a warm, cozy flavor that’s perfect for fall. I like to serve this version with a dollop of honey butter.
- Banana Muffins: Pour the batter into a greased or lined muffin tin and bake at 350°F for 18-22 minutes. You’ll get about 12 muffins. They’re perfect for grab-and-go breakfasts or lunchbox treats. If you’re looking for more lunchbox inspiration, these muffins pair beautifully with our turkey ranch pinwheel rolls for a balanced meal.
Serving & Storage Suggestions
This banana bread is wonderful in so many ways. Here’s how to serve and store it:
- Serving Temperature: Enjoy it warm or at room temperature. A slice straight from the oven with a pat of salted butter is hard to beat. For a little indulgence, try it toasted with a drizzle of honey or maple syrup.
- Presentation: Slice the loaf into even pieces, about 1-inch thick. Arrange them on a plate or platter, and dust with a little powdered sugar if you’re feeling fancy. Fresh berries or a dollop of whipped cream make it feel like a dessert.
- Pairings: This bread is fantastic with a cup of coffee or tea in the morning. For a more substantial breakfast, serve it alongside scrambled eggs or yogurt. It also pairs beautifully with our apple cider donut muffins for a brunch spread that’s sure to impress.
- Storage: Store the bread in an airtight container at room temperature for up to 4 days. If you live in a humid climate, you can store it in the refrigerator, but it will dry out faster. To keep it extra moist, wrap it in plastic wrap first, then place it in the container.
- Freezing: This bread freezes beautifully. Wrap the cooled loaf (or individual slices) tightly in plastic wrap, then in aluminum foil. Freeze for up to 3 months. To thaw, leave it at room temperature for a few hours or pop a slice in the microwave for 15-20 seconds.
- Reheating: For a quick fix, microwave a slice for 10-15 seconds. For a crispier exterior, toast it in a toaster or under the broiler for 1-2 minutes. The flavors actually deepen after a day or two, so day-old bread can be even better than fresh.
Nutritional Information & Benefits
Here’s the approximate nutritional breakdown for one slice (assuming 10 slices per loaf):
- Calories: 280
- Fat: 12g
- Carbohydrates: 38g
- Fiber: 2g
- Sugar: 18g
- Protein: 5g
Health Benefits: Bananas are a great source of potassium, vitamin B6, and vitamin C. They also contain resistant starch, which can support digestive health. The sour cream adds calcium and probiotics (if you use a live-culture brand), which are beneficial for gut health. While this bread is a treat, it’s made with real, whole ingredients—no preservatives, no artificial flavors, just honest food.
Dietary Considerations: This recipe contains gluten, dairy, and eggs. For a gluten-free option, see the variations section above. For a dairy-free version, use a plant-based butter and dairy-free sour cream or coconut yogurt. For a lower-sugar version, reduce the granulated sugar to ½ cup and use very ripe bananas for natural sweetness.
I personally love that this bread feels like a wholesome indulgence. It’s not health food, but it’s made with ingredients I feel good about—and it’s so much better than anything you’d buy at a store.
Conclusion
This moist classic banana bread with sour cream is the recipe I turn to again and again. It’s simple, reliable, and absolutely delicious—the kind of bread that makes you feel like a hero when you pull it out of the oven. The sour cream is the secret that makes it special, keeping the crumb tender and the flavor deep, and it’s a trick I’m so glad I finally learned.
I hope you give this recipe a try, whether you’re a seasoned baker or someone who’s never made banana bread before. It’s forgiving, it’s rewarding, and it’s the perfect way to use up those spotty bananas sitting on your counter. Feel free to customize it with your favorite mix-ins—nuts, chocolate chips, a sprinkle of cinnamon—and make it your own. That’s the beauty of a good recipe; it’s a starting point, not a rulebook.
If you make this banana bread, I’d love to hear about it. Leave a comment below and let me know how it turned out, or share a photo on social media and tag me. Did you add something unexpected? Did you double the batch? Did you eat the whole loaf in one day? (No judgment here—I’ve been there.) Your feedback helps other readers know what works, and it makes this whole blogging thing feel a little less lonely. Happy baking, friends—you’ve got this.
Frequently Asked Questions
Can I use Greek yogurt instead of sour cream?
Yes, you can substitute Greek yogurt for sour cream in this recipe. Use full-fat plain Greek yogurt for the best results—it has a similar thickness and tanginess. The texture will be slightly less tender, but it’s still a great option if you’re out of sour cream or want to lighten things up a bit.
Why did my banana bread sink in the middle?
A sunken middle usually means the bread was underbaked or the oven temperature was too low. Make sure your oven is properly preheated to 350°F and bake until a toothpick inserted in the center comes out clean. Another common cause is opening the oven door too early—try to resist peeking for the first 40 minutes.
Can I freeze this banana bread?
Absolutely! This bread freezes beautifully. Wrap the cooled loaf tightly in plastic wrap, then in aluminum foil, and freeze for up to 3 months. You can also freeze individual slices for quick grab-and-go treats. Thaw at room temperature or microwave for 15-20 seconds.
How do I know when my bananas are ripe enough?
Look for bananas that are heavily spotted with brown or even black patches. The skin should be soft and the fruit inside should be very sweet and almost mushy. If your bananas aren’t ripe enough, you can speed up the process by placing them in a paper bag with an apple overnight, or roasting them in the oven at 300°F for 15 minutes.
Can I make this recipe into muffins instead of a loaf?
Yes! This batter works perfectly for muffins. Grease or line a 12-cup muffin tin and fill each cup about ¾ full. Bake at 350°F for 18-22 minutes, or until a toothpick inserted into the center comes out clean. You’ll get about 12 muffins, and they’re perfect for breakfast on the go or lunchbox treats.
Pin This Recipe!
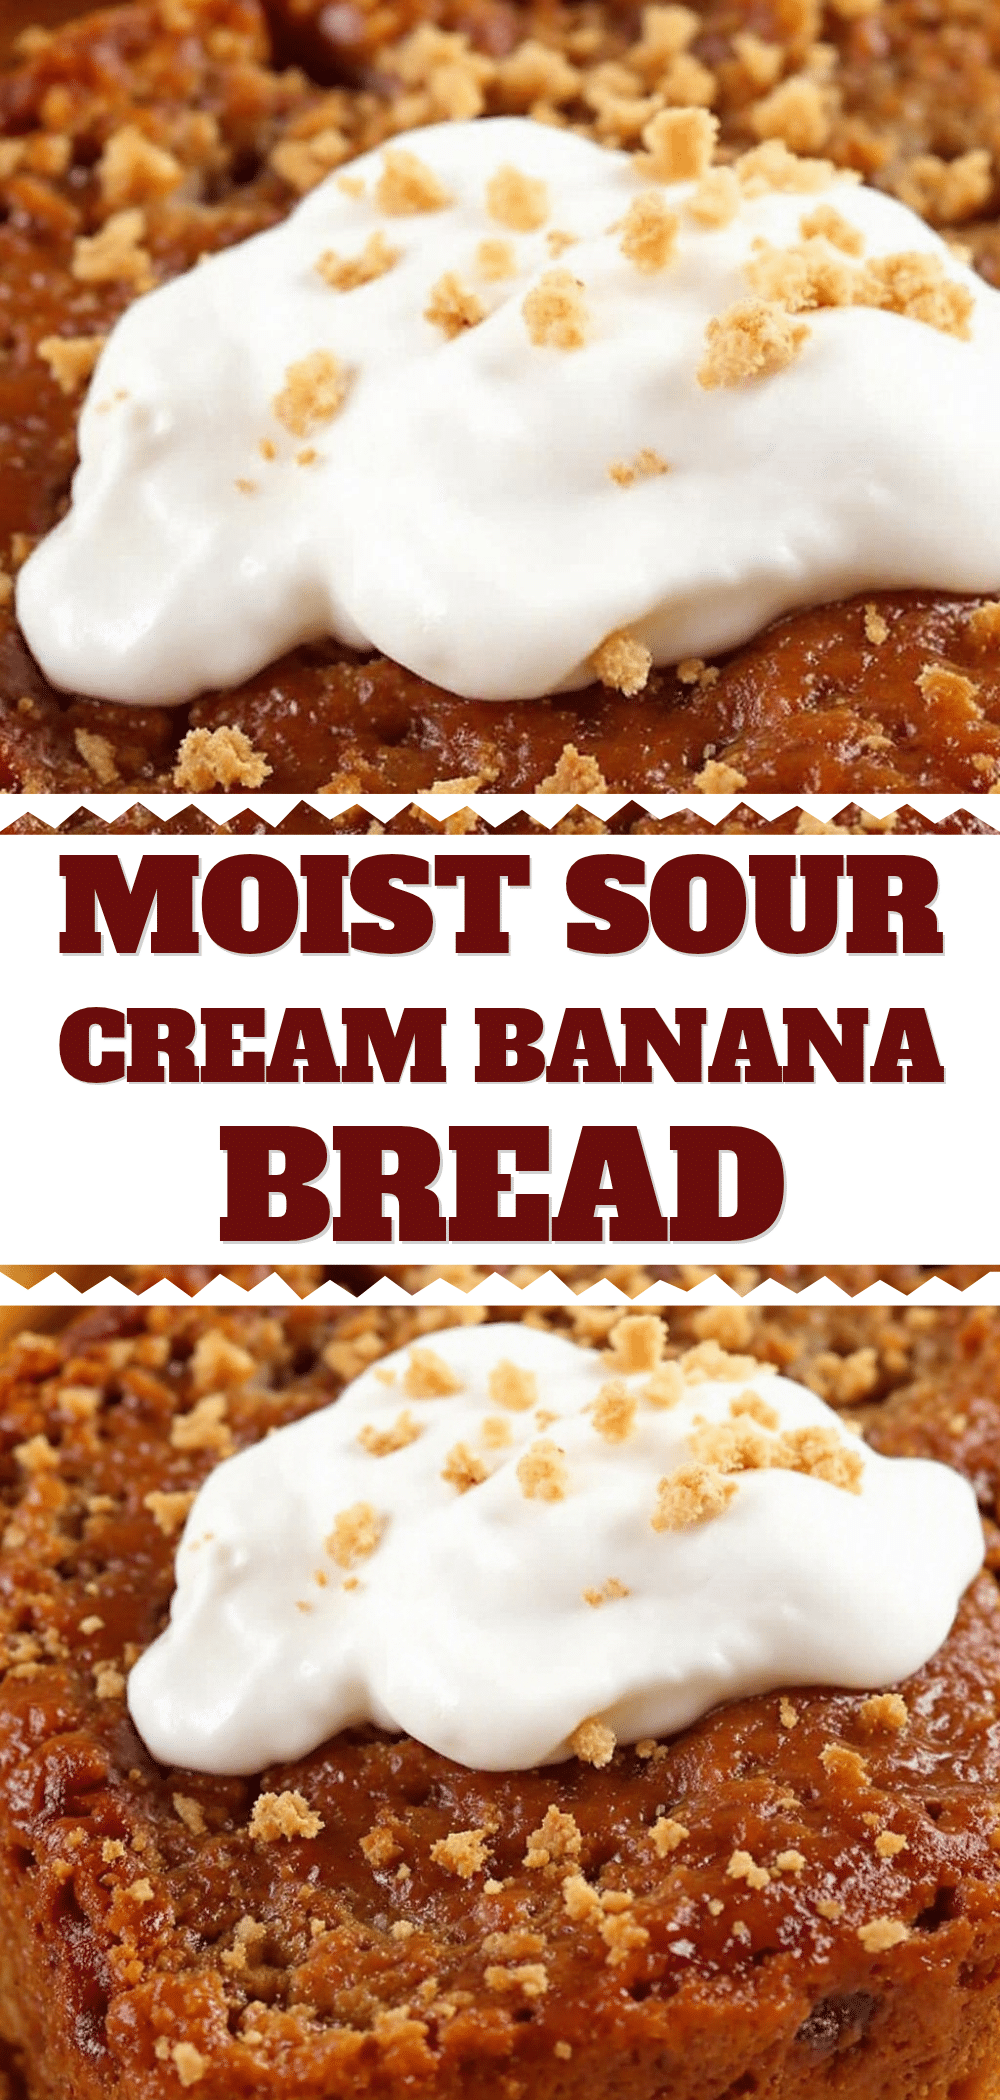
Moist Classic Banana Bread with Sour Cream Recipe
This moist classic banana bread with sour cream is the recipe I turn to again and again. It’s simple, reliable, and absolutely delicious—the kind of bread that makes you feel like a hero when you pull it out of the oven.
- Prep Time: 15 minutes
- Cook Time: 55 minutes
- Total Time: 1 hour 10 minutes
- Yield: 10 servings 1x
- Category: Dessert
- Cuisine: American
Ingredients
- 3 medium ripe bananas (mashed, about 1 ½ cups)
- 1 ¾ cups all-purpose flour (210g)
- ¾ cup granulated sugar (150g)
- ½ cup full-fat sour cream (120g)
- ½ cup unsalted butter (113g, melted and cooled)
- 2 large eggs (room temperature)
- 1 teaspoon vanilla extract
- 1 teaspoon baking soda
- ½ teaspoon salt
- ½ cup chopped walnuts, pecans, or chocolate chips (optional)
Instructions
- Preheat your oven to 350°F (175°C). Position the rack in the center of the oven. Line a 9×5-inch loaf pan with parchment paper, leaving overhang on the two long sides. Grease the exposed ends lightly with butter or nonstick spray.
- In a large mixing bowl, mash the ripe bananas with a fork or potato masher until mostly smooth with a few small lumps. Measure out 1 ½ cups of mashed banana.
- Add the melted and cooled butter, sour cream, eggs, and vanilla extract to the mashed bananas. Whisk until smooth and well combined.
- In a separate medium bowl, whisk together the flour, sugar, baking soda, and salt. If adding mix-ins like nuts or chocolate chips, toss them in the flour mixture now.
- Pour the dry ingredients into the bowl with the wet ingredients. Use a rubber spatula to fold together gently, just until no streaks of flour remain (about 10 to 12 folds). Do not overmix.
- Pour the batter into the prepared loaf pan. Spread evenly and smooth the top. Tap the pan gently on the counter to release air bubbles.
- Bake for 50-60 minutes, until a toothpick inserted into the center comes out clean or with a few moist crumbs. If the top browns too quickly, tent loosely with aluminum foil after about 40 minutes.
- Cool in the pan for 10 minutes. Use the parchment handles to lift the loaf out and transfer to a wire rack. Cool completely before slicing (about 1 hour).
Notes
Don’t overmix the batter—mix until flour just disappears. Use room temperature ingredients for best results. Check doneness with an instant-read thermometer (internal temp should be 200-205°F). Let cool completely before slicing. Toast leftover slices for a crispy exterior.
Nutrition
- Serving Size: 1 slice
- Calories: 280
- Sugar: 18
- Sodium: 220
- Fat: 12
- Saturated Fat: 7
- Carbohydrates: 38
- Fiber: 2
- Protein: 5
Keywords: banana bread, sour cream banana bread, moist banana bread, classic banana bread, easy banana bread


