I figured one-pan meals meant sacrificing flavor for convenience. It took about three attempts of dry chicken and mushy rice for that assumption to completely fall apart. The first time I tried this Easy One-Pan Garlic Butter Chicken and Rice, I was honestly just tired of washing dishes. I had a package of chicken thighs staring at me from the fridge, a half-used stick of butter, and the lingering memory of a garlic butter sauce from a restaurant that I couldn’t stop thinking about. So I just went for it, throwing everything into my trusty cast iron skillet with a prayer and a whole lot of minced garlic.
What came out of that oven was nothing short of a kitchen miracle. The rice soaked up every bit of that golden garlic butter, turning into something rich and savory that you’d swear had been simmering for hours. The chicken came out with the crispiest, most golden-brown skin, and the meat underneath was so tender it fell apart with just a nudge from my fork. I sat there eating straight from the pan (no judgment, we’ve all been there) and realized I had accidentally stumbled onto my new favorite weeknight dinner. It just works. It’s the kind of meal that makes you feel like you’ve got it all figured out, even when you’re really just making it up as you go.
Why You’ll Love This Recipe
Let’s be honest—we all want dinners that taste like we spent hours in the kitchen without actually spending hours in the kitchen. This Easy One-Pan Garlic Butter Chicken and Rice delivers exactly that. It’s the kind of recipe that makes you look like a hero on a Tuesday night with minimal effort and maximum payoff.
- One Pan, Zero Fuss : Everything cooks in a single skillet or baking dish. That means fewer dishes to wash and more time to actually enjoy your evening. My sink thanks me every single time I make this.
- Simple Pantry Ingredients : You probably already have most of what you need. Chicken, rice, garlic, butter, and a few basic seasonings. No fancy grocery store trips or obscure ingredients that you’ll use once and forget about.
- Perfect for Busy Weeknights : This comes together in about 45 minutes from start to finish. Most of that time is hands-off while the oven does the work. You can prep a quick salad or just put your feet up.
- Crowd-Pleaser Guaranteed : I’ve served this to picky kids, hungry teenagers, and adults with sophisticated palates. Every single person has gone back for seconds. The garlic butter situation is just that good.
- Unbelievably Delicious : The rice absorbs all that savory goodness while the chicken gets perfectly crispy on top. It’s comfort food that feels a little bit fancy without trying too hard.
What makes this recipe different from all the other one-pan chicken and rice recipes out there? It’s the technique. I sear the chicken first to build that deep, golden crust, then let it finish cooking on top of the rice in the oven. The rice doesn’t get soggy or mushy because the chicken fat and garlic butter baste it from above. It’s a little thing, but it makes a huge difference. This isn’t just another version—it’s the best version I’ve ever made, and I’ve made a lot of them.
What Ingredients You Will Need
This recipe uses simple, wholesome ingredients to deliver bold flavor and satisfying texture without any fuss. Most of these are pantry staples you probably already have on hand.
For the Chicken:
- 4 bone-in, skin-on chicken thighs (about 1.5 lbs total) — I prefer thighs for their juiciness, but you can use drumsticks or a mix of both
- 1 teaspoon salt
- 1/2 teaspoon black pepper
- 1 teaspoon paprika — adds color and a subtle smoky sweetness
- 1/2 teaspoon garlic powder
For the Garlic Butter Rice:
- 3 tablespoons unsalted butter — I use Kerrygold for its rich flavor, but any good quality butter works
- 6 cloves garlic, minced — don’t skimp here, fresh garlic is key
- 1 cup long-grain white rice — basmati or jasmine both work beautifully
- 1 3/4 cups low-sodium chicken broth — you can use water in a pinch, but broth adds so much more depth
- 1/2 cup water
- 1/2 teaspoon salt
- 1/4 teaspoon black pepper
- 1/2 teaspoon dried thyme — optional but highly recommended
For Garnish (optional but pretty):
- 2 tablespoons fresh parsley, chopped
- Lemon wedges for serving
Ingredient Tips: Look for chicken thighs that have the skin still attached—that skin gets incredibly crispy and adds so much flavor to the rice as it renders. If you can only find boneless, skinless thighs, the recipe still works, but you’ll miss out on that golden, crackly skin. For the rice, avoid short-grain varieties like sushi rice; they get too sticky for this dish. I’ve tested this with brown rice too, and it works if you increase the cooking time by about 15 minutes and add an extra 1/4 cup of liquid. Just a heads up, the texture is a bit chewier.
Equipment Needed
You don’t need a lot of fancy equipment for this one. That’s kind of the whole point.
- Large oven-safe skillet (10 or 12-inch) — Cast iron is my go-to because it heats evenly and goes from stovetop to oven without any fuss. A stainless steel skillet works great too. If you don’t have an oven-safe skillet, you can sear the chicken in a regular pan and transfer everything to a baking dish.
- Tongs — For flipping the chicken without tearing the skin. I’ve learned this the hard way.
- Measuring cups and spoons
- Chef’s knife and cutting board
- Foil — For covering the pan during the last part of cooking if the rice is done but the chicken needs more time
- Meat thermometer — Not strictly necessary but super helpful for checking that the chicken is fully cooked (165°F at the thickest part)
If you don’t have a cast iron skillet, don’t worry. A good quality non-stick oven-safe pan works perfectly fine. Just be careful with the high heat for searing—non-stick pans usually have a temperature limit around 400-450°F. My first cast iron skillet was a $20 find at a garage sale, and it’s still going strong five years later. You really don’t need to spend a fortune.
Preparation Method
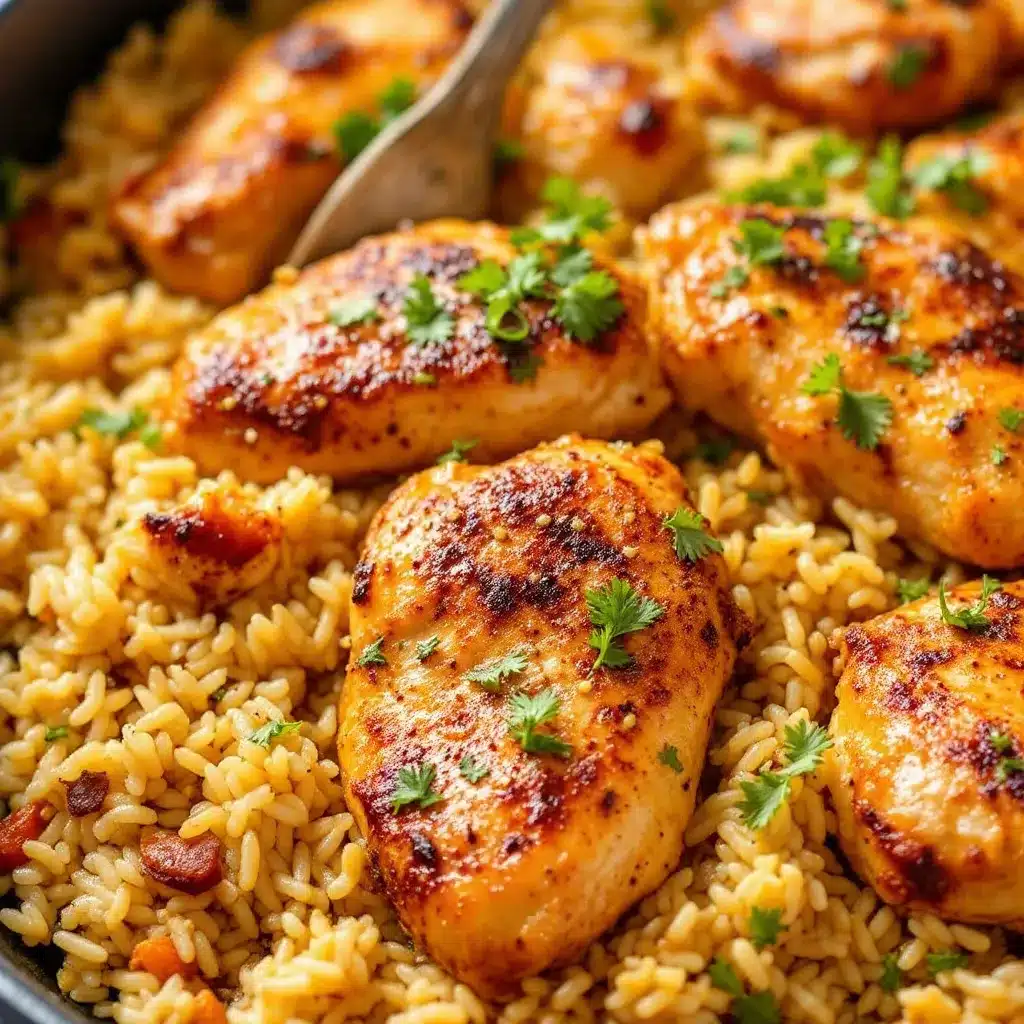
Let me walk you through this step by step. I’ve made this recipe more times than I can count, so I’ve learned all the little tricks along the way.
- Preheat your oven to 375°F (190°C). Get this going first so the oven is nice and hot when you need it.
- Pat the chicken thighs completely dry with paper towels. This is not optional—wet skin will never get crispy. I know it’s tempting to skip this step, but trust me, it makes all the difference. Season both sides with salt, pepper, paprika, and garlic powder.
- Heat your oven-safe skillet over medium-high heat. Add 1 tablespoon of the butter and let it melt until it’s sizzling but not browning. Place the chicken thighs skin-side down in the hot skillet. Don’t crowd them—they need space to get golden. Cook for 5-6 minutes without moving them. You’ll know they’re ready when the skin is deep golden brown and releases easily from the pan.
- Flip the chicken and cook for another 2-3 minutes. The second side doesn’t need as long. Remove the chicken to a plate. Don’t wipe out the skillet—all those browned bits are pure flavor.
- Reduce the heat to medium. Add the remaining 2 tablespoons of butter to the skillet. Once it melts, add the minced garlic. Cook for about 30-45 seconds, stirring constantly. You want the garlic fragrant, not burnt. Burnt garlic gets bitter and ruins everything.
- Add the rice to the skillet. Stir it around in the garlic butter for about a minute. This toasts the rice slightly and helps it absorb all that flavor. You’ll notice it starts to smell nutty and amazing.
- Pour in the chicken broth and water. Add the salt, pepper, and dried thyme. Stir everything together, scraping up any browned bits from the bottom of the pan. Those bits are liquid gold, honestly.
- Nestle the chicken thighs back into the skillet, skin-side up. They should be sitting on top of the rice mixture, not buried in it. This keeps the skin crispy while the rice cooks underneath.
- Transfer the skillet to the preheated oven. Bake uncovered for 30-35 minutes. The rice should be tender and have absorbed most of the liquid. The chicken should reach an internal temperature of 165°F (74°C). If the rice is done but the chicken needs more browning, pop it under the broiler for 2-3 minutes.
- Let it rest for 5 minutes before serving. This is important—it lets the rice finish absorbing any remaining liquid and makes everything easier to serve. Sprinkle with fresh parsley and squeeze a lemon wedge over the top if you’re feeling fancy.
Visual cues to watch for: The rice should look fluffy and separate, not wet or gummy. The chicken skin should be crackling-crisp and deep golden brown. When you lift a piece of chicken, you should see steam rising from the rice below. If the rice looks dry around the edges but the chicken isn’t done yet, add a splash more broth and cover loosely with foil for the last 5 minutes.
Cooking Tips & Techniques
I’ve definitely had my share of kitchen failures with this recipe. There was the time I used way too much garlic and it turned bitter. Another time I lifted the lid too often to check on the rice and let all the steam escape—mushy rice disaster. Here’s what I’ve learned so you don’t have to make the same mistakes.
Don’t skip the sear. I know it’s an extra step, but that golden crust on the chicken is where so much of the flavor comes from. Plus, the browned bits left in the pan (called fond, if you want to get fancy) infuse the rice with incredible depth. It’s a non-negotiable step in my kitchen now.
Keep the lid off. Unlike some one-pan rice dishes that need covering, this one cooks uncovered in the oven. That’s what gives the chicken that gorgeous crispy skin. If you cover it, you’ll trap steam and end up with soggy skin. Nobody wants that.
Use a meat thermometer. I used to just cut into the chicken to check if it was done, but that lets all the juices run out. A simple instant-read thermometer takes the guesswork out. Chicken thighs are done at 165°F, but honestly, I pull them at 160°F and let carryover cooking finish the job while the dish rests.
Fluff the rice gently. When you’re ready to serve, use a fork to fluff the rice, not a spoon. A spoon will mash it and make it sticky. You want those individual grains to stay separate and beautiful.
Timing tip: While the chicken is searing, I usually prep my garlic and measure out my broth. By the time the chicken comes out of the pan, everything else is ready to go. It makes the whole process feel seamless and quick.
Variations & Adaptations
This recipe is incredibly forgiving and easy to adapt. Here are some of my favorite variations that I’ve tried over the years.
Spicy Garlic Butter Chicken and Rice: Add 1/2 teaspoon of red pepper flakes along with the garlic, or stir in a chopped jalapeño. The heat cuts through the richness of the butter beautifully. I made this version for a game day gathering and it disappeared faster than anything else on the table—even faster than the best buffalo chicken dip I’ve ever made.
Lemon Herb Version: Add the zest of one lemon and a tablespoon of fresh rosemary (chopped) along with the garlic. Squeeze the lemon juice over everything right before serving. It’s bright and fresh and perfect for spring.
Creamy Version: Stir in 1/4 cup of heavy cream or half-and-half into the broth before pouring it over the rice. It makes the rice extra rich and almost risotto-like. My family goes crazy for this version.
Vegetable Addition: Toss in a cup of frozen peas and carrots during the last 10 minutes of baking. Or add sliced mushrooms along with the garlic. It turns this into a complete one-pan meal with veggies built right in.
Dietary Adaptations: For a dairy-free version, use olive oil instead of butter and check that your chicken broth is dairy-free. For a lower-carb option, swap the rice for cauliflower rice—just reduce the cooking time to about 15-20 minutes and check frequently. If you’re gluten-free, this recipe is naturally gluten-free as long as your broth doesn’t contain gluten (most don’t, but always check the label).
Serving & Storage Suggestions
This dish is honestly perfect on its own, but a few simple sides can turn it into a full spread.
Serving: Serve the chicken and rice straight from the skillet for a cozy, rustic presentation. Garnish with fresh parsley and lemon wedges. A side of steamed green beans or a simple green salad with lemon vinaigrette balances the richness beautifully. I also love serving this with a side of fresh Greek cucumber salad with feta for a bright, tangy contrast.
Storage: Store leftovers in an airtight container in the refrigerator for up to 4 days. The flavors actually get even better overnight as the rice continues to absorb all that garlic butter goodness. Just be aware that the chicken skin will lose its crispiness in the fridge—that’s normal.
Reheating: The best way to reheat this is in a skillet over medium-low heat with a splash of chicken broth or water. Cover and let it steam for about 5-7 minutes until heated through. The microwave works in a pinch, but it’ll make the rice a bit mushy. If you’re reheating in the oven, cover with foil and warm at 350°F for about 10-15 minutes.
Freezing: This freezes surprisingly well. Let it cool completely, then transfer to a freezer-safe container. It’ll keep for up to 3 months. Thaw overnight in the refrigerator and reheat as directed above. I often make a double batch and freeze half for those nights when I just can’t even.
Nutritional Information & Benefits
Here’s a rough estimate per serving (based on 4 servings, using chicken thighs with skin):
- Calories: approximately 520-580
- Protein: 32g
- Fat: 28g
- Carbohydrates: 38g
- Fiber: 1g
- Sugar: 1g
Health Benefits: Chicken thighs are a great source of high-quality protein, iron, and B vitamins, especially niacin and B6 which support energy metabolism. Garlic is packed with allicin, a compound known for its immune-boosting and anti-inflammatory properties. Butter, in moderation, provides fat-soluble vitamins A, D, E, and K. This meal is naturally gluten-free and can be adapted to be dairy-free as mentioned above.
Dietary Considerations: This recipe contains dairy (butter). For a lower-fat option, you can use olive oil and remove the chicken skin before eating, though you’ll lose some of that delicious crispy texture. The protein and carb balance makes it a satisfying meal that keeps you full and energized.
Conclusion
This Easy One-Pan Garlic Butter Chicken and Rice has become my go-to for so many reasons. It’s the dinner I make when I want something that feels special but don’t have the energy for complicated steps or endless dishes. It’s the meal I turn to when friends drop by unexpectedly and I need to throw something together that looks impressive. And honestly, it’s just the kind of food that makes you feel taken care of—rich, savory, and deeply satisfying.
I hope you give this recipe a try and make it your own. Adjust the seasonings, add your favorite vegetables, or spice it up if that’s your thing. The beauty of one-pan cooking is that it’s forgiving and flexible. Let me know how it turns out for you in the comments below—I love hearing about your kitchen victories (and even your kitchen mishaps, because we all have them). Tag me in your photos if you share them online. Happy cooking, friend!
Frequently Asked Questions
Can I use boneless, skinless chicken breasts instead of thighs?
Yes, you can, but you’ll need to adjust the cooking time. Chicken breasts cook faster and can dry out easily, so check for doneness at around 20-25 minutes. The skinless breasts won’t get crispy, so consider searing them well on both sides before adding to the oven. You might also want to add a little extra butter to compensate for the missing fat from the skin.
Why is my rice still crunchy after 30 minutes?
This usually happens for one of three reasons: your oven temperature is off, you didn’t use enough liquid, or you lifted the lid too often during cooking. Make sure your oven is actually at 375°F—ovens can be unreliable. Also, different types of rice absorb different amounts of liquid. If your rice is still crunchy, add 1/4 cup more broth, cover the pan with foil, and bake for another 10 minutes.
Can I make this in a slow cooker or Instant Pot?
I’ve tested this in both, and honestly, the oven version gives the best results. The slow cooker tends to make the rice mushy and the chicken skin soggy. For an Instant Pot, you can sauté the chicken using the sauté function, then add the rice and broth and pressure cook for 5 minutes. But you’ll lose that crispy skin entirely. If convenience is your priority, the Instant Pot works—just don’t expect the same texture.
How do I prevent the garlic from burning?
Garlic burns quickly, especially in hot butter. The trick is to add it after you’ve removed the chicken from the pan and reduced the heat to medium. Cook it for no more than 30-45 seconds, stirring constantly. As soon as it becomes fragrant, add the rice immediately. If you see it turning brown, you’ve waited too long. Burnt garlic tastes bitter and can ruin the whole dish, so watch it carefully.
Can I double this recipe for a crowd?
Absolutely! Use a larger skillet or a 9×13 baking dish. If using a baking dish, sear the chicken in batches in a regular skillet first, then transfer everything to the baking dish. You may need to increase the baking time by 5-10 minutes since there’s more volume. Just keep an eye on the rice and chicken temperatures. This is perfect for feeding a hungry crowd, and it pairs beautifully with a side of ultimate loaded baked potato salad for a complete meal.
Pin This Recipe!
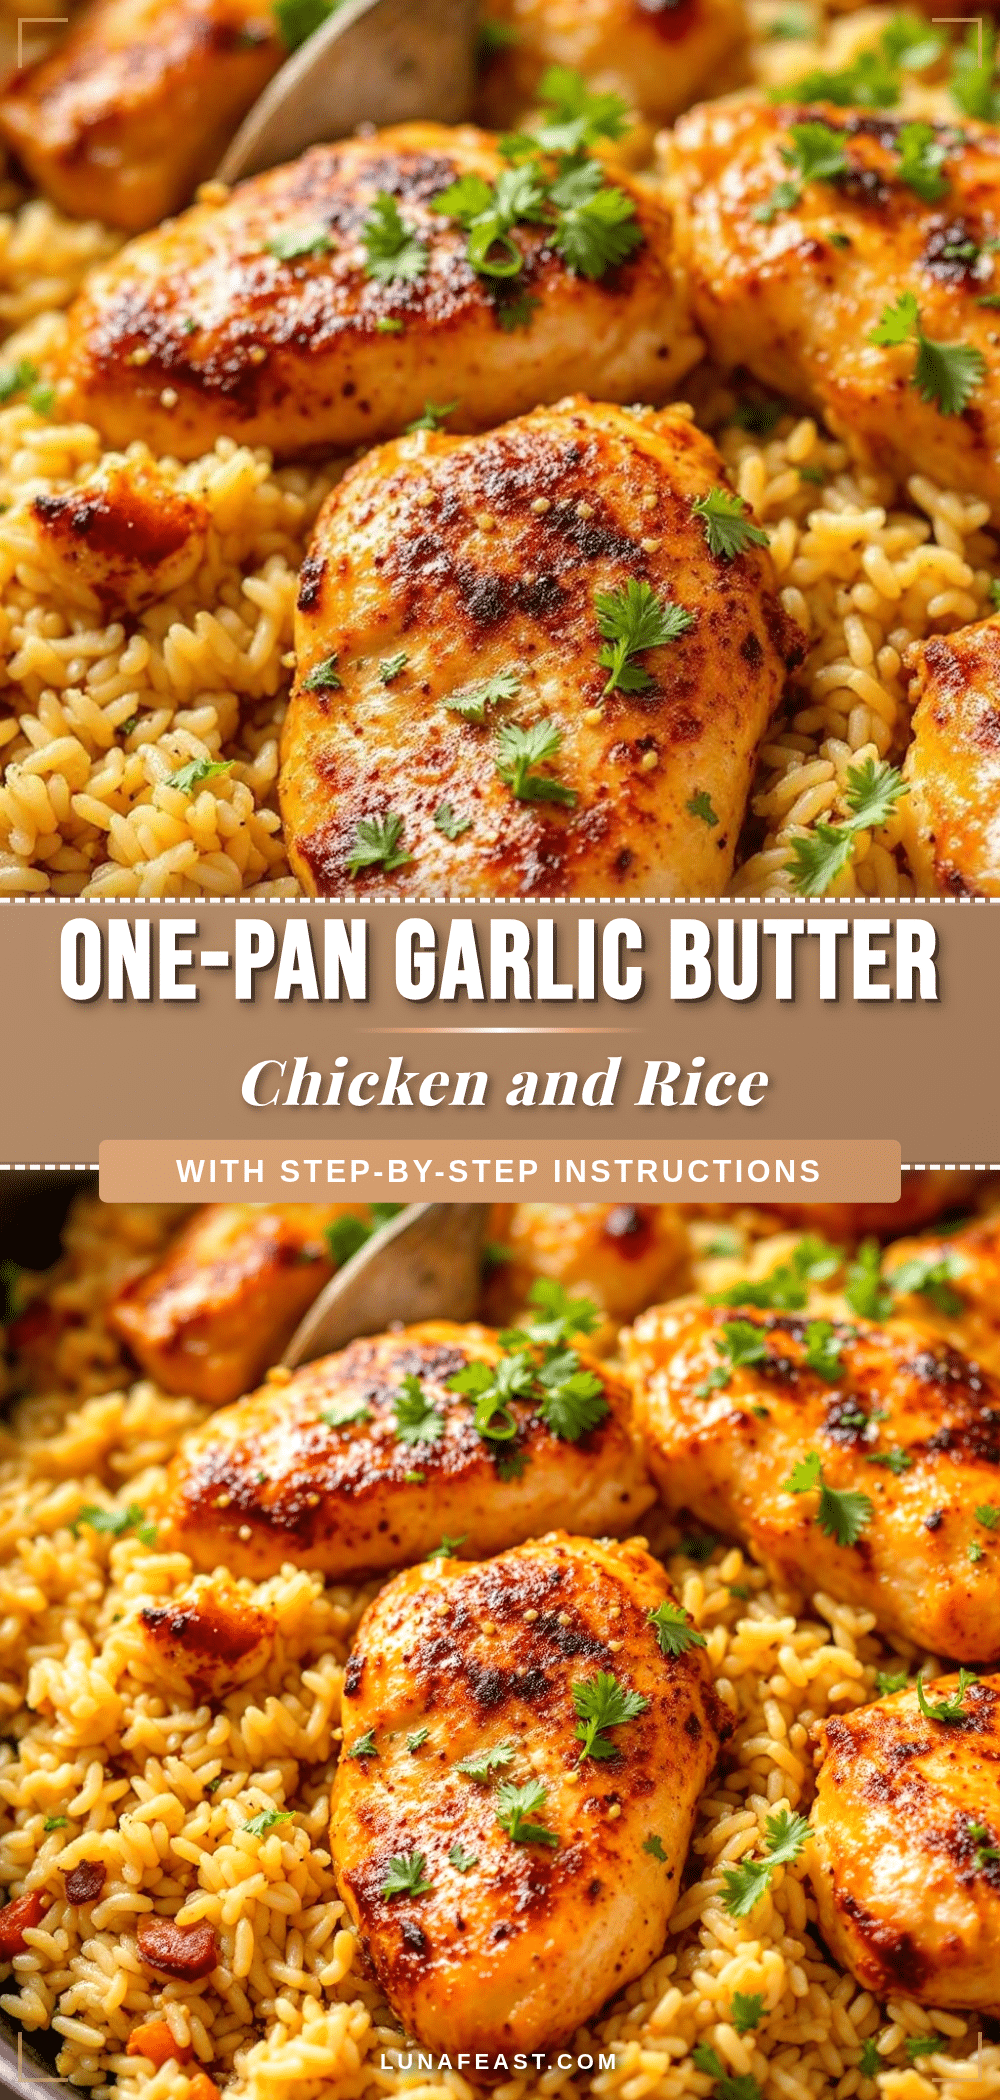
Easy One-Pan Garlic Butter Chicken and Rice Recipe

This Easy One-Pan Garlic Butter Chicken and Rice delivers rich, savory flavor with minimal effort. Juicy, crispy-skinned chicken thighs bake on top of garlic butter-infused rice for a comforting weeknight dinner that tastes like you spent hours in the kitchen.
- Prep Time: 15 minutes
- Cook Time: 35 minutes
- Total Time: 50 minutes
- Yield: 4 servings 1x
- Category: Main Course
- Cuisine: American
Ingredients
- 4 bone-in, skin-on chicken thighs (about 1.5 lbs total)
- 1 teaspoon salt
- 1/2 teaspoon black pepper
- 1 teaspoon paprika
- 1/2 teaspoon garlic powder
- 3 tablespoons unsalted butter
- 6 cloves garlic, minced
- 1 cup long-grain white rice (basmati or jasmine)
- 1 3/4 cups low-sodium chicken broth
- 1/2 cup water
- 1/2 teaspoon salt
- 1/4 teaspoon black pepper
- 1/2 teaspoon dried thyme (optional)
- 2 tablespoons fresh parsley, chopped (for garnish)
- Lemon wedges (for serving)
Instructions
- Preheat your oven to 375°F (190°C).
- Pat the chicken thighs completely dry with paper towels. Season both sides with salt, pepper, paprika, and garlic powder.
- Heat your oven-safe skillet over medium-high heat. Add 1 tablespoon of the butter and let it melt until sizzling. Place the chicken thighs skin-side down in the hot skillet. Cook for 5-6 minutes without moving them until the skin is deep golden brown.
- Flip the chicken and cook for another 2-3 minutes. Remove the chicken to a plate. Do not wipe out the skillet.
- Reduce the heat to medium. Add the remaining 2 tablespoons of butter to the skillet. Once melted, add the minced garlic. Cook for about 30-45 seconds, stirring constantly, until fragrant.
- Add the rice to the skillet. Stir it around in the garlic butter for about a minute to toast slightly.
- Pour in the chicken broth and water. Add the salt, pepper, and dried thyme. Stir everything together, scraping up any browned bits from the bottom of the pan.
- Nestle the chicken thighs back into the skillet, skin-side up, on top of the rice mixture.
- Transfer the skillet to the preheated oven. Bake uncovered for 30-35 minutes until the rice is tender and the chicken reaches an internal temperature of 165°F (74°C). If needed, broil for 2-3 minutes for extra browning.
- Let it rest for 5 minutes before serving. Sprinkle with fresh parsley and squeeze a lemon wedge over the top if desired.
Notes
Pat chicken dry for crispy skin. Don’t skip searing—it builds flavor. Keep the lid off during baking to maintain crispy skin. Use a meat thermometer for perfect doneness. Fluff rice gently with a fork. For leftovers, reheat in a skillet with a splash of broth to restore texture.
Nutrition
- Serving Size: 1 serving (1 chicken
- Calories: 550
- Sugar: 1
- Sodium: 780
- Fat: 28
- Saturated Fat: 12
- Carbohydrates: 38
- Fiber: 1
- Protein: 32
Keywords: one-pan chicken and rice, garlic butter chicken, easy weeknight dinner, skillet chicken recipe, crispy chicken thighs, garlic rice


