I did not trust protein balls.
Honestly, I thought they were a health-food compromise—something you ate because you should, not because you wanted to. For years, every version I tried was either dry and crumbly like sawdust or so sticky they glued my jaw shut. My friend swore by her date-and-almond-butter recipe, and I smiled politely while mentally planning my escape to the nearest vending machine.
Then came the afternoon my toddler decided lunch was optional and my afternoon coffee was not cutting it anymore. I needed something fast, something that did not require turning on the oven (it was August, and my kitchen felt like a sauna), and something that would actually keep me full past 3 PM. I had a jar of peanut butter, a half-empty bag of chocolate chips, and a container of oats staring at me from the pantry.
I figured I had nothing to lose.
The first batch came together in under ten minutes. I rolled them into uneven little spheres, stuck one in my mouth while still slightly warm, and—well. I stood there in my quiet kitchen, chewing, and realized I had been wrong this whole time. They were not dry. They were not sad. They were actually, genuinely good. Rich, chocolatey, with that salty peanut butter kick that makes you close your eyes for a second.
These easy no-bake chocolate peanut butter protein balls became my emergency snack. My afternoon rescue. My proof that sometimes the things you are most skeptical about end up being the ones you cannot live without.
Why You Will Love This Recipe
Let me be honest with you—I have tested a lot of snack recipes over the years. Some were complicated. Some required ingredients I had to order online. Some looked beautiful in photos but fell apart the second you tried to pack them for lunch. These protein balls are none of those things.
Here is what makes them different:
- No baking required. Not even a little bit. No preheating, no watching the oven, no pulling out burnt edges. Just mix, roll, and eat.
- Five main ingredients. Oats, peanut butter, chocolate chips, honey, and protein powder. That is it. You probably have most of them right now.
- Ready in under 15 minutes. I timed myself. From pulling ingredients out of the cabinet to biting into the first ball, it took eleven minutes and forty-two seconds.
- Actually filling. These have enough protein and fiber to get you through that 4 PM slump without reaching for another coffee.
- Kid-approved. My toddler calls them “cookie balls” and has no idea they are good for her. I call that a parenting win.
- Perfect for busy weeks. Make a batch on Sunday, and you have snacks ready for the next five days.
What really sets this recipe apart is the texture. So many protein balls turn out either too dry or too sticky. I spent weeks tweaking the ratios—adding a little more peanut butter here, a splash of milk there—until I landed on that perfect balance. They hold together without being dense. They are soft but not mushy. And the chocolate chips give you little pockets of melted sweetness in every bite.
This is not just another healthy snack recipe. This is the one that made me change my mind about protein balls entirely. And if you are still skeptical, I get it. I was too.
What Ingredients You Will Need
This recipe uses simple, everyday ingredients that work together to create something surprisingly delicious. No weird health-food store finds, nothing you have to explain to your family.
- Rolled oats – 1 cup (90g). Not quick oats, not steel-cut. Rolled oats give the best texture—they absorb moisture without turning into mush. I use old-fashioned Quaker oats, but any brand works fine.
- Creamy peanut butter – ½ cup (130g). Use the kind that is just peanuts and salt, where the oil separates on top. Stir it well before measuring. Natural peanut butter gives a cleaner flavor, but if you only have Jif or Skippy, that works too—just know the balls will be a little sweeter. (And honestly, that is not a bad thing.)
- Honey – ¼ cup (85g). Local honey if you have it, but any liquid honey works. Maple syrup is a great substitute if you want to keep this vegan—just add an extra tablespoon of oats to balance the moisture.
- Chocolate protein powder – ¼ cup (30g). This is where quality matters. I have tried this with cheap store-brand powder and with a higher-end grass-fed whey, and the difference is noticeable. My personal favorite is Orgain Simple Organic Chocolate—it blends smoothly and does not leave that artificial aftertaste. If you use a plant-based powder, you might need an extra tablespoon of peanut butter to help everything stick together.
- Mini chocolate chips – ¼ cup (45g). Semi-sweet is my go-to, but dark chocolate works beautifully if you want to cut some sweetness. I like Enjoy Life mini chips because they are small enough to distribute evenly and they are dairy-free if that matters to you. Regular-sized chips work too, but minis are worth the extra thirty seconds of searching at the grocery store.
- Pinch of sea salt – Just a small pinch (about ⅛ teaspoon). This is optional but highly recommended. Salt makes the chocolate taste more chocolatey and balances the sweetness of the honey.
A note on substitutions: If you are avoiding peanuts, almond butter or sunflower seed butter both work well. Sunflower butter will turn the balls a slightly greenish color after a day or two (it is a natural reaction, nothing to worry about), so keep that in mind if appearance matters to you. For a nut-free version, use sunflower seed butter and certified nut-free oats.
If you do not have protein powder, you can leave it out and add an extra ¼ cup of oats and an extra tablespoon of peanut butter. The protein content will be lower, but the taste and texture are still fantastic.
Equipment Needed
You do not need much for this recipe. That is kind of the whole point.
- Medium mixing bowl – Any bowl big enough to fit all the ingredients with room to stir. I use a ceramic one that belonged to my grandmother, but a stainless steel or glass bowl works just as well.
- Rubber spatula or wooden spoon – Something sturdy enough to mix thick dough. I prefer a silicone spatula because it scrapes the sides clean, but a wooden spoon has never let me down.
- Measuring cups and spoons – Standard set. Nothing fancy.
- Small cookie scoop – This is optional but makes portioning so much faster and gives you evenly sized balls. I have a 1-tablespoon scoop that I use for everything from meatballs to muffin batter. If you do not have one, just use your hands—it is not rocket science.
- Baking sheet or large plate – For holding the rolled balls while they chill. Line it with parchment paper if you want easy cleanup.
- Parchment paper – Not strictly necessary, but it keeps the balls from sticking to the pan and makes transferring them to a storage container much less frustrating.
- Airtight container – For storing the finished balls. A glass meal prep container or a zip-top bag both work.
That is it. No food processor, no stand mixer, no special gadgets. If you have hands and a bowl, you can make these.
Preparation Method
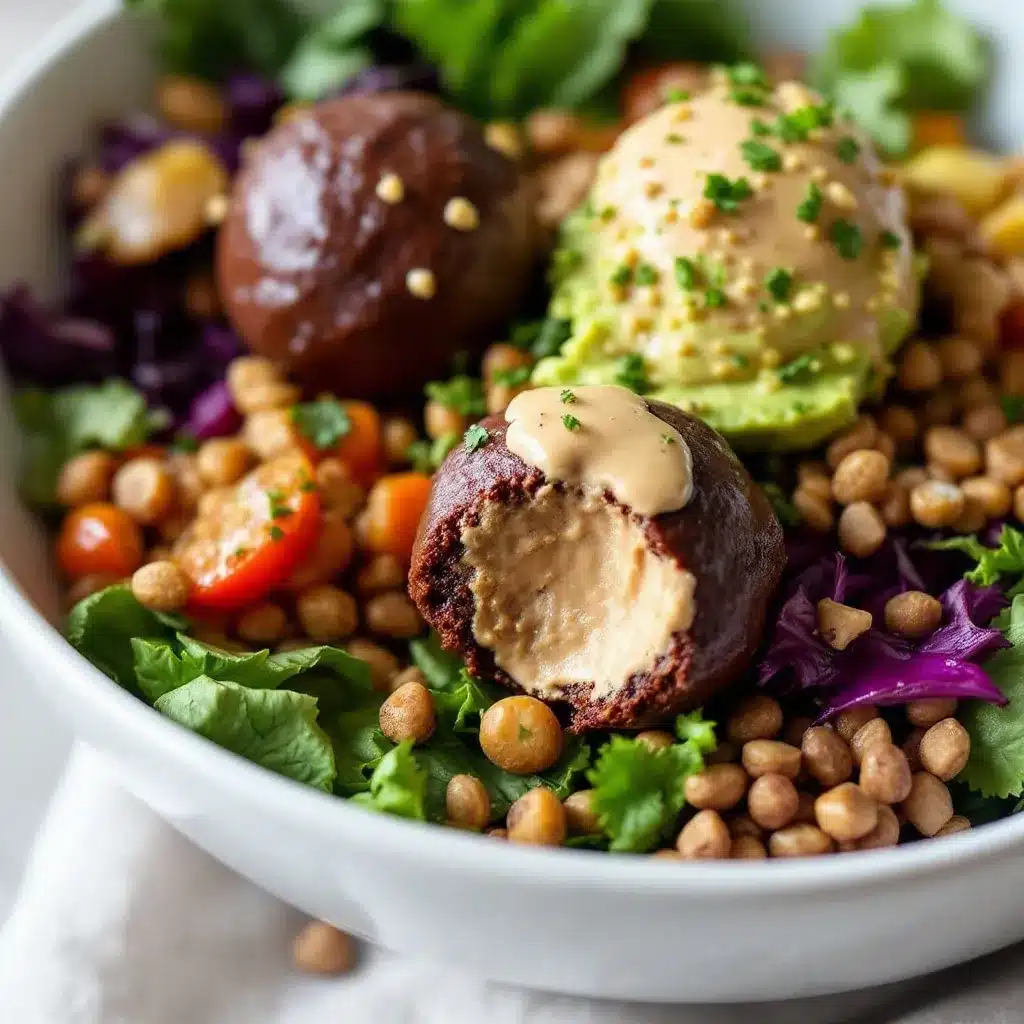
This is the easy part. Follow these steps, and you will have protein balls in your fridge before you finish reading this section.
- Combine the dry ingredients. In your medium mixing bowl, add the rolled oats, chocolate protein powder, and a pinch of sea salt. Stir them together with your spatula until the protein powder is evenly distributed. You do not want pockets of plain powder hiding in the final dough—trust me, biting into a dry spot of protein powder is not pleasant.
- Add the wet ingredients. Spoon in the creamy peanut butter and drizzle the honey over the top. Do not dump the honey in one spot—spread it around a little so it incorporates more easily. The mixture will look crumbly at first, and you will probably think you did something wrong. You did not. Keep stirring.
- Mix until combined. Use your spatula to fold everything together, pressing the mixture against the side of the bowl to help it come together. This takes about a minute of firm stirring. The dough should be thick, slightly sticky, and hold together when you squeeze a bit between your fingers. If it feels too dry and crumbly, add a teaspoon of milk (any kind) or a tiny splash of water. If it feels too wet and sticky, add a tablespoon more oats.
- Fold in the chocolate chips. Sprinkle the mini chocolate chips over the dough and fold them in gently. Make sure they are evenly distributed—nobody wants a ball with all the chips on one side. The dough will be stiff at this point, so take your time.
- Chill the dough (optional but helpful). If the dough feels too sticky to handle, pop the bowl in the fridge for 15 minutes. This firms up the peanut butter and makes rolling much easier. I skip this step about half the time and just power through with slightly sticky hands, but on warm days or if I used extra-runny peanut butter, the chill step saves me from a mess.
- Roll into balls. Scoop out about 1 tablespoon of dough and roll it between your palms into a smooth ball. Place it on your parchment-lined baking sheet or plate. Repeat until all the dough is used. You should get about 14 to 16 balls, depending on how generous your tablespoon is. (Mine are always a little generous—I cannot help myself.)
- Chill for at least 30 minutes. This is the hardest step because you will want to eat one immediately. And honestly, you can. They taste great right out of the bowl. But they hold their shape much better after a short chill in the fridge. The texture firms up, the flavors meld together, and the chocolate chips set into little pockets of sweetness.
Visual cues to watch for: The dough should feel like a thick cookie dough—stiff but pliable. When you roll a ball, it should hold its shape without cracking around the edges. If it cracks, your dough is too dry; add a tiny bit more peanut butter or honey. If it feels greasy or leaves residue on your hands, your dough is too wet; add more oats, one tablespoon at a time.
Time-saving tip: While the dough chills, clean your bowl and spatula. The dough is sticky when warm, and if you let it dry on your tools, you will be scrubbing for longer than you want to. Warm water and a drop of dish soap take it right off.
Cooking Tips & Techniques
I have made these protein balls at least thirty times by now. Here is everything I learned along the way—including the mistakes.
Use room-temperature ingredients. I know, I know—peanut butter lives in the pantry, so it is already room temperature. But if your honey has been sitting in a cold cabinet, it will be thick and hard to stir. Run the jar under warm water for a minute, or microwave it for 10 seconds. Thin honey mixes into the dough much more evenly.
Wet your hands slightly. If the dough is sticking to your palms while you roll, dampen your hands with a little water. Not dripping wet—just a light mist. The moisture creates a barrier that keeps the dough from clinging to your skin. This trick works for rolling cookie dough and meatballs too.
Do not overmix. Once everything comes together, stop stirring. Overmixing can make the oats break down too much, giving you a gummy texture instead of that pleasant chewy bite. You want the oats to stay intact.
The one mistake I made every time at first: I used chunky peanut butter because I thought it would add texture. It did—but it also made the balls fall apart. The peanut pieces create weak points in the dough, and the balls crumble when you bite into them. Save the crunchy peanut butter for toast and use creamy here. Trust me on this one.
Batch consistency trick: If you are making a double batch (which I highly recommend), mix everything in two separate bowls instead of one giant one. It is easier to combine thoroughly, and you avoid the problem of dry pockets hiding at the bottom of a massive bowl.
Timing strategy: Make these on a Sunday evening while you are meal-prepping for the week. They take less time than you think, and having them ready in the fridge means you grab a healthy snack instead of reaching for whatever is in the vending machine at work.
Variations & Adaptations
One of the best things about this recipe is how forgiving it is. Change almost anything, and it still works.
Vegan version: Swap the honey for maple syrup or agave nectar. Use a plant-based chocolate protein powder. Make sure your chocolate chips are dairy-free (most dark chocolate chips are). Everything else stays the same. The texture will be slightly softer because maple syrup is thinner than honey, so add an extra tablespoon of oats to compensate.
Peanut-free version: Use almond butter, cashew butter, or sunflower seed butter. Each one changes the flavor profile slightly—almond butter makes them taste like marzipan, cashew butter gives a milder sweetness, and sunflower seed butter adds a roasted note. If using sunflower seed butter, know that it reacts with baking soda (if you ever add any) and turns green. It is safe to eat, but it looks strange.
Extra protein version: Add an extra scoop of protein powder and increase the peanut butter by two tablespoons. The balls will be slightly denser and more filling. This is my go-to version on days when I skip breakfast and need something that will hold me until lunch.
Seasonal twist: In the fall, add ½ teaspoon of pumpkin pie spice and swap the chocolate chips for white chocolate chips. In the summer, fold in two tablespoons of freeze-dried strawberries along with the chocolate chips. The tart berries balance the sweetness beautifully.
Low-sugar version: Use sugar-free chocolate chips and replace the honey with a sugar-free syrup like Lakanto maple syrup. The texture will be a little different—sugar-free syrups are thinner—so add an extra tablespoon of oats or a tablespoon of flaxseed meal to absorb the extra moisture.
My personal favorite variation: I add two tablespoons of unsweetened shredded coconut and one tablespoon of chia seeds. The coconut gives a subtle tropical note, and the chia seeds add a tiny crunch plus extra fiber. I call these my “tropical protein balls,” and they disappear fast in my house.
Serving & Storage Suggestions
These protein balls are best served cold, straight from the fridge. The texture is firm but chewy, and the chocolate chips are set but not hard. If you leave them out at room temperature for more than an hour, they soften and become a little sticky. They are still delicious, but they lose that satisfying bite.
How to serve them: Grab one or two as a post-workout snack, an afternoon pick-me-up, or a quick breakfast when you are running late. They pair beautifully with a cold glass of milk or a hot cup of coffee. I have also been known to crumble one over a bowl of Greek yogurt for a protein-packed breakfast bowl—highly recommended.
Storage instructions: Keep the balls in an airtight container in the refrigerator. They stay fresh for up to two weeks, though they rarely last that long in my house. Layer them between sheets of parchment paper if you are stacking them, so they do not stick together.
Freezer instructions: These freeze beautifully. Place the rolled balls on a baking sheet and freeze until solid (about one hour). Transfer them to a zip-top freezer bag, squeeze out the air, and seal. They keep for up to three months. To thaw, move a few balls to the fridge overnight, or let them sit at room temperature for 10 minutes. I always keep a stash in my freezer for busy weeks.
How flavors develop over time: Day one, the balls taste good. Day two, the flavors meld together, and the oats soften slightly, creating a more cohesive texture. Day three, they are at their peak. If you can wait that long, you will be rewarded with a more balanced, rounded flavor. I never can, but I admire people who have that kind of self-control.
If you enjoyed these, you might also like our peanut butter and banana overnight oats for another no-cook breakfast option. And for a heartier snack that travels well, our bean and rice bowls are perfect for meal prep.
Nutritional Information & Benefits
These numbers are estimates based on the ingredients listed above, using standard brands. Your exact values will vary depending on the specific products you use.
| Nutrient | Per Ball (1 of 15) |
|---|---|
| Calories | 145 |
| Protein | 7g |
| Fat | 8g |
| Carbohydrates | 14g |
| Fiber | 3g |
| Sugar | 8g |
Health benefits to note: Oats provide soluble fiber that helps keep you full and supports heart health. Peanut butter delivers protein and healthy monounsaturated fats. The chocolate protein powder adds extra protein without a ton of extra calories. And the mini chocolate chips? Well, they provide happiness, which I consider a legitimate nutritional benefit.
Dietary considerations: This recipe is naturally vegetarian and can be made vegan, gluten-free (use certified gluten-free oats), and dairy-free (use dairy-free chocolate chips). It contains peanuts and may contain traces of other nuts depending on your protein powder brand. If you have celiac disease, make sure your oats are certified gluten-free, as oats are often processed in facilities that handle wheat.
From a wellness perspective, I love that these protein balls give me sustained energy without a sugar crash. They are not a meal replacement, but they are a fantastic bridge between meals when you need something real to hold you over.
Conclusion
These easy no-bake chocolate peanut butter protein balls turned me from a skeptic into a believer. They are proof that healthy snacks do not have to taste like cardboard or require a trip to a specialty grocery store. With five simple ingredients and about fifteen minutes, you can have a batch of protein-packed snacks ready to get you through the busiest of weeks.
I encourage you to make this recipe your own. Add a pinch of cinnamon if that sounds good. Swap the peanut butter for almond butter. Throw in some dried cranberries or chopped nuts. The base recipe is forgiving, and every variation I have tried has been delicious in its own way.
What I love most about these protein balls is how they make me feel—not just physically, but mentally. Knowing I have a healthy snack ready in the fridge takes one small decision off my plate (pun intended). And on days when everything feels overwhelming, that small win matters.
I would love to hear how yours turn out. Leave a comment below and let me know what variations you tried. Did you add coconut? Swap the protein powder? Make a double batch and freeze half? Tell me about it. And if you have a friend who is still skeptical about protein balls, send them this recipe. They might just change their mind.
Frequently Asked Questions
Can I make these without protein powder?
Absolutely. Just replace the ¼ cup of protein powder with an extra ¼ cup of rolled oats and an extra tablespoon of peanut butter. The protein content will be lower, but the taste and texture are still great.
Why are my protein balls too dry?
This usually happens if your peanut butter is too thick or if you measured your oats generously. Add a teaspoon of milk or a tiny splash of water, mix well, and check the texture again. You can also add an extra tablespoon of honey if they need more sweetness.
How long do these last at room temperature?
They are best kept in the fridge. At room temperature, they will soften and become sticky after about an hour. If you are taking them on the go, pack them in a cooler bag or eat them within an hour of leaving the house.
Can I use quick oats instead of rolled oats?
You can, but the texture will be different. Quick oats are more finely processed and will absorb moisture faster, giving you a denser, almost paste-like consistency. Rolled oats give a much better chewy texture. If quick oats are all you have, reduce the honey by one tablespoon to compensate for the extra absorption.
Can I double this recipe?
Yes, and I encourage it. These freeze beautifully, so make a double batch and stash half in the freezer for later. Just make sure to mix everything thoroughly—doubling the ingredients makes it harder to incorporate the protein powder evenly. I recommend mixing in two separate bowls if you are doubling.
Pin This Recipe!
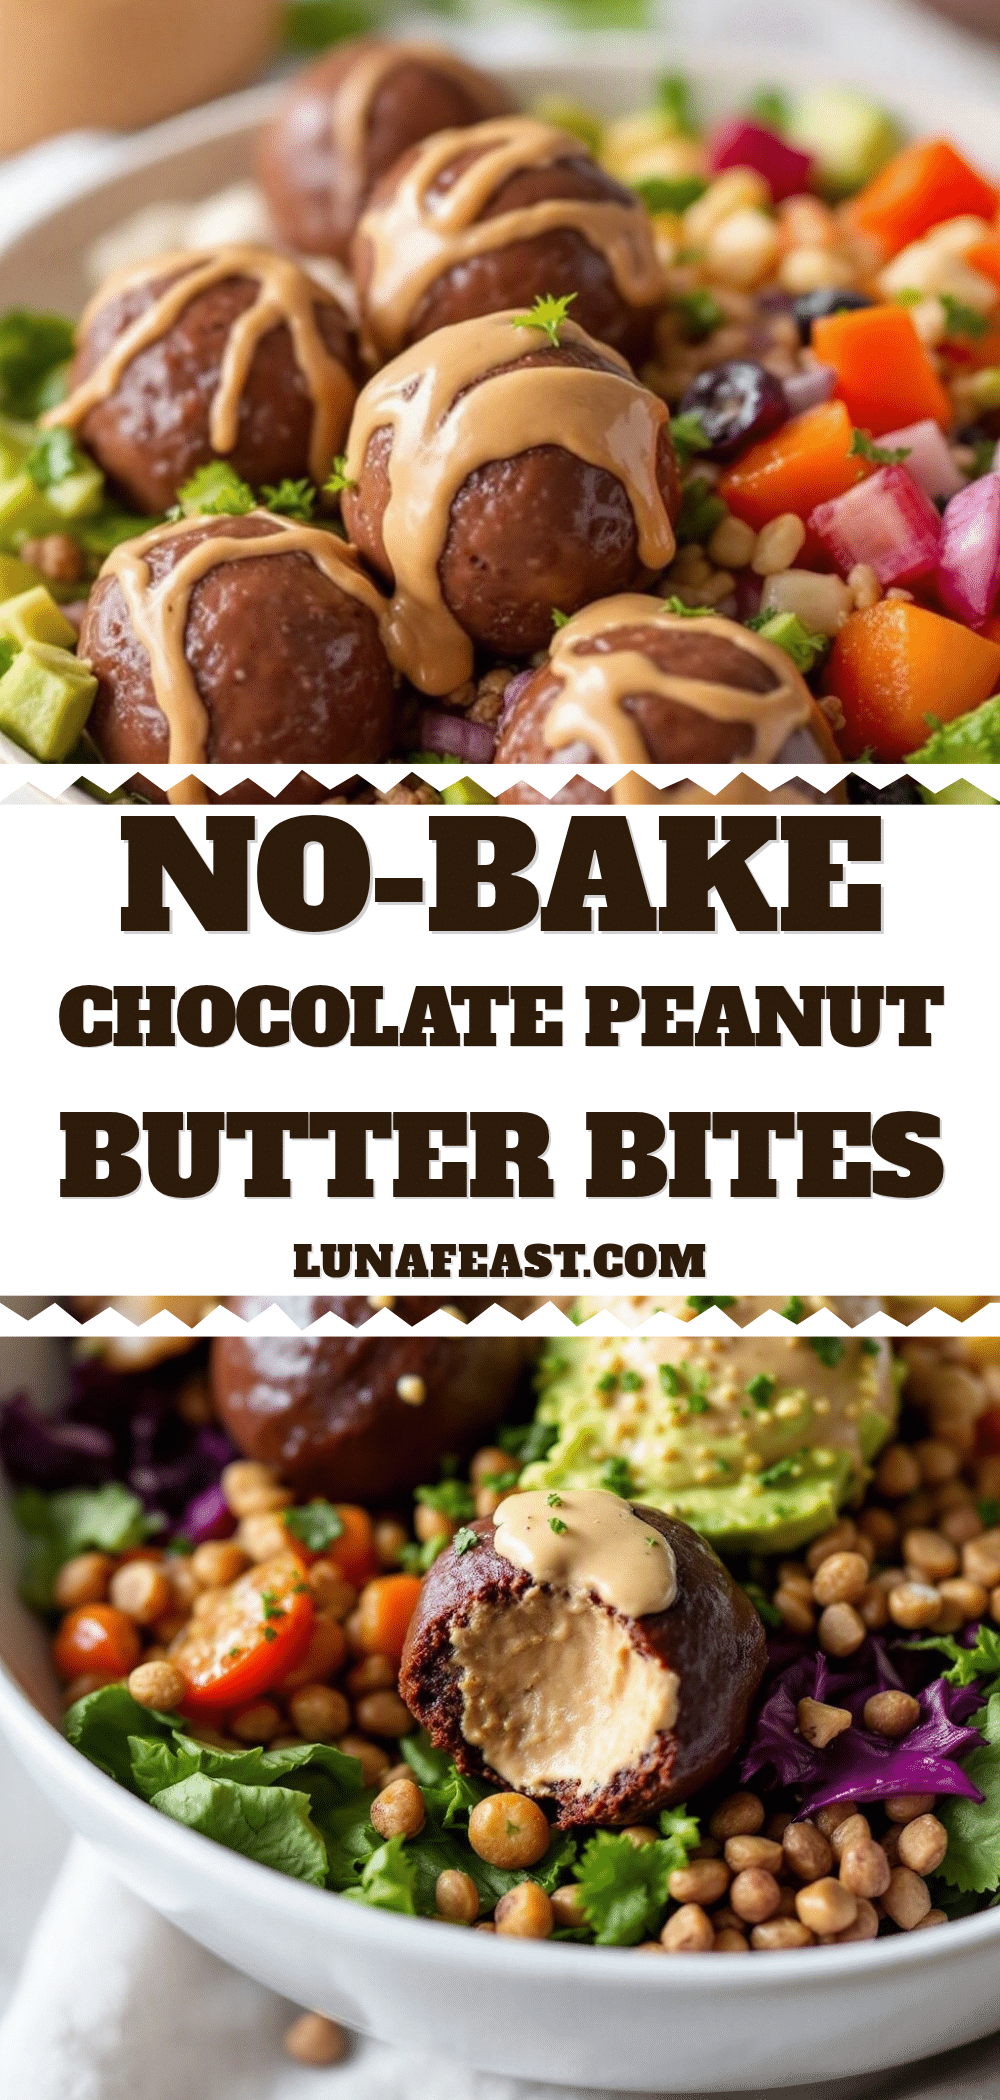
Easy No-Bake Chocolate Peanut Butter Protein Balls
These easy no-bake chocolate peanut butter protein balls are a quick, healthy snack made with five simple ingredients. Ready in under 15 minutes, they are perfect for busy weeks and kid-approved.
- Prep Time: 15 minutes
- Cook Time: 0 minutes
- Total Time: 45 minutes (includes chilling time)
- Yield: 14 to 16 balls 1x
- Category: Snack
- Cuisine: American
Ingredients
- 1 cup (90g) rolled oats
- ½ cup (130g) creamy peanut butter
- ¼ cup (85g) honey
- ¼ cup (30g) chocolate protein powder
- ¼ cup (45g) mini chocolate chips
- Pinch of sea salt (about ⅛ teaspoon)
Instructions
- Combine the dry ingredients: In a medium mixing bowl, add the rolled oats, chocolate protein powder, and a pinch of sea salt. Stir together until the protein powder is evenly distributed.
- Add the wet ingredients: Spoon in the creamy peanut butter and drizzle the honey over the top. Spread the honey around a little so it incorporates more easily.
- Mix until combined: Use a spatula to fold everything together, pressing the mixture against the side of the bowl to help it come together. The dough should be thick, slightly sticky, and hold together when squeezed. If too dry, add a teaspoon of milk or water; if too wet, add a tablespoon more oats.
- Fold in the chocolate chips: Sprinkle the mini chocolate chips over the dough and fold them in gently until evenly distributed.
- Chill the dough (optional but helpful): If the dough feels too sticky to handle, refrigerate for 15 minutes to firm up the peanut butter.
- Roll into balls: Scoop out about 1 tablespoon of dough and roll it between your palms into a smooth ball. Place on a parchment-lined baking sheet or plate. Repeat until all dough is used (about 14 to 16 balls).
- Chill for at least 30 minutes: Refrigerate the balls to firm up the texture and meld the flavors. They can be eaten immediately but hold their shape better after chilling.
Notes
Use room-temperature ingredients for easier mixing. If dough is sticky, wet your hands slightly before rolling. Do not overmix to avoid gummy texture. For best flavor, let the balls rest in the fridge for a day before eating. Store in an airtight container in the refrigerator for up to two weeks, or freeze for up to three months.
Nutrition
- Serving Size: 1 ball
- Calories: 145
- Sugar: 8
- Sodium: 80
- Fat: 8
- Saturated Fat: 2
- Carbohydrates: 14
- Fiber: 3
- Protein: 7
Keywords: no-bake protein balls, chocolate peanut butter protein balls, healthy snack, easy protein balls, no-bake snack, gluten-free protein balls, vegan protein balls


