I figured a mini empanada recipe would be a whole day affair—dough from scratch, resting time, the whole production. It took about twenty minutes of staring at my freezer, wondering why I didn’t have a decent snack option for the week, for that assumption to fall apart completely.
What I actually wanted was something that tasted like I put in effort but didn’t actually require it. Something I could pull out of the freezer at 5 PM on a Tuesday and have on the table before anyone started asking “what’s for dinner” for the fifth time. These mini ham and cheese empanadas came from that very specific, slightly desperate place.
The dough is store-bought pie crust (yes, really). The filling is three ingredients. And somehow, when you bake them, they turn into these golden, flaky little pockets that taste like you spent hours on them. I’ve made about six batches since that first try, and honestly, they keep getting better.
That’s the kind of recipe that sticks around in my kitchen—not the one that impresses with technique, but the one that actually makes life easier without sacrificing flavor. These empanadas do exactly that.
Why You’ll Love This Recipe
These mini ham and cheese empanadas have become my go-to for just about everything. Here’s why they keep showing up in my freezer:
- Freezer-Friendly: Make a batch on Sunday, grab what you need all week. They freeze beautifully before or after baking.
- Simple Ingredients: Pie crust, deli ham, cheese, and a little mustard. That’s it. No specialty grocery trips required.
- Perfect for Busy Nights: They go from freezer to table in about 20 minutes. Faster than takeout, honestly.
- Crowd-Pleaser: Kids love them, adults love them, and they disappear fast at parties.
- Customizable: Swap the ham for leftover chicken, change up the cheese, add veggies—they’re forgiving.
What makes these different from other empanada recipes is the crust. Using store-bought pie dough means you skip the whole flour-and-butter dance, but the flaky texture is still there. I’ve tried making my own dough, and for this specific recipe, the pre-made stuff actually works better. It stays tender even after freezing and reheating, which is surprisingly hard to pull off.
These are the kind of snacks that make you feel prepared. Like you’ve got your act together, even if you just threw them together while watching TV. And honestly, that feeling is worth the minimal effort.
What Ingredients You Will Need
This recipe keeps things simple. You probably have most of these in your kitchen already, which is exactly the point. Here’s what you’ll need:
For the Empanadas
- 2 refrigerated pie crusts (the rolled-up kind, like Pillsbury or store brand) — Look for the ones that come two to a box. They should be at room temperature before you start so they don’t crack when you roll them.
- 8 ounces deli ham, diced small — I prefer black forest or honey ham, but any kind works. Just make sure it’s diced fine enough that it doesn’t poke through the dough.
- 1 cup shredded mozzarella cheese — Low-moisture, part-skim works best. It melts nicely without getting greasy. You could also use cheddar or provolone.
- 1/2 cup cream cheese, softened — This is the secret ingredient. It makes the filling creamy and keeps the empanadas from drying out during reheating.
- 2 tablespoons Dijon mustard — Adds a little tang that cuts through the richness. Yellow mustard works too, just use a little less.
- 1 large egg — For the egg wash. It gives the empanadas that beautiful golden-brown color.
- 1 tablespoon water — To thin out the egg wash.
Optional Add-ins
- 2 tablespoons chopped fresh parsley or chives — Adds a pop of color and freshness.
- 1/4 teaspoon garlic powder — Because garlic makes everything better.
- Pinch of black pepper — A little goes a long way.
Ingredient Note: I’ve tested this with different cheeses, and mozzarella is the most reliable for freezing. Cheddar can get a little greasy on reheating, and Swiss is lovely but doesn’t melt as smoothly. If you want to mix cheeses, go half mozzarella and half something sharper like gouda or provolone.
Equipment Needed
You don’t need anything fancy for these empanadas. Here’s what I use:
- Baking sheet — Standard half-sheet pan works perfectly. Line it with parchment paper for easy cleanup.
- Rolling pin — Even if you’re using pre-rolled crust, a light roll helps even out the thickness.
- 3-inch round cutter — A biscuit cutter, cookie cutter, or even a drinking glass works. I use a floured glass if my cutter is in the dishwasher.
- Small bowl — For the egg wash.
- Pastry brush — Or just use a paper towel in a pinch. It’s not elegant, but it works.
- Fork — For crimping the edges. A fork gives that classic empanada look and seals everything in.
- Spatula — To transfer the empanadas to the baking sheet without mangling them.
Budget Tip: If you don’t have a round cutter, a mason jar lid works great. Just make sure it’s clean and dry. I’ve also used the rim of a small bowl in a pinch.
Preparation Method
These come together fast, so have everything ready before you start. Here’s the step-by-step:
- Preheat your oven to 400°F (200°C). Line a baking sheet with parchment paper. If you’re planning to freeze some, you’ll want a second baking sheet or a piece of parchment to lay them on.
- Make the filling. In a medium bowl, combine the diced ham, shredded mozzarella, softened cream cheese, and Dijon mustard. Stir until everything is well mixed. The cream cheese should be soft enough that it blends in smoothly—if it’s too cold, pop it in the microwave for about 10 seconds. Taste the filling and adjust if needed. I usually add a pinch of pepper here.
- Prepare the pie crust. Unroll the pie crusts onto a lightly floured surface. If they crack a little at the edges, don’t worry—just press them back together. Roll each crust out slightly to about 1/8-inch thickness. You want them thin enough to get crispy but thick enough to hold the filling.
- Cut out the rounds. Using your 3-inch cutter, cut out as many rounds as you can from each crust. I usually get about 10 to 12 per crust, depending on how tightly I space them. Gather the scraps, press them together, and re-roll to get a few more. Every little bit counts.
- Fill the empanadas. Place about 1 tablespoon of filling in the center of each round. Don’t overfill—it’s tempting, but they’ll burst open in the oven. Leave about a 1/4-inch border around the edges so you can seal them properly.
- Seal and crimp. Fold each round in half to form a half-moon shape. Press the edges together with your fingers, then use a fork to crimp the edges. This seals them and gives that classic empanada look. Make sure the edges are sealed well, or the filling will leak out during baking.
- Apply the egg wash. In a small bowl, whisk the egg with 1 tablespoon of water. Brush the tops of each empanada with the egg wash. This gives them that beautiful golden color. If you’re feeling fancy, you can sprinkle a little flaky salt or sesame seeds on top.
- Bake. Place the empanadas on the prepared baking sheet, leaving about an inch between them. Bake for 15 to 18 minutes, or until they’re golden brown and puffed. The filling should be bubbly and hot. Let them cool on the baking sheet for about 5 minutes before serving—the filling is molten hot right out of the oven.
Sensory Cue: You’ll know they’re done when the kitchen smells like buttery pastry and melted cheese. The bottoms should be golden brown, not pale. If they’re browning too fast on top but not cooked through, tent them with foil for the last few minutes.
Cooking Tips & Techniques
I’ve made enough batches of these to learn a few things the hard way. Here’s what I wish I’d known from the start:
Don’t overfill. I know it’s tempting to stuff them full of ham and cheese, but too much filling means they’ll burst open in the oven. One tablespoon is the sweet spot. Trust me on this—I’ve scraped melted cheese off my baking sheet more times than I’d like to admit.
Seal them well. A fork crimp isn’t just for looks. It actually presses the dough together and creates a seal that holds up during baking. If you’re freezing them, double-crimp the edges to make sure they stay closed.
Keep the dough cold. If the dough gets too warm, it becomes sticky and hard to work with. If that happens, pop the cut rounds in the fridge for 10 minutes before filling them. Cold dough holds its shape better and bakes up flakier.
Use parchment paper. These empanadas can stick to the baking sheet if you’re not careful. Parchment paper makes cleanup a breeze and prevents the bottoms from burning. Silicone baking mats work too, but parchment is easier to deal with.
Mind the egg wash. A thin, even coat is all you need. Too much egg wash can pool around the edges and make the dough soggy. Use a light hand and brush from the center outward.
Let them rest. The filling stays hot for a while after baking. Let them cool for at least five minutes before serving. This also helps the filling set up a bit so it doesn’t run out when you bite into them.
Variations & Adaptations
One of the best things about this recipe is how flexible it is. Here are some variations I’ve tried and loved:
Swap the Protein
Leftover rotisserie chicken works beautifully here. Just shred it and mix it with the cream cheese and a little barbecue sauce for a completely different flavor profile. I’ve also used diced leftover ham from Easter, and it was fantastic.
Change the Cheese
Sharp cheddar gives a bolder flavor, while provolone melts like a dream. For a spicy kick, try pepper jack. I’ve even used crumbled feta with spinach for a Greek-inspired version. Just keep in mind that some cheeses get greasier than others, so you might need to adjust the cream cheese ratio.
Add Veggies
Finely diced bell peppers, sautéed mushrooms, or wilted spinach all work well. Just make sure any veggies are cooked and well-drained before adding them to the filling. Too much moisture will make the dough soggy.
Make Them Spicy
Add a pinch of cayenne pepper to the filling, or use pepper jack cheese. I’ve also added a little chopped jalapeño for extra heat. If you’re serving these at a party, a spicy version always gets snatched up first.
Gluten-Free Option
Use a gluten-free pie crust. I’ve had good luck with the refrigerated kind from the store. Just handle it gently, as gluten-free dough tends to be more fragile. The filling is naturally gluten-free, so you only need to swap the crust.
Air Fryer Method
If you have an air fryer, these cook up beautifully in it. Preheat to 375°F (190°C), place the empanadas in a single layer, and cook for 8 to 10 minutes, flipping halfway through. They come out extra crispy. I’ve used this method for smaller batches when I don’t want to heat up the whole oven.
Serving & Storage Suggestions
These empanadas are versatile enough for any occasion. Here’s how I serve and store them:
Serving
Serve them warm, right out of the oven. They’re perfect on their own, but a dipping sauce takes them to the next level. I love them with a simple honey mustard (equal parts honey and Dijon) or a spicy ranch. For a more substantial meal, pair them with a simple green salad or a bowl of soup. They’re also great for parties—just set them out on a platter with a few dipping sauces and watch them disappear.
Storage
Baked empanadas keep in the fridge for up to 5 days in an airtight container. To reheat, pop them in a 350°F (175°C) oven for about 10 minutes, or until heated through. The microwave works in a pinch, but the crust won’t be as crispy.
Freezing
This is where these empanadas really shine. You can freeze them before or after baking:
- Freeze unbaked: Place the assembled empanadas on a baking sheet and freeze until solid, about 2 hours. Transfer to a freezer bag or container. They’ll keep for up to 3 months. Bake from frozen, adding 5 to 7 minutes to the baking time.
- Freeze baked: Let the baked empanadas cool completely, then freeze them in a single layer on a baking sheet. Once frozen, transfer to a freezer bag. Reheat directly from frozen in a 350°F (175°C) oven for about 12 minutes.
Flavor Development: The flavors actually get better after a day or two in the fridge. The ham and cheese meld together, and the crust softens slightly. It’s a different experience than fresh-baked, but still delicious.
Nutritional Information & Benefits
Here’s the nutritional breakdown for one empanada (based on 24 servings):
- Calories: 120
- Total Fat: 7g
- Saturated Fat: 3g
- Cholesterol: 20mg
- Sodium: 280mg
- Total Carbohydrates: 10g
- Dietary Fiber: 0g
- Sugars: 1g
- Protein: 5g
These numbers are estimates and will vary based on the specific ingredients you use. The cream cheese adds a little fat, but it also helps keep the filling creamy without needing extra oil or butter. The ham provides a good amount of protein, making these a satisfying snack or light meal.
Dietary Considerations: This recipe is not gluten-free unless you use a gluten-free pie crust. It’s naturally nut-free and can be made lower in sodium by using low-sodium ham and cheese. If you’re watching your saturated fat intake, you can use reduced-fat cream cheese and part-skim mozzarella.
Conclusion
These mini ham and cheese empanadas have saved me more times than I can count. They’re the kind of recipe that makes you feel like you’ve got your act together, even on the busiest weeks. The filling is simple, the dough is store-bought, and the result tastes like you spent hours in the kitchen.
I love that I can make a big batch on a Sunday, stash them in the freezer, and pull out exactly what I need throughout the week. They’re perfect for lunchboxes, after-school snacks, or a quick dinner when you just don’t have the energy to cook. And honestly, they’re also great for those moments when you want to impress someone without actually trying that hard.
Feel free to play around with the fillings—swap the ham for leftover chicken, change up the cheese, or add some veggies. This recipe is forgiving and flexible, which is exactly what a good freezer staple should be.
I’d love to hear how yours turn out. Drop a comment below and let me know what fillings you tried, or tag me in your photos. Happy cooking, friends!
Frequently Asked Questions
Can I use homemade pie crust instead of store-bought?
Absolutely! If you have a favorite pie crust recipe, go for it. Just make sure it’s rolled thin enough—about 1/8-inch thick. Homemade crust will give you an even flakier texture, but the store-bought version is more convenient and works perfectly for busy weeknights.
How long do these last in the freezer?
Properly stored, these empanadas will keep in the freezer for up to 3 months. Make sure they’re in an airtight container or freezer bag to prevent freezer burn. I like to label mine with the date so I know when I made them.
Can I bake these from frozen without thawing?
Yes! That’s the beauty of this recipe. Just add 5 to 7 minutes to the baking time and keep an eye on them. They might need a little extra time to get golden brown and heated through. No need to thaw them first.
What other dipping sauces go well with these?
Besides honey mustard, I love them with ranch dressing, chipotle mayo, or a simple marinara sauce. For a spicy kick, try sriracha mayo or a creamy jalapeño dip. The possibilities are endless, so feel free to experiment with your favorites.
Can I make these in an air fryer?
Definitely! Preheat your air fryer to 375°F (190°C) and cook the empanadas in a single layer for 8 to 10 minutes, flipping halfway through. They come out extra crispy and golden. Just make sure not to overcrowd the basket, or they won’t cook evenly.
Pin This Recipe!
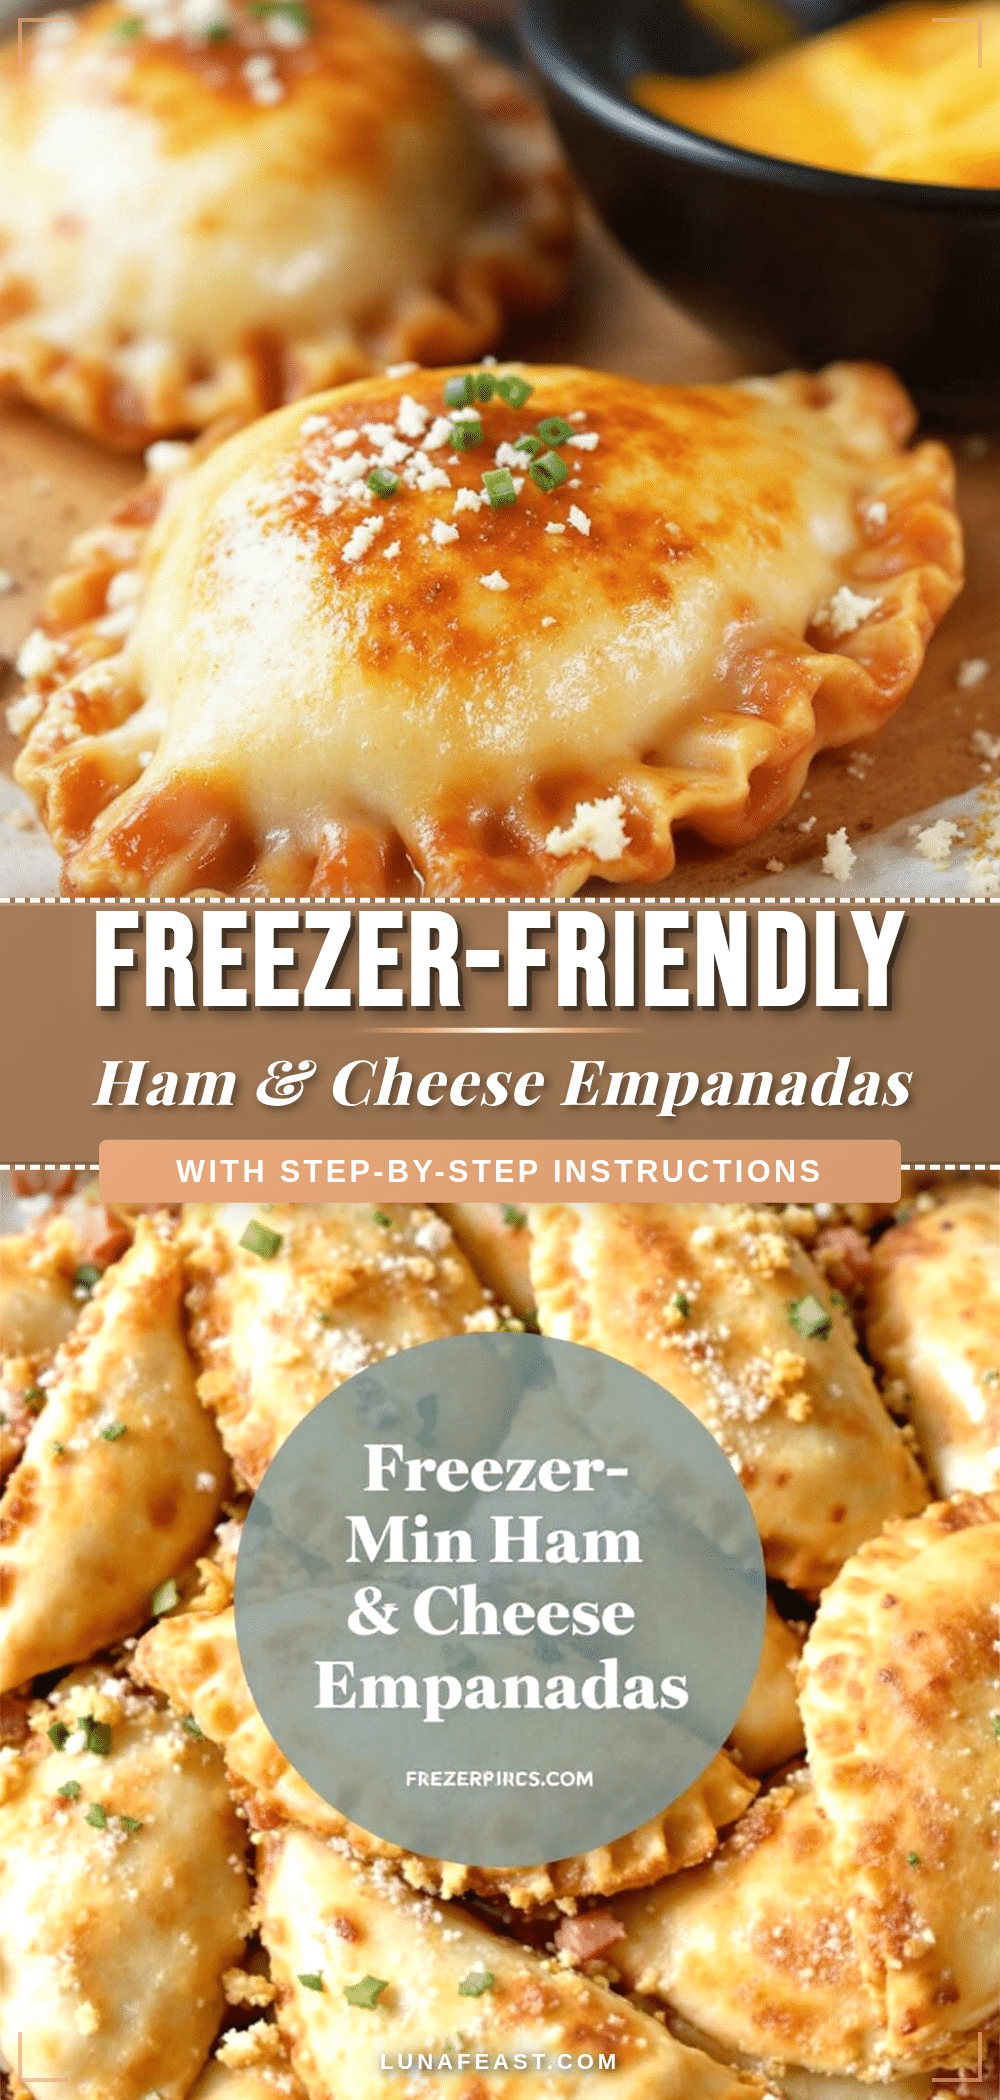
Easy Freezer-Friendly Mini Ham and Cheese Empanadas

These mini ham and cheese empanadas use store-bought pie crust and a simple three-ingredient filling, making them a quick and delicious freezer-friendly snack or meal. Perfect for busy nights, they go from freezer to table in about 20 minutes.
- Prep Time: 20 minutes
- Cook Time: 18 minutes
- Total Time: 38 minutes
- Yield: 24 servings 1x
- Category: Appetizer
- Cuisine: Latin American
Ingredients
- 2 refrigerated pie crusts (the rolled-up kind, like Pillsbury or store brand)
- 8 ounces deli ham, diced small
- 1 cup shredded mozzarella cheese
- 1/2 cup cream cheese, softened
- 2 tablespoons Dijon mustard
- 1 large egg
- 1 tablespoon water
- 2 tablespoons chopped fresh parsley or chives (optional)
- 1/4 teaspoon garlic powder (optional)
- Pinch of black pepper (optional)
Instructions
- Preheat your oven to 400°F (200°C). Line a baking sheet with parchment paper.
- In a medium bowl, combine the diced ham, shredded mozzarella, softened cream cheese, and Dijon mustard. Stir until well mixed. Taste and adjust seasoning if needed.
- Unroll the pie crusts onto a lightly floured surface. Roll each crust out slightly to about 1/8-inch thickness.
- Using a 3-inch round cutter, cut out as many rounds as possible from each crust. Gather scraps, press together, and re-roll to get more rounds.
- Place about 1 tablespoon of filling in the center of each round, leaving a 1/4-inch border.
- Fold each round in half to form a half-moon shape. Press edges together with fingers, then crimp with a fork to seal.
- In a small bowl, whisk the egg with 1 tablespoon of water. Brush the tops of each empanada with the egg wash.
- Place empanadas on the prepared baking sheet, leaving about an inch between them. Bake for 15 to 18 minutes, until golden brown and puffed. Let cool on the baking sheet for 5 minutes before serving.
Notes
Don’t overfill the empanadas to prevent bursting. Seal edges well, especially if freezing. Keep dough cold for easier handling. Use parchment paper to prevent sticking. Let empanadas rest for 5 minutes after baking to allow filling to set.
Nutrition
- Serving Size: 1 empanada
- Calories: 120
- Sugar: 1
- Sodium: 280
- Fat: 7
- Saturated Fat: 3
- Carbohydrates: 10
- Protein: 5
Keywords: mini empanadas, ham and cheese empanadas, freezer-friendly, easy appetizer, quick snack, pie crust empanadas


