“You brought those roll-up sandwiches again? Oh man, you’re spoiling us!” That’s what my coworker said last week during lunch, eyeing the Easy Cheesy Diploma Roll-Up Sandwich Wraps I had packed. Honestly, I wasn’t planning to make anything fancy—just a quick fix between meetings. But as I unwrapped these cheesy, rolled delights, I realized how much this simple recipe had quietly become my go-to. It’s funny how a couple of tortillas, some cheese, and deli meat can turn a rushed lunch into a moment of genuine satisfaction.
I stumbled upon this idea on a particularly hectic day when I had zero energy for anything complicated but still craved something warm and comforting. The first time I rolled them up, I wasn’t sure if they’d hold together or taste good cold, but after a quick spin in the oven, they emerged golden and melty—like a handheld hug. Since then, I’ve made these wraps more times than I can count, tweaking the fillings here and there, but always coming back to the classic cheesy diploma shape that’s as fun to eat as it is to make.
What sticks with me is how these Easy Cheesy Diploma Roll-Up Sandwich Wraps fit perfectly into busy days without sacrificing flavor or that little spark of joy food can bring. They’re not just lunch; they’re the kind of comfort that sneaks in when you need it most. The way the cheese melts just right, the slight crisp of the tortilla edges, and the ease of popping them in the oven or even the toaster oven—well, that’s why this recipe stays in my rotation. It’s simple, satisfying, and honestly, kind of addictive.
So if you’re after a quick lunch idea that’s easy but still feels special, these cheesy roll-ups might just be your new secret weapon. Plus, they bring a little smile to the table every time—no diploma needed.
Why You’ll Love This Easy Cheesy Diploma Roll-Up Sandwich Wraps Recipe
After making these roll-up sandwiches over and over, I can say with some confidence why they’ve earned a permanent spot in my lunch lineup. They’re just so easy and versatile, perfect for anyone juggling a busy schedule but craving something deliciously cheesy and satisfying.
- Quick & Easy: Ready in under 20 minutes, these wraps are a lifesaver for busy weeknights or last-minute lunches.
- Simple Ingredients: No need for fancy groceries—just standard deli meats, cheese, and tortillas, which you probably have on hand already.
- Perfect for Any Occasion: Whether it’s a casual lunch at home, a workday meal, or even a kid-friendly snack, these wraps hit the spot.
- Crowd-Pleaser: I’ve brought them to potlucks and casual gatherings, and they’re always a hit with both kids and adults.
- Unbelievably Delicious: The melty cheese combined with a crispy tortilla edge creates a flavor and texture combo that’s comfort food gold.
What sets this recipe apart is the simplicity of the technique paired with a classic flavor profile. Rolling up the sandwich ingredients diploma-style isn’t just fun—it makes each bite perfectly balanced and neat to eat. Plus, I like to add a little garlic powder or Italian seasoning to the cheese mix, which gives it a subtle twist that feels homemade and thoughtful without extra fuss.
This isn’t just another sandwich wrap. It’s the kind that makes you pause and savor that first gooey bite, reminding you that quick meals don’t have to be dull. I also love how adaptable it is—you can swap in your favorite meats, cheeses, or even add a spread to bump up the flavor. Honestly, it’s one of those recipes that quietly becomes a staple, the kind you keep coming back to when you want something easy but still special.
What Ingredients You Will Need
This recipe keeps things straightforward, relying on simple, wholesome ingredients to deliver that gooey, crispy roll-up magic. Most are pantry staples or easy to find, making these wraps a breeze to whip up anytime you need a quick cheesy lunch.
- Flour tortillas: Large size, about 10-inch diameter. Choose soft and pliable ones for easy rolling (I prefer Mission brand for consistent softness).
- Cheese: Shredded cheddar cheese, about 1½ cups (170g). Sharp cheddar adds great flavor, but you can mix with mozzarella for extra meltiness.
- Deli meat: 6 to 8 slices of ham, turkey, or your favorite sandwich meat. Thinly sliced works best for rolling.
- Mayonnaise: 2 tablespoons, spread thinly on tortillas for a little moisture and richness (optional but recommended).
- Mustard: 1 teaspoon, adds a subtle tang that cuts through the cheese richness.
- Garlic powder or Italian seasoning: ¼ teaspoon, sprinkled over cheese for a hint of flavor depth.
- Butter: 2 tablespoons, melted, for brushing the outside before baking—this helps the wraps crisp up beautifully.
- Optional add-ins: Thinly sliced pickles, spinach leaves, or a few rings of mild onion for extra texture and flavor.
Most of these ingredients are flexible. For example, if you want to keep it vegetarian, swap the deli meat with grilled veggies or just load up on cheese and spinach. Gluten-free tortillas work perfectly if you need to avoid gluten. And if you’re looking to cut calories, try a reduced-fat cheese or a light spread instead of mayo. The key is the balance between melty cheese and the crispy, buttery tortilla exterior.
Equipment Needed
Making these Easy Cheesy Diploma Roll-Up Sandwich Wraps doesn’t require any fancy kitchen gadgets—just some basics you likely already have around.
- Baking sheet: A rimmed baking sheet works best to catch any drips and keep the oven clean.
- Parchment paper or silicone baking mat: To line the baking sheet; this prevents sticking and makes cleanup a breeze.
- Mixing bowl: For combining cheese and seasoning if you like to toss those together before assembling.
- Pastry brush: Handy for brushing melted butter evenly over the wraps for that golden finish, but you can use a spoon if needed.
- Oven or toaster oven: For baking the wraps to melty, crispy perfection. A toaster oven works great if you want just one or two wraps without heating the whole kitchen.
- Sharp knife: For slicing optional add-ins or trimming edges if desired.
If you don’t have a pastry brush, using a spoon to drizzle melted butter and spreading it with the back works fine. Also, if you’re pressed for time, a broiler setting can give a quick crisp but watch them closely to prevent burning. I’ve made these wraps on a cast-iron skillet too, turning them gently to crisp the outside—just another option if you want to skip the oven.
Preparation Method
- Preheat the oven: Set your oven to 375°F (190°C) and line a baking sheet with parchment paper or a silicone mat to prevent sticking.
- Prepare the tortillas: Lay a large flour tortilla flat on your work surface. Spread about 1 teaspoon of mayonnaise evenly over the tortilla surface, leaving a small border around the edges.
- Add mustard: Dot or lightly spread ½ teaspoon of mustard over the mayo layer for a subtle tang (you can adjust this to taste).
- Layer deli meat: Arrange 3 to 4 slices of your chosen deli meat evenly over the tortilla, covering most of the surface but still leaving edges clear for rolling.
- Add cheese: Sprinkle approximately ⅓ cup (about 55g) of shredded cheddar cheese evenly on top of the meat. If you want, toss the cheese with ⅛ teaspoon garlic powder or Italian seasoning beforehand for extra flavor.
- Add optional extras: If using, place thin slices of pickles, onion rings, or a few spinach leaves on top of the cheese layer.
- Roll it up: Starting from one edge, roll the tortilla tightly but gently, like a diploma or scroll, making sure the filling stays inside.
- Brush with butter: Place the rolled wrap seam-side down on the lined baking sheet. Brush the outside generously with melted butter to help crisp it during baking.
- Bake: Put the baking sheet in the oven and bake for 12 to 15 minutes, or until the tortilla edges are golden brown and the cheese is fully melted inside.
- Cool briefly and serve: Let the wraps rest for 2 minutes before slicing in half diagonally for the classic diploma look. Serve warm for best melty enjoyment.
If you notice the cheese bubbling out too much during baking, try tucking the edges under more tightly or baking on parchment to catch drips. Also, if you want a crispier wrap, you can broil for the last 1–2 minutes but watch carefully—it can burn fast! These wraps reheat well in a toaster oven or microwave, but you lose some crispness in the microwave.
Cooking Tips & Techniques
Making these Easy Cheesy Diploma Roll-Up Sandwich Wraps perfectly every time has a few little tricks I’ve picked up along the way.
- Choose the right tortilla: Soft, pliable tortillas roll easier and crisp nicely. Avoid thick or overly dry wraps that crack when rolled.
- Don’t overfill: It’s tempting to pack them with meat and cheese, but too much filling can cause leaks or uneven cooking.
- Even layering: Spread mayo and mustard evenly to keep moisture balanced and prevent sogginess.
- Melted butter is key: Brushing the outside with butter before baking gives you that irresistible golden crunch.
- Watch the oven closely: Around 12 minutes is usually perfect, but every oven varies. Look for golden edges and bubbling cheese.
- Use a sharp knife for slicing: A serrated knife works best to avoid squishing the roll-up when cutting.
- Make ahead tips: You can assemble the wraps and refrigerate before baking. Just add a couple extra minutes to the bake time if going straight from the fridge.
I once tried skipping the butter brushing step to save a little fat, and the wraps came out dry and dull—lesson learned! Also, warming the tortillas for 10 seconds in the microwave before assembling makes them more flexible and less likely to crack. If you want to speed things up on a busy day, prepping several roll-ups and freezing them raw works well. Just bake directly from frozen, adding a few extra minutes.
Variations & Adaptations
This recipe is a great canvas for switching things up based on your taste or dietary needs.
- Vegetarian option: Skip the deli meat and load up on sautéed mushrooms, spinach, and extra cheese. Add a smear of pesto for an herby punch.
- Spicy twist: Add sliced jalapeños or a dash of hot sauce inside before rolling for a kick. Pepper jack cheese pairs well here.
- Gluten-free: Use gluten-free tortillas and check your deli meats and condiments for hidden gluten ingredients.
- Breakfast version: Mix scrambled eggs with cheese and bacon bits, then roll up and bake. Similar to my approach with easy cheesy ham and cheese breakfast sliders.
- Cheese blends: Try mixing cheddar with mozzarella, Monterey Jack, or gouda for different melt textures and flavors.
Personally, I once swapped in leftover shredded rotisserie chicken with barbecue sauce for a quick BBQ chicken roll-up version—super tasty and a great way to avoid waste. These wraps are forgiving, so feel free to get creative with whatever you have in the fridge.
Serving & Storage Suggestions
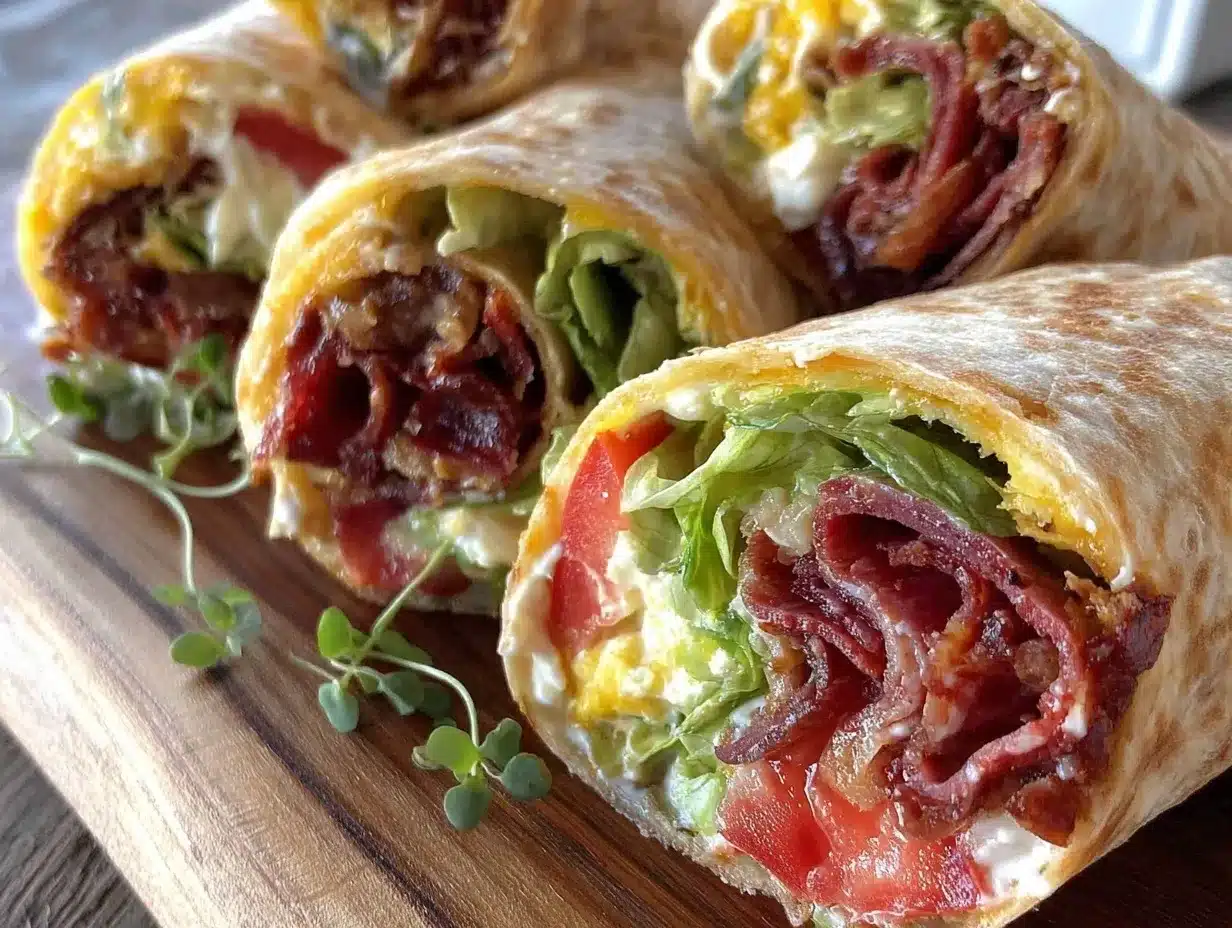
These Easy Cheesy Diploma Roll-Up Sandwich Wraps are best enjoyed warm and fresh from the oven, when the cheese is melty and the tortilla edges are crisp.
- Serving ideas: Pair with a crisp green salad or simple tomato soup for a comforting lunch or light dinner.
- Beverage pairings: A cold glass of iced tea or lemonade complements the richness nicely.
- Storage: Store leftovers wrapped tightly in foil or in an airtight container in the refrigerator for up to 3 days.
- Reheating: Reheat in a toaster oven or conventional oven at 350°F (175°C) for 5-7 minutes to regain crispness. Microwave reheating is faster but softens the tortilla.
- Flavor notes: These wraps tend to taste even better the next day as the flavors meld—just crisp them up before eating.
For make-ahead meal prep, assembling several wraps and freezing them unbaked works well. Bake directly from frozen, adding about 5 extra minutes to the baking time. This method keeps your lunch game strong on the busiest days.
Nutritional Information & Benefits
Each Easy Cheesy Diploma Roll-Up Sandwich Wrap provides a satisfying balance of protein, fat, and carbs, making it filling without feeling heavy.
| Nutrient | Per Serving (1 wrap) |
|---|---|
| Calories | 310 kcal |
| Protein | 18 g |
| Fat | 18 g |
| Carbohydrates | 22 g |
| Fiber | 1.5 g |
| Sodium | 650 mg |
Cheddar cheese offers calcium and protein, while deli meats contribute iron and B vitamins. Using whole wheat tortillas can increase fiber content for added digestive benefits. For those watching sodium intake, opt for low-sodium deli meats and reduced-sodium cheese varieties.
This recipe fits well into balanced diets and can be adjusted for gluten-free or vegetarian needs, making it a flexible lunch option that satisfies both taste and nutrition.
Conclusion
Easy Cheesy Diploma Roll-Up Sandwich Wraps are the kind of recipe that quietly becomes a favorite for their simplicity, comfort, and versatility. Whether you need a quick lunch, a kid-friendly snack, or a fun twist on classic sandwiches, these roll-ups deliver on all fronts without fuss.
Feel free to customize with your favorite cheeses, meats, or add-ins to make it your own. I love how this recipe strikes a balance between easy prep and that warm, melty, crispy goodness that makes lunch feel like a small celebration.
If you try these wraps, I’d love to hear how you tweak them to fit your tastes! Drop a comment or share your favorite fillings so we can swap ideas. Here’s to simple meals that bring a little joy and lots of cheese to your day.
Frequently Asked Questions about Easy Cheesy Diploma Roll-Up Sandwich Wraps
Can I make these roll-ups ahead of time?
Yes! You can assemble the wraps and refrigerate them for up to a day before baking. Just add a few extra minutes to the bake time if baking straight from the fridge.
What type of cheese works best?
Sharp cheddar is classic for flavor and melt, but mixing in mozzarella or Monterey Jack can add extra gooeyness. Avoid very hard cheeses that don’t melt well.
Can I freeze these wraps?
Absolutely. Wrap them tightly and freeze before baking. When ready, bake from frozen, adding about 5 minutes to the baking time.
Are these wraps suitable for kids?
Definitely! Kids love the cheesy, melty center and fun roll-up shape. You can customize ingredients to suit their preferences.
What can I serve with these roll-ups?
They pair nicely with fresh salads, tomato soup, or raw veggies. For a snack option, a simple fruit cup or crunchy pickles work well.
Pin This Recipe!
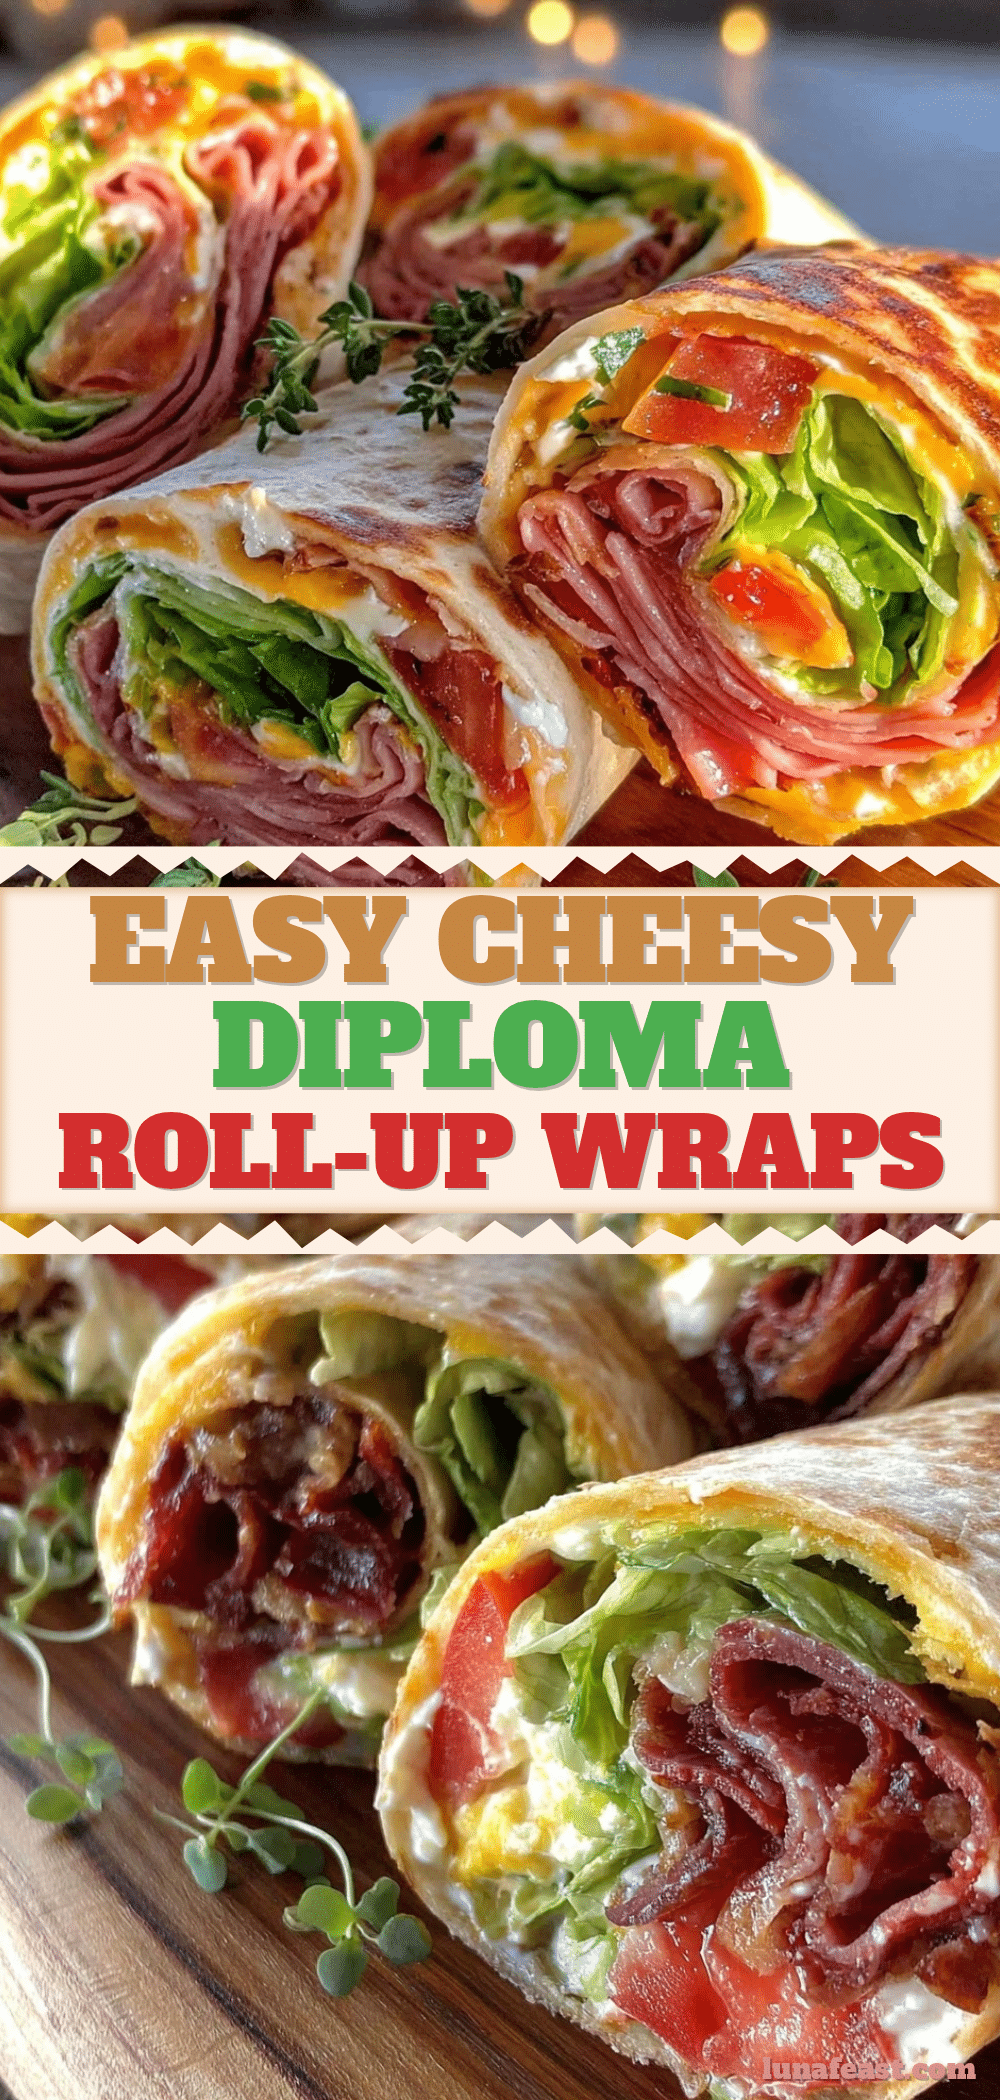
Easy Cheesy Diploma Roll-Up Sandwich Wraps

Quick and easy cheesy roll-up sandwiches perfect for a satisfying lunch or snack. These wraps feature melty cheese, deli meat, and a crispy tortilla exterior baked to golden perfection.
- Prep Time: 10 minutes
- Cook Time: 15 minutes
- Total Time: 25 minutes
- Yield: 4 servings 1x
- Category: Main Course
- Cuisine: American
Ingredients
- 4 large flour tortillas (about 10-inch diameter)
- 1½ cups shredded cheddar cheese (about 170g)
- 6 to 8 slices deli meat (ham, turkey, or favorite sandwich meat)
- 2 tablespoons mayonnaise (optional)
- 1 teaspoon mustard
- ¼ teaspoon garlic powder or Italian seasoning
- 2 tablespoons melted butter
- Optional add-ins: thinly sliced pickles, spinach leaves, mild onion rings
Instructions
- Preheat the oven to 375°F (190°C) and line a baking sheet with parchment paper or a silicone mat.
- Lay a large flour tortilla flat and spread about 1 teaspoon mayonnaise evenly, leaving a small border.
- Dot or lightly spread ½ teaspoon mustard over the mayo layer.
- Arrange 3 to 4 slices of deli meat evenly over the tortilla, leaving edges clear for rolling.
- Sprinkle approximately ⅓ cup (about 55g) shredded cheddar cheese evenly on top of the meat. Optionally toss cheese with ⅛ teaspoon garlic powder or Italian seasoning.
- Add optional extras like pickles, onion rings, or spinach leaves on top of the cheese.
- Roll the tortilla tightly but gently from one edge, keeping the filling inside.
- Place the rolled wrap seam-side down on the lined baking sheet and brush the outside generously with melted butter.
- Bake for 12 to 15 minutes until tortilla edges are golden brown and cheese is melted.
- Let the wraps rest for 2 minutes before slicing in half diagonally and serve warm.
Notes
Use soft, pliable tortillas for easier rolling and crispier edges. Do not overfill to avoid leaks. Brushing melted butter on the outside before baking is key for golden crunch. Watch oven closely to prevent burning. Wraps can be assembled ahead and refrigerated or frozen before baking. Reheat in toaster oven for best crispness.
Nutrition
- Serving Size: 1 wrap
- Calories: 310
- Sodium: 650
- Fat: 18
- Carbohydrates: 22
- Fiber: 1.5
- Protein: 18
Keywords: cheesy roll-up, sandwich wrap, quick lunch, easy recipe, melty cheese, tortilla wrap, deli meat, baked sandwich