The lid was missing. I found it stuck to the bottom of the container with a stubborn ring of oat dust, but the balls were long gone. My husband, who usually pretends not to notice when I pack snacks, had left the entire batch. Not a single crumb. Not even the ones that had rolled under the fridge during the last grocery run.
I checked the calendar. It was Tuesday. A regular, chaotic Tuesday where I had forgotten to buy actual fruit and was running on coffee and hope. I had tossed these together on Sunday night because I was tired. Tired of meal prepping complex salads. Tired of worrying if I had enough time for a real breakfast.
By Wednesday, I got three texts. One from my sister asking if I had that “magic snack” again. Another from my neighbor who had “borrowed” one while I was watering my plants. They didn’t ask for the recipe immediately. They just asked, “Do you have more?”
That is the moment you know you’ve hit something. It isn’t about the flavor, though it is good. It is about the utility. It is about being the person who has the solution to the 3 PM slump.
I started making these because I needed something fast. I needed something that wouldn’t melt in my bag. I needed something that didn’t require a oven or a dish to wash. Honestly, I expected them to be mediocre. Oat-based snacks often feel like cardboard when you aren’t paying attention. But these stuck. They became a staple.
Now, when I make a batch, I don’t just make them for me. I make them for the empty containers. I make them for the people who show up at my door looking for a quick energy boost. It started as a lazy hack for a busy mom, but it turned into something else. It became a small, consistent win in a week full of small losses.
If you are looking for a way to stop the hunger before it starts, this is it. It is simple. It is honest. And it works.
Why You’ll Love This Recipe
Let’s be real for a second. Most protein ball recipes are complicated. They ask you to buy three types of nut butter, a specific brand of protein powder that costs more than your coffee, and a spice you will never use again. That is not how I roll. I want something I can grab on the way out the door. I want something that tastes like a treat but fuels like a meal.
This recipe checks every box without the stress. Here is why it stays in my rotation week after week:
- Quick & Easy: The entire process takes five minutes. No baking. No cooling racks. No waiting. You mix, you roll, you chill. If you can stir a bowl, you can make this.
- Simple Ingredients: You likely have 80% of this in your pantry right now. Rolled oats, nut butter, honey, and protein powder. That’s it. No fancy grocery trips needed. It is pantry-friendly cooking at its best.
- Perfect for On-the-Go: Whether you are heading to the gym, rushing to a meeting, or just need something between lunch and dinner, these are portable. They don’t crumble. They don’t melt. They just work.
- Crowd-Pleaser: Even the pickiest eaters at my house love these. My kids think they are getting away with eating dessert for breakfast. I let them believe it. It keeps them happy and fueled.
- Unbelievably Delicious: The texture is chewy and dense, not dry or chalky. The sweetness hits you right away, followed by that rich, nutty finish. It is comfort food that doesn’t weigh you down.
What makes this different from the rest? It is the balance. Too many recipes use too much protein powder, which makes everything taste like chalk or chemicals. I use a specific ratio that keeps the flavor forward. The oats provide the chew, the nut butter provides the fat, and the protein powder adds the boost without ruining the taste.
It is also the versatility. You can change the flavor in seconds. Want chocolate? Add cocoa. Want fruity? Add dried cranberries. It is a blank canvas for your hunger.
I have tried making these with different flours and sweeteners, but this base recipe is the one that always comes back. It is reliable. It is consistent. And it is the kind of snack that makes you feel like you are taking care of yourself, even when you are rushing around like crazy.
What Ingredients You Will Need
This recipe uses simple, wholesome ingredients to deliver bold flavor and satisfying texture without the fuss. You do not need to hunt down specialty items at a health food store. This is about using what you have and making it work.
Here is what you need to gather. I have grouped them by how they function in the mix, so you can see how they come together.
For the Base (The Chewy Part)
- Old-Fashioned Rolled Oats: 1 ½ cups. Do not use instant oats. They are too fine and will make the balls mushy. You want the chew. Look for certified gluten-free oats if you have sensitivities.
- Protein Powder: ½ cup. I recommend Orgain or Transparent Labs for a smoother mix. Whey or plant-based both work, but whey tends to bind better. Vanilla or chocolate flavors work best here.
- Ground Flaxseed: 2 tablespoons. This adds omega-3s and helps hold everything together. If you don’t have flax, you can skip it, but the texture will be slightly looser.
For the Binder (The Sticky Part)
- Nut Butter: ½ cup. Peanut butter is classic and cheap. Almond butter is richer. Sunflower seed butter is great for nut-free schools. Make sure it is creamy, not natural/oily, unless you adjust the liquid.
- Honey: 3 tablespoons. This adds natural sweetness and stickiness. Maple syrup works too, but it is thinner, so you may need a bit more oats.
- Vanilla Extract: 1 teaspoon. Just a splash. It makes the peanut butter taste like a cookie.
For the Mix-Ins (The Fun Part)
- Dark Chocolate Chips: ¼ cup. Semi-sweet or dark. They melt slightly in your mouth and add a nice crunch.
- Dried Fruit: ¼ cup. Cranberries, raisins, or chopped dates. This adds a chewy contrast to the dense oats.
- Sea Salt: A pinch. This is non-negotiable. It pops the flavor of the nut butter.
Ingredient Tips:
If your nut butter is very thick, warm it up slightly in the microwave for 10 seconds. It will mix much easier. If you are using plant-based protein powder, it absorbs more moisture, so you might need an extra tablespoon of honey or water. Taste the mixture before rolling. If it isn’t sweet enough, add a little more honey. If it is too dry to hold together, add a splash of milk.
Equipment Needed
You do not need much for this. In fact, the less equipment you use, the better. This is about low effort.
- Large Mixing Bowl: Any size will do, as long as it is big enough to toss the oats and wet ingredients without spilling. Glass or ceramic is nice because it is heavy and doesn’t slide.
- Silicone Spatula: This is your best friend. You need something that can scrape the sides of the bowl and fold the sticky mixture together. A spoon works, but a spatula is faster and cleaner.
- Baking Sheet: You need a flat surface to roll the balls on. Line it with parchment paper or a silicone mat. This prevents sticking and makes cleanup a breeze. I use a standard half-sheet pan.
- Measuring Cups and Spoons: Precision matters here. Too much protein powder and it gets dry. Too little and it falls apart. Use standard measuring tools.
- Airtight Container: For storage. Glass containers are best because they don’t retain smells. Plastic is fine too, just make sure the lid seals tight.
Pro Tip: If you don’t have a baking sheet, you can just roll them directly onto a plate and put them in the fridge. But a sheet pan keeps them organized and makes it easier to transfer them to the container later.
Preparation Method
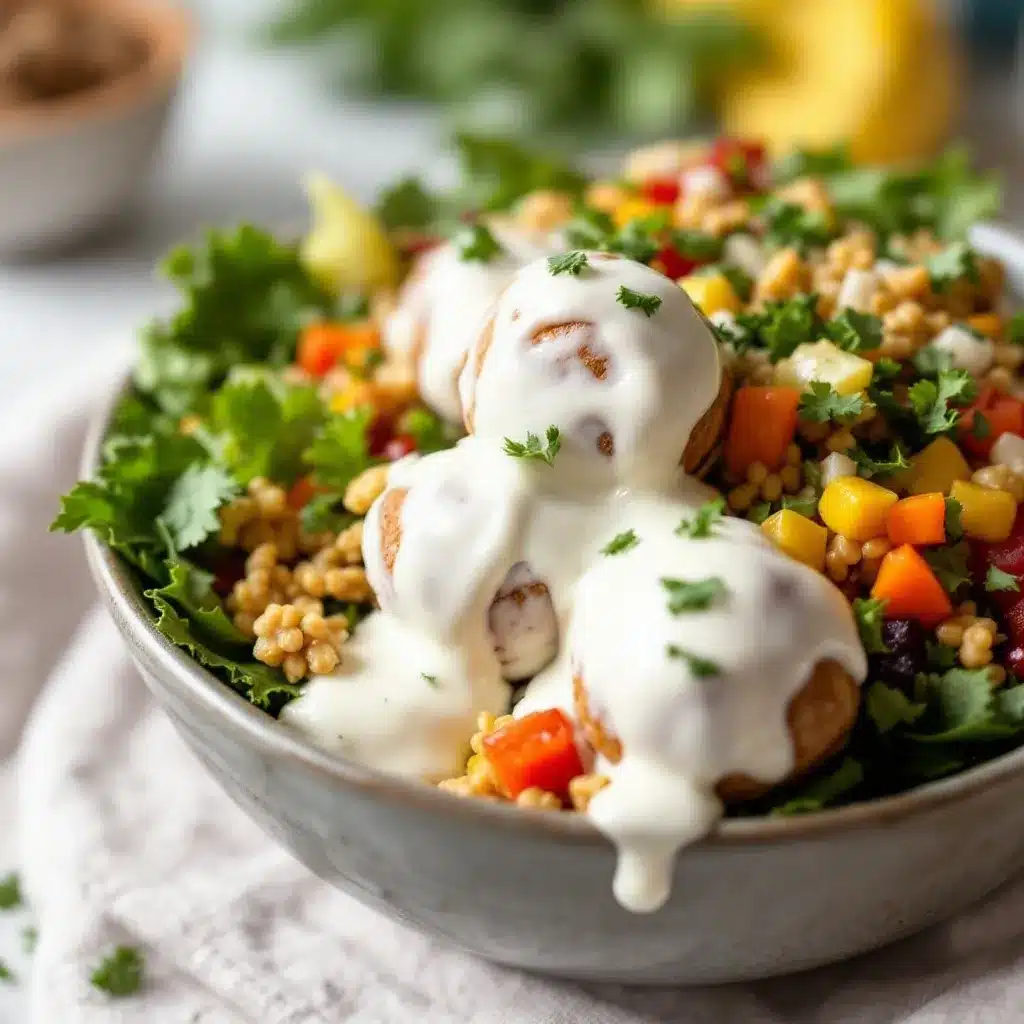
Let’s get into the kitchen. This is straightforward. No fancy techniques. Just mix and roll.
Step 1: Mix the Dry Ingredients (2 Minutes)
Grab your large mixing bowl. Add the rolled oats, protein powder, and ground flaxseed. If you are adding any dry mix-ins like cocoa powder or dried coconut, add them now. Whisk them together briefly. This ensures the protein powder is distributed evenly so you don’t get a chalky bite in the middle of a ball.
Step 2: Add the Wet Ingredients (1 Minute)
Pour in the nut butter, honey, and vanilla extract. If you are using a thick nut butter, you might need to stir vigorously at first. It will look like a mess. That is normal. Keep stirring. The goal is to coat every single oat in the sticky mixture.
Step 3: Combine and Check Consistency (1 Minute)
Now, add your mix-ins like chocolate chips or dried fruit. Fold everything together. Stop and check the texture. Pinch a small amount between your fingers.
- If it crumbles: It is too dry. Add another tablespoon of honey or a splash of milk. Mix again.
- If it is too sticky to handle: It is too wet. Add another tablespoon of oats or protein powder. Let it sit for a minute to absorb.
You want a dough-like consistency. It should hold its shape when squeezed but still be soft.
Step 4: Roll the Balls (2 Minutes)
Line your baking sheet with parchment paper. Scoop out about 1.5 tablespoons of mixture. Roll it between your palms to form a smooth ball. Place it on the sheet. Repeat until all the mixture is used. You should get about 12-15 balls, depending on how big you make them. Try to keep them uniform so they chill evenly.
Step 5: Chill (15-30 Minutes)
This step is crucial. The mixture is soft right now. Putting them in the fridge firms up the nut butter and oats. This makes them easier to store and prevents them from squishing in your bag. Leave them in the fridge for at least 15 minutes. If you can wait 30 minutes, they will be even better.
Step 6: Store and Enjoy
Once they are firm, transfer them to an airtight container. They are ready to eat.
Cooking Tips & Techniques
I have made these a hundred times. Here are the things I learned the hard way so you don’t have to.
Don’t Skip the Chill Time
I know you want to eat them now. I get it. But if you skip the chill, they will stick to your fingers. They will leave a mess in your car. Take the 15 minutes. Your future self will thank you.
Wet Your Hands
If the mixture feels too sticky while you are rolling, wet your hands slightly with water. This helps the oats not stick to your skin. It is a small trick, but it keeps the process clean.
Use Room Temperature Nut Butter
Cold nut butter is hard to mix. If you just took it out of the fridge, let it sit for 10 minutes. It should be soft and spreadable. If it is too runny, put it in the fridge for 5 minutes before mixing.
Portion Control
Use a cookie scoop if you have one. It makes all the balls the same size. This is helpful if you are tracking macros. If you don’t have a scoop, just eyeball it. Just be consistent so they cook/chill evenly.
Don’t Overcrowd the Pan
Leave space between the balls on the baking sheet. They don’t spread, but you need room to get them off the pan later. If you stack them while they are still soft, they will fuse together.
Variations & Adaptations
This recipe is a base. You can twist it to fit your taste buds. Here are three variations I love.
Chocolate Peanut Butter Cup
Add 2 tablespoons of cocoa powder to the dry mix. Use chocolate chips instead of regular chips. This tastes like a Reese’s cup but with protein. It is rich and decadent.
Trail Mix Style
Skip the protein powder if you want a lower-protein snack. Add chopped walnuts, pecans, and dried apricots. Add a dash of cinnamon. This is great for hiking or outdoor activities. It is more like a energy bar than a protein ball.
Coconut Lime
Use coconut butter instead of nut butter. Add shredded coconut to the mix. Add a teaspoon of lime zest. This is refreshing and tropical. It is perfect for summer.
Allergen-Free Option
Use sunflower seed butter instead of peanut or almond butter. Use certified gluten-free oats. Use a plant-based protein powder. This is safe for nut allergies and gluten sensitivities.
My Personal Twist
I sometimes add a tablespoon of peanut butter chips to the chocolate version. It gives an extra burst of peanut flavor. It is my favorite way to eat them.
Serving & Storage Suggestions
Serving
These are best eaten cold. They have a fudgy texture when chilled. You can serve them as a snack with a glass of milk or coffee. They are also great paired with a piece of fruit. I like them with an apple on busy mornings.
Storage
Refrigerator: Store in an airtight container for up to 1 week. They stay fresh and firm.
Freezer: These freeze beautifully. Place them on a baking sheet in the freezer for 1 hour, then transfer to a freezer bag. They will last for 3 months. Thaw them in the fridge for 15 minutes before eating.
Reheating
You don’t need to reheat them. But if you like them soft, let them sit at room temperature for 10 minutes. They will become chewy and soft.
Nutritional Information & Benefits
These balls are a balanced snack. They provide protein, healthy fats, and complex carbohydrates.
Estimated Nutrition (Per Ball):
- Calories: 150-180
- Protein: 8-10g
- Fat: 7-9g
- Carbs: 15-18g
- Fiber: 3-4g
Health Benefits:
The oats provide sustained energy. The nut butter offers healthy monounsaturated fats. The protein powder helps with muscle recovery. The flaxseed adds omega-3s. This is a nutrient-dense snack that keeps you full.
Dietary Notes:
This recipe can be made gluten-free by using certified GF oats. It can be made nut-free by using sunflower seed butter. It is not vegan if you use whey protein or honey, but you can swap those for plant-based alternatives.
Conclusion
These Easy 5-Minute No-Bake Protein Energy Balls are more than just a snack. They are a solution. They are for the busy mornings, the afternoon slumps, and the post-workout hunger. They are simple, tasty, and effective.
I hope you try this recipe. It has saved me more times than I can count. Feel free to customize it with your favorite flavors. If you make it, let me know how you like it. I love hearing about your variations.
Share this with a friend who always forgets to eat lunch. Or just keep them for yourself. Either way, you will be glad you made them.
Frequently Asked Questions
Can I use instant oats instead of rolled oats?
No. Instant oats are too fine and will make the balls mushy. You need the chew of rolled oats. If you only have quick oats, it might work, but the texture will be softer.
How long do these last in the fridge?
They last up to 1 week in an airtight container. After that, they might start to dry out or lose their freshness.
Can I freeze them?
Yes. Freeze them for up to 3 months. Thaw in the fridge before eating. They hold their texture well after freezing.
What protein powder works best?
Whey protein binds better and gives a chewier texture. Plant-based protein can be drier, so you may need to add more liquid. Vanilla and chocolate flavors work best.
Can I make these without protein powder?
Yes. You can skip the protein powder and just use oats, nut butter, and honey. They will still be delicious, but they will have less protein. They will be more like energy bites.
Pin This Recipe!
Easy 5-Minute No-Bake Protein Energy Balls

A quick, no-bake snack made with simple pantry ingredients like oats, nut butter, and protein powder. These energy balls are perfect for busy mornings, post-workout fuel, or beating the 3 PM slump.
- Prep Time: 5 minutes
- Cook Time: 0 minutes
- Total Time: 20 minutes
- Yield: 12-15 servings 1x
- Category: Snack
- Cuisine: American
Ingredients
- 1 ½ cups Old-Fashioned Rolled Oats
- ½ cup Protein Powder (Vanilla or Chocolate)
- 2 tablespoons Ground Flaxseed
- ½ cup Nut Butter (Peanut, Almond, or Sunflower Seed)
- 3 tablespoons Honey
- 1 teaspoon Vanilla Extract
- ¼ cup Dark Chocolate Chips
- ¼ cup Dried Fruit (Cranberries, Raisins, or chopped Dates)
- A pinch of Sea Salt
Instructions
- In a large mixing bowl, whisk together the rolled oats, protein powder, and ground flaxseed to ensure even distribution.
- Add the nut butter, honey, and vanilla extract to the dry ingredients. Stir vigorously until every oat is coated in the sticky mixture.
- Fold in the chocolate chips, dried fruit, and sea salt. Check the consistency: if it crumbles, add more honey or milk; if too sticky, add more oats or protein powder.
- Line a baking sheet with parchment paper. Scoop about 1.5 tablespoons of mixture and roll between palms to form smooth balls.
- Place balls on the baking sheet and refrigerate for at least 15 minutes (up to 30 minutes) to firm up.
- Transfer to an airtight container for storage. Enjoy cold.
Notes
If using plant-based protein powder, it may absorb more moisture, requiring an extra tablespoon of honey or water. Wet your hands slightly if the mixture is too sticky while rolling. Ensure nut butter is at room temperature for easier mixing. Do not skip the chill time as it firms up the texture.
Nutrition
- Serving Size: 1 ball
- Calories: 165
- Sugar: 9
- Sodium: 100
- Fat: 8
- Saturated Fat: 2
- Carbohydrates: 16
- Fiber: 3.5
- Protein: 9
Keywords: protein balls, energy bites, no-bake snack, healthy snack, meal prep, gluten-free option, nut-free option, quick snack


