It is 4 PM on a Tuesday. The light is doing that weird late-afternoon thing where it hits the kitchen counter just right, making everything look a little more inviting than it actually is. I am staring at this giant, slightly slimy pumpkin seed pile. You know the type. It is wet, it is stringy, and it smells like raw earth. My brain is screaming for a snack. Not a salad. Not a piece of fruit. I need something that makes noise when I bite it.
Most people throw this stuff away. Honestly, I used to too. It felt like too much work to clean it, dry it, and roast it. But then I remembered that those easy baked pumpkin donuts I made last month? They were great, but they were heavy. This? This is light. This is the snack I can eat while folding laundry without feeling guilty. It is the bridge between “I need dessert” and “I need dinner.” The crunch is the key. If you don’t get the crunch, you fail. I learned that the hard way with my first batch, which came out soggy and sad.
There is a specific satisfaction in turning this messy, organic waste into something golden and fragrant. It is alchemy, but for people who just want a snack. The smell of cinnamon and roasted seeds fills the house, and suddenly, the afternoon slump doesn’t feel so bad. It is simple, really. Just seeds, fat, sugar, and salt. But the way they come together creates this addictive little crunch that keeps your hands busy and your mind quiet. I keep a bag of these in my pantry now. Not because I am meal prepping, but because I am honest about my cravings. And this recipe always delivers.
Why You’ll Love This Recipe
Let’s be real for a second. Snacking is usually a compromise. You either eat something healthy that tastes like cardboard, or something delicious that makes you feel sluggish an hour later. This crispy cinnamon sugar roasted pumpkin seeds recipe breaks that cycle. It is the kind of snack that feels like a cheat code for your pantry. I have tested this method at least a dozen times, ranging from using straight vegetable oil to melted coconut butter, and the result is always the same: pure, crunchy satisfaction.
- Quick & Easy: The whole process, from cleaning the seeds to the final crunch, takes about 45 minutes. That is less time than it takes to order takeout and wait for delivery. Perfect for those sudden 3 PM hunger pangs when you need something fast.
- Simple Ingredients: You likely have everything you need right now. Pumpkin seeds, butter or oil, brown sugar, cinnamon, and salt. No fancy grocery trips needed. No obscure ingredients hiding in the back of a specialty store.
- Perfect for Game Day: Whether it is football Sunday or just a quiet night in, these are the ultimate finger food. They pair beautifully with the crispy buffalo chicken dip I make for parties, adding a textural contrast that keeps people coming back for more.
- Crowd-Pleaser: Kids love the sweetness. Adults love the savory kick of the salt. It is a balanced profile that works for all ages. Even the picky eaters at the table will ask for seconds.
- Unbelievably Delicious: The texture is next-level. When the sugar caramelizes slightly on the outside while the seed stays crisp inside, you get this complex bite that is hard to resist. It is comfort food reimagined—healthier, faster, but with the same soul-soothing satisfaction.
What makes this different from the generic roasted seeds you buy in bags? It is the coating. Store-bought seeds are often just salted or plain. This version has that sticky, spiced crunch that adheres to the seed, giving you a burst of flavor with every single bite. It is not just a snack; it is a moment of peace in your kitchen.
What Ingredients You Will Need
This recipe relies on the quality of the raw materials to shine through. You do not need expensive gourmet items, but you do need fresh seeds and good-quality spices. The role of each ingredient is specific: the fat carries the flavor, the sugar provides the crunch, and the salt balances the sweetness. Here is exactly what you need to get started.
For the Seeds
- Fresh Pumpkin Seeds: 2 cups (approx. 300g). Use seeds from a sugar pumpkin or pie pumpkin for the best size. If you are using seeds from a carving pumpkin, they will be larger and slightly harder to clean, but they work fine. Look for seeds that are plump and white, not shriveled.
- Water: Enough for soaking and rinsing. Cold water works best for cleaning.
For the Coating
- Unsalted Butter: 2 tablespoons, melted. I recommend using a high-quality butter like Kerrygold or Plugrá because the fat content makes the sugar adhere better and adds a rich flavor. Olive oil works too, but butter gives that classic bakery taste.
- Vegetable Oil: 1 tablespoon. Adding a little neutral oil helps prevent the butter from burning during the roasting process. It stabilizes the heat.
- Brown Sugar: 2 tablespoons, packed. Light or dark brown sugar both work. Dark sugar adds a deeper molasses note, which I prefer for fall flavors. It is the key to that caramelized crust.
- Cinnamon: 1 teaspoon. Use ground cinnamon, not sticks. Freshly ground is best, but store-bought works if it hasn’t been sitting in your cabinet for five years. The aroma is half the battle here.
- Sea Salt: 1/2 teaspoon. Fine sea salt distributes evenly. If you use kosher salt, you might need a bit more because the grains are larger. Salt is non-negotiable; it makes the sweet pop.
- Vanilla Extract: 1/4 teaspoon. Optional, but it adds a subtle depth that makes the snack taste more complex than it actually is.
Note: If you need a dairy-free option, swap the butter for coconut oil or a vegan butter alternative. The texture will be slightly different, but the flavor remains excellent.
Equipment Needed
You do not need a professional kitchen to make this, but having the right tools makes the cleaning process much less painful. The biggest hurdle with pumpkin seeds is the stringy pulp, so your equipment choice matters for efficiency.
- Large Bowl: You need something wide enough to agitate the seeds in water. A large mixing bowl or even a clean sink works. I use a stainless steel bowl because it is easy to scrub later.
- Slotted Spoon or Fine-Mesh Sieve: Essential for separating the seeds from the water and pulp. A fine-mesh sieve is better if you want to catch smaller bits of pulp that fall through a slotted spoon.
- Baking Sheet: A standard half-sheet pan (18×13 inches). Make sure it has a rim. If you use a rimless cookie sheet, the sugar might drip onto your oven floor and burn, creating smoke. A rimmed pan contains the mess.
- Paper Towels or Clean Kitchen Towel: For drying the seeds. This is the most critical step. If the seeds are wet, they will steam instead of roast. I use paper towels for speed, but a clean cotton towel absorbs more moisture.
- Small Saucepan or Microwave-Safe Bowl: For melting the butter and oil mixture. A small saucepan gives you more control, but a bowl in the microwave is faster. Just be careful not to burn the butter.
I used to use a silicone mat on my baking sheet, but I found that it makes the seeds slide around too much. Parchment paper is better because it absorbs a tiny bit of excess oil and prevents sticking. For budget-friendly options, a simple aluminum foil-lined pan works in a pinch, though cleanup is harder. Keep your tools simple and clean, and you will be snacking in no time.
Preparation Method
Getting the seeds ready is 80% of the work. If you rush this part, the seeds will clump together or burn. Take your time here. The goal is clean, dry seeds that are ready to accept the coating.
- Extract and Initial Rinse (5 minutes): Cut open your pumpkin and scoop out the insides. Dump the seeds and pulp into a large bowl. Fill the bowl with cold water. The seeds will sink to the bottom, but the pulp will float. Use your hands to swish the seeds around. This helps loosen the sticky strings. Pour off the floating pulp into the trash or compost. Repeat this rinsing process 2-3 times until the water runs mostly clear. It does not need to be sterile, but you want to remove as much gunk as possible.
- Detailed Cleaning (10 minutes): This is the tedious part, but it pays off. Transfer the wet seeds to a fine-mesh sieve. Hold them under cold running water. Use your fingers to rub the seeds together. You are trying to peel off any remaining white strings. It takes a little patience. If a seed has a big chunk of pulp stuck to it, just rub it harder. You will notice the seeds becoming smoother and shinier. This step ensures they roast evenly and don’t stick to each other.
- Drying the Seeds (Critical Step – 20-30 minutes): Spread the cleaned seeds out on a layer of paper towels or a clean kitchen towel. Pat them dry with another layer of towels. You want them as dry as possible. Moisture is the enemy of crunch. If you are in a hurry, you can let them air dry on the counter for an hour, but I find that towel-drying is sufficient. The seeds should look matte, not shiny with water.
- Preheat and Prep Pan (5 minutes): Preheat your oven to 325°F (165°C). Line your baking sheet with parchment paper. This prevents the sugar from burning onto the metal and makes cleanup a breeze. Having the oven ready and the pan lined means you can go straight from mixing to roasting.
- Melt the Fat (2 minutes): In a small saucepan over low heat, melt the butter and vegetable oil together. Stir occasionally until just melted. Do not let it brown or burn. If using a microwave, heat in 15-second intervals, stirring in between. Set aside to cool slightly so it doesn’t cook the seeds immediately.
- Coat the Seeds (2 minutes): In a large bowl, combine the dried seeds, melted butter/oil mixture, brown sugar, cinnamon, salt, and vanilla. Toss vigorously with a spatula or your hands. You want every single seed to be coated in a thin, even layer of the spiced butter. If you see dry patches, add a tiny bit more butter. If it looks too wet, add a pinch more flour or just spread them out sooner.
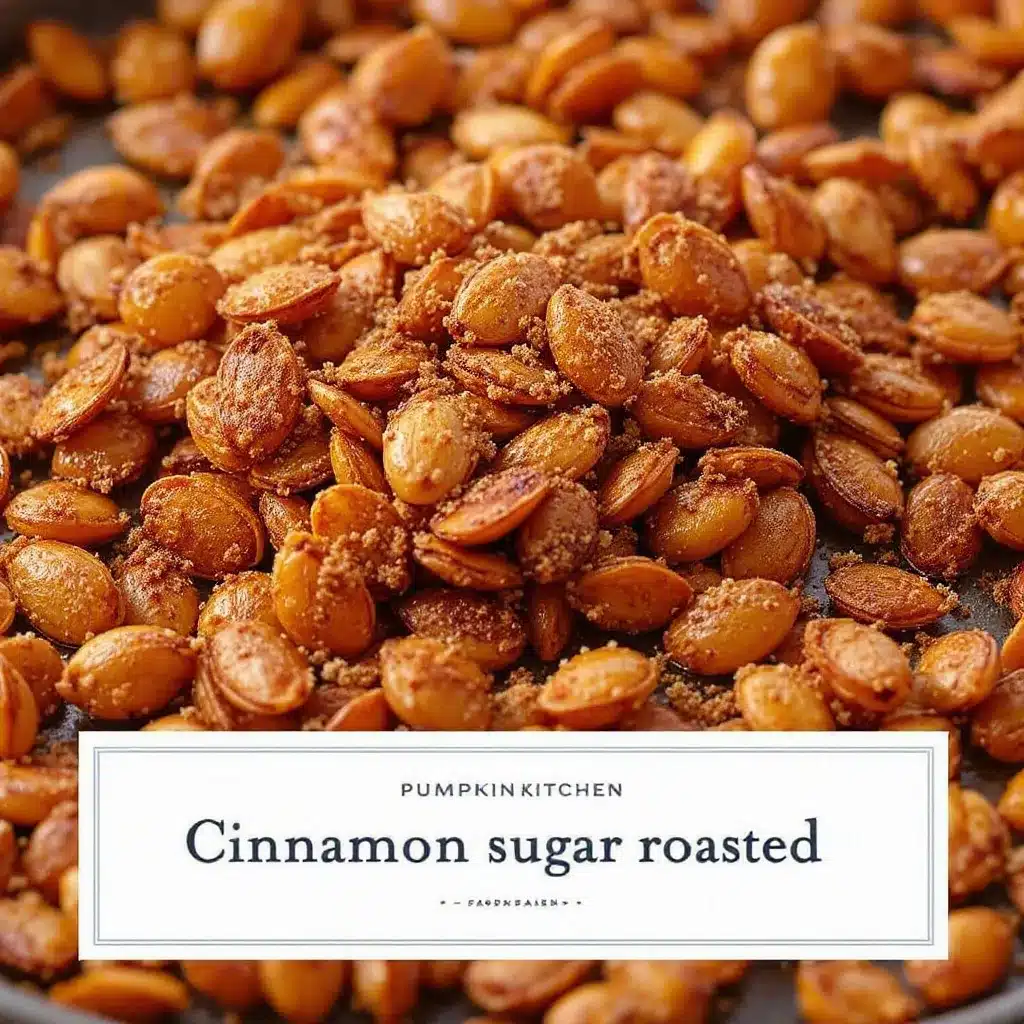
- Spread and Roast (25-30 minutes): Spread the coated seeds in a single layer on the prepared baking sheet. Do not overcrowd the pan. If they are piled on top of each other, they will steam and become chewy instead of crispy. Place them in the oven. Roast for 25-30 minutes. Halfway through (around the 15-minute mark), pull the pan out and stir the seeds. This ensures even browning. You are looking for a golden-brown color and a fragrant smell of cinnamon.
- Cool Completely (15 minutes): This is the hardest part. Remove the pan from the oven. The seeds will feel soft when they are hot. This is normal. They will crisp up as they cool. Let them sit on the pan for at least 15 minutes. Do not touch them while they are hot, or they will break apart. Once cool, they should snap when you bite them.
Cooking Tips & Techniques
I have made enough roasted seeds to know where people go wrong. The biggest mistake is ignoring the drying step. I once tried to skip drying because I was lazy. The result was a clumpy, chewy mess that tasted like burnt sugar. Dry seeds are crisp seeds. Trust the process.
Another common error is burning the sugar. Sugar burns faster than you think. That is why we use a lower oven temperature (325°F) rather than the typical 350°F or 400°F used for nuts. The lower heat allows the sugar to caramelize gently without charring. If you see the sugar turning dark brown, pull them out immediately. Dark brown means bitter.
Stirring halfway through is non-negotiable. The seeds on the edges of the pan cook faster than those in the middle. Stirring redistributes them so they all get equal heat exposure. It takes ten seconds, but it prevents half-burnt seeds.
Also, pay attention to the smell. When the seeds are done, your kitchen will smell like a pumpkin spice latte. If you smell something acrid or sharp, your oven is too hot. If you smell nothing, they need more time. Sensory cues are your best friend in the kitchen.
For consistency, use a kitchen scale if you have one. Pumpkin seeds vary in size and moisture content. If you weigh your seeds, you can adjust the sugar and butter ratios slightly. But for most home cooks, eyeballing it works fine as long as you follow the coating instructions closely.
Variations & Adaptations
Once you master the basic sweet version, you can tweak it to fit your mood or dietary needs. Here are a few variations I love.
- Savory Herb Crunch: Skip the sugar and cinnamon. Use 2 tablespoons of olive oil, 1 teaspoon of garlic powder, 1 teaspoon of onion powder, and 1/2 teaspoon of smoked paprika. Finish with fresh cracked black pepper and sea salt. This is perfect for topping salads or soups.
- Spicy Kick: Add 1/4 teaspoon of cayenne pepper or chili powder to the sweet mixture. The heat contrasts beautifully with the sugar and cinnamon. It is addictive in a different way.
- Dairy-Free/Vegan: Swap the butter for coconut oil or a plant-based butter. Use maple syrup instead of brown sugar for a vegan-friendly sweetener. The texture will be slightly less rich but still very crunchy.
- Gluten-Free: This recipe is naturally gluten-free, but always check your spice blends. Some pre-mixed cinnamon sugars might have anti-caking agents that contain gluten. Stick to pure ingredients to be safe.
I also tried adding a pinch of nutmeg to the sweet version once. It worked well, but it changed the flavor profile enough that I stick to the classic cinnamon for now. Experimentation is part of the fun, though. Don’t be afraid to try a little cardamom or allspice.
Serving & Storage Suggestions
These seeds are best served at room temperature. Hot seeds are soft, and cold seeds can lose their crunch. Let them cool completely before storing or serving. They make a great addition to a charcuterie board, especially alongside cheeses and fruits. They also pair well with a cold glass of milk or a cup of coffee.
For storage, let them cool completely to avoid condensation. Transfer them to an airtight container. A glass jar with a tight lid works well. Store them in a cool, dry place for up to one week. If you live in a humid climate, they might lose their crunch faster. In that case, store them in the refrigerator.
They do not freeze well because the sugar coating can become sticky or wet upon thawing. So, only make what you think you will eat within a week. If you have leftovers, try to eat them within a few days. The flavor is best when fresh.
Reheating is possible but not recommended. If they go soft, you can spread them on a baking sheet and put them in a 300°F oven for 5 minutes to crisp them back up. But honestly, they are usually gone before they get soft.
Nutritional Information & Benefits
Pumpkin seeds are a nutritional powerhouse. They are rich in magnesium, which supports heart health and muscle function. They are also a great source of zinc, which boosts the immune system, and protein, which helps keep you full. Unlike potato chips or candy bars, these seeds provide sustained energy without the sugar crash.
A serving of this snack (about 1/4 cup) contains approximately 150 calories, 8g of protein, 10g of fat (mostly healthy fats), and 10g of carbohydrates. The sugar content is moderate, but the fiber and protein help balance the glycemic impact. It is a guilt-free indulgence.
For those watching their sodium intake, you can reduce the salt to 1/4 teaspoon. The natural flavor of the seeds and cinnamon is still strong enough to be satisfying. This recipe is naturally gluten-free and can be made vegan, making it accessible for many dietary preferences. It is a wholesome snack that fits into a balanced lifestyle.
Conclusion
Making crispy cinnamon sugar roasted pumpkin seeds is a small project with a big reward. It turns waste into treasure and gives you a snack that is healthy, crunchy, and deeply satisfying. I hope you try this recipe and find your own moments of quiet enjoyment with it. Feel free to adjust the sweetness or spice to match your taste. Share your results in the comments below—I love hearing how you customize your snacks. And if you make this, snap a photo and tag me. I always look for new snack ideas, and yours might inspire someone else. Happy snacking!
Frequently Asked Questions
Can I use seeds from a carving pumpkin?
Yes, but they are often larger and have more stringy pulp. You will need to spend a little more time cleaning them under running water. They still roast well, but the texture might be slightly thicker.
Why are my seeds not crunchy?
They likely didn’t dry enough before roasting, or they were too crowded on the pan. Moisture prevents crisping. Make sure to pat them dry and spread them in a single layer. Also, remember they crisp up as they cool.
Can I make these ahead of time?
Yes, they keep well in an airtight container for up to a week. Just make sure they are completely cool before sealing the container to prevent sogginess.
Is there a substitute for brown sugar?
You can use white sugar, but brown sugar adds a richer flavor and helps with caramelization. If you don’t have brown sugar, white sugar mixed with a drop of molasses works in a pinch.
How do I store them if I live in a humid area?
In humid climates, store them in the refrigerator in an airtight container. You can let them come to room temperature before eating to restore some of the crunch. Avoid storing them in the freezer as the sugar can become sticky.
Pin This Recipe!
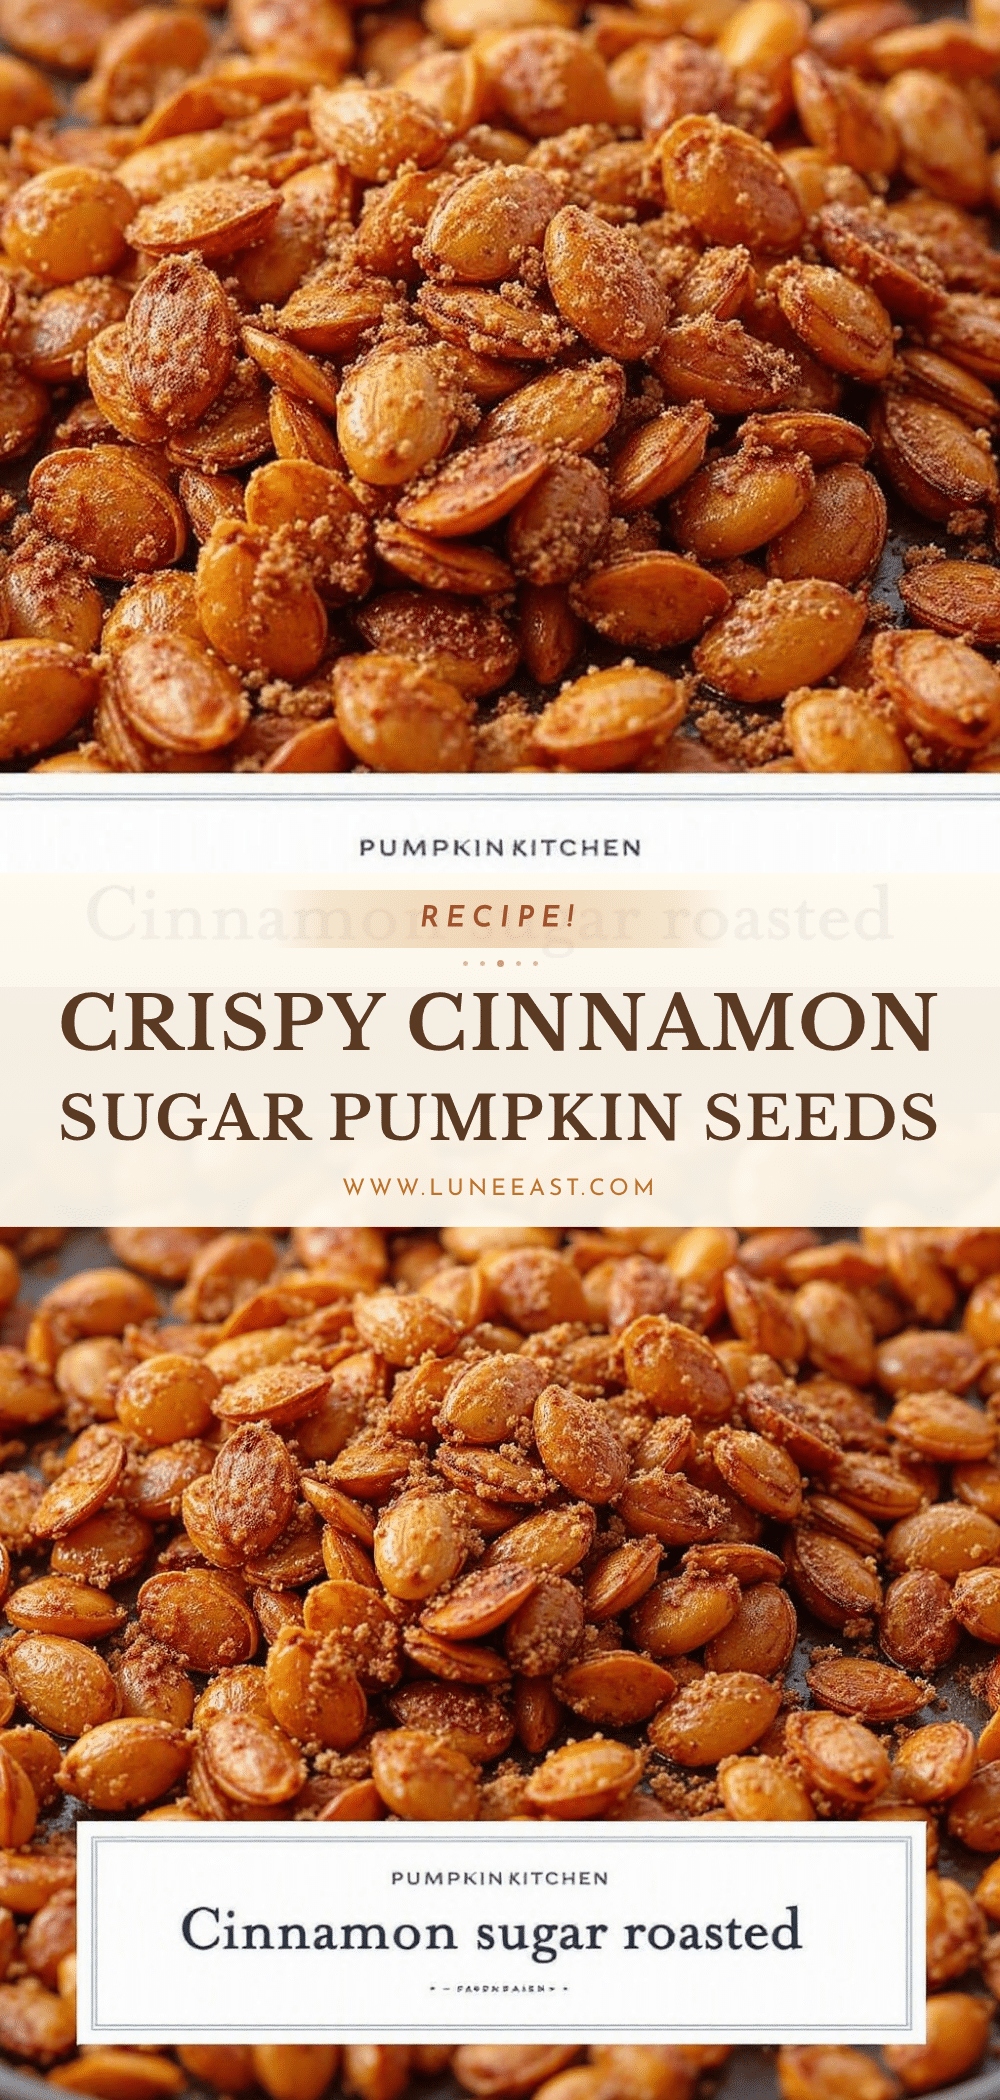
Crispy Cinnamon Sugar Roasted Pumpkin Seeds: Best Healthy Snack
Transform messy pumpkin seeds into a golden, crunchy, and addictive snack with this simple recipe. Coated in butter, brown sugar, and cinnamon, these roasted seeds are the perfect guilt-free treat for any time of day.
- Prep Time: 35 minutes
- Cook Time: 30 minutes
- Total Time: 65 minutes
- Yield: 4 servings 1x
- Category: Snack
- Cuisine: American
Ingredients
- 2 cups fresh pumpkin seeds (approx. 300g)
- 2 tablespoons unsalted butter, melted
- 1 tablespoon vegetable oil
- 2 tablespoons packed brown sugar
- 1 teaspoon ground cinnamon
- 1/2 teaspoon sea salt
- 1/4 teaspoon vanilla extract (optional)
Instructions
- Extract seeds from pumpkin and place in a large bowl. Cover with cold water and swish to loosen pulp. Pour off floating pulp and repeat rinsing 2-3 times until water runs clear.
- Transfer seeds to a fine-mesh sieve and rinse under cold running water, rubbing seeds together to remove remaining white strings.
- Spread cleaned seeds on paper towels or a clean kitchen towel. Pat dry thoroughly until seeds look matte, not shiny. This step is critical for crunch.
- Preheat oven to 325°F (165°C). Line a rimmed baking sheet with parchment paper.
- In a small saucepan or microwave-safe bowl, melt butter and vegetable oil together. Set aside to cool slightly.
- In a large bowl, combine dried seeds, melted butter/oil mixture, brown sugar, cinnamon, salt, and vanilla. Toss vigorously until every seed is evenly coated.
- Spread coated seeds in a single layer on the prepared baking sheet. Do not overcrowd.
- Roast for 25-30 minutes, stirring halfway through to ensure even browning. Seeds should be golden-brown and fragrant.
- Remove from oven and let cool completely on the pan for at least 15 minutes. Seeds will crisp up as they cool.
Notes
Ensure seeds are completely dry before roasting to achieve maximum crunch. Use a lower oven temperature (325°F) to prevent the sugar from burning. Seeds will feel soft when hot but will crisp up as they cool. Store in an airtight container for up to one week. For a dairy-free option, swap butter for coconut oil or vegan butter.
Nutrition
- Serving Size: 1/4 cup
- Calories: 150
- Sugar: 8
- Sodium: 150
- Fat: 10
- Saturated Fat: 3
- Carbohydrates: 10
- Fiber: 2
- Protein: 8
Keywords: pumpkin seeds, roasted pumpkin seeds, cinnamon sugar snack, healthy snack, gluten-free snack, game day snack, fall recipes, pumpkin carving


