The last spoonful scraped against the dish with that particular ceramic-on-metal sound that means someone is not ready to be done. My husband looked up, fork still hovering, and said, “Can you make this again tomorrow?” That was the third time that week someone had asked for a repeat of this apple crisp. Not the first bite—that was always expected. But the aftermath, the quiet request for more before the plates were even cleared—that was new.
This wasn’t some elaborate project I’d spent days perfecting. It came together on a Tuesday night when I had a bag of apples that were starting to look a little sad and a craving for something warm that didn’t require a trip to the store. I had made oat crumble toppings before, but something clicked that evening—the ratio felt right, the butter was at that perfect cool-room-temperature stage, and the oats toasted up exactly as they should. I didn’t tweak it much after that first try. Sometimes you just know when you’ve landed on something good.
What I love about this cozy classic apple crisp is how honest it is. There’s no fussing with pie crusts or worrying about a perfect lattice top. It’s a dessert that admits it’s a dessert—sweet, buttery, and completely unapologetic about the crumble. You can trust a recipe like this. It doesn’t promise to be anything other than exactly what it looks like: soft, cinnamon-spiced apples under a blanket of golden oat crumble. And honestly, that’s exactly what I want on a cool evening.
Why You’ll Love This Recipe
After testing this apple crisp more times than I care to count (the neighbors were very supportive), I can tell you exactly why this version stands out from the dozens of others out there. It’s not just another apple dessert—it’s the one you’ll keep coming back to.
- Quick & Easy: From start to oven in about 20 minutes. No pie crust to roll, no complicated steps. Just slice, mix, crumble, and bake. Perfect for those evenings when you want something special without spending hours in the kitchen.
- Simple Ingredients: You probably have most of this in your pantry right now. Apples, oats, flour, butter, brown sugar, and cinnamon. That’s it. No chasing down specialty items or making a separate grocery run.
- Perfect for Fall Gatherings: Whether it’s a casual Thanksgiving dessert or a cozy Sunday dinner with family, this apple crisp fits right in. It travels well, scales up easily, and disappears fast from any table.
- Customizable for Any Occasion: Serve it warm with vanilla ice cream for a classic pairing, or keep it simple with a dollop of whipped cream. It works for both fancy dinner parties and quiet nights on the couch.
- Unbelievably Delicious: The oat crumble topping gets perfectly golden and crunchy while the apples underneath turn soft and jammy. The contrast in textures is what makes this dessert so satisfying. You get that slight resistance from the oats, then the tender apples just melt on your tongue.
What makes this recipe different is the balance. Many apple crisps lean too heavy on the topping or end up with a soggy bottom. I’ve adjusted the flour-to-oat ratio, the butter temperature, and the apple prep to give you a crisp that stays crunchy on top while the fruit cooks down into that perfect spoonable consistency. It’s comfort food at its finest—simple, warm, and exactly what you need.
What Ingredients You Will Need
This recipe uses straightforward ingredients that work together to create something truly special. The magic happens in the details—how you prep the apples, the temperature of your butter, and the ratio of oats to flour in that crumble topping. Let’s break down what you’ll need.
For the Apple Filling
- 6 medium apples (about 2 pounds or 900g)—I recommend a mix of Granny Smith and Honeycrisp for the best balance of tart and sweet. The Granny Smiths hold their shape well during baking while the Honeycrisps break down slightly, creating that perfect saucy texture. Peel, core, and slice them about ¼-inch thick.
- ¼ cup (50g) granulated sugar—Just enough to sweeten the apples without overpowering their natural flavor. You can reduce this slightly if your apples are very sweet.
- 2 tablespoons (15g) all-purpose flour—This helps thicken the juices as the apples cook, preventing a watery filling. I’ve tried cornstarch here too, but flour gives a more natural, silky texture.
- 1 teaspoon ground cinnamon—The backbone of any apple dessert. I use Ceylon cinnamon when I have it for a milder, more complex flavor, but regular cassia cinnamon works beautifully too.
- ¼ teaspoon ground nutmeg—Freshly grated if you have it. It adds that warm, slightly floral note that makes apple desserts taste like fall.
- 1 tablespoon lemon juice—Fresh squeezed is best. It brightens the filling and keeps the apples from browning while you prep them.
For the Oat Crumble Topping
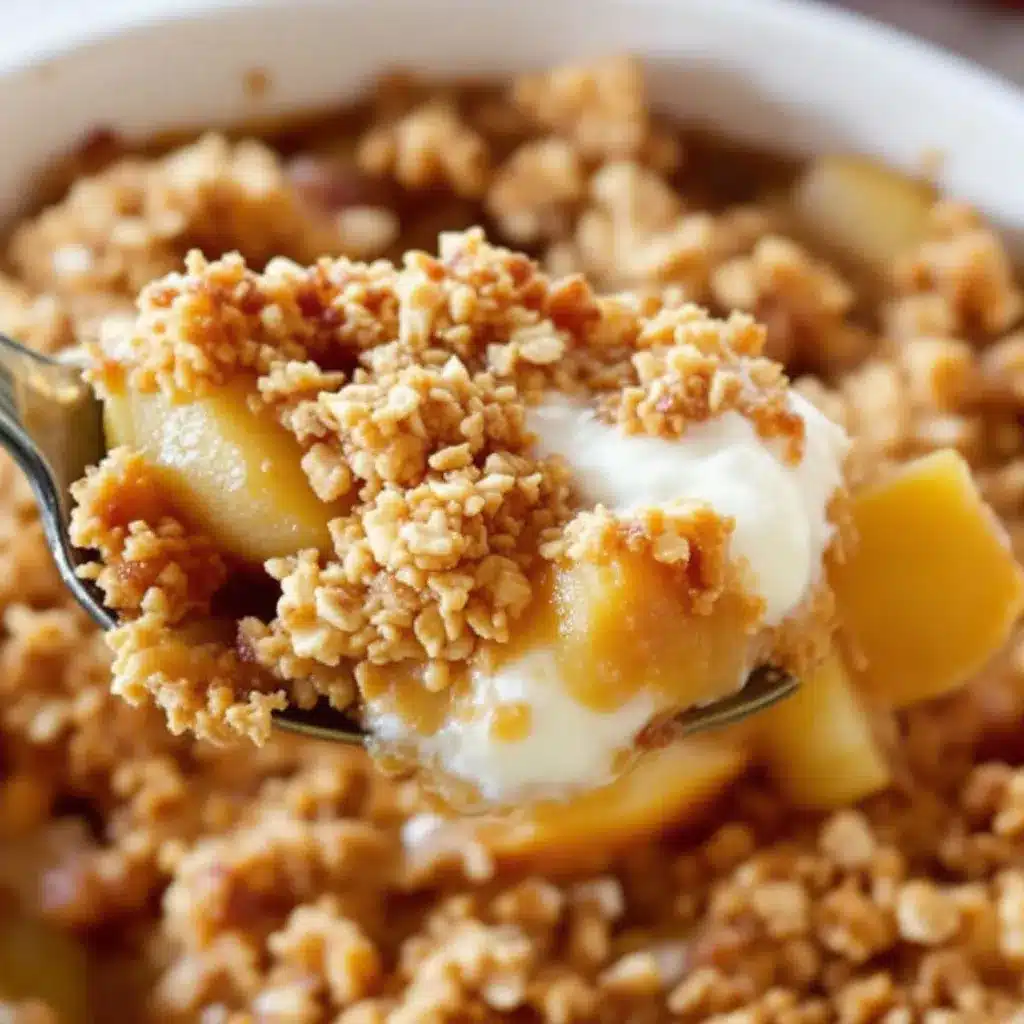
- 1 cup (90g) old-fashioned rolled oats—Not quick oats! The old-fashioned kind gives you that hearty, chunky texture that makes this crisp so satisfying. I’ve tested this with quick oats and the topping comes out too dense and powdery.
- ¾ cup (95g) all-purpose flour—Provides structure to the crumble. You can substitute with whole wheat pastry flour for a nuttier flavor, but the texture will be slightly denser.
- ½ cup (100g) packed brown sugar—Light or dark both work. Dark brown sugar gives a deeper molasses flavor that pairs beautifully with the oats and apples. I prefer dark brown sugar here for that extra richness.
- ½ cup (113g) unsalted butter—Cold and cut into small cubes. This is crucial. The butter needs to be straight from the fridge so you can cut it into the dry ingredients without it melting. Room temperature butter will give you a paste instead of crumbles.
- ½ teaspoon ground cinnamon—A little extra warmth in the topping never hurt anyone.
- ¼ teaspoon salt—Don’t skip this. Salt balances the sweetness and makes all the flavors pop. I use fine sea salt here.
Equipment Needed
You don’t need a fancy kitchen to make this apple crisp, but having the right tools makes the process smoother. Here’s what you’ll need:
- 9×13-inch baking dish (or similar 3-quart dish)—Glass or ceramic works best. I prefer a light-colored ceramic dish because it lets me see the bottom browning. Dark metal pans can cause the apples to cook too quickly on the bottom.
- Large mixing bowl—For combining the crumble topping ingredients. A wide bowl gives you room to work the butter into the flour mixture properly.
- Medium mixing bowl—For tossing the apples with sugar and spices.
- Pastry cutter or two forks—For cutting cold butter into the dry ingredients. You can also use your fingertips, but work quickly so the butter doesn’t warm up. I actually prefer using a pastry cutter—it gives you more control over the size of the butter pieces.
- Sharp chef’s knife and cutting board—For peeling and slicing apples. A good peeler helps too if you have one.
- Measuring cups and spoons—Accurate measurements matter, especially for the flour and oats.
- Spatula or wooden spoon—For gently mixing the apple filling.
If you don’t have a pastry cutter, don’t worry. Two forks work perfectly, or you can use a food processor with quick pulses. Just be careful not to over-process—you want visible pieces of butter throughout the crumble. I’ve also used my hands many times when I couldn’t find my pastry cutter. The key is to keep everything cold and work fast.
Preparation Method
Let me walk you through this step by step. The total active time is about 20 minutes, then the oven does the rest of the work. Trust the process—especially that moment when your kitchen starts smelling like cinnamon and baked apples.
- Preheat your oven to 350°F (175°C). Position a rack in the center of the oven. Getting the temperature right from the start is important—you want the crumble to brown evenly while the apples cook through.
- Prepare the apples. Peel, core, and slice your 6 medium apples into ¼-inch thick slices. Don’t stress about making them perfectly uniform, but try to keep them close to the same size so they cook evenly. Place the slices in your medium mixing bowl. Add the lemon juice and toss gently to coat—this prevents browning and adds brightness.
- Season the apple filling. To the bowl with the apples, add the ¼ cup granulated sugar, 2 tablespoons flour, 1 teaspoon cinnamon, and ¼ teaspoon nutmeg. Toss everything together until every slice is coated. You’ll notice the apples start releasing a little juice—that’s good. Let them sit while you make the topping.
- Make the oat crumble topping. In your large mixing bowl, combine the 1 cup rolled oats, ¾ cup flour, ½ cup packed brown sugar, ½ teaspoon cinnamon, and ¼ teaspoon salt. Whisk these dry ingredients together until evenly distributed.
- Cut in the cold butter. Add the ½ cup cold, cubed unsalted butter to the dry ingredients. Using your pastry cutter or two forks, cut the butter into the flour mixture until it resembles coarse meal with pea-sized pieces of butter still visible. Some larger pieces are fine—they’ll create those beautiful craggy bits on top of the crisp. If using your fingers, work quickly and try not to let the butter warm up too much.
- Assemble the crisp. Transfer the seasoned apples to your 9×13-inch baking dish and spread them into an even layer. Don’t pack them down—just let them settle naturally. Sprinkle the oat crumble topping evenly over the apples, covering them completely. I like to squeeze handfuls of the topping gently before dropping them onto the apples—this creates those lovely clumps that get extra crunchy.
- Bake the apple crisp. Place the dish in the preheated oven and bake for 40-45 minutes. At the 30-minute mark, check on it. If the topping is browning too quickly, tent loosely with aluminum foil for the remaining time. You’ll know it’s done when the filling is bubbling up around the edges of the crumble and the topping is deep golden brown. The apples should be tender when pierced with a fork.
- Cool slightly before serving. Let the crisp rest on a wire rack for at least 10-15 minutes. This allows the filling to set up slightly so it doesn’t run all over the plate when you serve it. I know it’s tempting to dig in right away, but trust me—that short wait makes a difference.
Cooking Tips & Techniques
After making this apple crisp more times than I can count (including a few memorable failures), I’ve picked up some tricks that make a real difference. Here are the things I wish someone had told me when I started making crisps.
Use a mix of apple varieties. This is probably the most important tip I can give you. Granny Smith apples alone will give you a tart, firm filling that doesn’t break down enough. Honeycrisp alone can get too soft. Combining them gives you that perfect texture—some apples hold their shape, others melt into the sauce. If you only have one variety on hand, adjust your expectations accordingly. All Granny Smith will be firmer and tarter; all Honeycrisp will be sweeter and softer.
Don’t overwork the crumble topping. The biggest mistake I made early on was mixing the butter into the flour too thoroughly. You want visible pieces of butter throughout the crumble. Those pieces melt during baking, creating steam pockets that make the topping light and crunchy. If you mix until the butter is completely incorporated, you’ll end up with a dense, pasty topping that never gets crispy.
Let the crisp rest after baking. I learned this one the hard way. The first time I made this, I served it straight from the oven and ended up with apple soup on everyone’s plates. The filling needs time to set up as it cools. Ten to fifteen minutes is the sweet spot—the filling thickens, the topping stays crunchy, and everything holds together beautifully when you scoop it out.
Watch your oven temperature. Ovens run differently, and 350°F in one oven might be 325°F in another. If your topping is browning too quickly but the apples aren’t tender yet, lower the temperature to 325°F and bake longer. Conversely, if the apples are bubbling but the topping is still pale, bump up the heat to 375°F for the last 10 minutes. Get to know your oven’s quirks—it makes a difference.
Toast the oats beforehand for extra crunch. This is a pro-level tip I picked up from a pastry chef friend. Spread the oats on a baking sheet and toast them at 350°F for 5-7 minutes before adding them to the crumble mixture. Let them cool completely, then proceed with the recipe. The pre-toasted oats stay crunchier during baking and add a deeper, nuttier flavor to the topping.
Variations & Adaptations
One of the best things about this apple crisp is how easily it adapts to different tastes and dietary needs. Here are some variations I’ve tried and loved:
Gluten-Free Version: Substitute the all-purpose flour in both the filling and the topping with a good gluten-free flour blend. I’ve had great results with Bob’s Red Mill 1-to-1 Baking Flour. Make sure your oats are certified gluten-free as well. The texture will be slightly more delicate, but the flavor is still fantastic.
Vegan Adaptation: Replace the butter with cold coconut oil or a high-quality vegan butter stick. I prefer the block-style vegan butter (not the spreadable kind) for best results. The topping won’t brown quite as deeply, but it will still be delicious. Serve with dairy-free ice cream for the full experience.
Seasonal Fruit Swaps: This crumble topping works beautifully with other fruits too. In summer, try it with sliced peaches or nectarines—reduce the sugar slightly since stone fruits are sweeter than apples. In spring, rhubarb and strawberry combinations are wonderful. Just adjust the baking time based on the fruit’s water content. Pears work great in fall alongside or instead of apples.
Spice It Up: Feel free to experiment with the spices. Add ¼ teaspoon cardamom for a floral note, or ⅛ teaspoon cloves for warmth. A pinch of allspice works well too. I sometimes add a tablespoon of bourbon or dark rum to the apple filling for grown-up depth—just reduce the lemon juice slightly to balance the liquid.
Individual Servings: Divide the apple mixture and topping among 6-8 ramekins for personal crisps. Reduce the baking time to 25-30 minutes. These are perfect for dinner parties—everyone gets their own perfectly portioned dessert with maximum crunchy topping.
Serving & Storage Suggestions
This apple crisp is at its best when served warm, but it has a few tricks up its sleeve when it comes to leftovers too.
Serving Temperature: Let the crisp rest for 10-15 minutes after baking, then serve while still warm. The contrast between the warm, soft apples and cold ice cream is absolutely perfect. If you’re serving it later, reheat individual portions in the microwave for 30-45 seconds or in a 350°F oven for 10 minutes.
What to Serve With It: Vanilla ice cream is the classic pairing for a reason—the cold creaminess balances the warm, spiced apples beautifully. But don’t stop there. A dollop of lightly sweetened whipped cream, a drizzle of salted caramel sauce, or even a pour of heavy cream (old-fashioned style) are all excellent choices. For a special touch, try it with brown butter pumpkin bundt cake alongside for a full fall dessert spread.
Storage Instructions: Cover the baking dish tightly with foil or plastic wrap and store in the refrigerator for up to 4 days. The topping will soften over time, but the flavor actually gets better as the spices meld with the apples. To restore some crunch, reheat in a 350°F oven for 10-15 minutes with the foil on, then remove the foil for the last 5 minutes.
Freezing Instructions: Apple crisp freezes beautifully. Assemble the crisp completely but don’t bake it. Wrap the dish tightly in plastic wrap, then a layer of aluminum foil. Freeze for up to 3 months. When ready to bake, add about 15-20 minutes to the baking time and cover with foil for the first half of baking to prevent the topping from burning before the center is heated through.
How Flavors Develop: If you can resist eating it all the first day, you’ll notice the flavors deepen overnight. The apples continue to absorb the cinnamon and nutmeg, and the juices thicken into a lovely syrup. I actually prefer day-old apple crisp for breakfast with a dollop of Greek yogurt—don’t judge until you try it.
Nutritional Information & Benefits
While this is definitely a dessert, it does have some redeeming qualities worth mentioning. Here’s the estimated nutritional breakdown per serving (based on 8 servings):
| Nutrient | Amount Per Serving |
|---|---|
| Calories | 320 |
| Total Fat | 14g |
| Saturated Fat | 8g |
| Carbohydrates | 48g |
| Fiber | 5g |
| Sugar | 28g |
| Protein | 4g |
Apples are a good source of fiber and vitamin C, and oats provide soluble fiber that supports heart health. The cinnamon in this recipe has anti-inflammatory properties and may help regulate blood sugar levels. While this isn’t a health food by any stretch, it’s certainly a more wholesome dessert than many alternatives. Using old-fashioned oats instead of processed flour in the topping adds texture and nutritional value. If you’re watching your sugar intake, you can reduce the brown sugar in the topping by a couple of tablespoons without sacrificing too much texture.
This recipe is vegetarian and can be made vegan or gluten-free with the substitutions mentioned above. It contains dairy (butter) and gluten (flour and oats), so keep that in mind for guests with allergies.
Conclusion
This cozy classic apple crisp with oat crumble topping is the kind of dessert that becomes part of your regular rotation. It’s simple enough for a Tuesday night but special enough for company. The combination of tender, spiced apples and crunchy, buttery oat topping is comfort food at its finest—no fancy techniques or hard-to-find ingredients required.
What I love most about this recipe is how forgiving it is. You can swap apple varieties, adjust the spices, or change up the serving style, and it always turns out delicious. It’s a recipe that invites experimentation while still delivering consistent results. The first time I made it, I knew it would be a keeper. Now it’s the dessert I turn to when I want something warm, satisfying, and guaranteed to make everyone happy.
I’d love to hear how yours turns out! Did you try any variations? Serve it with something unexpected? Leave a comment below and let me know—your adaptations might inspire someone else to try something new. And if you’re looking for more cozy fall desserts, don’t miss our small batch pumpkin chocolate chip cookies or this perfect bourbon peach cobbler. Happy baking, friends!
Frequently Asked Questions
Can I use quick oats instead of old-fashioned rolled oats?
You can, but the texture won’t be the same. Quick oats are more finely chopped and will absorb more moisture, resulting in a denser, less crunchy topping. If that’s all you have on hand, reduce the flour slightly and expect a more uniform, less craggy crumble. Old-fashioned oats really do give the best results here.
Why is my apple crisp watery?
This usually happens for a few reasons. First, your apples might be very juicy—try adding an extra tablespoon of flour to the filling mixture. Second, you might be cutting the apples too thick, which prevents them from cooking down properly. Third, the crisp needs to rest after baking to allow the juices to thicken. Let it sit for at least 15 minutes before serving.
Can I make this apple crisp ahead of time?
Absolutely! You have two options. You can assemble the crisp completely (without baking), cover it, and refrigerate for up to 24 hours. Add about 10 minutes to the baking time when you’re ready to bake. Or you can bake it fully, let it cool, and reheat individual portions as needed. The flavor actually improves overnight as the spices meld with the apples.
How do I get a crunchier topping?
Several tricks help. First, make sure your butter is very cold when you cut it into the dry ingredients. Second, don’t overwork the crumble—you want visible butter pieces. Third, try toasting the oats beforehand as mentioned in the tips section. Fourth, bake the crisp uncovered for the entire time—covering it traps steam and softens the topping. If your topping is browning too fast, tent with foil loosely rather than sealing it tight.
What’s the best apple for apple crisp?
A mix is best! I recommend using half Granny Smith (for tartness and structure) and half Honeycrisp (for sweetness and softness). Other good options include Braeburn, Pink Lady, or Jonagold. Avoid Red Delicious—they turn mushy and don’t have enough flavor. Stay away from very mealy apples like McIntosh unless you want a very soft, sauce-like filling.
Pin This Recipe!
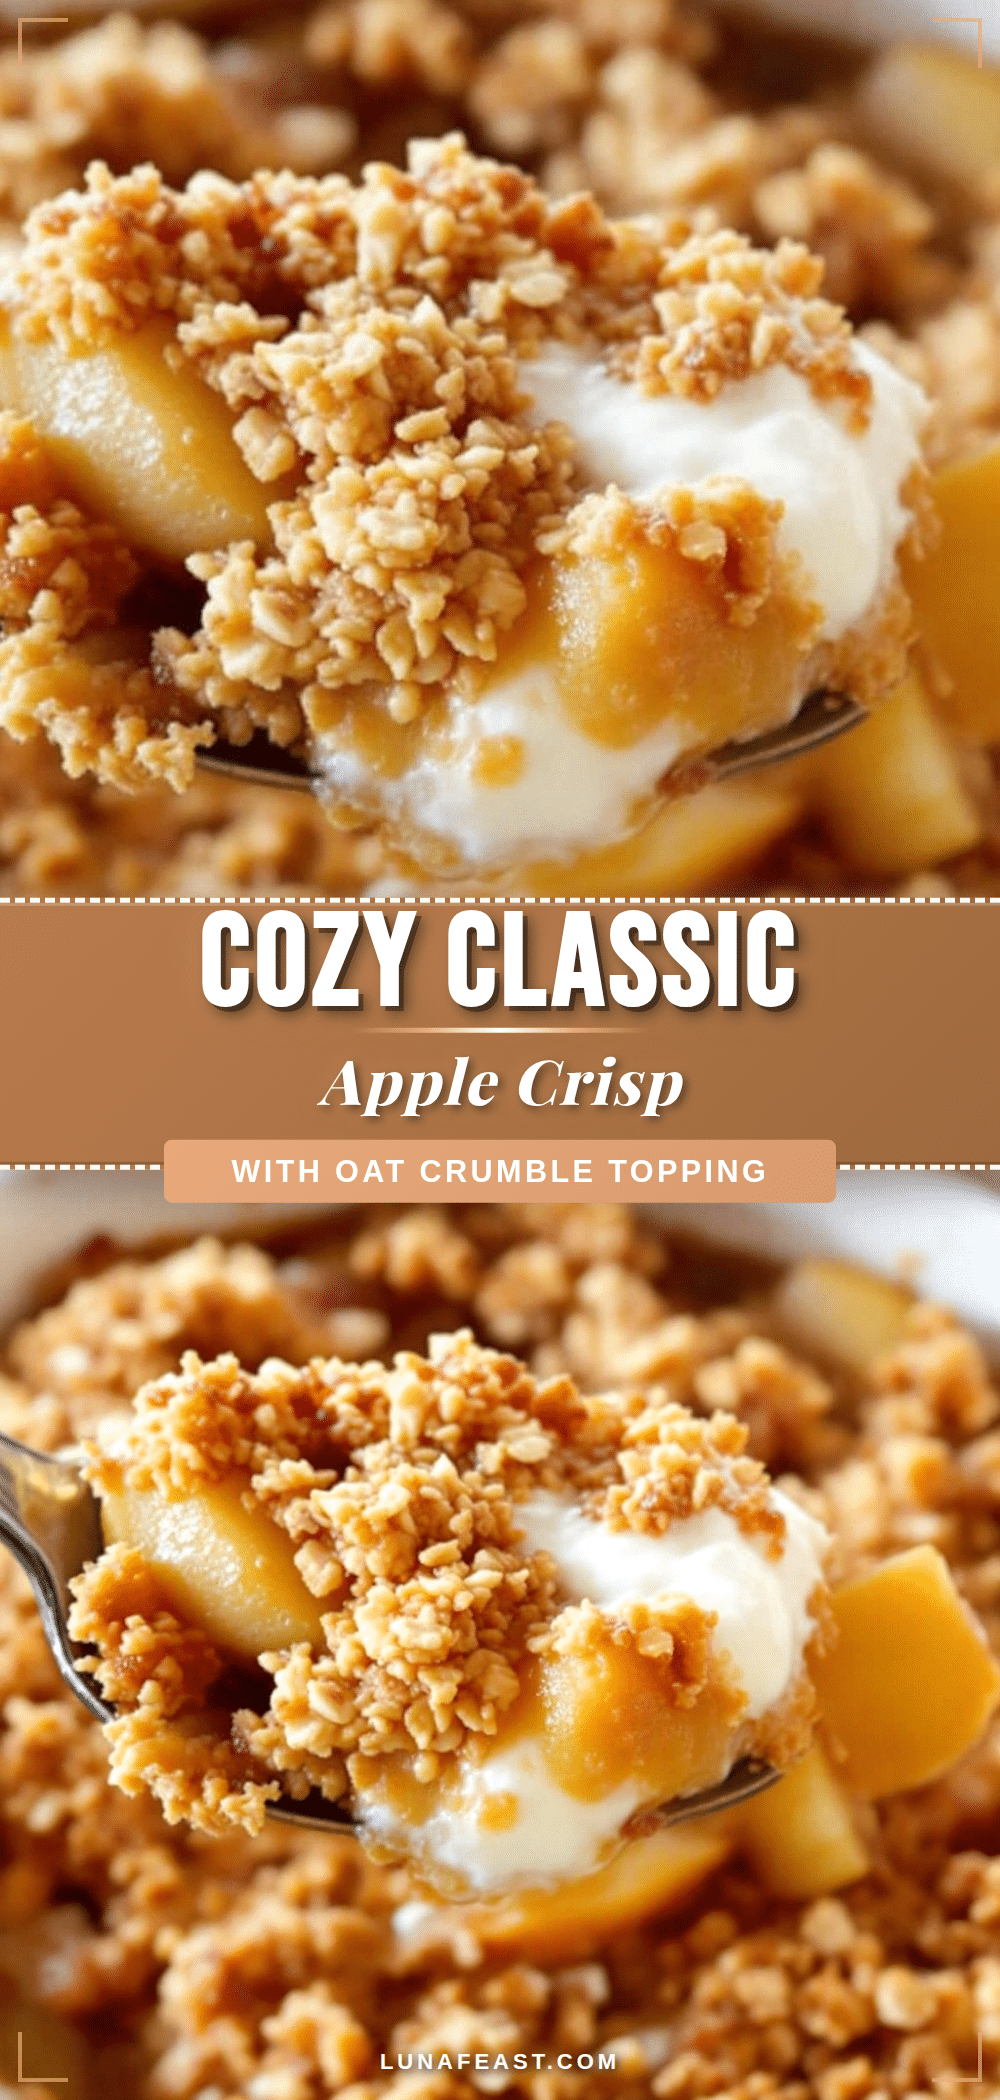
Cozy Classic Apple Crisp with Perfect Oat Topping

This cozy classic apple crisp features tender, cinnamon-spiced apples under a blanket of golden oat crumble. It’s simple enough for a Tuesday night but special enough for company, with a perfect balance of sweet, buttery, and crunchy textures.
- Prep Time: 20 minutes
- Cook Time: 40-45 minutes
- Total Time: 1 hour 5 minutes
- Yield: 8 servings 1x
- Category: Dessert
- Cuisine: American
Ingredients
- 6 medium apples (about 2 pounds or 900g), a mix of Granny Smith and Honeycrisp, peeled, cored, and sliced ¼-inch thick
- ¼ cup (50g) granulated sugar
- 2 tablespoons (15g) all-purpose flour
- 1 teaspoon ground cinnamon
- ¼ teaspoon ground nutmeg
- 1 tablespoon lemon juice
- 1 cup (90g) old-fashioned rolled oats
- ¾ cup (95g) all-purpose flour
- ½ cup (100g) packed brown sugar (light or dark)
- ½ cup (113g) unsalted butter, cold and cut into small cubes
- ½ teaspoon ground cinnamon
- ¼ teaspoon salt
Instructions
- Preheat your oven to 350°F (175°C). Position a rack in the center of the oven.
- Prepare the apples: Peel, core, and slice 6 medium apples into ¼-inch thick slices. Place in a medium mixing bowl and toss with 1 tablespoon lemon juice to prevent browning.
- Season the apple filling: Add ¼ cup granulated sugar, 2 tablespoons flour, 1 teaspoon cinnamon, and ¼ teaspoon nutmeg to the apples. Toss until every slice is coated. Let sit while making the topping.
- Make the oat crumble topping: In a large mixing bowl, combine 1 cup rolled oats, ¾ cup flour, ½ cup packed brown sugar, ½ teaspoon cinnamon, and ¼ teaspoon salt. Whisk together.
- Cut in the cold butter: Add ½ cup cold, cubed unsalted butter to the dry ingredients. Using a pastry cutter or two forks, cut the butter into the flour mixture until it resembles coarse meal with pea-sized pieces of butter still visible.
- Assemble the crisp: Transfer the seasoned apples to a 9×13-inch baking dish and spread into an even layer. Sprinkle the oat crumble topping evenly over the apples, squeezing handfuls gently to create clumps.
- Bake: Place the dish in the preheated oven and bake for 40-45 minutes. At the 30-minute mark, check if the topping is browning too quickly; tent loosely with foil if needed. The crisp is done when the filling is bubbling around the edges and the topping is deep golden brown.
- Cool slightly before serving: Let the crisp rest on a wire rack for at least 10-15 minutes to allow the filling to set.
Notes
Use a mix of apple varieties (Granny Smith and Honeycrisp) for best texture. Don’t overwork the crumble topping; visible butter pieces create a crunchy texture. Let the crisp rest after baking to allow the filling to set. For extra crunch, toast the oats beforehand at 350°F for 5-7 minutes. To make gluten-free, use a gluten-free flour blend and certified gluten-free oats. For a vegan version, replace butter with cold coconut oil or vegan butter.
Nutrition
- Serving Size: 1 serving
- Calories: 320
- Sugar: 28
- Sodium: 150
- Fat: 14
- Saturated Fat: 8
- Carbohydrates: 48
- Fiber: 5
- Protein: 4
Keywords: apple crisp, oat crumble, fall dessert, easy apple dessert, comfort food, apple crisp recipe, oat topping


