You know that moment at Thanksgiving when you’re eyeing the last corner of stuffing on the platter, but you’re too polite to reach across your aunt’s carefully arranged green bean casserole? I had been looking for a way to get that perfect, crispy-edged stuffing experience without the awkward table politics. For a while, I just accepted that stuffing was destined to be a side dish that got squished into a casserole dish and served in disappointing spoonfuls. Then, one November, I had a surplus of homemade bread cubes and a brand-new muffin tin staring at me from the cabinet. Honestly, it felt like a dare. I browned some butter, crisped up some sage, and pressed the mixture into those little cups—and suddenly, everyone at the table had their own perfect, golden-brown dome of stuffing. No fighting, no soggy middle, just a personal serving of everything you love about the classic dish.
These Best Brown Butter Sage Stuffing Muffins are that quiet solution you didn’t know you needed. They’re not trying to replace the classic casserole; they’re just offering a better way to eat it. The first time I pulled a tray of these out of the oven, my brother-in-law—who claims he “doesn’t like stuffing”—ate three. The smell alone, that nutty brown butter mingling with fresh sage, is enough to make anyone a convert. This is the recipe that stuck because it solved a real problem: how do you get more crispy edges on the table without a second casserole dish? The answer, as it turns out, was hiding in plain sight.
Why You’ll Love This Recipe
I’ve tested more stuffing recipes than I care to admit—some were too dry, others were a soggy mess, and a few just tasted like wet bread. These muffins are the result of years of trial and error, and they hit every single note perfectly.
- Perfectly Portioned: Each muffin is a single serving, so there’s no more fighting over the last spoonful. They’re ideal for holiday buffets or even just a cozy weeknight dinner.
- Crispy on All Sides: Because they’re baked in a muffin tin, every single piece gets that coveted golden-brown crust. No more digging through a casserole dish for the crispy corner pieces.
- Brown Butter Magic: Browning the butter adds a deep, nutty flavor that takes this from a simple side dish to the star of the show. It’s a small step that makes a huge difference.
- Make-Ahead Friendly: You can assemble these a day in advance and bake them just before serving. This is a game-changer for busy holiday kitchens.
- Crowd-Pleaser: I’ve served these at Friendsgiving, Thanksgiving, and even alongside a simple roast chicken dinner. They always disappear first. They’re the kind of dish that makes people close their eyes after the first bite.
This isn’t just another stuffing recipe. It’s the best version because of that brown butter—it adds a richness that plain butter just can’t match. And the muffin format? It’s comfort food reimagined: all the soul-soothing satisfaction of the classic dish, but with more crispy edges and less stress. Perfect for impressing guests without spending all day in the kitchen.
What Ingredients You Will Need
This recipe uses simple, wholesome ingredients to deliver bold flavor and satisfying texture without the fuss. Most of these are pantry staples, especially during the fall and winter months.
- 12 cups cubed day-old bread (about 1 lb, such as French bread, sourdough, or brioche): Stale bread is key here—it absorbs the broth without turning into mush. If your bread is fresh, cube it and spread it on a baking sheet overnight to dry out. I prefer a mix of sourdough and brioche for a balance of tangy and rich.
- 1/2 cup unsalted butter: This is the star. Browning it transforms the flavor entirely. I recommend using a high-quality butter like Kerrygold for the best results.
- 1 large yellow onion, diced (about 2 cups): Yellow onions have the right balance of sweetness and savory flavor when cooked down.
- 3 celery stalks, diced (about 1 cup): Celery adds that essential crunch and fresh, peppery note that defines classic stuffing.
- 3 cloves garlic, minced: Fresh garlic is non-negotiable here. It adds a warm, aromatic depth.
- 2 tablespoons fresh sage, finely chopped: Fresh sage is miles apart from dried. It has a more delicate, earthy flavor that pairs perfectly with brown butter. You can also add a teaspoon of fresh rosemary or thyme.
- 1 teaspoon kosher salt: Use a coarse salt like Diamond Crystal. It seasons more evenly.
- 1/2 teaspoon black pepper: Freshly ground is best.
- 3/4 cup low-sodium chicken or vegetable broth: Low-sodium is crucial so you can control the salt level. You may need a little more or less depending on how dry your bread is.
- 2 large eggs, lightly beaten: The eggs bind everything together, giving the muffins structure so they hold their shape.
For the best texture, I recommend using a firm, crusty bread like sourdough. If you’re looking for a gluten-free option, use a good quality gluten-free bread—just make sure it’s well-toasted or stale. You can also swap the chicken broth for vegetable broth to make this dish vegetarian-friendly.
Equipment Needed
You don’t need any fancy gadgets for this recipe, just a few reliable kitchen staples.
- 12-cup standard muffin tin: A non-stick tin works best, but you can also use a well-seasoned cast-iron muffin pan. I love my USA Pan brand for even baking.
- Large skillet: For browning the butter and sautéing the vegetables. A light-colored skillet (like stainless steel) helps you see when the butter is browning.
- Large mixing bowl: Big enough to toss all the ingredients together without spilling.
- Whisk: For beating the eggs.
- Sharp knife and cutting board: For dicing the vegetables and chopping the sage.
- Pastry brush or cooking spray: For greasing the muffin tin.
- Cooling rack: For letting the muffins cool slightly before serving, which helps them set.
If you don’t have a light-colored skillet, just watch the butter carefully—it can go from browned to burnt in seconds. A silicone spatula is also great for scraping every last bit of those brown butter solids into the bowl.
Preparation Method
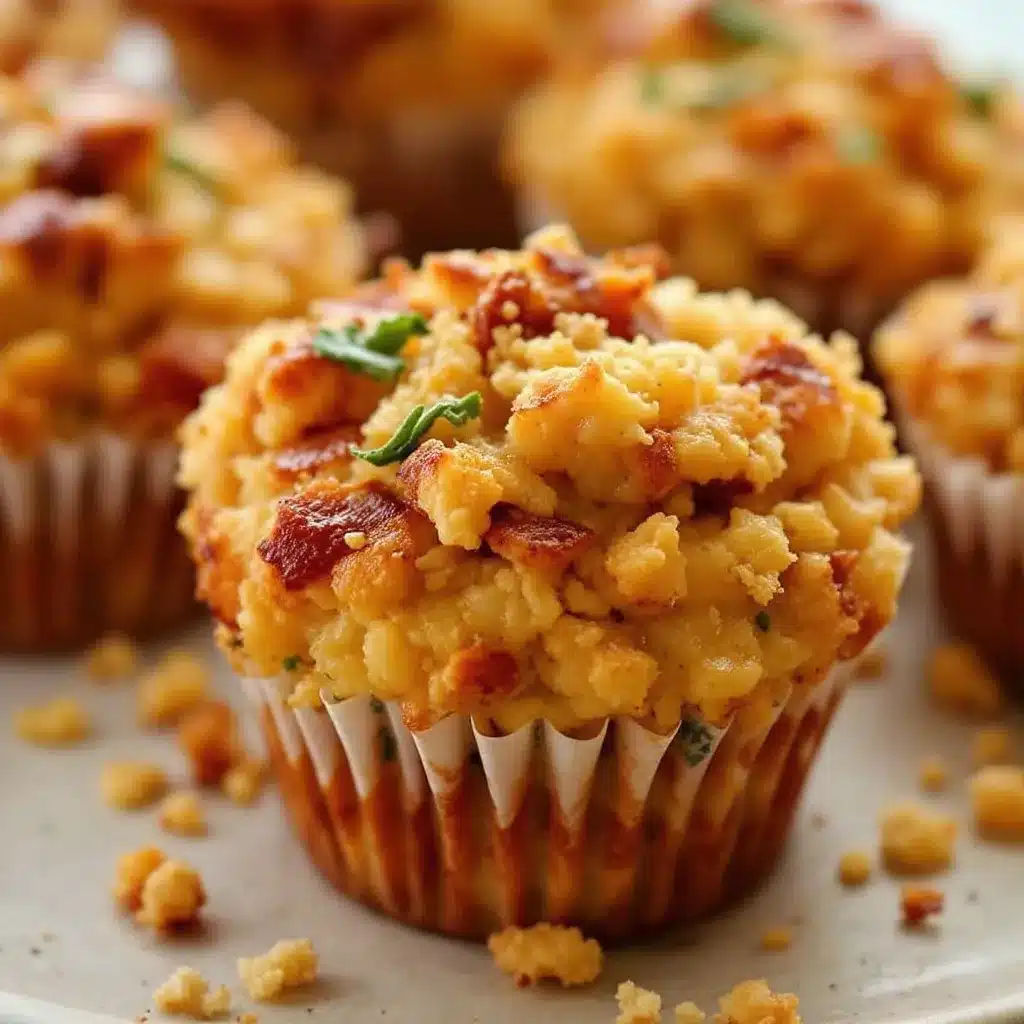
This recipe comes together in about 45 minutes, with most of that being hands-off baking time. Here’s how to do it.
- Preheat and prep the pan: Preheat your oven to 375°F (190°C). Generously grease a 12-cup muffin tin with butter or non-stick spray. This is important—the muffins will stick if you skimp on this step.
- Dry the bread (if needed): If your bread isn’t stale, spread the cubes on a baking sheet and toast them in the oven for 8-10 minutes, until they’re dry but not browned. Let them cool completely.
- Brown the butter: Place the 1/2 cup of butter in your large skillet over medium heat. Let it melt, then swirl the pan occasionally. After about 5-7 minutes, the butter will start to foam, and you’ll see little brown specks forming at the bottom. It will smell nutty and amazing. As soon as it turns a golden-brown color, remove it from the heat and pour it into a heat-safe bowl to stop the cooking process. Do not walk away from the stove—brown butter can burn in an instant.
- Cook the aromatics: In the same skillet (no need to wipe it out), add the diced onion and celery. Sauté over medium heat for 6-8 minutes, until softened and translucent. Add the minced garlic and cook for another 30 seconds, until fragrant. Season with a pinch of salt and pepper.
- Combine the base: In your large mixing bowl, combine the dried bread cubes, the sautéed vegetables, and the fresh sage. Toss everything together with your hands or a large spoon so the herbs and vegetables are evenly distributed.
- Make the liquid mixture: In a small bowl or liquid measuring cup, whisk together the browned butter, chicken broth, beaten eggs, 1 teaspoon of kosher salt, and 1/2 teaspoon of black pepper. Whisk until the eggs are fully incorporated.
- Pour and toss: Pour the liquid mixture over the bread cube mixture. Use a spatula to gently fold everything together until all the bread is evenly moistened. Don’t overmix—you want some texture, not a paste. Let the mixture sit for 5-10 minutes so the bread can absorb the liquid. If it seems dry, add a splash more broth.
- Fill the muffin tin: Divide the stuffing mixture evenly among the 12 muffin cups. Press each one down firmly with your fingers or the back of a spoon so they hold their shape. You want the cups to be full and slightly mounded on top.
- Bake to golden perfection: Bake for 20-25 minutes, or until the tops are golden brown and crispy to the touch. A toothpick inserted into the center should come out clean.
- Cool and release: Let the muffins cool in the pan for 5 minutes. Then, run a knife around the edges of each muffin and gently lift them out. Place them on a cooling rack for a few minutes before serving. This helps them set and prevents them from falling apart.
Pro Tip: For extra crispy tops, you can brush the tops with a little melted butter before baking. It adds another layer of flavor and crunch.
Cooking Tips & Techniques
I’ve made a lot of mistakes with stuffing over the years, so you don’t have to. Here are the things I wish I’d known from the start.
Don’t skip drying the bread. Fresh bread will absorb the broth unevenly and turn into a gluey mess. Dry bread cubes are like little sponges—they soak up the flavor without getting soggy. If you’re in a rush, you can cube the bread and toast it in a 300°F (150°C) oven for about 15 minutes, stirring halfway through.
Watch the butter like a hawk. Browning butter is one of those things that feels intimidating until you’ve done it a few times. The key is to use a light-colored pan so you can see the color change. Once the foam subsides and you see those brown specks, pull it off the heat immediately. I once got distracted by my phone and ended up with burnt butter that tasted bitter and ruined the whole batch. Learn from my mistake!
Don’t overmix the stuffing. You want to fold the ingredients together gently until just combined. Overmixing breaks down the bread into a paste, and you’ll end up with dense, heavy muffins instead of light, fluffy ones.
Let them rest. I know it’s tempting to flip them out of the pan right away, but those 5 minutes of cooling are crucial. The eggs need time to set, and the structure needs to firm up. If you try to remove them too soon, they’ll fall apart.
For consistent results, use a cookie scoop. A large cookie scoop (about 1/3 cup) makes filling the muffin cups a breeze and ensures each muffin is the same size, so they all bake evenly.
Variations & Adaptations
This recipe is a fantastic base, and it’s easy to customize based on what you have on hand or what you’re craving.
- Add Sausage: Brown 1/2 pound of Italian sausage or breakfast sausage in the skillet before cooking the vegetables. Crumble it up and add it to the bread mixture. This turns the muffins into a heartier, main-dish option. It’s perfect alongside a simple creamy one pan Tuscan chicken for a complete meal.
- Make it Vegetarian: Use vegetable broth instead of chicken broth, and add 1 cup of sautéed mushrooms or chopped roasted chestnuts for an earthy, savory flavor.
- Change the Herbs: Not a fan of sage? Use 1 tablespoon of fresh rosemary and 1 tablespoon of fresh thyme instead. Or try a combination of parsley, tarragon, and chives for a different flavor profile.
- Cranberry Twist: Fold in 1/2 cup of dried cranberries or fresh cranberries (if you like a tart pop) along with the vegetables. The sweetness pairs beautifully with the savory brown butter.
- Gluten-Free Version: Use a high-quality gluten-free bread. I’ve had the best luck with a sturdy sourdough-style gluten-free loaf. Just make sure to toast it well before using.
- Add Some Crunch: Top each muffin with a sprinkle of toasted pecans or walnuts before baking. The nuts add a wonderful textural contrast to the soft stuffing.
I once made a version with chopped apple and a pinch of cinnamon, and it was a huge hit at a fall brunch. Don’t be afraid to experiment!
Serving & Storage Suggestions
These muffins are best served warm, right out of the oven. The contrast between the crispy, golden-brown exterior and the soft, savory interior is pure magic.
Serving: Arrange the muffins on a platter and serve them as a side dish alongside your holiday turkey, roast chicken, or even a tender slow cooker beef tips dinner. They’re also fantastic with a dollop of cranberry sauce or a drizzle of turkey gravy. For a fun presentation, you can place them on a bed of fresh herbs like rosemary and sage.
Storage: Store leftover muffins in an airtight container in the refrigerator for up to 4 days. The texture will soften slightly, but they’ll still be delicious.
Reheating: To bring back that crispy exterior, reheat them in a 350°F (175°C) oven for 8-10 minutes, or until heated through. You can also microwave them for 30 seconds, but you’ll lose the crunch. An air fryer works great too—just pop them in at 350°F for 3-4 minutes.
Freezing: These muffins freeze beautifully. Let them cool completely, then wrap them individually in plastic wrap and place them in a freezer-safe bag. They’ll keep for up to 3 months. To reheat, thaw them in the refrigerator overnight, then bake at 350°F for 10-12 minutes.
The flavors actually deepen and meld together overnight, so leftovers the next day are often even better than the fresh batch. It’s a great make-ahead dish for a stress-free holiday.
Nutritional Information & Benefits
Here is the estimated nutritional information for one brown butter sage stuffing muffin (based on 12 servings). Please note that these values are estimates and can vary based on the specific ingredients you use.
| Nutrient | Amount per Serving |
|---|---|
| Calories | 215 |
| Total Fat | 11g |
| Saturated Fat | 6g |
| Cholesterol | 55mg |
| Sodium | 380mg |
| Total Carbohydrates | 24g |
| Dietary Fiber | 1g |
| Sugars | 2g |
| Protein | 6g |
While this is a comfort food dish, it does offer some nutritional benefits. The celery provides a good source of vitamin K and fiber, and the sage is rich in antioxidants. Using low-sodium broth helps control the salt content. For a lighter version, you can use whole wheat bread and reduce the amount of butter by half, but I find the brown butter is what makes this recipe truly special. This dish is not suitable for those with celiac disease unless gluten-free bread is used, and it contains dairy and eggs.
Conclusion
These Best Brown Butter Sage Stuffing Muffins are more than just a clever way to serve a classic side dish. They’re a solution to the age-old problem of fighting for the crispy bits, a way to make holiday cooking a little less stressful, and honestly, just a really, really delicious way to eat bread. The nutty brown butter, the fragrant sage, and that perfect crunchy-on-the-outside, soft-on-the-inside texture make these muffins something you’ll crave long after the holidays are over.
I hope you give these a try and make them your own. Maybe you’ll add some sausage, or throw in some dried cranberries, or just follow the recipe exactly as written. Whatever you do, I’d love to hear about it. Drop a comment below and let me know how they turned out, or share a photo of your muffin tin on Pinterest. Happy cooking, friends—these little muffins are going to be your new favorite thing.
Frequently Asked Questions
Can I use dried sage instead of fresh?
You can, but the flavor will be different. Dried sage is more concentrated and can sometimes be a bit musty. If you’re using dried, use 1 tablespoon instead of 2, and crumble it between your fingers before adding it to release the oils.
Why are my stuffing muffins falling apart?
This usually happens for one of two reasons: the mixture was too dry, or you didn’t let them cool long enough in the pan. Make sure your bread is well-moistened (but not soggy) before baking, and always let them rest for 5 minutes after they come out of the oven.
Can I make these ahead of time for a party?
Absolutely! You can assemble the muffins in the tin up to 24 hours in advance. Cover them with plastic wrap and store them in the refrigerator. When you’re ready to bake, just pop them in the oven—you might need to add 5 extra minutes since they’ll be starting from cold.
What kind of bread works best?
A sturdy, crusty bread like sourdough or a French baguette is ideal. Avoid soft sandwich bread, as it will turn into a mushy paste. If you want a richer muffin, brioche or challah are fantastic options.
Can I freeze the unbaked muffins?
Yes! Fill the muffin tin, but don’t bake them. Freeze the tin until the muffins are solid, then pop them out and store them in a freezer bag. When you’re ready to bake, place them back in a greased muffin tin and bake from frozen, adding about 10 minutes to the baking time.
Pin This Recipe!
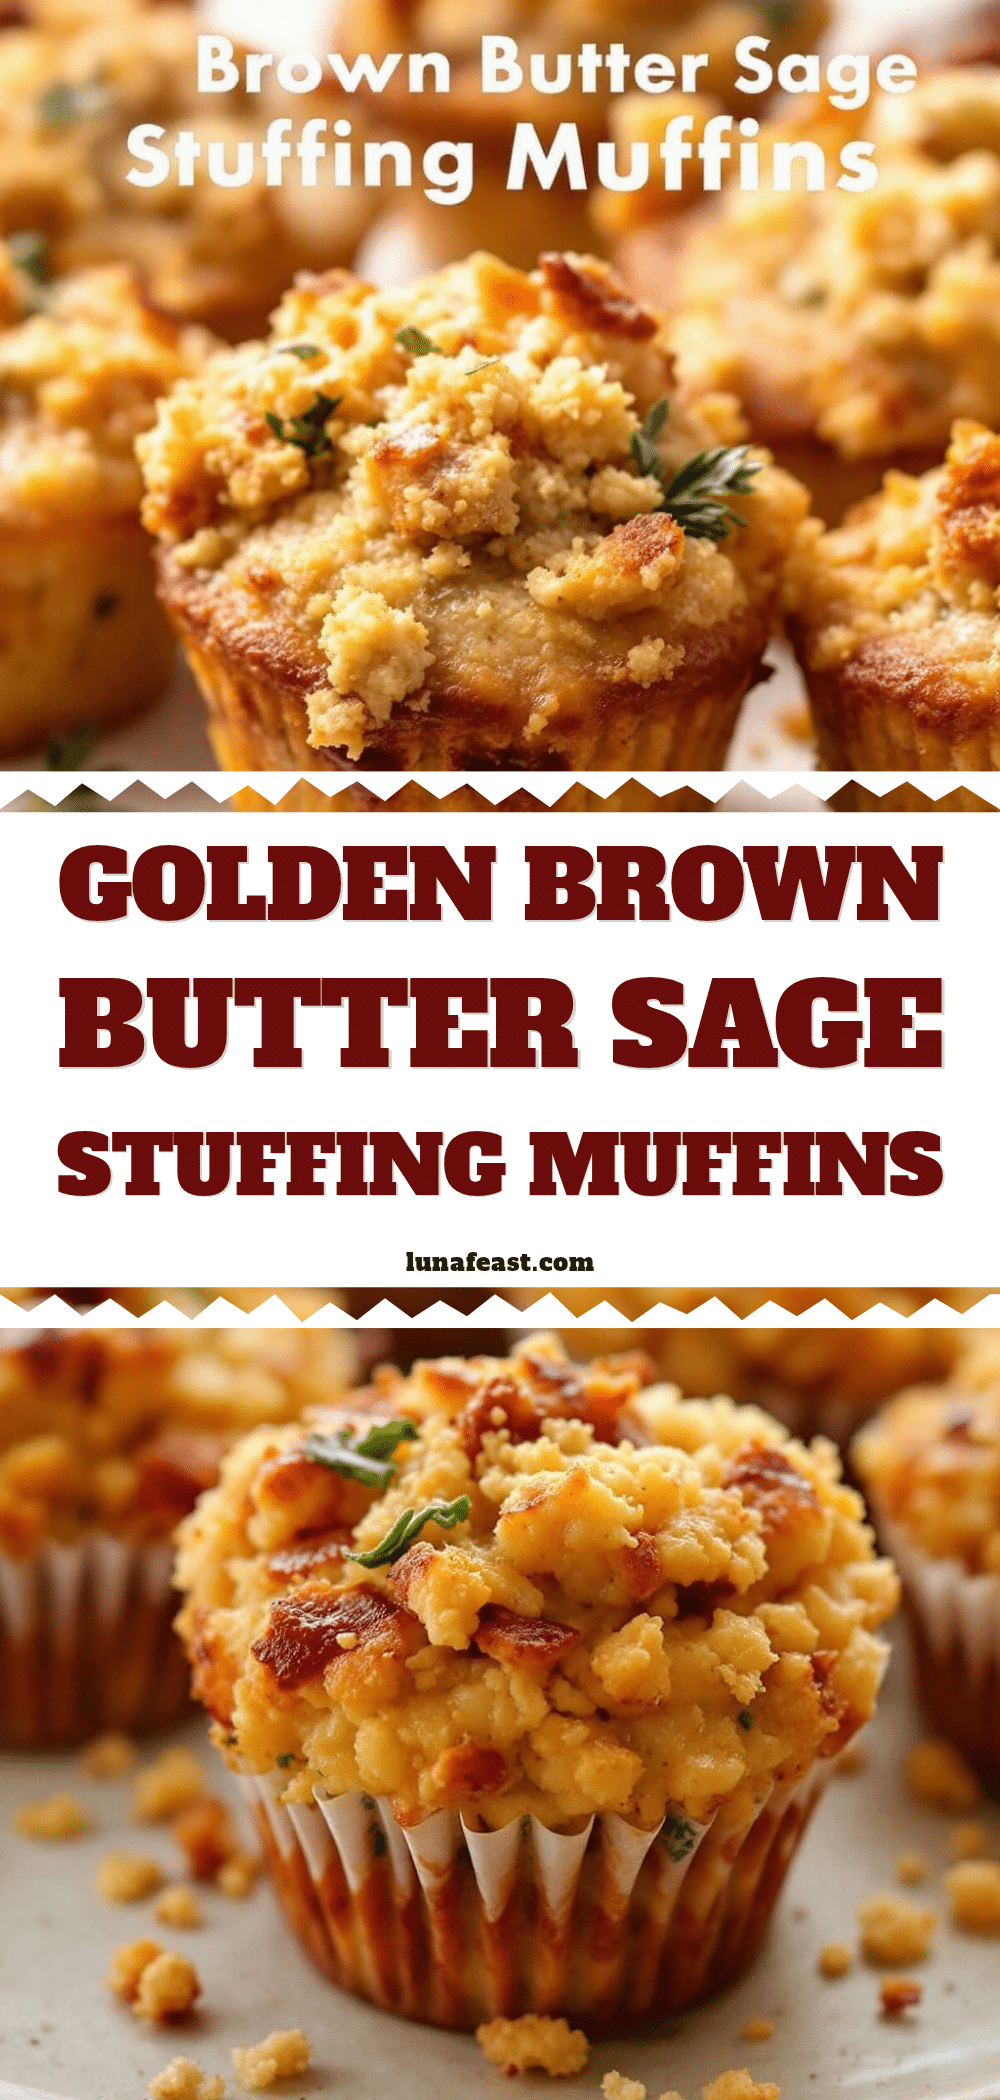
Best Brown Butter Sage Stuffing Muffins Recipe

These perfectly portioned stuffing muffins feature nutty brown butter and fresh sage, with crispy edges on all sides. A make-ahead friendly side dish that solves the problem of fighting for the last spoonful of stuffing at Thanksgiving.
- Prep Time: 15 minutes
- Cook Time: 25 minutes
- Total Time: 45 minutes
- Yield: 12 servings 1x
- Category: Side Dish
- Cuisine: American
Ingredients
- 12 cups cubed day-old bread (about 1 lb, such as French bread, sourdough, or brioche)
- 1/2 cup unsalted butter
- 1 large yellow onion, diced (about 2 cups)
- 3 celery stalks, diced (about 1 cup)
- 3 cloves garlic, minced
- 2 tablespoons fresh sage, finely chopped
- 1 teaspoon kosher salt
- 1/2 teaspoon black pepper
- 3/4 cup low-sodium chicken or vegetable broth
- 2 large eggs, lightly beaten
Instructions
- Preheat oven to 375°F (190°C). Generously grease a 12-cup muffin tin with butter or non-stick spray.
- If bread isn’t stale, spread cubes on a baking sheet and toast for 8-10 minutes until dry but not browned. Let cool completely.
- Place butter in a large skillet over medium heat. Melt and swirl occasionally until it foams and brown specks form (about 5-7 minutes). Remove from heat immediately and pour into a heat-safe bowl.
- In the same skillet, sauté diced onion and celery over medium heat for 6-8 minutes until softened. Add garlic and cook 30 seconds more. Season with a pinch of salt and pepper.
- In a large mixing bowl, combine dried bread cubes, sautéed vegetables, and fresh sage. Toss to distribute evenly.
- In a small bowl, whisk together browned butter, chicken broth, beaten eggs, 1 teaspoon kosher salt, and 1/2 teaspoon black pepper until fully incorporated.
- Pour liquid mixture over bread mixture. Gently fold until all bread is evenly moistened. Let sit 5-10 minutes. Add more broth if dry.
- Divide stuffing mixture evenly among 12 muffin cups. Press down firmly with fingers or back of a spoon so cups are full and slightly mounded.
- Bake for 20-25 minutes until tops are golden brown and crispy. A toothpick inserted into center should come out clean.
- Let muffins cool in pan for 5 minutes. Run a knife around edges and gently lift out. Place on a cooling rack for a few minutes before serving.
Notes
For extra crispy tops, brush with melted butter before baking. Let muffins rest 5 minutes after baking to set. Can be assembled up to 24 hours in advance and refrigerated. Freeze unbaked muffins for up to 3 months.
Nutrition
- Serving Size: 1 muffin
- Calories: 215
- Sugar: 2
- Sodium: 380
- Fat: 11
- Saturated Fat: 6
- Carbohydrates: 24
- Fiber: 1
- Protein: 6
Keywords: stuffing muffins, brown butter sage stuffing, Thanksgiving side dish, crispy stuffing, make-ahead stuffing, holiday recipe


