“Are these… black?” My niece stood at the kitchen counter, one hand hovering over a cupcake like she was approaching a wild animal. She was eight, and she had never seen food that color before, unless you count burnt toast.
I told her to just try one. She picked it up, turned it over, studied the swirl of bright orange buttercream on top, and took a bite. Her eyes went wide, and then she said the thing I still think about every time I make these: “It tastes like a normal cupcake, but it feels like a secret.”
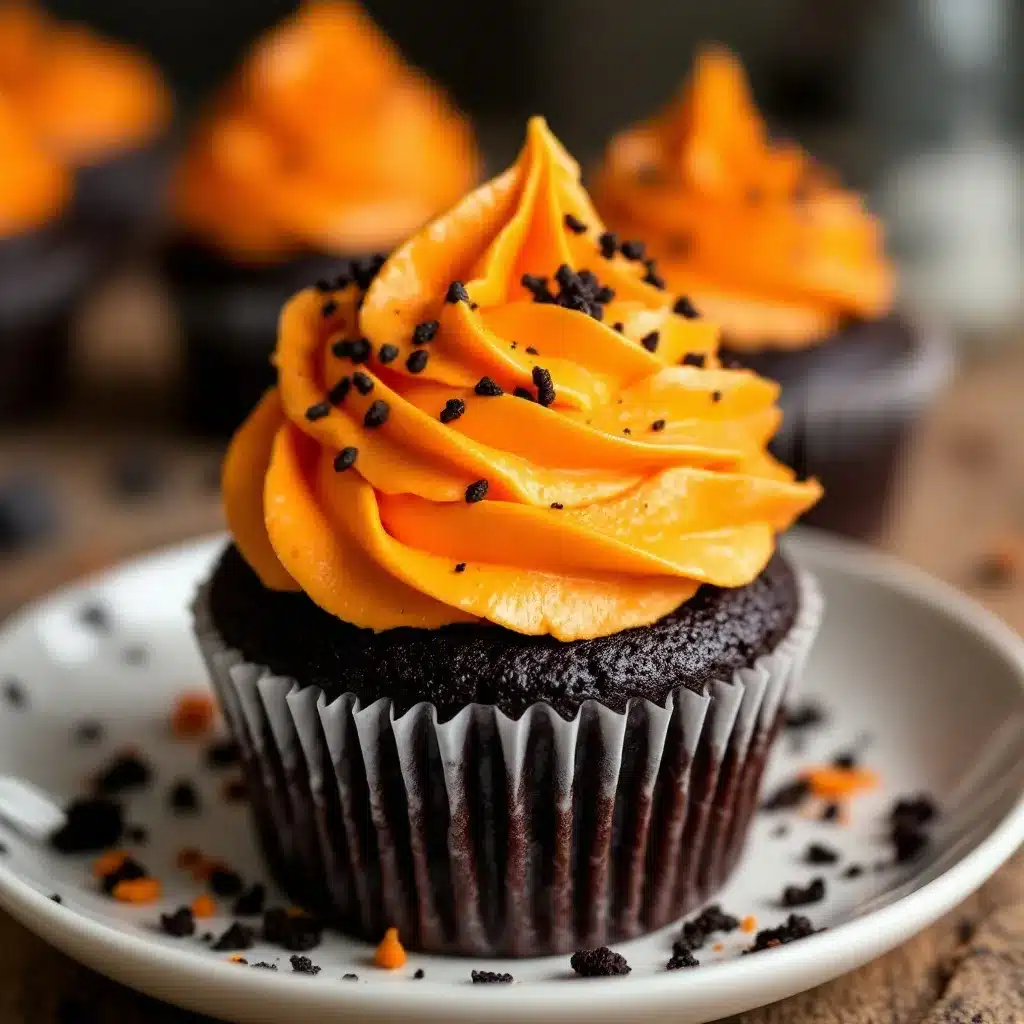
And that’s exactly it. These Best Black Velvet Halloween Cupcakes with Orange Buttercream are normal in all the best ways—soft, tender, rich with cocoa and vanilla—but they look like they came straight out of a Halloween party dream. The black velvet crumb is dramatic without being gimmicky, and the orange buttercream is sweet, creamy, and just bright enough to feel festive without screaming for attention.
I started making these a few years ago for a small Halloween get-together, and now they’ve become the thing I bring everywhere in October. They’re the kind of cupcake that makes people stop mid-conversation and say, “Wait, those are black?” And then they take a bite, and they smile, and suddenly the party feels a little more fun.
Honestly, these are the easiest way to show up to any fall gathering with something that looks impressive but takes almost no real effort. The batter comes together in one bowl, the buttercream is practically foolproof, and the whole thing can be on your table in under an hour. If you’ve been looking for a Halloween dessert that actually delivers on both looks and taste, this is it.
Why You’ll Love This Recipe
- Dramatic without being difficult : The black velvet color comes from a simple mix of cocoa powder and black food coloring—no weird ingredients, no complicated techniques. It looks like a bakery masterpiece, but you can absolutely pull this off in your own kitchen on a Tuesday night.
- Perfect for Halloween parties : These cupcakes are the centerpiece of any spooky spread. The contrast between the dark crumb and the bright orange buttercream is pure Halloween magic, and kids and adults both go crazy for them.
- Simple, everyday ingredients : You probably already have flour, sugar, cocoa powder, eggs, butter, and buttermilk in your kitchen. The only special addition is black food coloring, and you can find that at any grocery store or online for a few dollars.
- Texture that delivers : These cupcakes are moist, tender, and light—not dense or dry like some colored cakes can be. The buttermilk and oil keep the crumb soft for days, so you can bake them ahead without worrying.
- Buttercream that steals the show : The orange buttercream is silky, not too sweet, and flavored with a hint of vanilla and a touch of orange extract. It pipes beautifully and holds its shape, even at room temperature.
- Crowd-pleaser guaranteed : I’ve brought these to school parties, neighborhood gatherings, and family dinners, and I’ve never brought a single one home. People ask for the recipe every single time.
What makes these different from other Halloween cupcakes I’ve tried is the balance. So many themed desserts go heavy on the gimmick and light on the flavor. But this recipe was developed to taste genuinely good—like a really excellent chocolate cupcake that just happens to be black. The orange buttercream isn’t just for show; it complements the cocoa beautifully, and the whole thing feels like a real dessert, not just a novelty.
There’s something about taking that first bite of a black cupcake and realizing it’s actually delicious. It’s a small moment of surprise, and I love watching people experience it. These cupcakes are my favorite way to bring a little joy to Halloween—no tricks, just treats.
What Ingredients You Will Need
This recipe uses simple, pantry-friendly ingredients to create a cupcake that looks anything but ordinary. The magic is in the combination of cocoa powder and black food coloring, which transforms a classic velvet cake into something spooky and spectacular.
For the Black Velvet Cupcakes
- All-purpose flour – 1 ½ cups (180g). Standard flour works perfectly here. Spoon and level it for accuracy—don’t scoop straight from the bag or you’ll end up with dense cupcakes.
- Unsweetened cocoa powder – ¼ cup (20g). Use natural cocoa powder, not Dutch-processed. I prefer Hershey’s or Ghirardelli for consistent results. The cocoa adds depth and helps the black color read as dark and rich rather than flat.
- Granulated sugar – 1 cup (200g). Regular white sugar keeps the cupcakes tender and sweet without adding any extra color.
- Baking soda – 1 teaspoon. This helps the cupcakes rise and gives them that soft, velvety texture.
- Salt – ½ teaspoon. Just enough to balance the sweetness and bring out the cocoa flavor.
- Buttermilk – ½ cup (120ml), room temperature. Buttermilk is key for a tender crumb. If you don’t have it, you can make a quick substitute by adding 1 ½ teaspoons of lemon juice or white vinegar to ½ cup of regular milk and letting it sit for 5 minutes.
- Vegetable oil – ½ cup (120ml). Oil keeps these cupcakes incredibly moist. I use canola or any neutral oil.
- Large eggs – 2, room temperature. Room-temperature eggs blend more evenly into the batter and help with rise.
- Vanilla extract – 2 teaspoons. Pure vanilla adds warmth and rounds out the chocolate flavor.
- Black gel food coloring – 2 to 3 teaspoons. Gel coloring is much more concentrated than liquid drops, so you get a deep black without thinning out the batter. I recommend Wilton or Americolor brands. Start with 2 teaspoons and add more if you want a darker shade.
- White vinegar – 1 teaspoon. This reacts with the baking soda to create lift, giving the cupcakes that classic velvet texture.
For the Orange Buttercream
- Unsalted butter – 1 cup (226g), softened to room temperature. Real butter gives the best flavor and silky texture. Let it sit out for at least 30 minutes before starting.
- Powdered sugar – 3 ½ cups (420g), sifted. Sifting removes lumps and ensures a smooth, creamy frosting.
- Heavy cream – 3 to 4 tablespoons, room temperature. Heavy cream makes the buttercream light and spreadable. You can substitute whole milk in a pinch.
- Vanilla extract – 1 teaspoon.
- Orange extract – ½ teaspoon. This gives the buttercream a natural orange flavor without being artificial. If you don’t have orange extract, you can use 1 tablespoon of finely grated orange zest instead.
- Orange gel food coloring – a few drops. Use gel coloring to achieve a vibrant orange without altering the consistency.
- Salt – a tiny pinch. Just enough to cut the sweetness and make the flavor pop.
For Decoration (Optional but Fun)
- Halloween sprinkles – bats, ghosts, pumpkins, or orange jimmies all work beautifully.
- Candy eyes – for a spooky touch.
- Mini chocolate chips – or black sanding sugar for extra texture.
Equipment Needed
You don’t need anything fancy to make these cupcakes, but having the right tools makes the process smoother and more enjoyable.
- 12-cup muffin tin – Standard size works best. I recommend a non-stick pan for easy release.
- Paper cupcake liners – Black or orange liners add to the Halloween theme, but white works fine too. I’ve used both Wilton and Reynolds brands with good results.
- Large mixing bowls – One for dry ingredients, one for wet. Glass or stainless steel is ideal.
- Whisk – For combining dry ingredients and smoothing out the batter.
- Electric hand mixer or stand mixer – A hand mixer works perfectly for the buttercream. A stand mixer with the paddle attachment is even easier, but not necessary.
- Rubber spatula – For scraping down the bowl and folding ingredients.
- Cooling rack – Wire racks let air circulate around the cupcakes so they cool evenly and don’t get soggy bottoms.
- Piping bag and tip – A large star tip (like Wilton 1M) creates beautiful swirls. If you don’t have a piping bag, a zip-top bag with the corner snipped off works in a pinch.
- Offset spatula – Helpful for spreading buttercream if you prefer a rustic look over piped swirls.
- Measuring cups and spoons – For accuracy. I keep a set of dry measuring cups and a liquid measuring cup handy.
If you don’t have a piping bag, honestly, you can just spread the buttercream with a knife and it’ll still look great. The flavor is what matters, and nobody ever complained about a beautifully frosted cupcake, no matter how it got there.
Preparation Method
Step 1: Preheat and Prepare
Preheat your oven to 350°F (175°C). Line your muffin tin with 12 paper liners. This recipe makes exactly 12 cupcakes, so no extra batter to deal with.
Step 2: Mix the Dry Ingredients
In a large bowl, whisk together the flour, cocoa powder, sugar, baking soda, and salt. Make sure everything is evenly combined—you don’t want pockets of baking soda in your finished cupcakes. The cocoa powder should be fully incorporated so there are no lumps.
Step 3: Combine the Wet Ingredients
In a separate bowl, whisk together the buttermilk, vegetable oil, eggs, vanilla extract, and black gel food coloring. Start with 2 teaspoons of coloring and add more if needed after mixing. Whisk until the mixture is smooth and uniformly black. Don’t worry if it looks a little thin—that’s normal.
Step 4: Bring It All Together
Pour the wet ingredients into the dry ingredients and stir gently with a spatula or whisk until just combined. A few small lumps are okay—overmixing will make the cupcakes tough. Add the white vinegar and stir once more. The batter will be slightly thin and glossy, which is exactly what you want.
Step 5: Fill the Liners
Divide the batter evenly among the 12 liners, filling each about two-thirds full. I use a cookie scoop for this—it keeps things neat and ensures even-sized cupcakes. If you don’t have a scoop, a ¼-cup measure works well.
Step 6: Bake
Bake for 18 to 22 minutes, or until a toothpick inserted into the center of a cupcake comes out clean or with just a few moist crumbs. The tops should spring back when lightly touched. Start checking at 18 minutes—ovens vary, and overbaked cupcakes will be dry.
Step 7: Cool Completely
Let the cupcakes cool in the pan for 5 minutes, then transfer them to a wire rack to cool completely. Do not frost them while they’re still warm, or the buttercream will melt into a puddle. I’ve made that mistake before, and it’s not cute.
Step 8: Make the Orange Buttercream
While the cupcakes cool, make the frosting. In a large bowl, beat the softened butter with an electric mixer on medium speed until smooth and creamy, about 2 minutes. Add the sifted powdered sugar, one cup at a time, beating on low speed until incorporated. Add the heavy cream, vanilla extract, orange extract, and a tiny pinch of salt. Beat on medium-high speed for 3 to 4 minutes until the buttercream is light, fluffy, and spreadable. Add a few drops of orange gel food coloring and beat until the color is evenly distributed. If the frosting is too thick, add another tablespoon of cream. If it’s too thin, add a little more powdered sugar.
Step 9: Frost the Cupcakes
Fit a piping bag with a large star tip and fill it with the buttercream. Pipe a generous swirl onto each cooled cupcake, starting from the outside and working inward in a spiral. Alternatively, spread the buttercream with an offset spatula for a more rustic look.
Step 10: Decorate and Serve
Top with Halloween sprinkles, candy eyes, or any decorations you like. Serve immediately or store as directed below.
Cooking Tips & Techniques
I’ve made these cupcakes more times than I can count, and I’ve learned a few things the hard way. Here are the tips that actually make a difference.
Don’t skip the buttermilk. Buttermilk is what gives velvet cakes their signature tender crumb. The acidity reacts with the baking soda to create lift, and it also helps the black food coloring develop a deeper, richer shade. If you substitute regular milk, the texture won’t be the same, and the color might turn out more gray than black.
Use gel food coloring, not liquid drops. Liquid coloring will thin out your batter and give you a muddy gray color instead of true black. Gel coloring is concentrated, so you need less of it, and it doesn’t affect the consistency of the batter. I’ve used both, and gel is absolutely the way to go.
Room temperature ingredients matter. Eggs and buttermilk that are at room temperature blend into the batter more evenly, which means a smoother texture and better rise. If you forget to take them out of the fridge ahead of time, place the eggs in a bowl of warm water for 5 minutes and microwave the buttermilk for 10 seconds.
Don’t overmix the batter. Once you combine the wet and dry ingredients, stir just until you don’t see any more streaks of flour. Overmixing develops gluten, which leads to dense, tough cupcakes. A few small lumps are perfectly fine—they’ll bake out.
Check for doneness early. Every oven runs a little differently. Start checking your cupcakes at 18 minutes, even if the recipe says 20. A toothpick inserted in the center should come out clean or with a few moist crumbs. If it’s wet with batter, give them another minute or two.
Let the cupcakes cool completely before frosting. I know it’s tempting to rush, but warm cupcakes will turn your beautiful buttercream into a runny mess. Give them at least 30 minutes on a wire rack. If you’re in a hurry, you can pop them in the fridge for 15 minutes to speed things up.
Toast the buttercream properly. The key to silky buttercream is beating the butter alone first until it’s pale and creamy, then adding the sugar gradually. And don’t skimp on the beating time at the end—those 3 to 4 minutes on medium-high speed are what make it light and fluffy instead of dense and greasy.
Variations & Adaptations
One of the best things about this recipe is how easy it is to adapt. Here are some variations I’ve tried and loved.
Gluten-Free Version : Substitute the all-purpose flour with a 1:1 gluten-free baking flour blend that contains xanthan gum. I’ve used King Arthur Measure for Measure with great results. The texture is slightly more delicate, but the flavor is still fantastic.
Dairy-Free Version : Use a plant-based buttermilk substitute by adding 1 ½ teaspoons of lemon juice to ½ cup of unsweetened almond or oat milk. For the buttercream, use vegan butter sticks (like Earth Balance) and substitute the heavy cream with full-fat coconut cream or a dairy-free milk alternative.
Spiderweb Design : For a fun Halloween look, pipe a white or orange buttercream swirl on top, then use a toothpick to drag lines from the center outward to create a web pattern. It’s easier than it looks and always gets compliments.
Chocolate Orange Buttercream : Add 2 tablespoons of unsweetened cocoa powder to the buttercream along with the powdered sugar for a chocolate-orange twist. It pairs beautifully with the black velvet cake and adds another layer of flavor.
Mini Cupcakes : Use a mini muffin tin and bake for 10 to 12 minutes instead of 18 to 22. This yields about 36 mini cupcakes, perfect for parties where people want to sample multiple treats.
Pumpkin Spice Version : Add 1 teaspoon of pumpkin pie spice to the dry ingredients and substitute ¼ cup of the buttermilk with pumpkin puree. The result is a subtle fall flavor that works perfectly with the orange buttercream.
I once made a batch with a hint of cinnamon in the batter and topped them with a cream cheese frosting instead of buttercream. They disappeared before the party even started. Don’t be afraid to experiment—this recipe is forgiving and versatile.
Serving & Storage Suggestions
These cupcakes are best served at room temperature, which allows the buttercream to soften slightly and the cake to feel perfectly tender. If you’ve stored them in the fridge, let them sit out for about 20 minutes before serving.
For a Halloween party, arrange them on a black cake stand or a platter lined with orange or purple napkins. They look stunning next to a batch of peanut butter blossoms or a plate of chewy chocolate chip cookies for a dessert table that covers all the bases. If you’re serving a full meal, these cupcakes pair beautifully with a warm drink like hot cider or a pumpkin spice latte.
Storage : Store unfrosted cupcakes in an airtight container at room temperature for up to 3 days. Frosted cupcakes should be stored in the refrigerator, but bring them to room temperature before serving for the best flavor and texture. The buttercream will firm up in the fridge, so let them sit out for 20 minutes before serving.
Freezing : You can freeze unfrosted cupcakes for up to 3 months. Wrap each one tightly in plastic wrap, then place them in a freezer-safe bag. Thaw at room temperature before frosting. I’ve also frozen the buttercream in a piping bag—just thaw it in the fridge overnight and re-whip it briefly before using.
Make Ahead : These cupcakes are perfect for making a day ahead. Bake and cool them, store them in an airtight container, and frost them the morning of your event. The flavors actually meld together overnight, and the texture stays moist and tender.
Nutritional Information & Benefits
Here’s the estimated nutritional breakdown for one cupcake with buttercream (based on 12 servings):
- Calories: 385
- Total Fat: 19g
- Saturated Fat: 11g
- Cholesterol: 65mg
- Sodium: 220mg
- Total Carbohydrates: 52g
- Dietary Fiber: 1g
- Sugars: 40g
- Protein: 3g
These numbers are estimates and will vary based on specific brands and any substitutions you make.
While these cupcakes are definitely a treat, they do offer a few small benefits. The cocoa powder contains antioxidants called flavonoids, which can support heart health and reduce inflammation. Buttermilk adds calcium and probiotics, especially if you use a cultured variety. And the butter provides vitamin A and healthy fats that help your body absorb fat-soluble vitamins.
That said, these are celebratory cupcakes—not health food. They’re meant to be enjoyed on special occasions, shared with friends, and eaten with a big smile. Life is about balance, and sometimes balance means having a black velvet cupcake with orange buttercream for dessert.
If you’re looking for a lighter option, you can reduce the sugar in the buttercream by using a sugar substitute like Swerve Confectioners, or swap half the butter for Greek yogurt. But honestly, for Halloween, I say go all out. The memories are worth it.
Conclusion
These Best Black Velvet Halloween Cupcakes with Orange Buttercream have become a tradition in my house, and I hope they become one in yours too. They’re the kind of recipe that makes you feel like a baking rockstar without requiring hours of effort or a pantry full of obscure ingredients.
What I love most about them is the way they bring people together. There’s something magical about watching someone’s face light up when they bite into a black cupcake and realize it’s actually delicious. It’s a small moment of surprise and joy, and that’s what Halloween is all about.
I encourage you to make these your own. Add your favorite sprinkles, experiment with different frosting colors, or try one of the variations I mentioned. Baking should be fun, and this recipe is the perfect canvas for your creativity.
If you make these cupcakes, I’d love to hear about it. Leave a comment below and tell me how they turned out, or share a photo on social media and tag me. Your feedback and adaptations inspire me to keep experimenting and sharing new recipes.
Happy Halloween, and happy baking! May your cupcakes be dark, your buttercream be bright, and your kitchen be full of laughter.
Frequently Asked Questions
Can I make these cupcakes without black food coloring?
Technically yes, but they won’t have the dramatic black color that makes them so fun for Halloween. Without the coloring, you’ll get a dark chocolate cupcake that’s still delicious but looks more like a standard chocolate cupcake. If you want to avoid artificial colors, you can try using black cocoa powder, which is naturally very dark, but it won’t be as intensely black as using gel coloring.
How do I get the black color really dark?
Use gel food coloring instead of liquid drops, and don’t be shy with it. Start with 2 teaspoons and add more if needed. The color will also deepen slightly as the cupcakes bake and cool. Make sure your cocoa powder is unsweetened natural cocoa, not Dutch-processed, as the acidity helps the black color develop more fully.
Can I use a different frosting?
Absolutely. Cream cheese frosting is a classic pairing with velvet cakes and would be delicious here. A simple vanilla buttercream works too, or you could try a chocolate buttercream for a double-chocolate experience. If you want to keep the Halloween theme, you can color any buttercream orange, purple, or green.
Why did my cupcakes turn out gray instead of black?
This usually happens when you use liquid food coloring instead of gel, or if you didn’t use enough coloring. Liquid drops are too diluted and can also thin out your batter, resulting in a muddy gray color. Make sure you’re using a concentrated gel coloring and adding enough to achieve the shade you want. Also, check that your cocoa powder is fresh—old cocoa can lose its intensity.
How far in advance can I make these cupcakes?
You can bake the cupcakes up to 3 days ahead and store them unfrosted in an airtight container at room temperature. The buttercream can be made up to a week ahead and stored in the refrigerator in an airtight container—just re-whip it briefly before using. For best results, frost the cupcakes the day you plan to serve them.
Pin This Recipe!
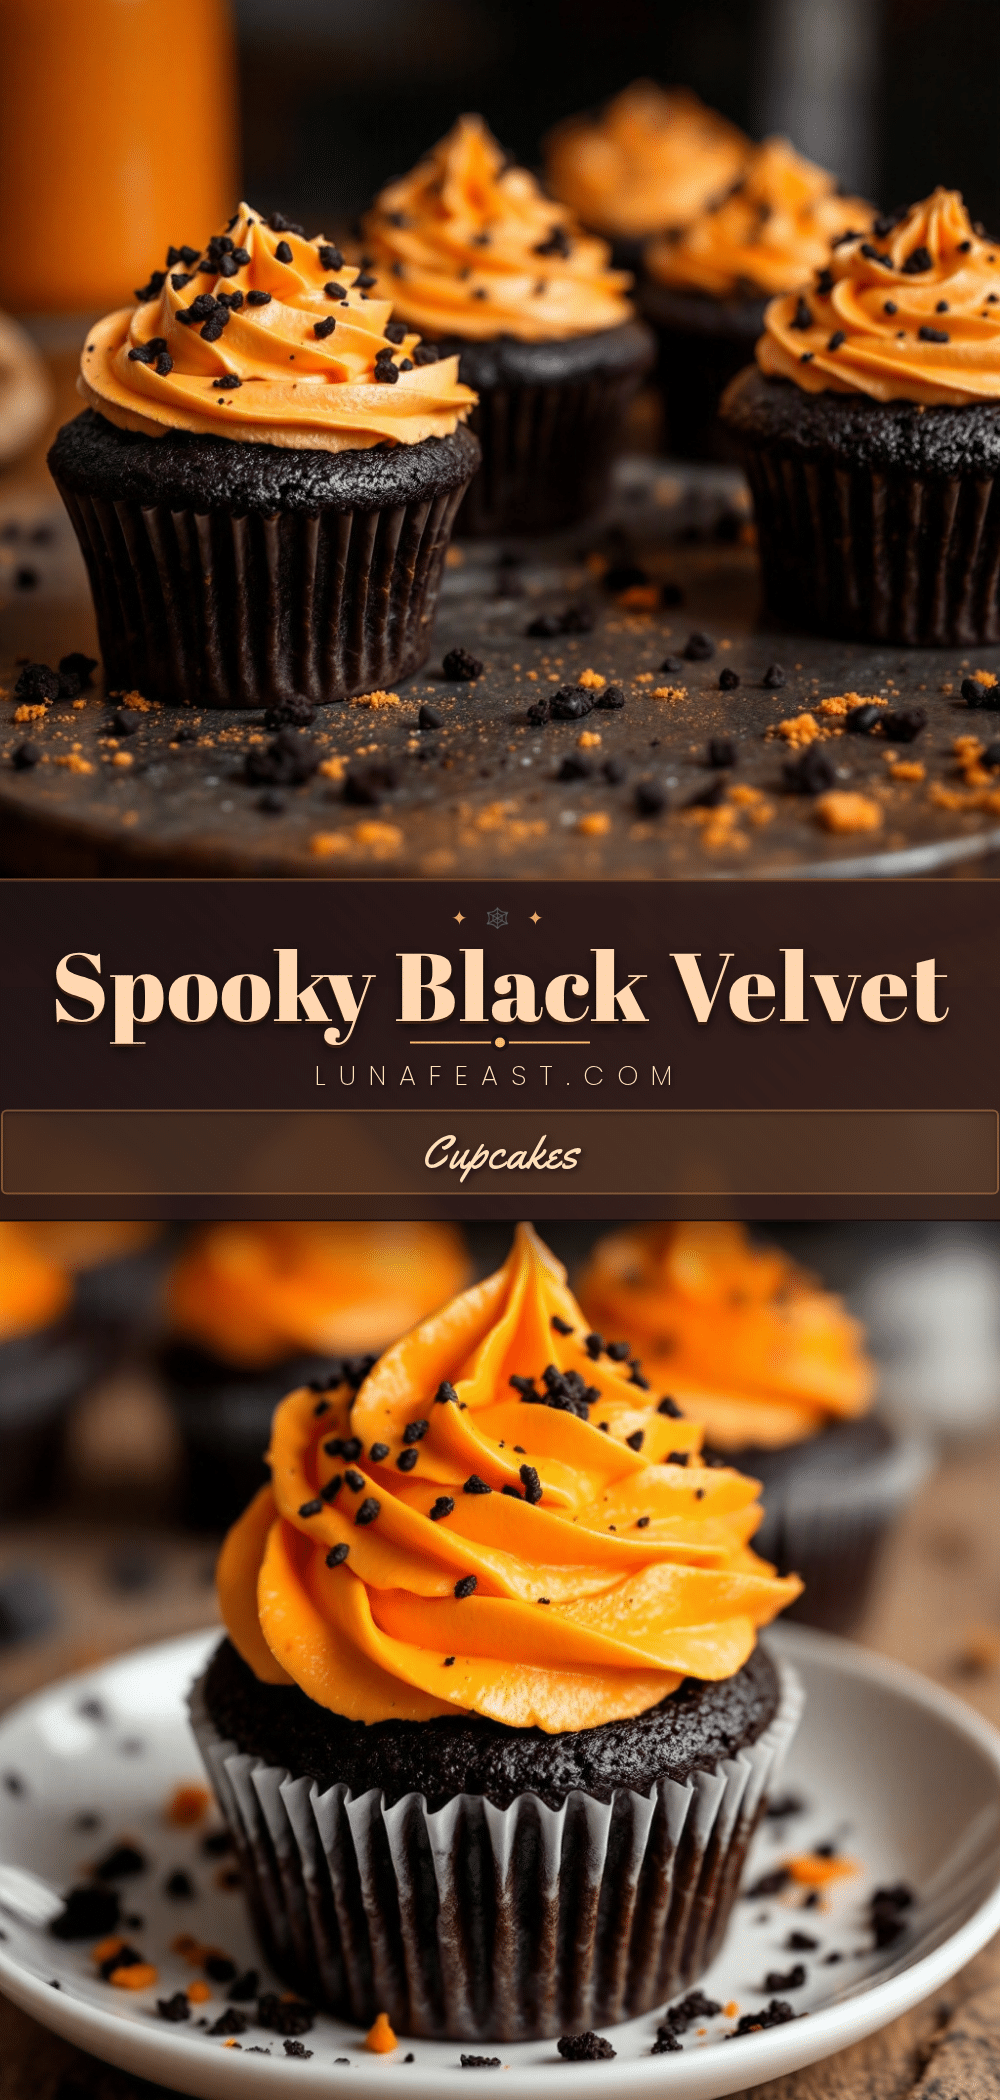
Best Black Velvet Halloween Cupcakes Easy Orange Buttercream
These Best Black Velvet Halloween Cupcakes with Orange Buttercream are soft, tender, and rich with cocoa and vanilla, but they look like they came straight out of a Halloween party dream. The black velvet crumb is dramatic without being gimmicky, and the orange buttercream is sweet, creamy, and just bright enough to feel festive.
- Prep Time: 15 minutes
- Cook Time: 20 minutes
- Total Time: 35 minutes
- Yield: 12 servings 1x
- Category: Dessert
- Cuisine: American
Ingredients
- 1 ½ cups (180g) all-purpose flour
- ¼ cup (20g) unsweetened cocoa powder
- 1 cup (200g) granulated sugar
- 1 teaspoon baking soda
- ½ teaspoon salt
- ½ cup (120ml) buttermilk, room temperature
- ½ cup (120ml) vegetable oil
- 2 large eggs, room temperature
- 2 teaspoons vanilla extract
- 2 to 3 teaspoons black gel food coloring
- 1 teaspoon white vinegar
- 1 cup (226g) unsalted butter, softened
- 3 ½ cups (420g) powdered sugar, sifted
- 3 to 4 tablespoons heavy cream, room temperature
- 1 teaspoon vanilla extract
- ½ teaspoon orange extract
- a few drops orange gel food coloring
- a tiny pinch of salt
- Halloween sprinkles (optional)
- candy eyes (optional)
- mini chocolate chips (optional)
Instructions
- Preheat your oven to 350°F (175°C). Line your muffin tin with 12 paper liners.
- In a large bowl, whisk together the flour, cocoa powder, sugar, baking soda, and salt.
- In a separate bowl, whisk together the buttermilk, vegetable oil, eggs, vanilla extract, and black gel food coloring until smooth and uniformly black.
- Pour the wet ingredients into the dry ingredients and stir gently until just combined. Add the white vinegar and stir once more.
- Divide the batter evenly among the 12 liners, filling each about two-thirds full.
- Bake for 18 to 22 minutes, or until a toothpick inserted into the center comes out clean or with a few moist crumbs.
- Let the cupcakes cool in the pan for 5 minutes, then transfer to a wire rack to cool completely.
- While the cupcakes cool, make the buttercream: In a large bowl, beat the softened butter with an electric mixer on medium speed until smooth and creamy, about 2 minutes. Add the sifted powdered sugar, one cup at a time, beating on low speed until incorporated. Add the heavy cream, vanilla extract, orange extract, and a tiny pinch of salt. Beat on medium-high speed for 3 to 4 minutes until light, fluffy, and spreadable. Add a few drops of orange gel food coloring and beat until evenly distributed…
- Fit a piping bag with a large star tip and fill with buttercream. Pipe a generous swirl onto each cooled cupcake, or spread with an offset spatula.
- Top with Halloween sprinkles, candy eyes, or other decorations. Serve immediately or store as directed.
Notes
Use gel food coloring, not liquid drops, for a true black color. Room temperature ingredients blend more evenly. Don’t overmix the batter. Let cupcakes cool completely before frosting. Buttermilk is key for tender crumb.
Nutrition
- Serving Size: 1 cupcake
- Calories: 385
- Sugar: 40
- Sodium: 220
- Fat: 19
- Saturated Fat: 11
- Carbohydrates: 52
- Fiber: 1
- Protein: 3
Keywords: Halloween cupcakes, black velvet cupcakes, orange buttercream, Halloween dessert, black cupcakes, velvet cake


