I need to make a ghost that looks like it just saw a mouse. Not a scary ghost—a surprised ghost. That is the exact thought running through my head as I stare at a tray of freshly baked vanilla cupcakes, a batch of buttercream, and a bag of black decorating gel. It is mid-October, which means my brain has officially switched over to full Halloween mode, and honestly, there is no better way to celebrate than with something that looks cute enough to squeal over but tastes like a classic vanilla dream. These Adorable Ghost Cupcakes with Buttercream Faces are the result of that very specific, slightly ridiculous internal monologue. I wanted something that would make kids laugh, adults smile, and everyone reach for a second one without thinking twice.
The trick, I realized, is in the faces. You can pipe a ghost that looks spooky, or you can pipe one that looks like it just heard a really good joke. I chose the latter. These little guys are plump, wobbly, and covered in a cloud of white buttercream that is swirled into a tall, ghostly shape. The eyes and mouth are painted on with black gel, and the whole effect is somewhere between adorable and hilarious. They are perfect for Halloween parties, classroom treats, or just a Tuesday night when you need a little bit of whimsy. And the best part? They are surprisingly easy to make. No fancy piping skills required. Just a steady hand and a willingness to embrace the imperfect, lopsided charm of a homemade ghost.
This recipe has become a staple in my fall baking rotation because it delivers on every level. The cupcakes are soft, buttery, and sturdy enough to hold a generous swirl of frosting. The buttercream is light, not too sweet, and pipes like a dream. And the decorating part—well, that is where the fun really begins. Every ghost ends up with its own personality. Some look surprised, some look grumpy, and some look like they are plotting something mischievous. It is the kind of baking project that brings people together, whether you are making them with your kids or just enjoying the process solo with a cup of coffee. Trust me, you are going to love these.
Why You’ll Love This Recipe
Let me tell you why these ghost cupcakes are about to become your new favorite Halloween tradition. I have tested this recipe more times than I care to admit, tweaking the buttercream consistency and the baking time until everything was absolutely perfect. Here is what makes them stand out:
- Quick & Easy: These come together in about 45 minutes from start to finish. The cupcakes bake in 18 minutes flat, and the decorating takes maybe 15 minutes more. Perfect for last-minute Halloween plans or when you need a treat in a hurry.
- Simple Ingredients: You probably have everything you need in your pantry right now. Flour, sugar, butter, eggs, vanilla. No specialty items, no crazy shopping trips. Just good old-fashioned baking staples.
- Perfect for Halloween: Whether you are hosting a party, sending treats to school, or just want something festive for your family, these cupcakes deliver. They are cute without being overly complicated, and they always get a reaction.
- Crowd-Pleaser: I have brought these to multiple gatherings, and they disappear faster than almost anything else. Kids love the faces, adults love the classic vanilla flavor, and everyone loves how fun they look.
- Unbelievably Delicious: The texture is what really gets me. The cupcake is tender and moist with a fine crumb, and the buttercream is silky smooth. It is the kind of combination that makes you close your eyes after the first bite.
What makes this recipe different from all the other ghost cupcake recipes out there? It is the buttercream. I use a slightly higher ratio of butter to powdered sugar, which gives the frosting a rich, creamy texture that pipes into perfect ghost shapes without being too stiff. The ghosts hold their shape beautifully, but they are still soft and melt-in-your-mouth delicious. Plus, the faces are done with black decorating gel instead of chocolate chips or candy, which means you can get much more expressive with the expressions. Want a ghost that looks terrified? Go for it. Want one that looks like it is winking? Easy.
This recipe is not just good—it is the kind that makes you feel like a baking rockstar. It is comfort food with a Halloween twist, perfect for impressing guests without any stress. And honestly, watching someone’s face light up when they see these little guys? That is the best part.
What Ingredients You Will Need
This recipe uses simple, wholesome ingredients to create cupcakes that are tender, flavorful, and absolutely perfect for decorating. Here is everything you need, broken down by category:
For the Cupcakes
- All-purpose flour – 1 ½ cups (190g). Spoon and level for accuracy. Too much flour makes dense cupcakes.
- Granulated sugar – 1 cup (200g). Adds sweetness and helps create a tender crumb.
- Unsalted butter – ½ cup (113g), softened to room temperature. I prefer using Land O Lakes for consistent results.
- Large eggs – 2, room temperature. Cold eggs can seize the batter, so let them sit out for 30 minutes first.
- Vanilla extract – 2 teaspoons. Pure vanilla extract makes a noticeable difference. Avoid imitation if you can.
- Baking powder – 1 ½ teaspoons. This is what gives the cupcakes their lift.
- Salt – ¼ teaspoon. Balances the sweetness and enhances flavor.
- Milk – ½ cup (120ml), room temperature. Whole milk works best, but 2% is fine too.
For the Buttercream Frosting
- Unsalted butter – 1 cup (226g), softened. This is the star of the show, so use good quality butter.
- Powdered sugar – 3 ½ cups (440g), sifted. Sifting prevents lumps and gives a silky smooth texture.
- Heavy cream – 3-4 tablespoons (45-60ml). Adds richness and helps achieve the perfect piping consistency.
- Vanilla extract – 1 ½ teaspoons. Again, pure vanilla is best.
- Salt – A pinch. Just enough to cut the sweetness.
For the Decorating
- Black decorating gel – 1 tube. This is the easiest way to draw the faces. Wilton brand works great.
- Orange or black sprinkles (optional) – For adding a little extra Halloween flair to the base of the ghosts.
Ingredient Selection Tips
I always recommend using room temperature ingredients for the cupcake batter. It seems like a small detail, but it makes a huge difference in how the batter comes together. Cold butter doesnt cream properly with sugar, and cold eggs can cause the batter to curdle. Trust me on this one—I learned the hard way after making a batch of lumpy, dense cupcakes that were a total waste of ingredients.
For the buttercream, I prefer using European-style butter like Kerrygold. It has a higher fat content and less water, which means your frosting will be richer and more stable. If you are using standard American butter, just make sure it is softened but not melted. You want it to be cool to the touch but pliable enough to leave a fingerprint when pressed.
Equipment Needed
You do not need a professional bakery setup to make these ghost cupcakes, but having the right tools makes the process much smoother. Here is what you will need:
- 12-count standard muffin pan – A light-colored metal pan works best for even baking. Dark pans can cause the bottoms to brown too quickly.
- Paper cupcake liners – White or orange liners work well. Avoid black liners if you want the ghost faces to stand out.
- Electric hand mixer or stand mixer – A stand mixer with the paddle attachment is ideal for the buttercream, but a hand mixer works just fine.
- Mixing bowls – You will need at least two medium bowls and one large bowl.
- Whisk and rubber spatula – For combining dry ingredients and scraping down the bowl.
- Wire cooling rack – Essential for cooling the cupcakes evenly without soggy bottoms.
- Piping bag – A 16-inch disposable piping bag works perfectly. No need for a fancy reusable one.
- Large round piping tip – A Wilton 1A or Ateco 808 tip is ideal for creating the ghost shape. The wide opening allows the buttercream to flow smoothly.
- Toothpicks – For sketching out the face designs before using the decorating gel.
- Small offset spatula – Helpful for smoothing any rough edges on the buttercream.
If you do not have a piping bag, you can use a heavy-duty zip-top bag with the corner snipped off. It is not as precise, but it will get the job done. I have done it before when I was in a pinch, and honestly, the ghosts still turned out adorable.
Preparation Method
Alright, let us get to the good part. Here is how to make these adorable ghost cupcakes from start to finish.
Step 1: Preheat and Prep
Preheat your oven to 350°F (175°C). Line your muffin pan with 12 paper liners. This is a non-negotiable step—do not grease the pan directly or the cupcakes will stick. Set the pan aside while you make the batter.
Step 2: Make the Cupcake Batter
In a medium bowl, whisk together the flour, baking powder, and salt. Set this aside. In a large bowl, beat the softened butter and granulated sugar together on medium speed for about 3 minutes, until the mixture is light, fluffy, and pale in color. Scrape down the sides of the bowl with a rubber spatula halfway through.
Add the eggs one at a time, beating well after each addition. The batter should look smooth and creamy at this point. Stir in the vanilla extract. Now, with the mixer on low speed, add the flour mixture in three additions, alternating with the milk. Start and end with the flour. Mix just until combined—overmixing will make the cupcakes tough. The batter should be thick but scoopable.
Step 3: Bake the Cupcakes
Divide the batter evenly among the 12 liners, filling each about two-thirds full. I use a cookie scoop for this—it keeps things consistent and less messy. Bake for 18-20 minutes, or until a toothpick inserted into the center of a cupcake comes out clean or with a few moist crumbs. The tops should be lightly golden and spring back when touched.
Let the cupcakes cool in the pan for 5 minutes, then transfer them to a wire cooling rack to cool completely. This is crucial. If you try to frost warm cupcakes, the buttercream will melt into a sad, greasy puddle. Trust me, I have been there, and it is not cute.
Step 4: Make the Buttercream
While the cupcakes are cooling, make the frosting. In a large bowl, beat the softened butter on medium speed for about 5 minutes, until it is pale, light, and creamy. This step is important—do not skip it. The butter needs to be properly aerated for a smooth, fluffy frosting.
Reduce the speed to low and gradually add the sifted powdered sugar, about ½ cup at a time. Mix until each addition is fully incorporated before adding more. Add the vanilla extract and a pinch of salt. With the mixer running, add the heavy cream one tablespoon at a time until the frosting reaches a smooth, pipeable consistency. You want it thick enough to hold its shape but soft enough to pipe easily. If it is too stiff, add another tablespoon of cream. If it is too soft, add a little more powdered sugar.
Step 5: Pipe the Ghosts
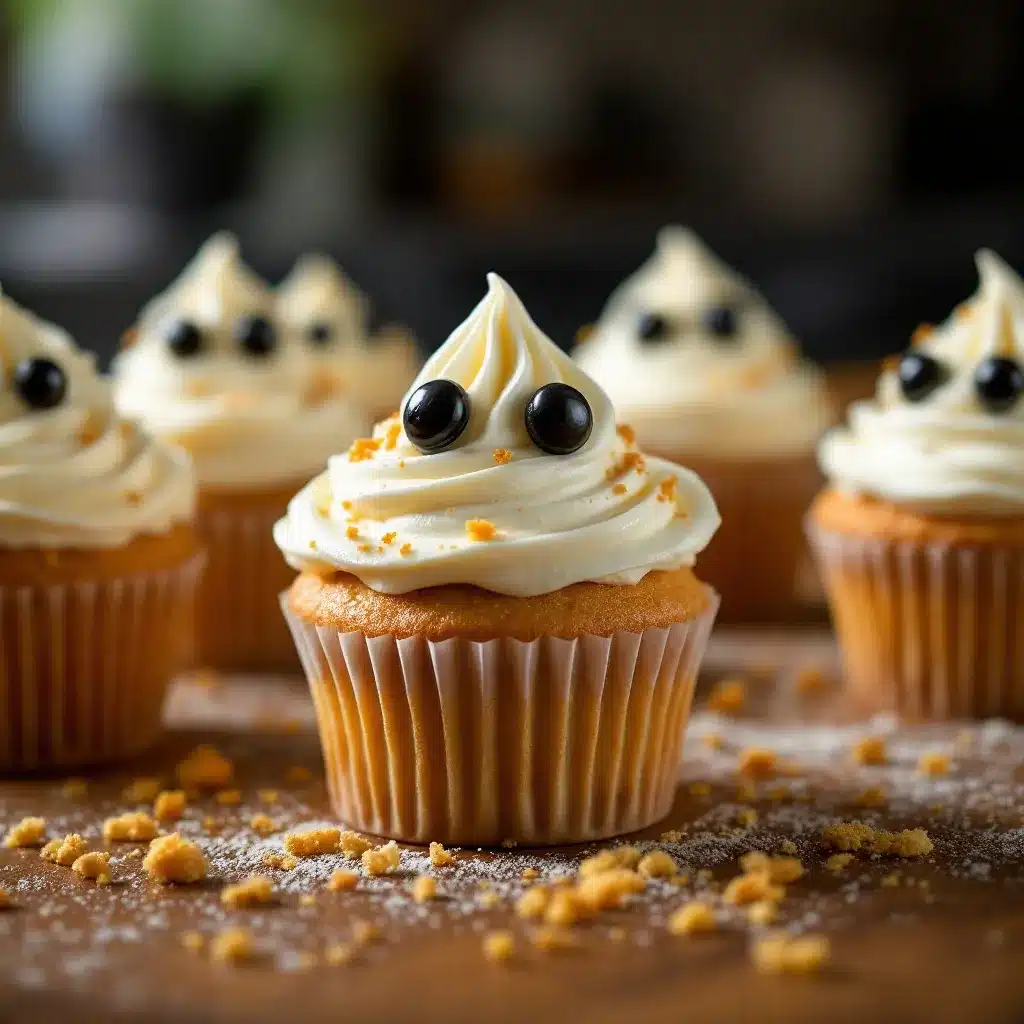
Fit your piping bag with the large round tip. Fill the bag with the buttercream, twisting the top to seal it. Hold the bag straight up and down over the center of a cooled cupcake. Apply steady pressure and pipe a tall, rounded mound of frosting, about 2 inches high. As you reach the top, release the pressure and pull the tip away quickly to create a little peak. This is the top of your ghost’s head.
Do not worry if it looks a little messy at first. You can use a small offset spatula to gently smooth any rough edges. The goal is a soft, cloud-like shape that resembles a ghost. Repeat with the remaining cupcakes.
Step 6: Draw the Faces
This is where the personality comes in. Using the black decorating gel, carefully draw two eyes and an open mouth on each ghost. I like to use a toothpick to lightly sketch the face first, then trace over it with the gel. You can make the eyes round, oval, or even X-shaped for a funny surprised look. The mouth can be a circle, an oval, or a wavy line. Get creative!
For a spooky touch, you can add a few small dots of gel around the ghost to look like little stars or sparkles. Or leave them plain for a cleaner look. Either way, these ghosts are going to be adorable.
Step 7: Add Finishing Touches
If you want to add sprinkles, gently press them into the buttercream around the base of the ghost. This adds a nice pop of color and makes the cupcakes look even more festive. Refrigerate the cupcakes for about 15 minutes to let the buttercream set before serving.
Cooking Tips & Techniques
Let me share some things I have learned the hard way so you do not have to make the same mistakes.
The Buttercream Consistency Trap
The biggest challenge with these cupcakes is getting the buttercream to the right consistency. If it is too soft, the ghost will slump over like a deflated balloon. If it is too stiff, it will be hard to pipe and the ghost will look lumpy. The sweet spot is when the frosting holds a stiff peak but still feels soft and spreadable. If you are unsure, err on the side of slightly stiffer. You can always add a drop of cream to loosen it up, but you cannot take away extra powdered sugar once it is in there.
The Piping Angle
Hold the piping bag straight up and down, not at an angle. This is the most common mistake I see. When you hold the bag at an angle, the ghost ends up leaning to one side. Keep it perpendicular to the cupcake surface, and apply steady, even pressure. Start in the center and work your way up, letting the frosting pile on top of itself.
Chill Your Piping Bag
If your hands are warm (which they probably are if you have been baking), the heat can soften the buttercream in the piping bag. Pop the filled bag in the fridge for 10 minutes before you start piping. It makes a huge difference in how cleanly the frosting comes out.
Practice Makes Perfect
Do not stress if your first ghost looks a little wonky. That is part of the charm. I once made a batch where one ghost looked like it was melting, another looked like it was screaming, and a third looked like it was giving me side-eye. My kids loved them even more because each one had its own personality. Embrace the imperfections.
Timing and Multitasking
You can make the cupcakes a day ahead and store them in an airtight container at room temperature. The buttercream can also be made ahead and refrigerated for up to 3 days. Just let it come back to room temperature and re-whip it before using. This makes the whole process much more manageable if you are short on time.
Variations & Adaptations
One of the best things about this recipe is how easy it is to customize. Here are some variations I have tried and loved:
Dietary Adaptations
For a gluten-free version, substitute the all-purpose flour with a 1:1 gluten-free baking blend. I have used Bob’s Red Mill with great results. Just make sure the blend contains xanthan gum for structure. For a dairy-free option, use vegan butter and oat milk in the cupcakes, and a vegan buttercream made with vegetable shortening and dairy-free milk. The texture will be slightly different, but the ghosts will still be adorable.
Flavor Variations
Want to switch things up? Try adding 1 teaspoon of pumpkin pie spice to the cupcake batter for a fall twist. You can also swap the vanilla extract in the buttercream for peppermint or almond extract. Just use half the amount since these extracts are stronger. For a chocolate ghost, add ¼ cup of cocoa powder to the cupcake batter and reduce the flour by 2 tablespoons.
Seasonal Twists
These ghosts are perfect for Halloween, but you can adapt them for other holidays too. For Christmas, pipe the buttercream into snowman shapes and use the black gel for coal eyes and a carrot nose. For Easter, make them into bunnies with long ears. The technique is the same—just change the face and add a few extra details.
Different Decorating Methods
If you do not have black decorating gel, you can use melted dark chocolate in a piping bag with a tiny tip. Chocolate chips also work for the eyes, though they are harder to position. For a less sweet option, use black food coloring mixed with a tiny bit of water and paint the faces on with a fine brush.
Serving & Storage Suggestions
These ghost cupcakes are best served at room temperature, which is when the buttercream is soft and luscious. If you have refrigerated them, let them sit out for about 20 minutes before serving.
Presentation Ideas
Arrange the cupcakes on a large platter or cake stand. For a Halloween party, place them on a black or orange platter with some fake spider webs and plastic spiders scattered around. You can also add a few mummy meatball pasta on the side for a full spooky spread. The contrast between the cute ghosts and the savory pasta is always a hit.
Complementary Dishes
These cupcakes pair beautifully with a warm drink. Try serving them alongside a pumpkin cream cold foam coffee or a creamy pumpkin spice latte. The rich, spiced flavors complement the sweet vanilla cupcakes perfectly.
Storage Instructions
Store leftover cupcakes in an airtight container in the refrigerator for up to 4 days. The buttercream will firm up in the cold, but it will soften again at room temperature. If you need to stack them, place a piece of parchment paper between layers to prevent the frosting from smudging.
Freezer Instructions
You can freeze the unfrosted cupcakes for up to 3 months. Wrap them individually in plastic wrap and place them in a freezer bag. Thaw at room temperature before frosting. I do not recommend freezing the frosted cupcakes because the buttercream can develop ice crystals and lose its smooth texture.
Flavor Development
Here is a little secret: these cupcakes actually taste better the next day. The flavors have time to meld together, and the texture becomes even more moist and tender. So if you can resist eating them all right away, you will be rewarded with an even better treat tomorrow.
Nutritional Information & Benefits
While these are definitely a treat, here is the estimated nutritional breakdown per cupcake (based on 12 servings):
- Calories: 380
- Fat: 22g
- Carbohydrates: 45g
- Protein: 3g
- Sugar: 32g
Health Benefits of Key Ingredients
The butter in these cupcakes provides fat-soluble vitamins like A, D, and E. The eggs are a great source of high-quality protein and choline, which supports brain health. And while the sugar content is not insignificant, a little indulgence now and then is part of a balanced life.
Dietary Considerations
These cupcakes contain dairy, eggs, and gluten. They are not suitable for vegans or those with celiac disease without the substitutions mentioned above. If you are serving them at a party, consider labeling them clearly so guests with allergies can make informed choices.
My Personal Wellness Perspective
I believe in the power of balance. These cupcakes are not health food, and they are not meant to be. They are joy food. They are the kind of treat that brings people together, sparks laughter, and creates memories. So go ahead, enjoy one (or two). You deserve it.
Conclusion
These Adorable Ghost Cupcakes with Buttercream Faces are more than just a Halloween dessert—they are a little piece of happiness on a plate. They are easy enough for a beginner baker to tackle, but impressive enough to steal the show at any party. The combination of tender vanilla cake, silky buttercream, and those hilarious little faces is simply irresistible.
I love this recipe because it reminds me that baking does not have to be serious. It can be silly, creative, and full of joy. Every time I make these ghosts, I end up laughing at their expressions and sneaking an extra cupcake when no one is looking. They are the kind of treat that makes you feel like a kid again.
So grab your piping bag, channel your inner artist, and give these ghosts a try. Whether you make them for a Halloween bash, a classroom party, or just because it is Tuesday, I promise they will bring a smile to your face. And when you do, come back and let me know how they turned out. Share your ghost creations, your funny face designs, and your baking wins. I cannot wait to see what you come up with!
Happy Halloween, and happy baking!
Frequently Asked Questions
Can I use a boxed cake mix for these ghost cupcakes?
Absolutely. If you are short on time, a boxed vanilla cake mix works perfectly. Just follow the package instructions and let the cupcakes cool completely before frosting. The decorating part is the same regardless of what cake base you use.
How do I keep the buttercream from melting?
The key is to make sure your cupcakes are completely cool before you start frosting. Even a slightly warm cupcake will cause the buttercream to soften and slide off. If you are working in a hot kitchen, pop the frosted cupcakes in the fridge for 15 minutes to set the buttercream.
Can I make these cupcakes ahead of time?
Yes! You can bake the cupcakes up to 2 days in advance and store them in an airtight container at room temperature. The buttercream can be made up to 3 days ahead and refrigerated. Just let it come to room temperature and re-whip it before piping. Assemble the cupcakes on the day you plan to serve them for the best results.
What if I do not have a piping bag?
No problem. You can use a heavy-duty zip-top bag with the corner snipped off. It will not give you as precise control, but it will still work. Alternatively, you can spread the buttercream on with a knife and use a toothpick to draw the ghost shape into the frosting.
How do I get the ghost shape to look tall and rounded?
The trick is to use a large round piping tip and hold the bag straight up and down. Start in the center of the cupcake and apply steady pressure, letting the frosting pile up as you lift the bag. Release the pressure at the top and pull away quickly to create a peak. If it looks flat, your buttercream might be too soft—add a little more powdered sugar to stiffen it up.
Pin This Recipe!
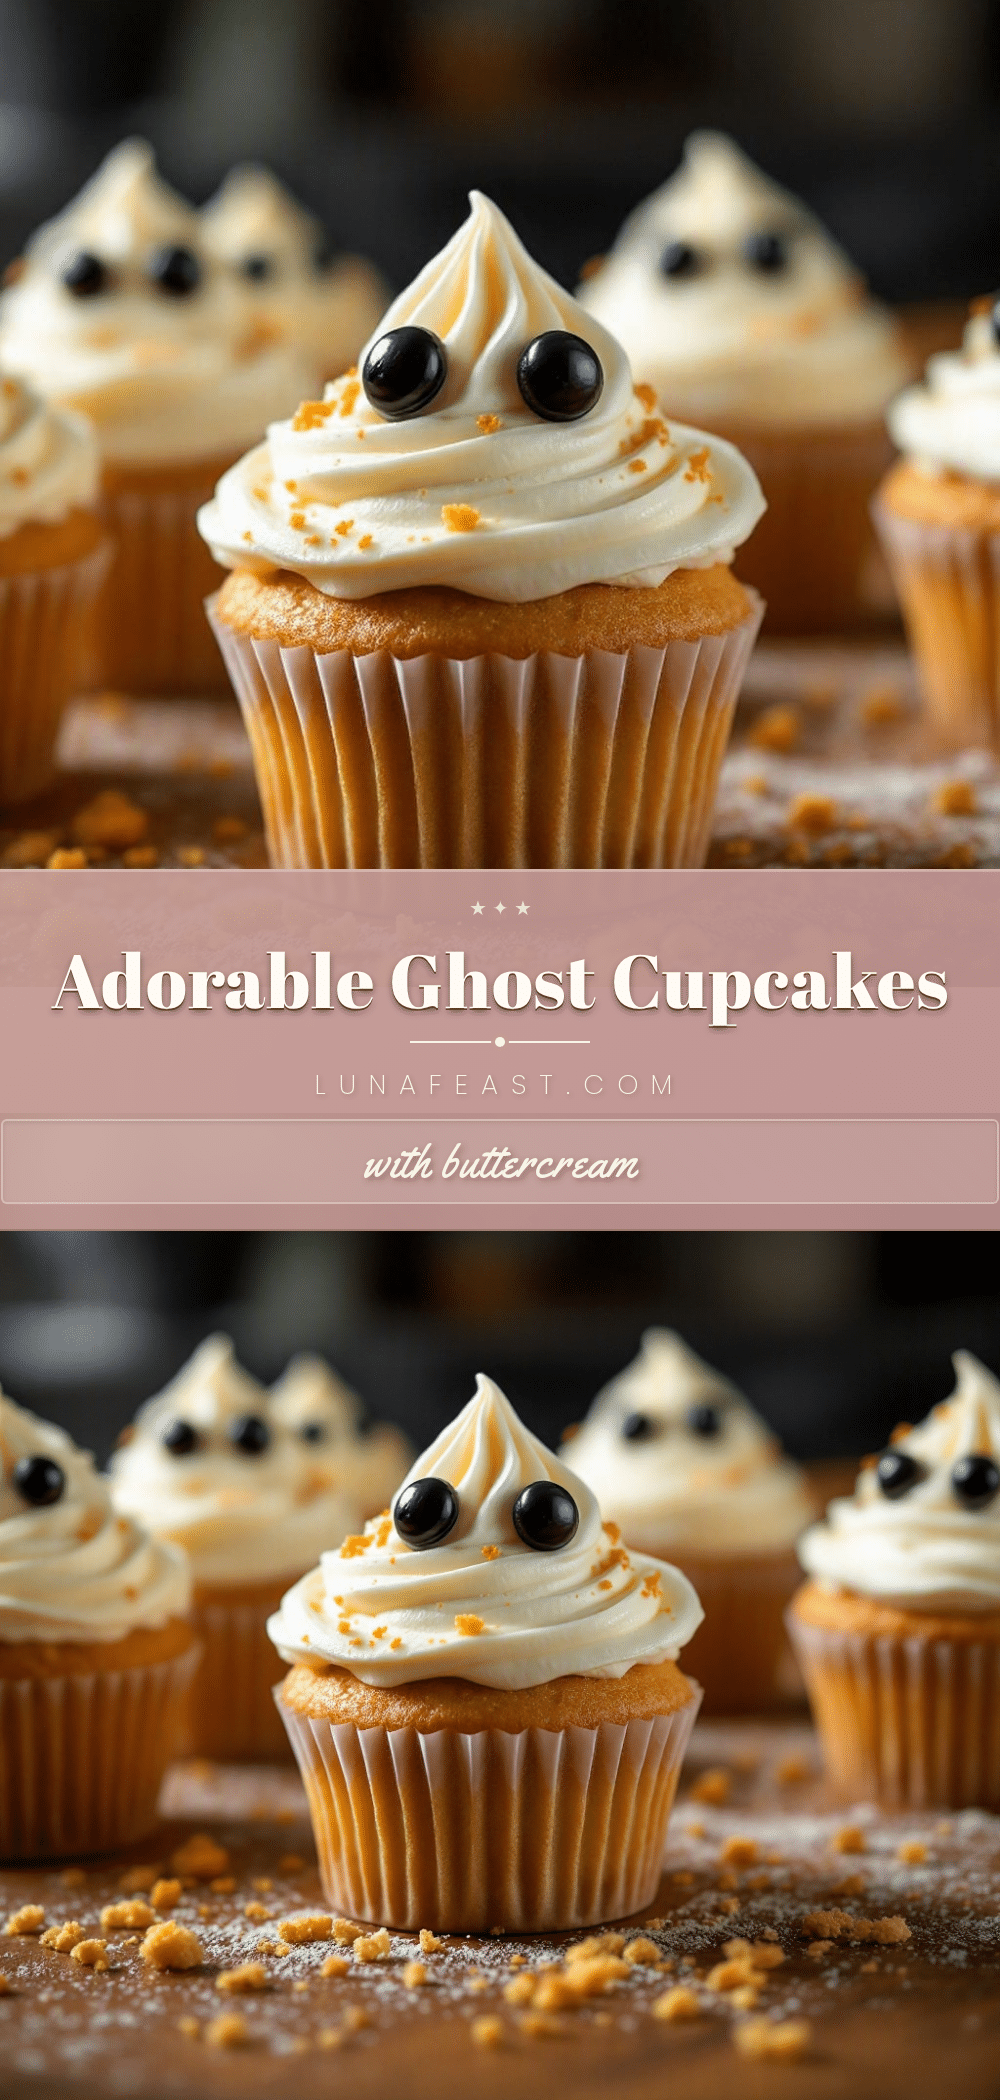
Adorable Ghost Cupcakes: Easy Buttercream Faces
These Adorable Ghost Cupcakes with Buttercream Faces are soft, buttery vanilla cupcakes topped with a cloud of silky buttercream, decorated with expressive black gel faces. Perfect for Halloween parties, they are easy to make and guaranteed to bring smiles.
- Prep Time: 15 minutes
- Cook Time: 18 minutes
- Total Time: 45 minutes
- Yield: 12 servings 1x
- Category: Dessert
- Cuisine: American
Ingredients
- 1 ½ cups (190g) all-purpose flour
- 1 cup (200g) granulated sugar
- ½ cup (113g) unsalted butter, softened
- 2 large eggs, room temperature
- 2 teaspoons vanilla extract
- 1 ½ teaspoons baking powder
- ¼ teaspoon salt
- ½ cup (120ml) milk, room temperature
- 1 cup (226g) unsalted butter, softened (for frosting)
- 3 ½ cups (440g) powdered sugar, sifted
- 3–4 tablespoons (45-60ml) heavy cream
- 1 ½ teaspoons vanilla extract (for frosting)
- Pinch of salt (for frosting)
- 1 tube black decorating gel
- Orange or black sprinkles (optional)
Instructions
- Preheat oven to 350°F (175°C). Line a 12-count muffin pan with paper liners.
- In a medium bowl, whisk together flour, baking powder, and salt. Set aside.
- In a large bowl, beat softened butter and granulated sugar on medium speed for about 3 minutes until light and fluffy. Scrape down sides.
- Add eggs one at a time, beating well after each. Stir in vanilla extract.
- With mixer on low, add flour mixture in three additions alternating with milk, starting and ending with flour. Mix just until combined.
- Divide batter evenly among liners, filling each about two-thirds full.
- Bake for 18-20 minutes, until a toothpick inserted in center comes out clean. Cool in pan 5 minutes, then transfer to wire rack to cool completely.
- For buttercream: Beat softened butter on medium speed for 5 minutes until pale and creamy.
- Gradually add sifted powdered sugar, about ½ cup at a time, mixing on low. Add vanilla and salt.
- Add heavy cream one tablespoon at a time until smooth and pipeable. Adjust consistency as needed.
- Fit a piping bag with a large round tip (Wilton 1A or Ateco 808). Fill with buttercream.
- Pipe a tall, rounded mound of frosting on each cooled cupcake, starting in the center and lifting straight up to create a peak.
- Use black decorating gel to draw two eyes and an open mouth on each ghost. Optionally sketch with a toothpick first.
- If desired, press sprinkles into buttercream around the base. Refrigerate 15 minutes to set before serving.
Notes
Ensure all ingredients are at room temperature for best results. The buttercream should hold a stiff peak but be soft enough to pipe. If too soft, add more powdered sugar; if too stiff, add a little cream. Chill the filled piping bag for 10 minutes if hands are warm. Cupcakes can be made a day ahead; buttercream can be refrigerated for up to 3 days. Let refrigerated cupcakes sit at room temperature for 20 minutes before serving.
Nutrition
- Serving Size: 1 cupcake
- Calories: 380
- Sugar: 32
- Sodium: 150
- Fat: 22
- Saturated Fat: 13
- Carbohydrates: 45
- Protein: 3
Keywords: ghost cupcakes, Halloween cupcakes, buttercream ghosts, easy Halloween dessert, vanilla cupcakes, ghost faces, Halloween baking


