I did not trust Rice Krispie Treat pumpkins to hold their shape. Honestly, I thought they sounded like a mistake until my oven thermometer broke and I needed a no-bake Halloween centerpiece that wouldn’t collapse in the humidity. I have made hundreds of these treats over the years, and they are usually just a messy square of marshmallow fluff on a plate. So when my niece asked for pumpkins for her party, I rolled my eyes. I figured they would turn into orange blobs before I could even cut the stems. But then I remembered the trick with the candy corn centers and the precise cooling time. I decided to give it one last shot, mostly to prove her wrong about how hard it was.
The kitchen smelled like burnt sugar and victory as I pulled the first batch out of the fridge. They stood tall. They were crisp on the outside and chewy on the inside, looking exactly like tiny orange gourds. I took a bite, expecting the usual sticky mess, but instead, I got a perfect snap followed by that familiar, comforting chew. It was honestly the best version I had ever made. I didn’t just make a snack; I made a showstopper that actually survived the party. That was the moment I stopped doubting and started loving this technique.
Now, I make these crispy Halloween Rice Krispie Treat pumpkins every single October. They are reliable, they are fun to decorate, and they taste like childhood nostalgia but with a bit more structure. You know how it is with holiday baking—you want something that looks impressive but doesn’t require three hours of labor. This recipe fits that bill perfectly. It is simple enough for kids to help with but sturdy enough to travel to school parties. I still remember the look on my niece’s face when she realized the pumpkins didn’t melt in her hand. That trust was earned in the fridge, not in the oven.
Why You’ll Love This Recipe
Let’s face it, most Rice Krispie Treat recipes are just basic ratios of marshmallows to cereal. But this specific version is different because of the structural integrity and the visual appeal. I have tested dozens of ratios, and I can tell you that the key is not just the marshmallows, but how you press them and how you cool them. This isn’t just another version; it’s your best version because it solves the biggest problem with these treats: they usually fall apart.
- Quick & Easy: Comes together in under 20 minutes, perfect for busy weeknights or last-minute Halloween preparations. You don’t need to turn on the oven, which saves energy and keeps the house from getting hot.
- Simple Ingredients: No fancy grocery trips needed; you likely already have everything in your kitchen. Rice Krispies, marshmallows, butter, and food coloring are pantry staples for most households.
- Perfect for Parties: Great for classroom Halloween parties, trick-or-treating favors, or spooky dinner table centerpieces. They are finger food that doesn’t require a fork.
- Crowd-Pleaser: Always gets rave reviews from kids and adults alike. The familiar taste of cereal treats combined with the novelty of the shape is a winning combo.
- Unbelievably Delicious: The texture and flavor combo is next-level comfort food. The slight crunch of the cereal contrasts with the soft, sweet marshmallow interior.
What makes this recipe stand out is the addition of a candy corn or mini marshmallow stem. It adds a layer of complexity that makes it feel like a crafted dessert rather than a quick snack. This recipe isn’t just good—it is the kind that makes you close your eyes after the first bite and smile. It’s comfort food reimagined for the holidays, faster, but with the same soul-soothing satisfaction. It is perfect for impressing guests without stress, or turning a simple meal into something memorable.
What Ingredients You Will Need
This recipe uses simple, wholesome ingredients to deliver bold flavor and satisfying texture without the fuss. The beauty of this dish lies in its minimalism. You don’t need exotic spices or hard-to-find items. Everything you need is likely sitting in your pantry right now, ready to be transformed into festive Halloween treats. Here is what you need to gather before you start cooking.
- Rice Krispies Cereal: 6 cups (150g). This is the base. I recommend Kellogg’s Rice Krispies for the classic texture, though store brands work fine if you are on a budget. The key is to use puffed rice cereal, not brown rice or wheat, for that authentic snap.
- Marshmallows: 10 oz (1 box, approx. 40 marshmallows). Large marshmallows melt more evenly than mini ones. Look for brand-name marshmallows that have a bit of stability; cheaper brands can sometimes become grainy when melted.
- Unsalted Butter: 3 tablespoons (42g). This adds richness and helps bind the cereal. I prefer salted butter if I am in a pinch, but unsalted gives you more control over the final taste. Make sure it is softened but not melted before you add it to the pan.
- Orange Food Coloring: Gel food coloring is best. Liquid coloring can throw off the moisture balance of the treats. You only need a few drops, but gel gives you that vibrant, spooky orange hue without making the mixture too wet.
- Green Food Coloring: A tiny amount for the stems. You can use gel here as well. Alternatively, you can skip this and use green candy melts or even green icing for the tops.
- Candy Corn: For the stems. This adds a classic Halloween touch and a bit of extra sweetness. If you have kids who are picky, you can substitute these with mini green marshmallows.
- Non-stick Spray: Essential for preventing the sticky mess. Spray your hands and your spatula. Trust me on this one; you do not want to fight the marshmallow.
If you want to get fancy, you can add a pinch of orange extract to boost the flavor, but honestly, the sugar and cereal speak for themselves. For a gluten-free option, ensure your Rice Krispies are certified gluten-free, as some batches may have cross-contamination. The ingredient list is short for a reason—simplicity is the secret to success here.
Equipment Needed
You do not need a fancy kitchen to make these treats. A large pot and a baking sheet are all you really need. I recommend using a 4-quart saucepan for melting the marshmallows. It has enough volume to prevent the mixture from boiling over when you add the cereal. If your pot is too small, you will end up with a sticky mess on the stovetop.
A large rubber spatula is your best friend here. Silicone spatulas are great because they are flexible and can scrape the sides of the pot to get every bit of melted marshmallow. Metal spoons can work, but they are harder to maneuver and might scratch your pot. I also suggest getting a 9×13 inch baking dish or a large rimmed baking sheet. For shaping the pumpkins, having a small bowl of warm water nearby helps keep your hands from sticking to the sticky mixture.
If you plan on making a large batch, consider buying a second set of hands or just being very patient with your spatula. I once tried to make these with a wooden spoon and ended up with a mess that took hours to clean. Avoid using non-stick spray directly on the hot pot, as it can leave a residue. Instead, spray your hands and the spatula. This equipment list is minimal, which is part of the appeal. You can find all of these items in your home or at a dollar store if you are on a tight budget.
Preparation Method
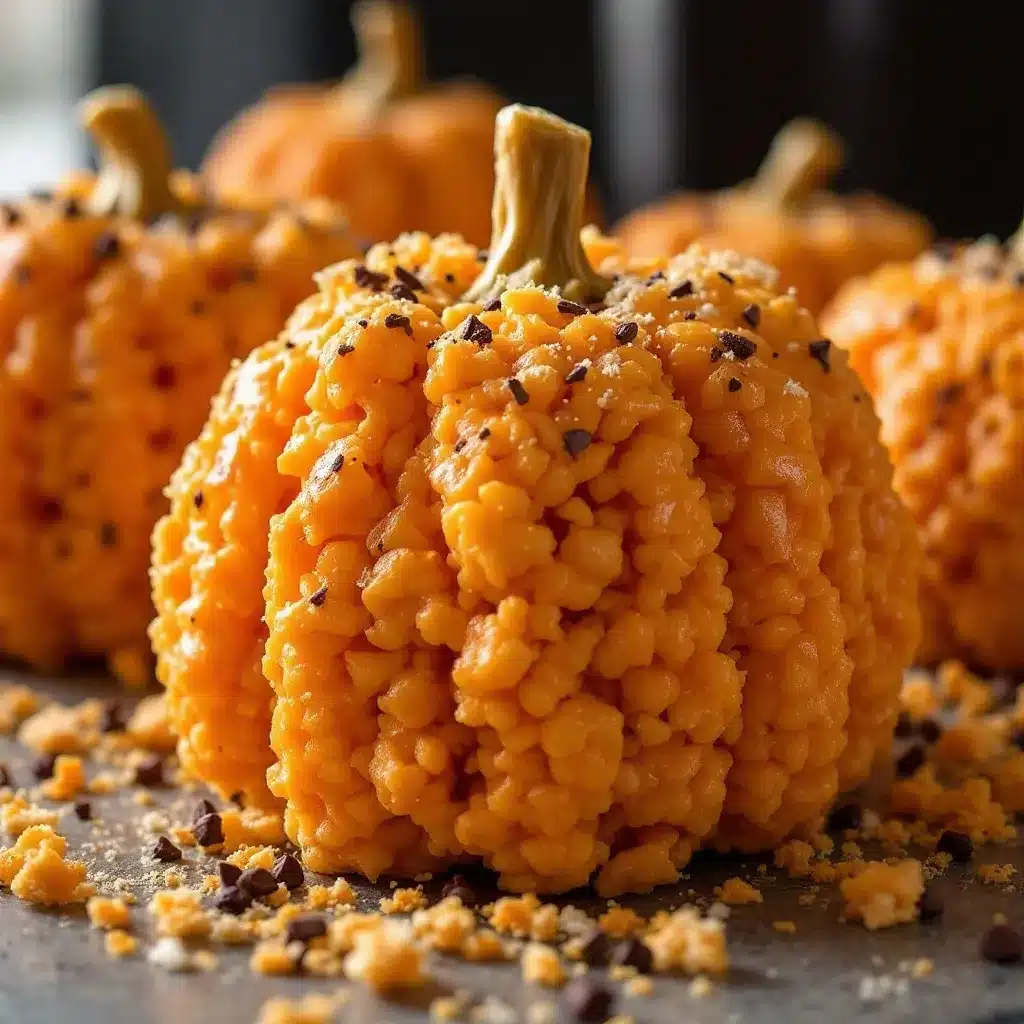
Start by lining a large baking sheet with parchment paper or lightly greasing it with non-stick spray. This is where you will shape your pumpkins, so make sure you have enough space. You want to be able to move them around without them touching each other too much, especially while they are still warm and pliable.
- Melt the Butter: Place your 4-quart saucepan over medium-low heat. Add the 3 tablespoons of butter. Let it melt slowly. Do not let it brown. You just want it liquid. This takes about 2-3 minutes. Stir it occasionally to prevent burning.
- Add the Marshmallows: Once the butter is melted, add the entire box of marshmallows. Stir constantly. This is the most critical step. If you walk away, they will burn. Keep stirring until they are completely melted and smooth. This should take about 5 minutes. If you see little white bits of unmelted marshmallow, keep stirring. The mixture should look like a glossy, white lava.
- Add the Color: Remove the pot from the heat. Add your gel food coloring. Start with a small amount, maybe 3-4 drops of orange. Stir it in. If you want a deeper orange, add more. Remember, the color will darken slightly as it cools. You want it to look bright orange in the pot. Add the green coloring to a separate tiny bowl if you are making green stems, but usually, we just use candy corn for the stems.
- Incorporate the Cereal: Immediately add the 6 cups of Rice Krispies cereal to the marshmallow mixture. Fold the cereal in gently. Do not stir vigorously, or you will crush the cereal. You want to coat every piece evenly. This should take about 2 minutes. The mixture will be thick and sticky.
- Shape the Pumpkins: Grease your hands with a little bit of non-stick spray or butter. Take a handful of the mixture, about the size of a large lemon. Roll it into a ball. Then, gently press the bottom to flatten it slightly. Pinch the top to create a little point for the stem. Place it on the prepared baking sheet. Repeat with the remaining mixture. You should get about 12-15 pumpkins depending on how big you make them.
- Add the Stems: While the pumpkins are still slightly warm and soft, press a piece of candy corn into the top of each pumpkin. This will help it adhere. If the pumpkins are cold, the candy corn might not stick. You can use a tiny dot of icing if needed, but usually, the residual heat is enough.
- Cool and Set: Let the pumpkins cool at room temperature for at least 30 minutes. You can put them in the fridge to speed this up, but be careful not to let them get too hard. They should be firm to the touch but still slightly chewy. This step is crucial for them to hold their shape.
How do I keep the treats from sticking to my hands?
The best way is to keep a small bowl of warm water and a towel nearby. Dip your fingers in the water and shake off the excess before grabbing the mixture. The water creates a barrier. Alternatively, lightly grease your hands with butter or cooking spray. I find that the water method works best because it doesn’t add extra fat to the sticky mix.
Cooking Tips & Techniques
The biggest mistake people make with Rice Krispie Treats is using too much heat. I learned this the hard way when I burned my first batch. Always use medium-low heat. Marshmallows burn easily because of their high sugar content. If you see the mixture turning brown or smelling like caramel, you have gone too far. You want a smooth, white melt.
Another tip is to work quickly once you add the cereal. The marshmallow mixture starts to harden as it cools. If you wait too long to mix in the cereal, you will end up with lumps of marshmallow that are hard to break apart. Have your cereal measured and ready before you even start melting the marshmallows. This is called “mise en place,” and it saves a lot of stress.
I also recommend using gel food coloring instead of liquid. Liquid coloring adds extra water to the mixture, which can make the treats soggy or prevent them from setting properly. Gel coloring is concentrated, so you use less, keeping the texture crisp. If you don’t have gel, you can use a tiny amount of liquid, but be prepared for a slightly chewier result.
Timing is everything. If you leave the pumpkins out in a hot kitchen, they might soften and lose their shape. If you put them in the freezer, they might become rock hard. Room temperature is the sweet spot. I usually let them set for about 30 minutes on the counter. This allows them to firm up just enough to handle without breaking.
For consistency, try to make the pumpkins the same size. This ensures they cool at the same rate and look uniform on the plate. I use a kitchen scale to weigh each portion if I want them to be perfectly identical, but eyeballing it works fine for casual gatherings. The key is to be gentle when shaping them. You want to compact them enough to hold their shape, but not so much that they become dense and hard to chew.
Variations & Adaptations
While the classic orange pumpkin is the most popular, there are many ways to twist this recipe. You can change the colors to match different themes. For a spooky Halloween party, try purple and green pumpkins. For Thanksgiving, you can make them brown or yellow. Just add different food coloring to the marshmallow mixture. The technique remains the same, so you can experiment with colors without worrying about the recipe failing.
For a healthier twist, you can use low-calorie marshmallows. However, be aware that they do not melt as smoothly as regular marshmallows. You might need to add a splash of milk to help them come together. The texture will be slightly different, but it is a good option for those watching their sugar intake. I also like to add a pinch of cinnamon to the marshmallow mixture for a fall flavor profile. It adds a warm, spicy note that complements the sweetness.
If you want to make them more festive, you can dip the bottoms in orange chocolate chips. Melt some orange candy melts and dip the bottom half of each pumpkin. This adds a nice crunch and makes them look even more like real pumpkins. You can also add sprinkles or edible glitter for a bit of sparkle. These variations are great for keeping the recipe interesting, especially if you make them regularly.
For a gluten-free version, simply swap the Rice Krispies for a certified gluten-free puffed rice cereal. The rest of the ingredients are naturally gluten-free, so this is an easy swap. I have made this with store-brand gluten-free cereal, and it works just as well as the name brand. Just make sure to check the label for cross-contamination warnings if you have celiac disease.
Serving & Storage Suggestions
These treats are best served at room temperature. They are too cold and hard if eaten straight from the fridge, and too warm and sticky if left in the sun. I recommend arranging them on a platter with some fake spiderwebs or mini pumpkins for decoration. They look great alongside other fall treats like easy pumpkin cookies with cream cheese icing or pumpkin cheesecake bars. The visual contrast between the orange treats and the green stems is very appealing.
For storage, keep the pumpkins in an airtight container at room temperature. They will stay fresh for up to 5 days. If you live in a humid climate, you might want to add a paper towel to the container to absorb excess moisture. This helps keep them crisp. Do not refrigerate them unless necessary, as the cold can make the marshmallow hard and the cereal soggy.
If you need to make them ahead of time, you can prepare the mixture and shape the pumpkins, then store them in the fridge. Let them come to room temperature before serving. This can save you time on the day of the party. I usually make them the night before, which allows them to set completely and makes them easier to handle. The flavors meld together nicely overnight, making them even more delicious.
For travel, place them in a single layer in a container. Do not stack them, or they will stick together. If you must stack them, place parchment paper between the layers. This ensures they arrive at their destination looking as good as they did when you made them. They are great for carpooling to school parties or bringing to office Halloween celebrations.
Nutritional Information & Benefits
While these treats are definitely a dessert, they are made with simple ingredients that are easy to understand. Each pumpkin contains about 150-200 calories, depending on the size. The main source of calories is the sugar in the marshmallows and the carbohydrates in the cereal. They are not a health food, but they are a fun treat for special occasions.
The rice cereal provides some carbohydrates for energy, which is why kids love them for afternoon snacks. However, they are low in fiber and protein. To balance this out, I often serve them with a glass of milk or a piece of fruit. This adds some nutritional value and helps balance the sugar rush. It is important to enjoy these in moderation.
For those with allergies, the main concern is marshmallows, which may contain gelatin (not vegan) or be processed in facilities with nuts. Always check the labels if you have severe allergies. The recipe is naturally dairy-free if you use a dairy-free butter substitute, which is a good option for those with lactose intolerance. I find that many people overlook how simple the ingredient list is, which makes it easier to manage dietary restrictions.
Conclusion
Making crispy Halloween Rice Krispie Treat pumpkins is a fun and rewarding activity. It requires very little effort but yields impressive results. I hope you try this recipe and enjoy the process of creating these festive treats. Feel free to customize them with different colors or toppings to match your party theme. They are versatile and forgiving, so don’t be afraid to experiment.
I love this recipe because it brings back memories of my own childhood Halloween parties. It is a simple pleasure that connects generations. If you make these, I would love to hear how they turned out. Please leave a comment below with your thoughts or share a photo of your creations. Tag me on social media if you post them online. I love seeing how others interpret this recipe.
Thank you for reading. I hope these pumpkins become a new tradition in your home. Happy Halloween!
FAQs
Can I use homemade marshmallows?
Yes, but they are stickier and harder to melt evenly. You may need to add a bit more butter to help them come together. The texture will be slightly chewier than with store-bought marshmallows.
Why did my pumpkins fall apart?
This usually happens if the marshmallows are not fully melted or if you wait too long to add the cereal. Make sure the mixture is smooth and glossy before adding the cereal, and work quickly to combine everything.
Can I freeze these treats?
Yes, you can freeze them for up to 2 months. Thaw them at room temperature before serving. They may lose a bit of their crispness after freezing, but they will still taste good.
How do I make the stems stick better?
Press the candy corn into the pumpkin while it is still warm. If it doesn’t stick, you can use a tiny dot of icing or melted chocolate to secure it. This ensures the stem stays in place during handling.
Can I use mini marshmallows?
Yes, but you will need to use about 4-5 bags (10 oz total) to get the same volume. Mini marshmallows melt faster, so keep a close eye on them to prevent burning. The texture will be slightly different, but still delicious.
Pin This Recipe!
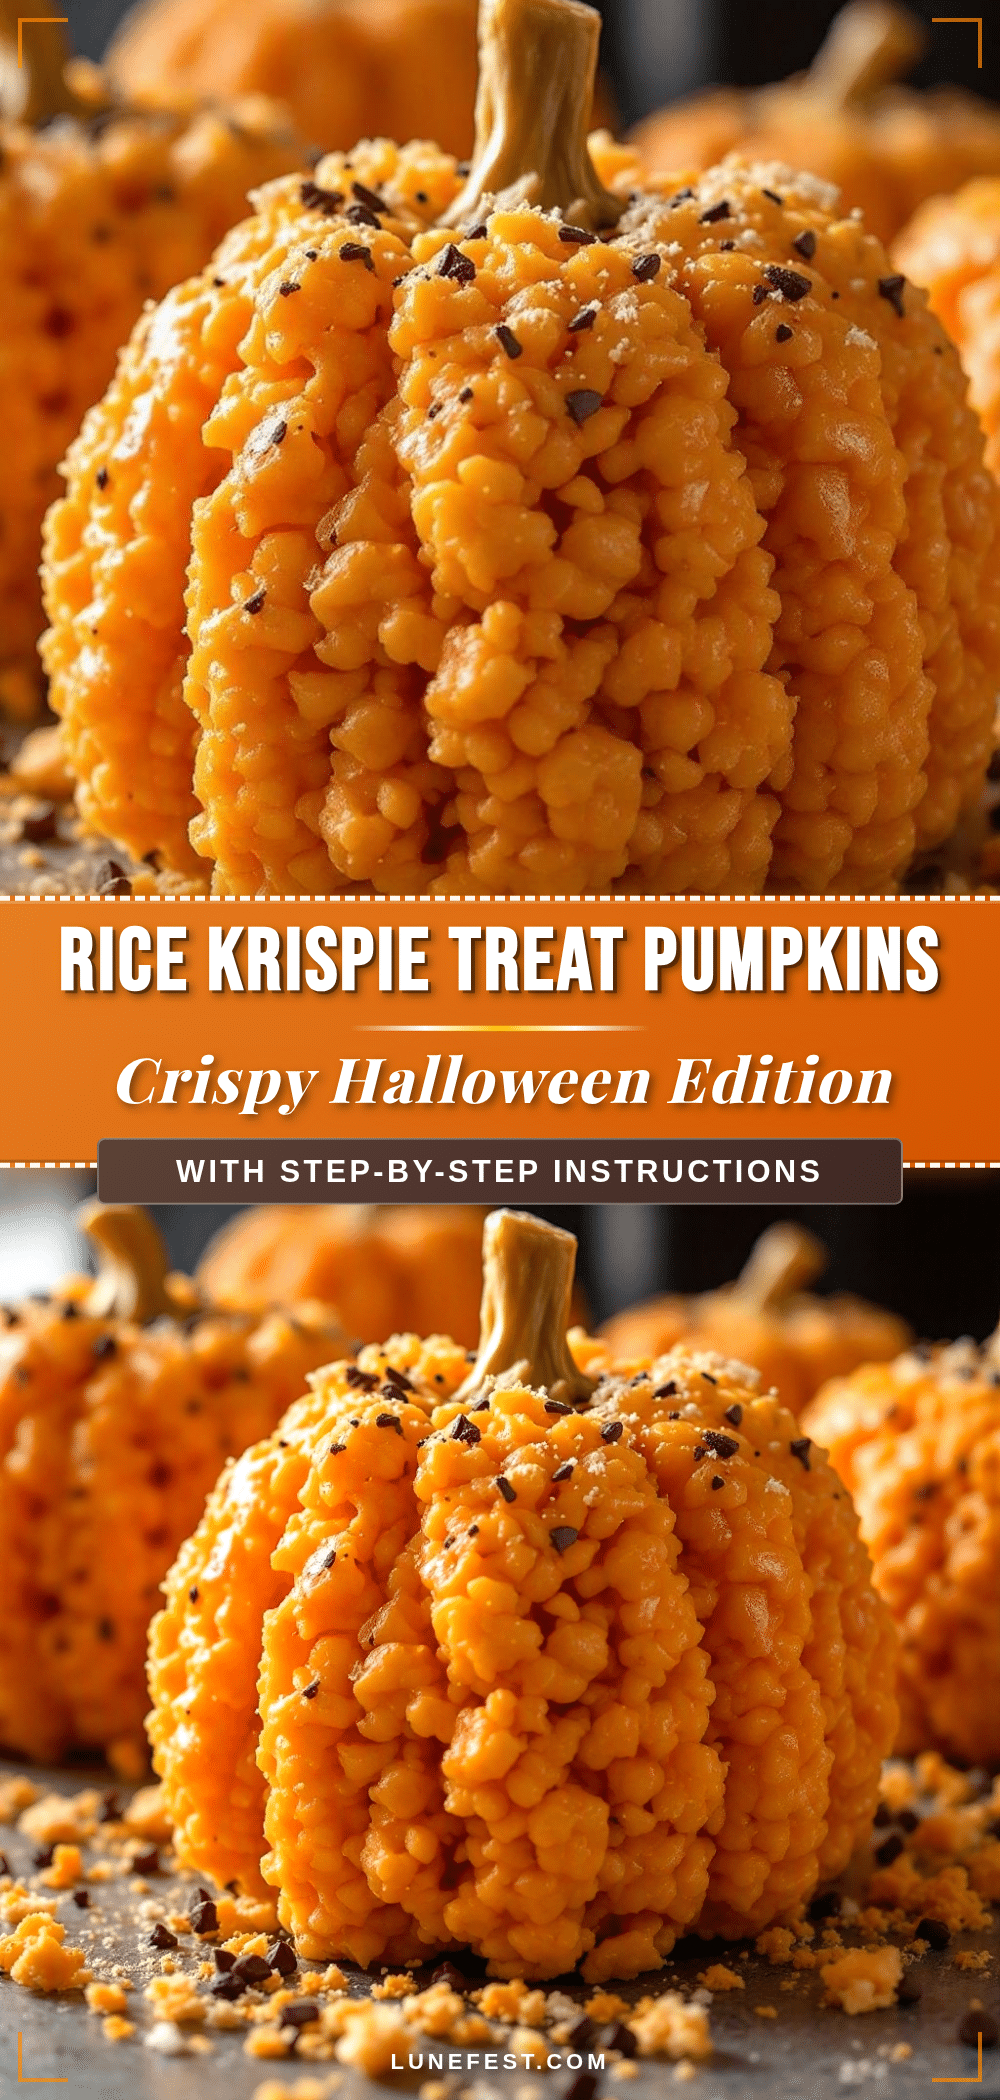
Crispy Halloween Rice Krispie Treat Pumpkins
These no-bake Halloween Rice Krispie Treat pumpkins are a fun, sturdy, and delicious alternative to traditional squares. With precise cooling techniques and candy corn stems, they hold their shape perfectly for parties and gatherings.
- Prep Time: 10 minutes
- Cook Time: 10 minutes
- Total Time: 40 minutes
- Yield: 12-15 servings 1x
- Category: Dessert
- Cuisine: American
Ingredients
- 6 cups (150g) Rice Krispies Cereal
- 10 oz (1 box) large marshmallows (approx. 40 marshmallows)
- 3 tablespoons (42g) unsalted butter
- Gel orange food coloring
- Gel green food coloring (optional, for stems)
- Candy corn (for stems)
- Non-stick cooking spray
Instructions
- Line a large baking sheet with parchment paper or lightly grease with non-stick spray.
- Melt the butter in a 4-quart saucepan over medium-low heat until liquid but not browned (2-3 minutes).
- Add the marshmallows to the melted butter and stir constantly until completely melted and smooth (about 5 minutes).
- Remove the pot from heat and stir in gel orange food coloring until the desired vibrant orange hue is reached.
- Immediately add the Rice Krispies cereal to the marshmallow mixture and fold gently until evenly coated (about 2 minutes).
- Grease hands with non-stick spray or butter. Take a handful of mixture (size of a large lemon) and roll into a ball.
- Press the bottom of the ball slightly to flatten and pinch the top to create a point for the stem.
- Place the shaped pumpkin on the prepared baking sheet and repeat with remaining mixture to make 12-15 pumpkins.
- While pumpkins are still warm, press a piece of candy corn into the top of each to serve as a stem.
- Let the pumpkins cool at room temperature for at least 30 minutes until firm but still chewy.
Notes
Use gel food coloring instead of liquid to prevent the treats from becoming soggy. Ensure marshmallows are fully melted before adding cereal to avoid lumps. Work quickly once cereal is added as the mixture hardens as it cools. For gluten-free options, use certified gluten-free puffed rice cereal.
Nutrition
- Serving Size: 1 pumpkin
- Calories: 175
- Sugar: 22
- Sodium: 120
- Fat: 6
- Saturated Fat: 3
- Carbohydrates: 28
- Protein: 2
Keywords: Halloween, Rice Krispie Treats, No-Bake, Pumpkin, Kids Party, Fall Dessert, Candy Corn


