I assumed that baking oats in a muffin tin would result in dry, crumbly bricks that fell apart before they hit the plate. It took about twenty minutes in the oven for that assumption to shatter into sweet, sticky reality. Honestly, I was worried the maple syrup would just run off the sides, leaving me with a mess and a sad, bland oat base. Instead, what came out of the oven were these sturdy, fragrant little cups that held their shape perfectly. You know how sometimes you try a new technique and it just works? This was one of those moments.
The kitchen smelled like a fall vacation, with cinnamon and roasted pumpkin filling every corner. I lifted one out with a fork, expecting it to be soft and messy, but it had this lovely, tender chew that reminded me of a dense cake. It wasn’t just good for oatmeal; it was genuinely delightful. I ate one while it was still warm, and then another, and then I had to stop myself from eating the whole batch before they cooled.
There is something really grounding about having breakfast pre-portioned and ready to go. You can grab one, toss it in the microwave for thirty seconds, and head out the door. No stirring pots, no dirty bowls, just pure comfort in a handheld format. I’ve made these for my morning routine for weeks now, and they never get old. The texture is consistent, the flavor is balanced, and they actually taste like a treat rather than a health food.
I originally planned to make a giant pan of baked oatmeal, but the cleanup felt like too much work for a weekday. These cups are the perfect compromise between convenience and quality. They freeze well, they reheat evenly, and they bring that cozy autumn vibe to even the grayest mornings. It’s a small shift in preparation that makes a big difference in how you start your day.
Why You’ll Love This Recipe
Let’s be real, not all baked oatmeal is created equal. Some versions are too dense, others too soggy, and many just taste like cardboard with spices added. This recipe is different because it balances moisture and structure perfectly. I spent weeks testing ratios of pumpkin puree to liquid to find that sweet spot where the oats are tender but not mushy. The result is a cup that holds its shape but melts in your mouth.
Here is why these maple pumpkin baked oatmeal cups have become a staple in my kitchen:
* **Quick & Easy**: While they bake, you can get ready for work or tackle a few chores. They come together in under ten minutes of prep time, which is perfect for busy weeknights or lazy Sunday mornings.
* **Simple Ingredients**: You likely have everything you need right now. Rolled oats, pumpkin puree, maple syrup, and basic spices. No fancy grocery trips needed.
* **Perfect for Meal Prep**: These are the ultimate grab-and-go breakfast. Make a batch on Sunday, and you have breakfast sorted for the entire week. They are great for potlucks or cozy dinners when you need a sweet side.
* **Crowd-Pleaser**: Even people who usually skip breakfast will ask for seconds. The maple flavor is rich without being overly sweet, and the pumpkin adds a depth that kids and adults alike love.
* **Unbelievably Delicious**: The texture is next-level comfort food. It’s like eating a pumpkin pie filling but with the satisfying chew of oatmeal.
What makes this recipe stand out is the use of pure pumpkin puree instead of canned pie filling. It gives you control over the sweetness and ensures you get that authentic pumpkin flavor without artificial additives. I also added a pinch of nutmeg and allspice, which really wakes up the pumpkin. It’s not just good—it’s the kind of breakfast that makes you close your eyes after the first bite. It’s comfort food reimagined, healthier, faster, but with the same soul-soothing satisfaction. If you love other pumpkin recipes, you might also enjoy checking out my ultimate pumpkin cinnamon rolls for a weekend treat.
What Ingredients You Will Need
This recipe uses simple, wholesome ingredients to deliver bold flavor and satisfying texture without the fuss. The beauty of baked oatmeal lies in its flexibility, but getting the base ingredients right is crucial for the best results. You don’t need fancy superfoods or hard-to-find items. Most of these are pantry staples or easy finds in the produce section.
Here is what you will need to make these cozy cups:
* **Old-Fashioned Rolled Oats**: Do not use instant oats or steel-cut oats. Old-fashioned oats hold their structure best during baking. I prefer brands like Bob’s Red Mill for their consistent texture.
* **Pumpkin Puree**: Make sure you get 100% pure pumpkin, not pumpkin pie mix. This provides moisture and flavor. Look for firm, small-curd puree for best texture.
* **Maple Syrup**: Use real maple syrup, not pancake syrup. It adds a distinct, rich flavor that sugar just can’t match. Grade A Dark Amber is my favorite for its bold taste.
* **Milk**: Any milk works here. Dairy, almond, oat, or soy. I usually use oat milk because it adds a creamy richness that pairs well with pumpkin.
* **Egg**: One large egg acts as the binder. It holds everything together so the cups don’t fall apart. Room temperature eggs mix more evenly.
* **Coconut Oil**: Melted coconut oil adds moisture and a subtle tropical note. You can substitute this with melted butter or a neutral oil like canola if you prefer.
* **Cinnamon**: Ground cinnamon is essential for that warm, fall aroma. Freshly ground is best, but pre-ground works fine.
* **Nutmeg**: A small pinch adds depth. Don’t overdo it, or it will taste medicinal.
* **Allspice**: This is the secret weapon. It ties the pumpkin and maple flavors together beautifully.
* **Baking Powder**: Just a teaspoon to help the oats rise slightly and become fluffy.
* **Salt**: A pinch to balance the sweetness.
* **Chopped Pecans (Optional)**: For added crunch and texture. Toasted pecans are even better.
If you are looking for substitutions, you can use almond flour for a gluten-free option, though you may need to adjust the liquid slightly. Swap Greek yogurt with dairy-free coconut yogurt if needed, but note that this will change the texture to be softer. For seasonal variations, in summer, you could swap the pumpkin for mashed sweet potato or even roasted butternut squash.
Equipment Needed
You don’t need a lot of fancy gadgets to make these. A standard 12-cup muffin tin is all you really need. I use a non-stick muffin tin, which makes removal much easier. If your tin is older or not very non-stick, you might want to use paper liners or spray it lightly with oil to prevent sticking.
A mixing bowl is necessary for combining the wet and dry ingredients. I prefer a large bowl with a pouring spout, as it makes transferring the batter into the muffin cups less messy. A whisk is helpful for blending the egg and milk thoroughly before adding the oats.
For baking, a standard oven is fine. If you are making a large batch, you might need two pans, but most recipes fit in one. I recommend using a cooling rack to let the cups cool completely. This helps them set properly so they don’t crumble when you handle them.
If you don’t have a muffin tin, you can bake this in a small baking dish, but the texture will be different. It will be more like a cake. For the best results, stick to the muffin tin. I also keep a silicone spatula handy for scraping the bowl clean, ensuring you get every bit of batter.
Preparation Method
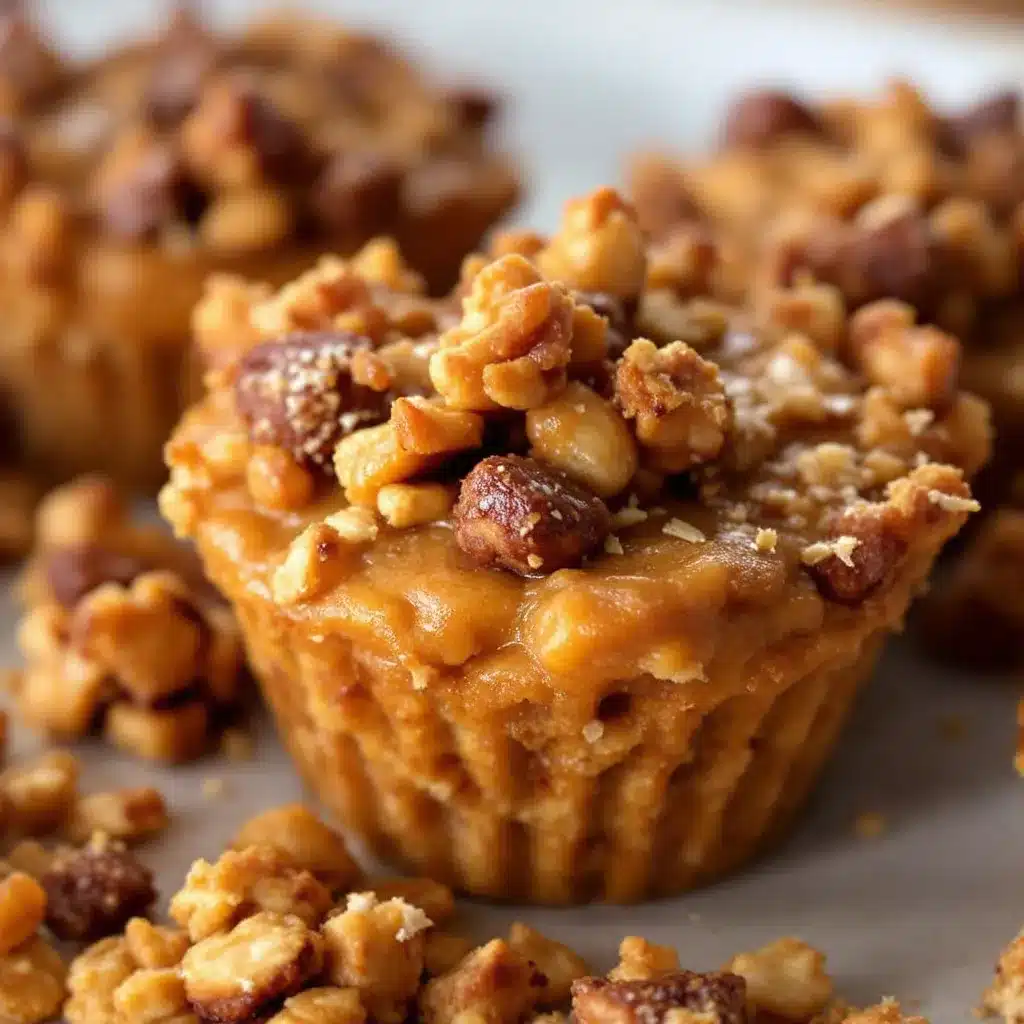
Making these maple pumpkin baked oatmeal cups is straightforward. Here is how to do it step-by-step for the best results.
1. **Preheat the Oven**: Start by preheating your oven to 350°F (175°C). This ensures the oven is ready when your batter is mixed. Take about 5 minutes for this step.
2. **Prepare the Pan**: Lightly grease your muffin tin with cooking spray or a little melted coconut oil. If you want easy removal, line the cups with paper liners. This takes about 2 minutes.
3. **Mix Wet Ingredients**: In a large bowl, whisk together the egg, maple syrup, milk, and melted coconut oil. Whisk until the mixture is smooth and well combined. You want no streaks of oil or syrup left. This takes about 1 minute.
4. **Add Pumpkin**: Stir in the pumpkin puree. Mix until it is fully incorporated into the wet ingredients. The mixture should look uniform and orange.
5. **Combine Dry Ingredients**: Add the rolled oats, baking powder, cinnamon, nutmeg, allspice, and salt to the wet mixture. Stir gently but thoroughly. Make sure all the oats are coated. This takes about 2 minutes.
6. **Rest the Oats**: Let the mixture sit for 5 minutes. This allows the oats to absorb some of the liquid, which helps them soften during baking. This is a crucial step for texture.
7. **Fill the Cups**: Divide the batter evenly among the 12 muffin cups. Fill each cup about 3/4 full. Do not overfill, or they will spill over. Use a spoon or a small ice cream scoop for even portions. This takes about 3 minutes.
8. **Bake**: Place the pan in the preheated oven. Bake for 20-25 minutes. The edges should be golden brown, and a toothpick inserted into the center should come out clean or with a few moist crumbs.
9. **Cool**: Remove the pan from the oven and let it cool in the pan for 5 minutes. Then, transfer the cups to a wire rack to cool completely. This takes about 10 minutes.
If the tops start browning too quickly, you can cover them loosely with foil. If the toothpick comes out wet, give them 2-3 more minutes. Do not overbake, or they will become dry.
Cooking Tips & Techniques
Getting the texture right is all about the ratio of liquid to oats. If you use instant oats, they will absorb too much liquid and turn into mush. Always stick to old-fashioned rolled oats for that chewy, cake-like texture.
Another common mistake is overmixing the batter. Once you add the oats, mix just until combined. Overmixing can develop gluten in the oats, making them tough. Gentle folding is key.
I once tried making these with steel-cut oats, and they remained hard even after 30 minutes of baking. Lesson learned: stick to the recipe. If you want a crunchier top, sprinkle a few extra oats or chopped nuts on before baking.
Timing is also important. Letting the batter rest for 5 minutes is not optional. It allows the oats to hydrate, which ensures they cook evenly. If you skip this step, you might end up with hard bits of dry oat in the center.
For consistent results, use a kitchen scale to measure your oats. Volume measurements can vary, but weight is precise. This helps ensure every batch tastes the same.
If you are baking in a different type of pan, adjust the time accordingly. A larger pan will require less time, while a smaller pan might need more. Keep an eye on them.
Variations & Adaptations
One of the best things about this recipe is how easy it is to customize. You can adapt it to fit your dietary needs or taste preferences.
* **Gluten-Free**: Use certified gluten-free rolled oats. Ensure all other ingredients are also gluten-free. The texture will be slightly softer but still delicious.
* **Vegan**: Replace the egg with a flax egg (1 tablespoon ground flaxseed mixed with 3 tablespoons water). Use plant-based milk and maple syrup. The cups will be slightly denser but still tasty.
* **Nut-Free**: Skip the pecans or substitute with seeds like sunflower or pumpkin seeds. This is great for school lunches.
* **Dairy-Free**: Use almond milk, oat milk, or coconut milk instead of dairy milk. Use coconut oil or vegan butter instead of regular butter.
* **Low-Sugar**: Reduce the maple syrup to 1/4 cup and add a sugar-free sweetener if needed. The natural sweetness from the pumpkin and spices will still shine.
I also like to add a swirl of cream cheese on top before baking for a cheesecake-like flavor. Just dollop a teaspoon of cream cheese on each cup and swirl it in with a knife. It adds a nice tangy contrast to the sweet maple.
For a spicier kick, add a pinch of cayenne pepper. It sounds strange, but it enhances the pumpkin flavor beautifully. You can also add chocolate chips for a dessert-like treat.
Serving & Storage Suggestions
These cups are best served warm. You can eat them cold straight from the fridge, but microwaving them for 30-60 seconds brings out the best flavor and texture. The maple syrup becomes gooey, and the oats soften up nicely.
For presentation, dust them with a little powdered sugar or cinnamon before serving. They look pretty on a plate, especially if you serve them with a side of fresh fruit or yogurt.
For storage, let the cups cool completely before placing them in an airtight container. They can be stored in the refrigerator for up to 5 days. For longer storage, freeze them for up to 3 months. Place parchment paper between layers to prevent sticking.
To reheat from frozen, microwave them for 1-2 minutes or thaw them in the fridge overnight before reheating. The flavors actually develop over time, so they often taste better on day 2 or 3 as the spices meld together.
I usually keep a batch in the fridge for quick weekday breakfasts. They are reliable and always satisfy my morning cravings. If you want to pair this with a savory dish, these go well with cozy fall harvest grain bowl elements for a balanced meal.
Nutritional Information & Benefits
These baked oatmeal cups are a nutritious breakfast option. They provide complex carbohydrates from the oats, which offer sustained energy throughout the morning. The pumpkin adds fiber and vitamins, particularly vitamin A, which is good for eye health.
Each cup contains approximately 150-180 calories, depending on the size and toppings. They are relatively low in fat if you use minimal oil, and they provide a good amount of protein from the egg and oats.
For dietary considerations, this recipe can be made gluten-free, vegan, and dairy-free. It is naturally nut-free if you omit the pecans. However, if you use cross-contaminated oats, it may not be safe for those with celiac disease.
From a wellness perspective, I love that this breakfast keeps me full for hours. The fiber from the oats and pumpkin helps regulate digestion. It’s a wholesome start to the day that doesn’t leave you feeling sluggish.
Conclusion
These cozy maple pumpkin baked oatmeal cups are a game-changer for breakfast. They are easy to make, delicious to eat, and perfect for meal prep. I hope you try this recipe and find it as useful and tasty as I do.
Feel free to customize the recipe to suit your tastes. Add extra spices, swap the milk, or top it with your favorite fruit. The possibilities are endless.
I love this recipe because it brings a bit of fall into my kitchen every day. It’s simple, comforting, and always a hit. Please let me know how you like it in the comments below. Share your variations and tips with other readers.
Enjoy your baking, and happy eating!
Frequently Asked Questions
Can I use steel-cut oats for this recipe?
No, steel-cut oats do not work well for baked oatmeal cups. They remain hard and chewy even after baking. Old-fashioned rolled oats are the best choice for the right texture.
How do I store the baked oatmeal cups?
Store them in an airtight container in the refrigerator for up to 5 days. For longer storage, freeze them in a freezer-safe bag for up to 3 months.
Can I make these gluten-free?
Yes, simply use certified gluten-free rolled oats. Ensure all other ingredients are also gluten-free to keep the recipe safe for those with celiac disease.
What can I use instead of maple syrup?
You can use honey, agave nectar, or brown sugar. Honey will add a floral note, while brown sugar will make the cups denser. Adjust the amount to your taste.
Can I bake these in a standard baking pan?
Yes, you can bake the batter in a small square baking pan. The baking time will be similar, but the texture will be more cake-like. Cut into squares to serve.
Pin This Recipe!
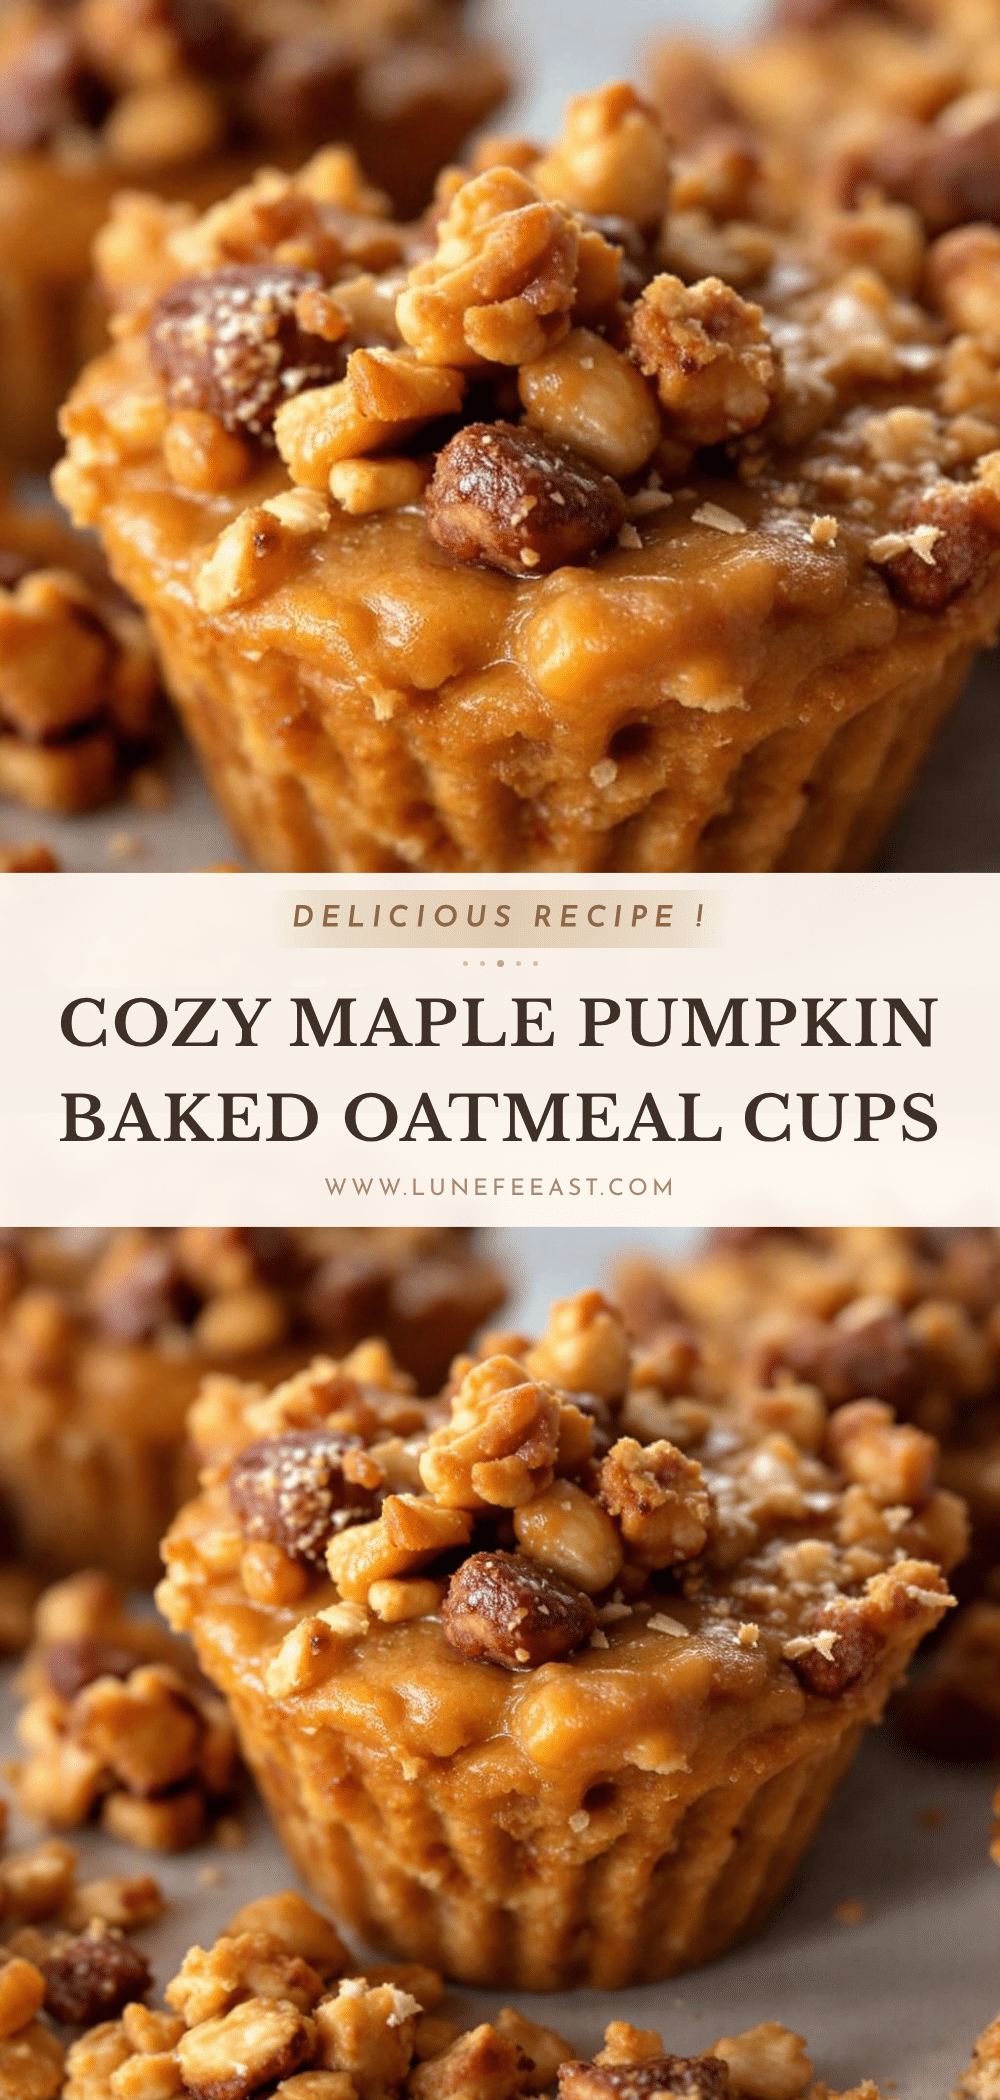
Cozy Maple Pumpkin Baked Oatmeal Cups
These sturdy, fragrant baked oatmeal cups offer a perfect balance of moisture and structure, combining the flavors of pumpkin pie with the satisfying chew of oatmeal. They are ideal for meal prep, freezing well and reheating easily for a grab-and-go breakfast.
- Prep Time: 10 minutes
- Cook Time: 25 minutes
- Total Time: 35 minutes
- Yield: 12 servings 1x
- Category: Breakfast
- Cuisine: American
Ingredients
- 1 1/2 cups Old-Fashioned Rolled Oats
- 1 cup Pumpkin Puree (100% pure, not pie mix)
- 1/3 cup Maple Syrup (Grade A Dark Amber)
- 1/2 cup Milk (dairy, almond, oat, or soy)
- 1 large Egg
- 2 tablespoons Coconut Oil (melted)
- 1 teaspoon Ground Cinnamon
- 1/4 teaspoon Nutmeg
- 1/4 teaspoon Allspice
- 1 teaspoon Baking Powder
- 1/4 teaspoon Salt
- 1/4 cup Chopped Pecans (optional, toasted)
Instructions
- Preheat oven to 350°F (175°C).
- Lightly grease a 12-cup muffin tin with cooking spray or melted coconut oil, or line with paper liners.
- In a large bowl, whisk together the egg, maple syrup, milk, and melted coconut oil until smooth.
- Stir in the pumpkin puree until fully incorporated and the mixture is uniform.
- Add the rolled oats, baking powder, cinnamon, nutmeg, allspice, and salt. Stir gently but thoroughly to coat the oats.
- Let the mixture rest for 5 minutes to allow the oats to absorb liquid.
- Divide the batter evenly among the 12 muffin cups, filling each about 3/4 full.
- Bake for 20-25 minutes, or until edges are golden brown and a toothpick inserted into the center comes out clean.
- Cool in the pan for 5 minutes, then transfer to a wire rack to cool completely.
Notes
Do not use instant or steel-cut oats as they will alter the texture. Letting the batter rest for 5 minutes is crucial for proper hydration of the oats. If using a different pan size, adjust baking time accordingly. These freeze well for up to 3 months.
Nutrition
- Serving Size: 1 cup
- Calories: 165
- Sugar: 12
- Sodium: 120
- Fat: 6
- Saturated Fat: 3
- Carbohydrates: 26
- Fiber: 3
- Protein: 4
Keywords: pumpkin oatmeal, baked oatmeal cups, maple pumpkin, breakfast meal prep, gluten-free breakfast, vegan breakfast, fall recipes, healthy oatmeal


