That sticky-sweet, almost waxy scent of candy corn — the kind that hits you before you even tear open the bag — still takes me straight to my grandmother’s kitchen table in 2003. I was twelve, sitting on a wobbly stool, watching her dump an entire bag of candy corn into a mixing bowl like it was the most normal thing in the world. She caught me staring and just winked. “Trust me, kid.” I did, mostly because she’d never steered me wrong with her seven-layer dip or her legendary chili. But candy corn in a cookie bar? That felt like a culinary betrayal.
She pulled the pan out of the oven thirty minutes later, and the whole house smelled like butter and vanilla with this faint, sugary warmth I couldn’t place. The bars came out golden, soft, and speckled with those little orange and yellow triangles that had somehow melted into the dough just enough to leave behind pockets of chewy sweetness. I took a bite — still warm, slightly crumbly around the edges — and I got it. She wasn’t trying to be fancy. She was just making something fun, something that tasted like October in a single square.
These Best Candy Corn Sugar Cookie Bars are my version of that memory. They’re not complicated, and they don’t pretend to be. They’re soft, buttery sugar cookie bars studded with candy corn, baked until the edges are just barely golden and the center stays tender. The candy corn softens as it bakes, turning into little jammy bits of sweetness that catch you off guard. Honestly, I’ve made these for Halloween parties, fall potlucks, and random Tuesday nights when I needed a little color in my life. They always disappear. Every time.
So if you’ve got a bag of candy corn sitting around and you’re wondering what to do with it besides picking out the white tips (just me?), this is your answer. These bars are easy, forgiving, and exactly the kind of dessert that makes people smile before they even take a bite. Let’s get to it.
Why You’ll Love This Recipe
I’ve tested this recipe about six times to get the texture just right. The first batch came out too dry. The second was too flat. The third? The candy corn melted into unrecognizable blobs. But by batch number four, I hit the sweet spot — literally. Here’s why these bars earn a permanent spot in your fall baking rotation.
- Quick & Easy: You don’t need a mixer, a rolling pin, or any fancy techniques. Just one bowl, a spatula, and about 10 minutes of hands-on prep. From start to finish, you’re looking at under an hour.
- Simple Ingredients: Butter, sugar, flour, eggs, vanilla, and a bag of candy corn. That’s it. No obscure extracts, no specialty flours, no hunting down hard-to-find items at three different stores.
- Perfect for Fall Gatherings: These bars scream Halloween and Thanksgiving without being overly themed. They work for classroom parties, office potlucks, or just a cozy night in with a mug of hot cider. Pair them with our pumpkin cream cold foam coffee for the ultimate fall treat.
- Crowd-Pleaser: I brought these to a football watch party last month, and even the guy who swore he “hated candy corn” ate three bars. The candy corn skeptics are always the ones who go back for seconds.
- Unbelievably Delicious: The texture is what gets you. The edges are slightly crisp, the center is soft and tender, and the candy corn creates these little pockets of chewy, caramel-like sweetness that melt in your mouth. It’s comfort food with a nostalgic twist.
What makes this version different from every other candy corn cookie bar out there? I use melted butter instead of creamed butter, which gives you a denser, chewier bar without any extra effort. I also add a touch of almond extract — just a quarter teaspoon — that somehow makes the candy corn flavor pop without tasting artificial. It’s a small tweak, but it makes a big difference.
These bars aren’t just good. They’re the kind of dessert that makes you close your eyes after the first bite. They’re fall on a plate, simple and honest, and they’ll make you feel like a kid again — even if you’re the one doing the baking now.
What Ingredients You Will Need
This recipe uses simple, pantry-friendly ingredients that come together to create a soft, buttery cookie bar with just the right amount of chew. No complicated shopping list here — you probably already have most of these in your kitchen.
- Unsalted butter (1 cup, melted and slightly cooled) — Butter is the backbone of these bars. Melting it instead of creaming it gives you that dense, fudgy texture that makes cookie bars so satisfying. I use unsalted so I can control the salt level.
- Granulated sugar (1 ½ cups) — White sugar keeps the bars tender and helps them spread just enough in the pan. Don’t substitute brown sugar here — it changes the texture and makes them too dense.
- Large eggs (2, room temperature) — Room temperature eggs mix into melted butter more smoothly, creating a uniform batter. Cold eggs can seize the butter and leave you with lumpy dough.
- Vanilla extract (2 teaspoons) — Pure vanilla adds warmth and depth. Imitation works in a pinch, but pure really shines here since the flavor is simple.
- Almond extract (¼ teaspoon) — This is my secret weapon. It doesn’t make the bars taste like almonds. It just amplifies the candy corn’s natural sweetness in a way that feels almost magical. Trust me on this one.
- All-purpose flour (2 ¼ cups, spooned and leveled) — Standard AP flour gives the bars structure without making them tough. Spoon it into your measuring cup and level it off with a knife — scooping directly from the bag packs in too much flour and leads to dry bars.
- Baking powder (1 teaspoon) — This helps the bars rise just a little, giving them that soft, cakey interior. Don’t confuse it with baking soda — they’re not interchangeable here.
- Salt (½ teaspoon) — Salt balances the sweetness and brings all the flavors into focus. I use fine sea salt for even distribution.
- Candy corn (1 ½ cups, plus extra for topping) — The star of the show. Regular candy corn works perfectly. Avoid the “harvest mix” with the dark brown pieces — they have a different flavor and texture that doesn’t bake as nicely. Stick with classic tri-color candy corn.
That’s the whole list. Eight ingredients, plus candy corn. Simple, right?
And here’s a quick tip from my many trial runs: if you’re worried about the candy corn sinking to the bottom of the pan (it happened to me on batch number three), toss the candy corn in about a tablespoon of flour before folding it into the batter. The light coating helps suspend the pieces throughout the bar instead of letting them fall into a sad little layer at the bottom.
Equipment Needed
You don’t need a fully stocked bakery kitchen for these bars. Here’s what you’ll need:
- 9×13-inch baking pan — This is the perfect size for cookie bars. A metal pan gives you crispier edges, while glass or ceramic yields softer, more evenly baked bars. I prefer metal for that slight crunch around the perimeter.
- Parchment paper — Line your pan with parchment, leaving a little overhang on the long sides. This creates “handles” that let you lift the entire slab of bars out of the pan for clean, easy cutting. Worth every second.
- Large mixing bowl — Any big bowl works. I use a glass mixing bowl because it’s easy to see when the butter and sugar are fully combined.
- Whisk and spatula — A whisk for the wet ingredients and a sturdy silicone spatula for folding in the flour and candy corn. Don’t use a wooden spoon for folding — it can crush the candy corn pieces.
- Measuring cups and spoons — Accurate measurements matter in baking. Use dry measuring cups for flour and sugar, and liquid measuring cups for the melted butter. Yes, there’s a difference.
- Cooling rack — Letting the bars cool completely in the pan before cutting is crucial. A cooling rack helps air circulate underneath so the bottom doesn’t get soggy.
If you don’t have a 9×13 pan, you can use two 8×8 square pans and adjust the baking time by about 5 minutes. Just keep an eye on them — smaller pans bake faster.
Preparation Method
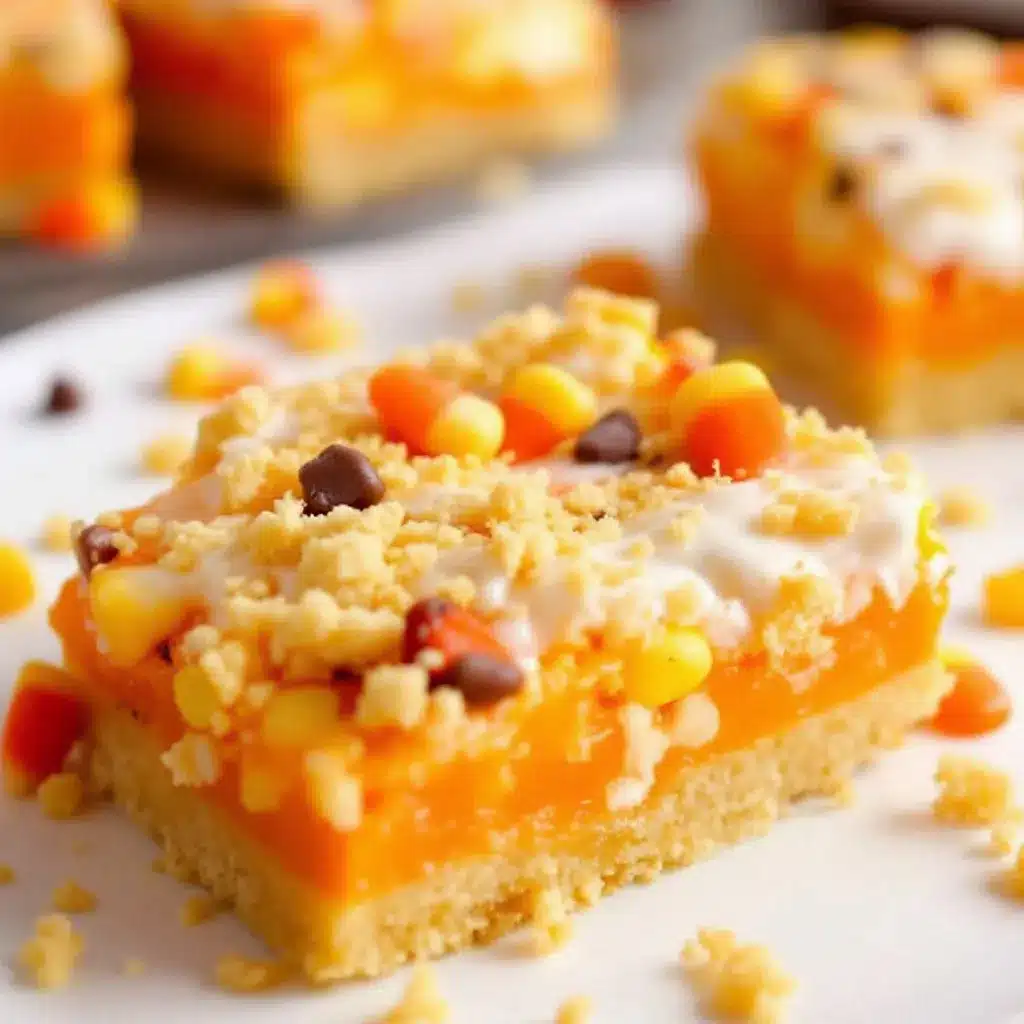
Let’s get baking. This recipe comes together in about 10 minutes of active work and 25 minutes in the oven. Here’s the step-by-step.
- Preheat your oven to 350°F (175°C). Line a 9×13-inch baking pan with parchment paper, leaving a 2-inch overhang on the long sides. Lightly spray the parchment with non-stick cooking spray — just a quick mist. Set the pan aside.
- Melt the butter. In a large microwave-safe bowl, melt 1 cup of unsalted butter in 30-second increments. Stir between each interval until the butter is fully melted but not hot. You want it warm enough to dissolve the sugar but cool enough that it won’t cook the eggs when you add them. Let it sit for 2-3 minutes to cool slightly.
- Add the sugar. Pour 1 ½ cups of granulated sugar into the melted butter. Whisk vigorously for about a minute until the mixture looks smooth and slightly thickened. It should smell like butter and sugar — the best smell in the world.
- Add the eggs and extracts. Crack 2 large eggs into the bowl, making sure no shell pieces fall in (I’ve learned this the hard way). Add 2 teaspoons of vanilla extract and ¼ teaspoon of almond extract. Whisk until everything is fully combined and the batter looks glossy. Don’t over-whisk — just until the eggs are incorporated.
- Mix the dry ingredients. In a separate small bowl, whisk together 2 ¼ cups of all-purpose flour, 1 teaspoon of baking powder, and ½ teaspoon of salt. This ensures the baking powder and salt are evenly distributed throughout the flour.
- Combine wet and dry. Add the flour mixture to the wet ingredients in two additions. Use a silicone spatula to fold everything together gently. Stop mixing as soon as you no longer see streaks of flour. Over-mixing develops gluten and makes the bars tough — we want tender, not tough.
- Fold in the candy corn. Toss 1 ½ cups of candy corn with 1 tablespoon of flour (this prevents sinking). Gently fold the candy corn into the batter. Don’t over-stir — you want the pieces distributed evenly without breaking them up.
- Transfer to the pan. Scrape the batter into your prepared pan. Use the spatula to spread it evenly into all corners. The batter will be thick — almost like a soft cookie dough. That’s exactly what you want. Press it gently into an even layer. Sprinkle a handful of extra candy corn on top for visual appeal.
- Bake. Place the pan on the middle rack of your preheated oven. Bake for 22-26 minutes. At 22 minutes, check for doneness: the edges should be lightly golden, and the center should look set but still soft. A toothpick inserted into the center should come out with a few moist crumbs — not wet batter. If it comes out clean, you’ve over-baked them. Pull them out at the first sign of doneness.
- Cool completely. Place the pan on a wire rack and let the bars cool for at least 30 minutes in the pan. Then use the parchment overhang to lift the entire slab onto the cooling rack. Let them cool completely — about another 30 minutes — before cutting. This is the hardest part, I know. But cutting warm bars leads to crumbly, messy edges. Patience pays off here.
- Cut and serve. Use a sharp chef’s knife to cut the slab into 24 even bars. Wipe the knife clean between cuts for neat edges. Serve immediately or store for later.
Cooking Tips & Techniques
After six batches, I’ve collected a few hard-earned lessons worth sharing.
Don’t over-bake. This is the number one mistake I made in my early attempts. Cookie bars continue to bake from residual heat even after they leave the oven. Pull them out when the center still looks slightly underdone — it will set as it cools. Over-baked bars turn dry and crumbly, and nobody wants that.
Room temperature eggs matter. I know, I know — it feels like an unnecessary step. But cold eggs can cause melted butter to seize up, leaving you with a lumpy, greasy batter. If you forgot to take your eggs out ahead of time, place them in a bowl of warm water for 5 minutes. Problem solved.
Watch your candy corn placement. On my third attempt, I stirred the candy corn into the batter without the flour trick, and every single piece sank to the bottom. The top looked beautiful, but the bottom was a sticky mess. Tossing the candy corn in flour before folding it in keeps those colorful pieces suspended throughout the bar. It’s a small step with big results.
Use a metal pan for crispier edges. Glass and ceramic pans trap more moisture, which gives you softer bars overall. If you like that slight crunch around the edges (I do), go with a metal baking pan. If you prefer uniformly soft bars, use glass.
Let them cool completely. I know I said this already, but it deserves repeating. Cutting warm cookie bars is like trying to cut a sandcastle with a butter knife. You’ll end up with jagged, crumbly pieces that look more like a baking accident than a beautiful fall dessert. Give them the full cooling time. Your future self will thank you.
Variations & Adaptations
This recipe is flexible, and I’ve tried several variations over the years. Here are my favorites.
Chocolate Drizzle: After the bars cool, melt ½ cup of semi-sweet chocolate chips with 1 teaspoon of coconut oil (30-second bursts in the microwave, stirring between each). Drizzle the melted chocolate over the bars in zigzag patterns. The chocolate adds a rich counterpoint to the candy corn’s sweetness. I did this for a Halloween party last year, and they were gone in twenty minutes.
White Chocolate Cranberry Version: Swap the candy corn for 1 cup of dried cranberries and ½ cup of white chocolate chips. This turns the bars into a year-round treat that works beautifully for Christmas or Valentine’s Day. The tartness of the cranberries balances the sweetness perfectly.
Gluten-Free Option: Substitute the all-purpose flour with a 1:1 gluten-free baking flour blend (I recommend Bob’s Red Mill or King Arthur). The texture will be slightly more delicate, but the flavor stays the same. Add an extra tablespoon of melted butter to compensate for the lack of gluten structure.
Spiced Fall Version: Add 1 teaspoon of pumpkin pie spice or cinnamon to the dry ingredients. The warm spices complement the candy corn’s sweetness and make the bars taste even more like autumn. I tried this on batch number five, and it’s become my go-to for Thanksgiving gatherings.
Peanut Butter Twist: Swirl ¼ cup of creamy peanut butter into the batter before adding the candy corn. Use a knife to create gentle swirls — don’t fully mix it in. The peanut butter adds a savory-sweet depth that pairs surprisingly well with the candy corn. This one’s for the peanut butter lovers out there.
Serving & Storage Suggestions
These bars are best served at room temperature, but they’re also delicious slightly warm — just be prepared for a little extra crumbliness. I like to cut them into 24 even squares and arrange them on a platter with a few extra candy corn pieces scattered around for color.
What to serve with them: A cold glass of milk is the classic pairing, but these bars also shine alongside a warm mug of creamy homemade pumpkin spice latte or a cup of hot apple cider. For a fun dessert board, arrange the bars with apple slices, caramel dip, and a bowl of popcorn. It’s a hit at any fall gathering.
Storage: Store the bars in an airtight container at room temperature for up to 5 days. Place a sheet of parchment paper between layers to prevent sticking. Do not refrigerate — the cold dries them out and makes the candy corn hard.
Freezing: These bars freeze beautifully. Wrap the entire cooled slab (or individual bars) tightly in plastic wrap, then in aluminum foil. Freeze for up to 3 months. To thaw, let them sit at room temperature for about an hour. The texture stays remarkably close to fresh-baked.
Reheating: If you want that just-baked warmth, pop an individual bar in the microwave for 10-15 seconds. For a larger batch, warm them in a 300°F oven for 5-7 minutes. They’ll soften up without drying out.
One more thing — the flavor actually improves after a day. The candy corn’s sweetness mellows out and blends with the buttery cookie base. So if you can resist eating them all on day one, day two is even better.
Nutritional Information & Benefits
Let’s be honest — these are a treat, not a health food. But here’s the breakdown per bar (based on 24 servings):
- Calories: ~185
- Fat: 8g
- Carbohydrates: 28g
- Protein: 2g
- Sugar: 18g
- Sodium: 75mg
Health considerations: This recipe contains dairy (butter), eggs, and gluten (flour). For a dairy-free version, substitute the butter with a plant-based butter stick (not margarine in a tub). For a gluten-free version, use the 1:1 gluten-free flour blend mentioned in the variations section.
The bright side: Candy corn actually contains less sugar per piece than many other candies — about 3.5 grams per 10 pieces. And since these bars use real butter and eggs, you’re getting a small amount of protein and fat that helps balance the sugar rush. Plus, there’s something to be said for the joy factor. A treat made with love and shared with people you care about? That’s good for the soul, even if the nutrition label isn’t perfect.
Dietary notes: These bars are not low-carb, keto-friendly, or sugar-free. They’re a classic, indulgent fall dessert meant for special occasions and moments when you just want something fun. And that’s okay.
Conclusion
These Best Candy Corn Sugar Cookie Bars are the kind of recipe that proves simple things can be genuinely special. They’re easy enough for a beginner baker, forgiving enough for a busy weeknight, and impressive enough to bring to any fall gathering. The soft, buttery cookie base studded with sweet, chewy candy corn is nostalgia in every bite — the kind of dessert that makes people smile without even thinking about it.
I love these bars because they remind me of my grandmother’s kitchen, but they’ve also become a tradition in my own home. My kids help me sprinkle the candy corn on top, and my husband always sneaks a piece before they’re fully cooled. They’re messy, imperfect, and absolutely delicious.
I’d love to hear how yours turn out. Did you add a chocolate drizzle? Try the peanut butter swirl? Swap in cranberries for a holiday twist? Drop a comment below and let me know — your variations might inspire someone else’s next baking adventure. And if you’re looking for more fall baking ideas, don’t miss our maple pecan pumpkin cheesecake bars or our salted caramel apple crisp.
Happy baking, friends. And remember — the candy corn skeptics are always the ones who ask for the recipe.
Frequently Asked Questions
Can I use white chocolate chips instead of candy corn?
Absolutely. White chocolate chips create a completely different but equally delicious bar. The texture will be smoother and creamier, without the chewy pockets that candy corn provides. If you’re making this swap, add ½ cup of white chocolate chips and consider adding ½ cup of dried cranberries for a festive twist.
Why did my candy corn sink to the bottom?
This happens when the batter is too thin or the candy corn isn’t coated in flour. Toss the candy corn in 1 tablespoon of flour before folding it into the batter. The flour creates friction that helps suspend the pieces. Also, make sure your batter is thick enough — if it’s too runny, the candy corn will fall straight through.
Can I make these bars ahead of time?
Yes, and they actually taste better the next day. Bake the bars, let them cool completely, and store them in an airtight container at room temperature for up to 5 days. You can also freeze the entire slab for up to 3 months. Just wrap it tightly in plastic wrap and foil before freezing.
Can I use salted butter instead of unsalted?
You can, but reduce the added salt in the recipe to ¼ teaspoon. Salted butter contains about ¼ teaspoon of salt per stick, so using it without adjusting could make the bars too salty. I prefer unsalted butter because it gives me full control over the salt level.
How do I know when the bars are done baking?
The edges should be lightly golden, and the center should look set but still soft — almost like it’s one minute away from being fully done. A toothpick inserted into the center should come out with a few moist crumbs attached. If it comes out clean, the bars are over-baked. Remember, they continue to cook from residual heat after you pull them out of the oven.
Pin This Recipe!
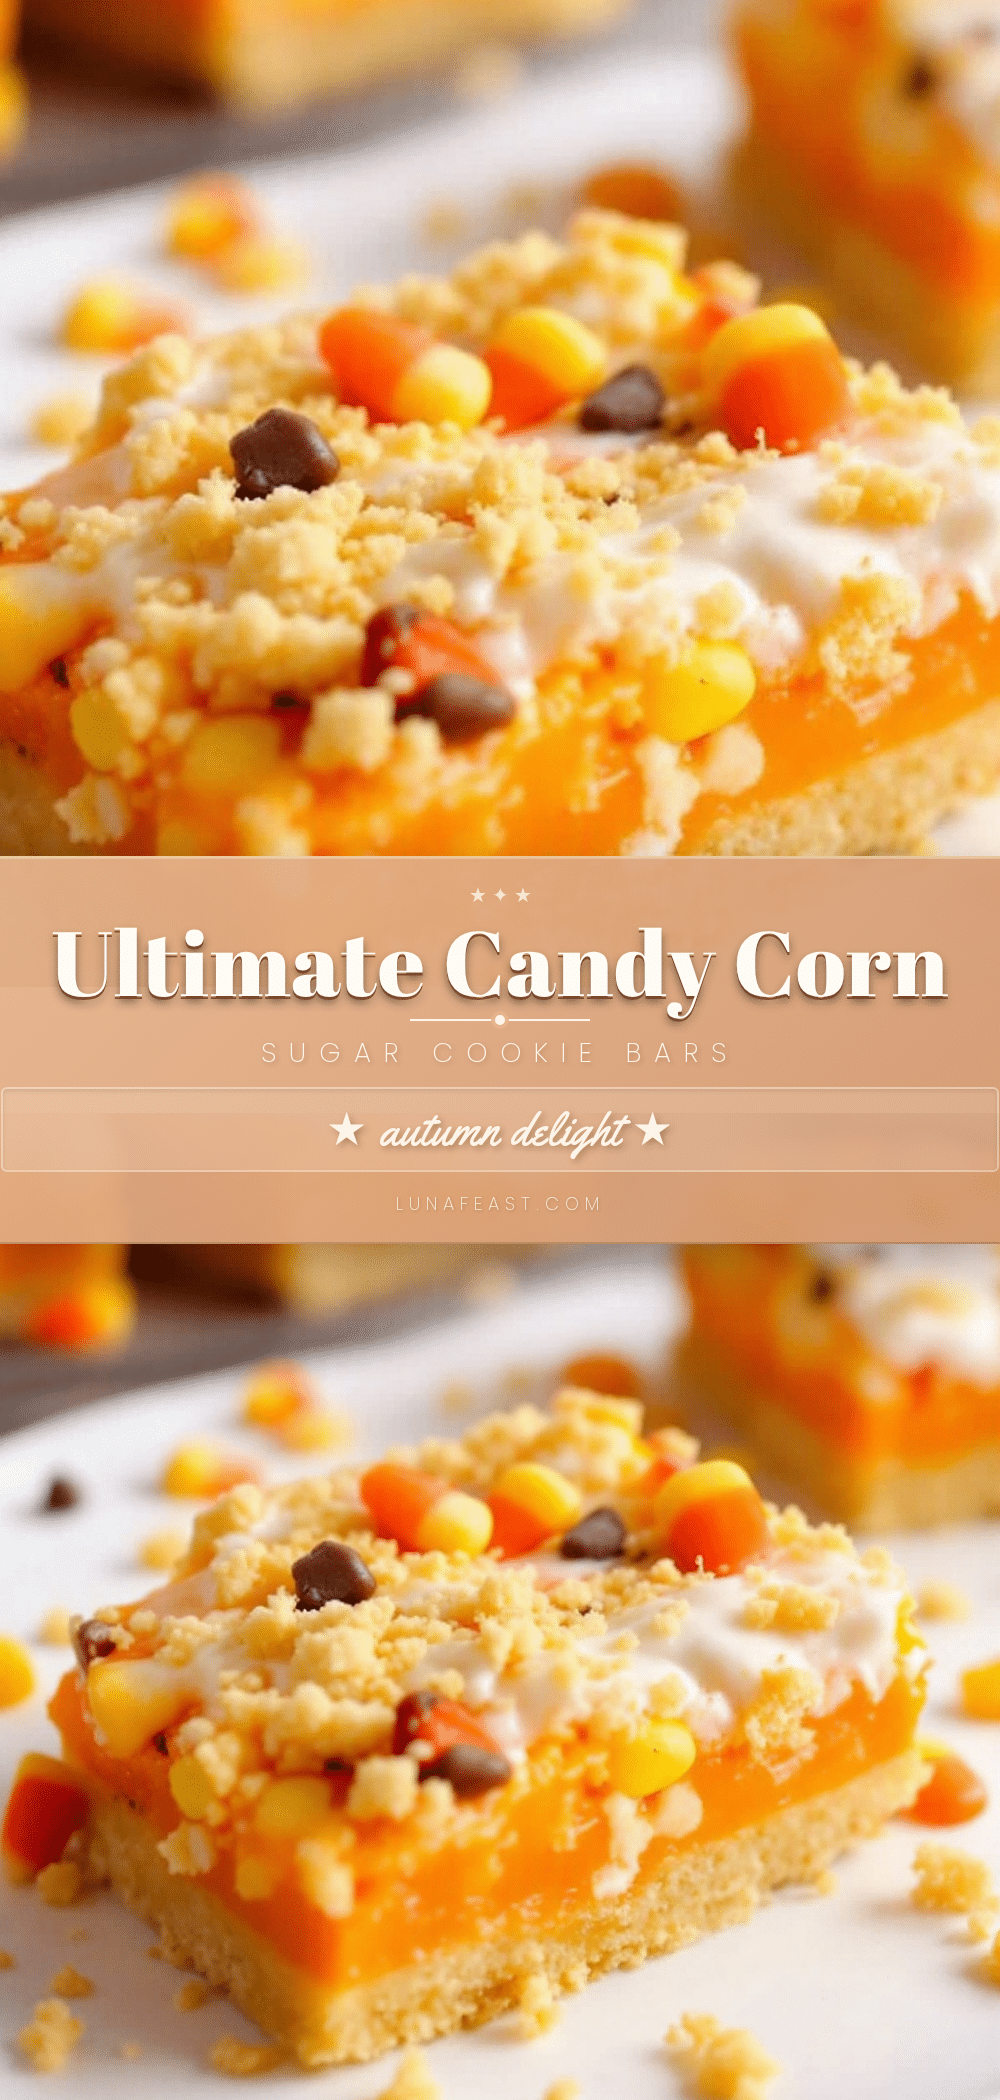
Best Candy Corn Sugar Cookie Bars: Easy Fall Dessert

Soft, buttery sugar cookie bars studded with candy corn, baked until the edges are golden and the center stays tender. These easy fall dessert bars are perfect for Halloween parties, potlucks, or a cozy night in.
- Prep Time: 10 minutes
- Cook Time: 25 minutes
- Total Time: 35 minutes
- Yield: 24 bars 1x
- Category: Dessert
- Cuisine: American
Ingredients
- 1 cup unsalted butter, melted and slightly cooled
- 1 ½ cups granulated sugar
- 2 large eggs, room temperature
- 2 teaspoons vanilla extract
- ¼ teaspoon almond extract
- 2 ¼ cups all-purpose flour, spooned and leveled
- 1 teaspoon baking powder
- ½ teaspoon salt
- 1 ½ cups candy corn, plus extra for topping
- 1 tablespoon all-purpose flour (for tossing candy corn)
Instructions
- Preheat your oven to 350°F (175°C). Line a 9×13-inch baking pan with parchment paper, leaving a 2-inch overhang on the long sides. Lightly spray the parchment with non-stick cooking spray.
- In a large microwave-safe bowl, melt 1 cup of unsalted butter in 30-second increments. Stir between each interval until fully melted but not hot. Let it sit for 2-3 minutes to cool slightly.
- Pour 1 ½ cups of granulated sugar into the melted butter. Whisk vigorously for about a minute until smooth and slightly thickened.
- Add 2 large eggs, 2 teaspoons vanilla extract, and ¼ teaspoon almond extract. Whisk until fully combined and glossy.
- In a separate small bowl, whisk together 2 ¼ cups all-purpose flour, 1 teaspoon baking powder, and ½ teaspoon salt.
- Add the flour mixture to the wet ingredients in two additions. Use a silicone spatula to fold gently until no streaks of flour remain.
- Toss 1 ½ cups of candy corn with 1 tablespoon of flour. Gently fold the candy corn into the batter.
- Scrape the batter into the prepared pan and spread evenly. Sprinkle extra candy corn on top.
- Bake on the middle rack for 22-26 minutes, until edges are lightly golden and center is set but still soft. A toothpick inserted into the center should come out with a few moist crumbs.
- Cool in the pan on a wire rack for 30 minutes. Use the parchment overhang to lift the slab onto the rack and cool completely (about another 30 minutes).
- Cut into 24 even bars using a sharp chef’s knife, wiping the knife clean between cuts.
Notes
For best texture, do not over-bake. Pull bars out when center still looks slightly underdone. Tossing candy corn in flour prevents sinking. Bars taste even better the next day. Store in an airtight container at room temperature for up to 5 days. Freeze for up to 3 months.
Nutrition
- Serving Size: 1 bar
- Calories: 185
- Sugar: 18
- Sodium: 75
- Fat: 8
- Saturated Fat: 5
- Carbohydrates: 28
- Protein: 2
Keywords: candy corn, sugar cookie bars, fall dessert, Halloween, easy, cookie bars, candy corn bars


