I burned my first Apple Dapple Bundt cake so badly the smoke alarm went off and my neighbor actually knocked on the door to check if everything was okay. The second one came out dry as sawdust. The third one? It looked perfect on the outside but collapsed when I flipped it over — just a sad pile of apple-studded crumbs on my cooling rack. I almost gave up entirely. But here’s the thing about this cake — it kept calling me back. Something about that dense, moist crumb studded with tender apple chunks and that glossy caramel glaze just felt like it belonged in my kitchen. So I kept trying, kept tweaking, kept burning and crumbling and collapsing until I finally figured out what made this cake actually work.
What I learned changed everything. It wasn’t about finding a better recipe — it was about understanding the timing, the temperature, and the little tricks that turn a good bundt into a great one. And now? This is the cake I bring to every fall gathering, every holiday dinner, every Sunday when I just need something sweet to get me through the week. It’s the kind of cake that makes people close their eyes after the first bite and go quiet for a second. That’s the moment I knew I had finally cracked it.
Why You’ll Love This Recipe
Let me tell you what makes this Apple Dapple Bundt Cake different from every other apple cake recipe out there. I tested this thing six times before I got it right — and every single test taught me something new about what this cake actually needs.
- Incredibly Moist Texture — The combination of oil and buttermilk keeps this cake tender for days. I’ve had slices stay soft on day four. That’s not a typo.
- Perfect Apple Distribution — No more apples sinking to the bottom. I figured out a simple flour-coating trick that keeps every chunk suspended right where it belongs.
- Easy Caramel Glaze — This isn’t a fussy caramel that requires a candy thermometer. It comes together in about three minutes with ingredients you probably already have.
- No Mixer Required — Just a whisk and a bowl. Honestly, that’s my favorite part. Less cleanup, more cake.
- Better the Next Day — This is one of those rare cakes that actually improves overnight. The flavors meld, the texture settles, and by day two it’s absolutely perfect.
I’ve made this cake for my book club, for Thanksgiving, for random Tuesday nights when I needed a pick-me-up. Every single time someone asks for the recipe. It’s not fancy — it’s just honest, straightforward baking that delivers every single time.
What Ingredients You Will Need
This recipe uses simple, honest ingredients that work together to create something truly special. Most of these are pantry staples, which means you can probably make this cake right now without a trip to the store.
- All-purpose flour — 3 cups (360g). I use Gold Medal or King Arthur for consistent results. Spoon and level your flour — don’t scoop straight from the bag or you’ll end up with a dry cake.
- Granulated sugar — 2 cups (400g). Regular white sugar works perfectly here. The sweetness balances the tart apples beautifully.
- Brown sugar — 1 cup (200g), packed. Light or dark both work. Dark brown sugar gives a deeper molasses flavor that I personally love.
- Vegetable oil — 1 cup (240ml). Canola or any neutral oil works. This keeps the cake incredibly moist without adding butter flavor — which lets the apples shine.
- Large eggs — 3, at room temperature. Cold eggs can seize up the batter. Let them sit on the counter for 30 minutes or warm them in a bowl of lukewarm water for 5 minutes.
- Buttermilk — 1 cup (240ml). This is non-negotiable for the best texture. The acidity tenderizes the gluten and reacts with the baking soda for a perfect rise. No buttermilk? Add 1 tablespoon of lemon juice to regular milk and let it sit for 5 minutes.
- Vanilla extract — 2 teaspoons. Pure vanilla makes a difference here. Save the imitation stuff for cookies.
- Apples — 3 cups diced (about 3 medium apples). I use Granny Smith for their tartness and firm texture. Honeycrisp or Fuji work too if that’s what you have. Peel them — nobody wants chewy apple skin in a tender cake.
- Chopped pecans or walnuts — 1 cup (120g), toasted if you have time. Toast them in a dry pan for 3-4 minutes until fragrant. This step takes five minutes and makes a huge difference.
- Baking soda — 1 teaspoon. Make sure it’s fresh. Test it by dropping a pinch into vinegar — if it fizzes vigorously, you’re good.
- Salt — 1 teaspoon. Fine sea salt or table salt. Don’t skip it — salt makes everything taste more like itself.
- Cinnamon — 2 teaspoons. Fresh cinnamon makes a difference. If yours has been sitting in the cabinet for two years, it’s time for a new jar.
- Ground nutmeg — ½ teaspoon. Freshly grated if you have it. It adds warmth without overpowering.
- For the caramel glaze — ½ cup (1 stick) unsalted butter, 1 cup (200g) brown sugar, ¼ cup (60ml) milk or heavy cream, 1 teaspoon vanilla extract, pinch of salt.
Equipment Needed
You don’t need a fancy kitchen to make this cake. Here’s what you’ll actually use:
- 10-12 cup Bundt pan — This is essential. A smaller pan will overflow. I use a classic Nordic Ware pan and it releases beautifully every time. If you’re using an older or nonstick pan, butter and flour it generously — I mean every single crevice.
- Large mixing bowl — Any big bowl works. I use a glass one so I can see if everything is mixed properly.
- Whisk — For mixing the dry ingredients and the wet ingredients separately.
- Rubber spatula — For folding in the apples and scraping every last bit of batter into the pan.
- Cooling rack — Essential for even cooling. If you don’t have one, flip the cake onto a cutting board and prop it up on two cans to let air circulate underneath.
- Small saucepan — For the caramel glaze. A heavy-bottomed pan works best to prevent scorching.
- Measuring cups and spoons — For accuracy. Baking is a science, even if this recipe is forgiving.
I’ve made this cake with a hand mixer and without — honestly, the hand mixer isn’t necessary. A whisk and some elbow grease work just fine. Save yourself the cleanup.
Preparation Method
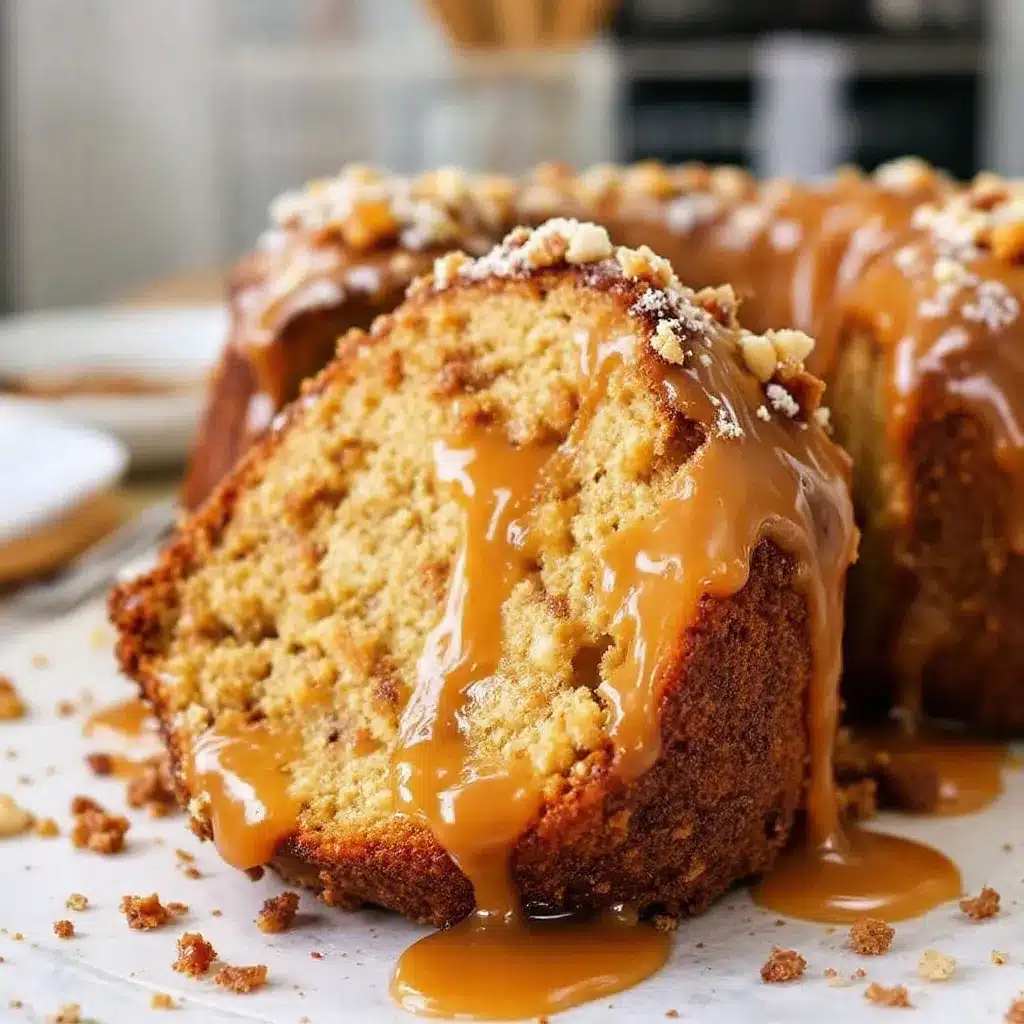
Take your time with this one. The active work is maybe 20 minutes, but the payoff is huge if you don’t rush.
- Preheat your oven to 325°F (163°C). Position the rack in the lower third of the oven. This helps the cake bake evenly and prevents the top from browning too quickly.
- Prepare your Bundt pan. Grease every single nook and cranny with butter or shortening, then dust with flour. Tap out the excess. I cannot stress this enough — take your time here. A well-prepped pan is the difference between a perfect release and a broken cake.
- Peel and dice your apples. Cut them into ½-inch chunks — small enough to distribute evenly but large enough to get a nice apple bite in every slice. Toss them with 2 tablespoons of flour from your measured amount. This is the trick that keeps them from sinking to the bottom.
- In a large bowl, whisk together the dry ingredients: flour, baking soda, salt, cinnamon, and nutmeg. Set aside.
- In another bowl, whisk together the sugars, oil, eggs, buttermilk, and vanilla. Whisk until smooth and well combined. The mixture should look pale and slightly thickened.
- Pour the wet ingredients into the dry ingredients. Stir with a spatula until just combined. A few streaks of flour are okay — overmixing will make the cake tough.
- Fold in the floured apples and toasted nuts. Use a gentle hand. You want everything evenly distributed without deflating the batter.
- Pour the batter into the prepared pan. Spread it evenly with your spatula. Give the pan a gentle tap on the counter to release any air bubbles.
- Bake for 55-65 minutes. Start checking at 55 minutes. A toothpick inserted near the center should come out clean or with just a few moist crumbs. The cake should pull away slightly from the sides of the pan.
- Cool in the pan for exactly 15 minutes. Set a timer. If you flip it too soon, it will stick. If you wait too long, it will steam and become soggy on the bottom.
- Invert onto a cooling rack. Give the pan a firm shake to release the cake. If it doesn’t come out immediately, let it sit for another 5 minutes and try again. Don’t force it.
- Cool completely before glazing. About 1-2 hours. The glaze needs a cool surface to set properly.
Cooking Tips & Techniques
Here’s everything I learned from burning, crumbling, and collapsing my way to this perfect cake. Take notes — these are the things that actually matter.
Room temperature ingredients matter more than you think. I know it’s annoying to wait, but cold eggs and cold buttermilk can make the batter seize up and create a dense, uneven crumb. Set everything out 30 minutes before you start. Your future self will thank you.
Don’t overmix the batter. This is the most common mistake I see. Mix until the flour just disappears — a few streaks are fine. Overmixing develops gluten and gives you a tough, rubbery cake instead of that tender, melt-in-your-mouth texture.
The flour-coating trick for apples is non-negotiable. I learned this the hard way after my first three attempts ended with all the apples sitting in a sad pile at the bottom of the pan. Tossing them in a little flour before folding them in creates a barrier that keeps them suspended throughout the batter.
Let the cake cool completely before glazing. I know it’s tempting to pour that warm caramel over a warm cake, but trust me — it will slide right off and pool at the bottom. A completely cool cake gives the glaze time to set into a beautiful, glossy coating.
Toast your nuts. This takes five minutes and transforms the flavor. Spread them on a baking sheet and toast at 350°F for 5-7 minutes until fragrant. Let them cool completely before adding to the batter.
Variations & Adaptations
This recipe is incredibly forgiving. Here are some ways to make it your own:
- Gluten-Free Version — Substitute the all-purpose flour with a 1:1 gluten-free baking blend. I’ve used Bob’s Red Mill with great results. Add 1 teaspoon of xanthan gum if your blend doesn’t already include it.
- Dairy-Free Version — Use a dairy-free milk alternative like oat or almond milk mixed with 1 tablespoon of lemon juice in place of buttermilk. Use a plant-based butter for the glaze.
- Nut-Free Version — Simply omit the pecans or walnuts. You can add an extra ½ cup of diced apples to compensate for the volume.
- Spiced Apple Version — Add ½ teaspoon of ground ginger, ¼ teaspoon of ground cloves, and a pinch of cardamom to the dry ingredients. It gives the cake a chai-like warmth that’s incredible in the fall.
- Caramel Apple Version — Before adding the apples to the batter, toss them in 2 tablespoons of melted butter and 2 tablespoons of brown sugar. Let them sit for 10 minutes before folding them in. It creates little pockets of caramelized apple throughout the cake.
I once made a version with pears instead of apples because that’s what I had on hand. It was absolutely delicious — the pears get even softer and more tender than apples. Just make sure they’re firm and not overripe.
Serving & Storage Suggestions
This cake is at its best when you treat it right. Here’s how to serve and store it for maximum enjoyment.
Serving Temperature: Room temperature is ideal. The crumb is tender, the glaze is set but soft, and the flavors are fully developed. If you’ve refrigerated it, let slices sit out for 20-30 minutes before serving.
Presentation: A simple dusting of powdered sugar or a drizzle of extra caramel sauce makes this cake look stunning. For special occasions, add a handful of toasted pecans on top of the glaze while it’s still wet. A scoop of vanilla ice cream on the side never hurts.
Storage: Keep the cake in an airtight container at room temperature for up to 4 days. If your kitchen is warm, refrigerate it — the glaze can get sticky in humid weather. Bring slices to room temperature before serving.
Freezing: This cake freezes beautifully. Wrap it tightly in plastic wrap, then in foil, and freeze for up to 3 months. Thaw overnight in the refrigerator and bring to room temperature before serving. The glaze may lose some of its shine, but the flavor will still be perfect.
Reheating: For that fresh-from-the-oven experience, warm individual slices in the microwave for 15-20 seconds. Or pop them in a 300°F oven for 5-7 minutes. The glaze will get slightly melty and the cake will taste like you just baked it.
One thing I love about this cake — it actually gets better on day two. The flavors meld together, the moisture distributes evenly, and every bite tastes more cohesive. If you can resist eating it all on day one, you’re in for a real treat.
Nutritional Information & Benefits
Let’s be honest — this is a celebration cake, not a health food. But knowing what’s in it helps you make informed choices.
Estimated per slice (based on 12 servings): 480 calories, 22g fat, 68g carbohydrates, 6g protein, 3g fiber, 38g sugar. These values will vary based on your specific ingredients and portion sizes.
Health Benefits: Apples are a great source of fiber and vitamin C. The cinnamon in this recipe has anti-inflammatory properties and may help regulate blood sugar. Pecans provide healthy fats and magnesium. So yes, there are some redeeming qualities here.
Dietary Considerations: This recipe contains gluten, dairy, eggs, and nuts. For a nut-free version, simply omit the pecans. For a dairy-free version, use the substitutions listed in the variations section. This cake is not suitable for a vegan diet without significant modifications.
Allergen Warning: Contains wheat, dairy, eggs, and tree nuts (pecans or walnuts). If you’re serving this to guests with allergies, always disclose the ingredients.
I like to think of this cake as a treat worth savoring — not something you eat every day, but something that makes the days you do eat it feel special. That’s the balance I aim for in my kitchen.
Conclusion
This Apple Dapple Bundt Cake with Caramel Glaze is the kind of recipe that becomes a tradition. It’s the cake you make for Thanksgiving because it travels well and feeds a crowd. It’s the cake you bake on a rainy Sunday because it fills your kitchen with the smell of cinnamon and apples. It’s the cake you bring to a friend who needs a little sweetness in their life.
I’ve made this cake more times than I can count, and every single time it delivers. The tender crumb, the pockets of soft apple, that glossy caramel glaze that cracks just slightly when you cut into it — it’s everything a good cake should be. And now it’s yours to make and share and adapt and love.
I’d love to hear how yours turns out. Did you try a variation? Did you serve it with ice cream or whipped cream? Did someone close their eyes after the first bite? Drop a comment below and let me know. And if you’re looking for more apple-inspired treats, don’t miss our Salted Caramel Apple Crisp or our Easy One-Bowl Banana Bread for another foolproof bake. Happy baking, friend.
Frequently Asked Questions
Can I use a different type of apple?
Absolutely. Granny Smith is my go-to for its tartness and firm texture, but Honeycrisp, Fuji, or Braeburn all work beautifully. Avoid Red Delicious — they’re too soft and won’t hold up during baking. If you use a sweeter apple, you can reduce the sugar by a quarter cup.
Why did my cake stick to the pan?
This happens to everyone at least once. Make sure you’re greasing every single crevice of your Bundt pan with butter or shortening, then dusting with flour. Let the cake cool for exactly 15 minutes before flipping — too soon and it will stick, too late and it will steam and become soggy. If it does stick, let it cool completely in the pan, then gently loosen the edges with a thin spatula.
Can I make this cake ahead of time?
Yes, and it actually gets better. Bake the cake a day ahead, let it cool completely, and store it tightly wrapped at room temperature. Make the glaze on the day you plan to serve it. The cake stays moist and flavorful for up to 4 days at room temperature.
Can I freeze this cake?
Yes! Wrap the cooled, unglazed cake tightly in plastic wrap, then in foil, and freeze for up to 3 months. Thaw overnight in the refrigerator, bring to room temperature, then make and pour the glaze. The glaze doesn’t freeze well, so always add it fresh.
Can I make this into cupcakes or a sheet cake?
You can, but the texture will be slightly different. For cupcakes, fill lined tins two-thirds full and bake at 350°F for 18-22 minutes. For a 9×13 sheet cake, bake at 350°F for 30-35 minutes. The caramel glaze works perfectly on both. Just keep in mind that the apple chunks might sink more in a thinner batter.
Pin This Recipe!
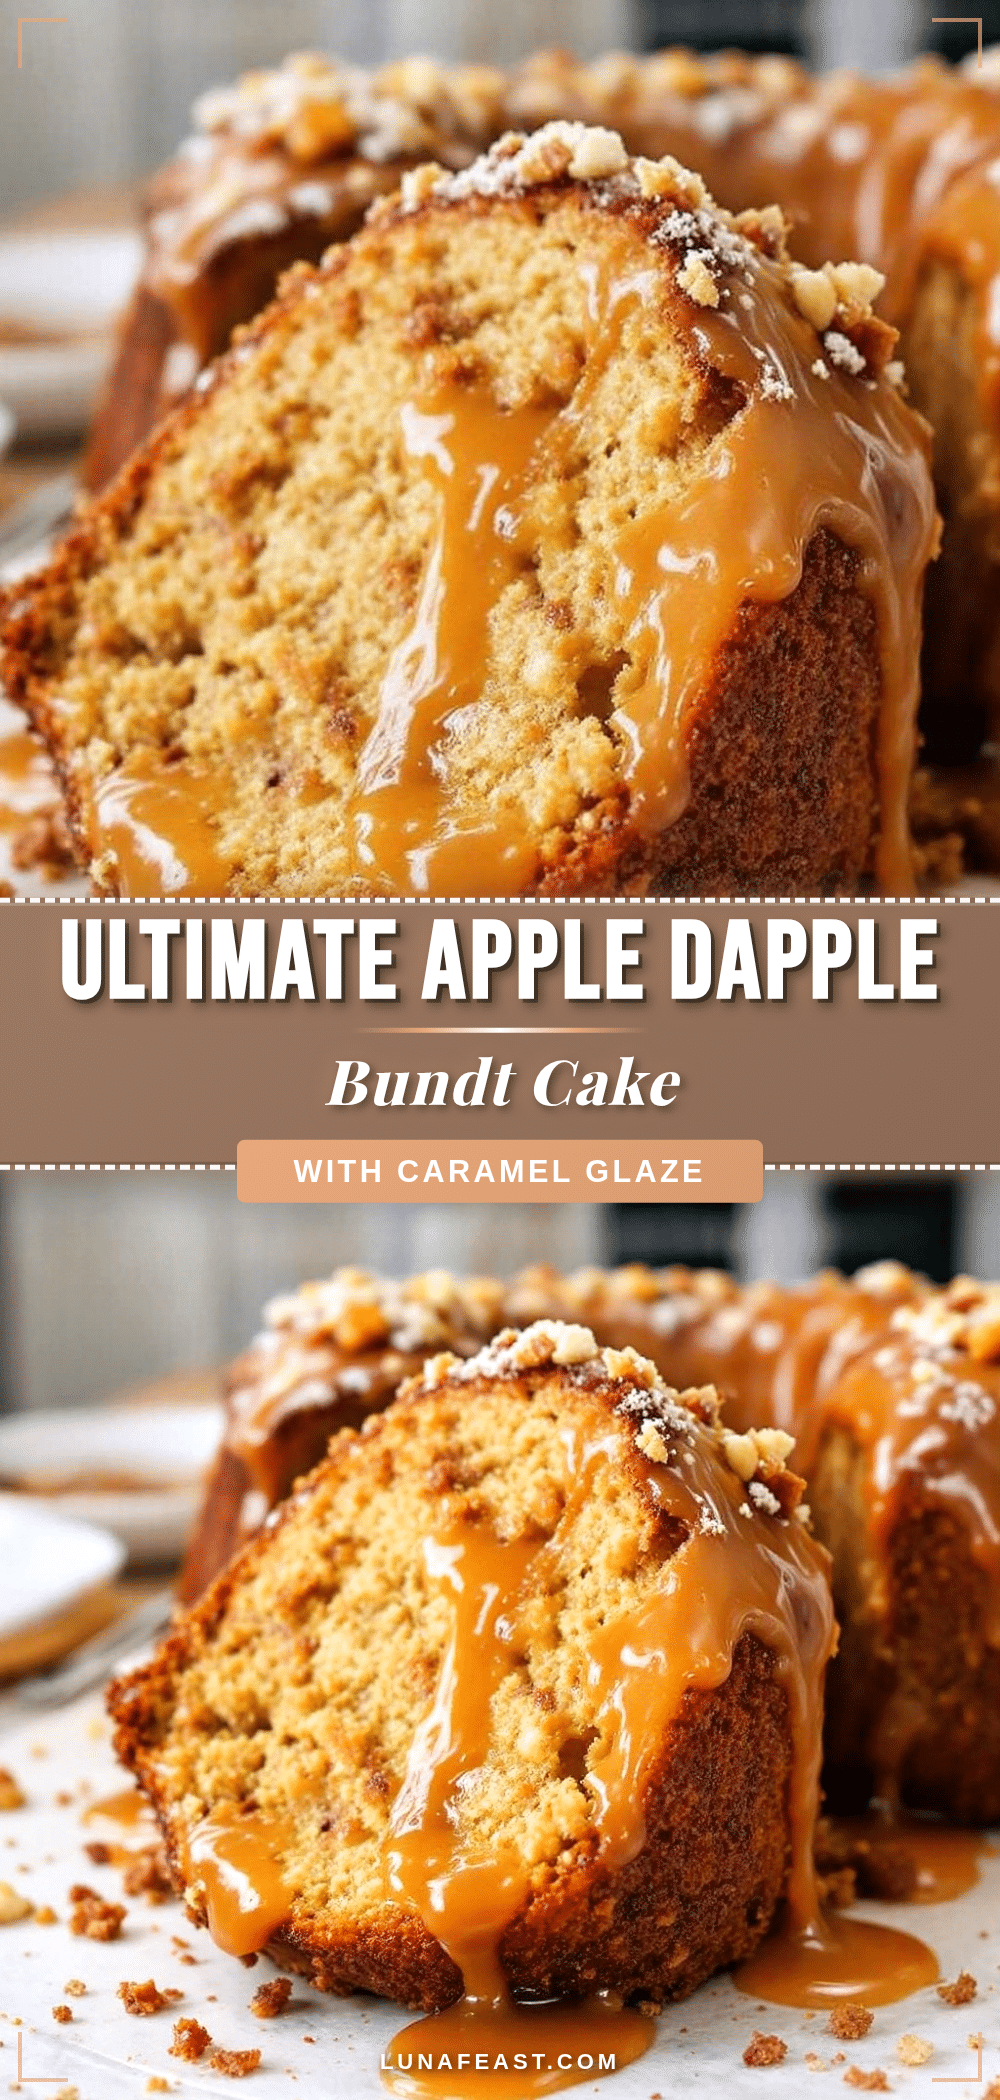
Ultimate Apple Dapple Bundt Cake with Easy Caramel Glaze
This incredibly moist Apple Dapple Bundt Cake is studded with tender apple chunks and topped with a glossy caramel glaze. It’s a foolproof recipe that gets better the next day, perfect for fall gatherings and holiday dinners.
- Prep Time: 20 minutes
- Cook Time: 55-65 minutes
- Total Time: 1 hour 15 minutes to 1 hour 25 minutes
- Yield: 12 servings 1x
- Category: Dessert
- Cuisine: American
Ingredients
- 3 cups (360g) all-purpose flour
- 2 cups (400g) granulated sugar
- 1 cup (200g) brown sugar, packed
- 1 cup (240ml) vegetable oil
- 3 large eggs, at room temperature
- 1 cup (240ml) buttermilk
- 2 teaspoons vanilla extract
- 3 cups diced apples (about 3 medium apples, peeled)
- 1 cup (120g) chopped pecans or walnuts, toasted
- 1 teaspoon baking soda
- 1 teaspoon salt
- 2 teaspoons cinnamon
- ½ teaspoon ground nutmeg
- For the caramel glaze: ½ cup (1 stick) unsalted butter, 1 cup (200g) brown sugar, ¼ cup (60ml) milk or heavy cream, 1 teaspoon vanilla extract, pinch of salt
Instructions
- Preheat your oven to 325°F (163°C). Position the rack in the lower third of the oven.
- Prepare your Bundt pan. Grease every nook and cranny with butter or shortening, then dust with flour. Tap out the excess.
- Peel and dice your apples into ½-inch chunks. Toss them with 2 tablespoons of flour from your measured amount.
- In a large bowl, whisk together the dry ingredients: flour, baking soda, salt, cinnamon, and nutmeg. Set aside.
- In another bowl, whisk together the sugars, oil, eggs, buttermilk, and vanilla until smooth and well combined.
- Pour the wet ingredients into the dry ingredients. Stir with a spatula until just combined. A few streaks of flour are okay.
- Fold in the floured apples and toasted nuts gently.
- Pour the batter into the prepared pan. Spread it evenly and give the pan a gentle tap on the counter to release air bubbles.
- Bake for 55-65 minutes. Start checking at 55 minutes. A toothpick inserted near the center should come out clean or with a few moist crumbs.
- Cool in the pan for exactly 15 minutes. Set a timer.
- Invert onto a cooling rack. Give the pan a firm shake to release the cake. If it doesn’t come out immediately, let it sit for another 5 minutes and try again.
- Cool completely before glazing, about 1-2 hours.
Notes
Room temperature ingredients are crucial for best texture. Don’t overmix the batter. The flour-coating trick for apples keeps them from sinking. Let the cake cool completely before glazing. Toast nuts for enhanced flavor. The cake gets better on day two.
Nutrition
- Serving Size: 1 slice
- Calories: 480
- Sugar: 38
- Sodium: 320
- Fat: 22
- Saturated Fat: 8
- Carbohydrates: 68
- Fiber: 3
- Protein: 6
Keywords: apple dapple bundt cake, caramel glaze, apple cake, bundt cake, fall dessert, easy cake recipe


