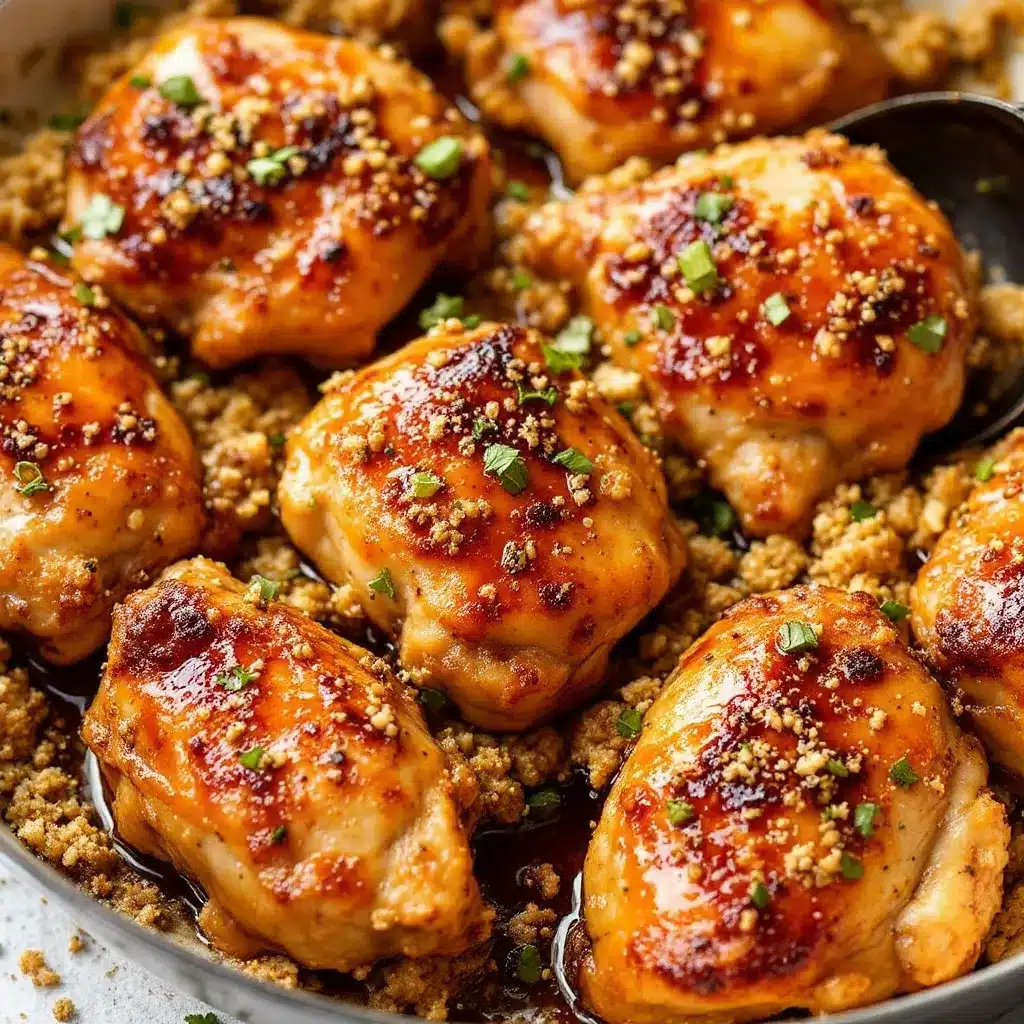
The glossy, sticky sheen on those chicken thighs—that’s what I was after. Not the garlic, not the honey, not even the speed of the whole thing. That specific lacquered look, the kind that catches the kitchen light and makes you stop mid-sentence. That’s the whole point of these Easy One-Pan Honey Garlic Chicken Thighs. Everything else—the savory-sweet balance, the tender meat, the fact that it’s done in twenty minutes—is just the bonus track.
I stumbled onto this combination on a Tuesday night that had gone sideways. You know the ones. The fridge was mostly empty, the kids were circling like sharks, and I needed something that felt like a real dinner without feeling like a project. I had chicken thighs (always), garlic (obviously), and honey (the squeeze bottle was getting low). I figured if I could get that caramelized, almost-candied exterior on the chicken without dirtying every pan in the house, I’d call it a win.
Turns out, it was more than a win. It was the kind of dinner that makes you look forward to leftovers. The kind where you catch yourself picking at the pan after everyone’s done. The sauce reduces right there in the skillet, clinging to each thigh like it belongs there. And honestly? It does.
This isn’t a complicated recipe. It’s not trying to be. But what it lacks in complexity, it makes up for in pure, unfussy satisfaction. I’ve made it for busy weeknights, for unexpected guests, and for those nights when you just need dinner to work. It always does. Trust me on that.
Why You’ll Love This Recipe
I’ve tested this recipe more times than I care to admit. I burned the garlic once. I undercooked the sauce another time. I even tried it with chicken breasts (don’t—they dry out before the sauce sets). But through all those trials, I landed on a version that’s genuinely foolproof. Here’s why it works.
- Quick & Easy: From fridge to table in under 20 minutes. No marinating, no complicated steps, no waiting around. This is the definition of a weeknight win.
- Simple Ingredients: Chicken thighs, honey, garlic, soy sauce, butter, and a few pantry staples. You probably have everything right now.
- One-Pan Cleanup: One skillet, one spatula, zero regrets. The sauce reduces right in the pan, so you’re not dealing with a sink full of dishes.
- Crowd-Pleaser: Kids love the sweet-savory glaze. Adults love the depth of flavor. Everyone loves that it’s ready before they can ask “what’s for dinner?”
- Unbelievably Delicious: That glossy, sticky finish I mentioned? It’s not just for looks. The sauce is rich, garlicky, and just sweet enough to keep you coming back for more.
What makes this different from every other honey garlic chicken recipe out there? It’s the technique. Most recipes just dump everything in a pan and hope for the best. I’ve learned that searing the chicken first—getting that golden-brown crust—before adding the sauce makes all the difference. The meat stays juicy, the skin gets crispy, and the sauce thickens perfectly without burning. It’s a small step that changes everything.
This is the kind of meal that makes you feel like you’ve got it all together, even when you don’t. It’s comfort food that works with your schedule, not against it. And honestly? That’s the best kind of dinner.
What Ingredients You Will Need
This recipe relies on a handful of everyday ingredients, each pulling its weight to create that sticky, savory-sweet magic. Nothing fancy here—just smart choices that deliver big flavor.
- Chicken Thighs (boneless, skin-on or skinless): I prefer boneless, skin-on thighs for extra flavor and that crispy edge, but skinless works beautifully too. The thighs stay tender and forgiving, unlike chicken breasts which can dry out in the time it takes the sauce to reduce. Look for thighs that are roughly the same size so they cook evenly.
- Honey: The star of the show. Use a good-quality honey—something with floral notes if you have it, but any honey works. The honey creates that signature glaze as it reduces, so don’t skip it or try to substitute with maple syrup (it’s too thin and won’t thicken the same way).
- Garlic (fresh, minced): Please, please use fresh garlic here. The pre-minced stuff in a jar won’t give you the same punch. You need about 4-5 cloves, minced fine enough to melt into the sauce but not so fine that it burns. I’ve made that mistake—burnt garlic is a one-way ticket to bitter-town.
- Soy Sauce (low-sodium): This brings the savory balance to all that honey sweetness. Low-sodium is key here, otherwise the sauce can get overwhelmingly salty as it reduces. If you’re gluten-free, tamari or coconut aminos work perfectly.
- Butter (unsalted): A pat of butter stirred in at the end gives the sauce that velvety, glossy finish. It also helps the glaze cling to the chicken instead of running off into a puddle. Don’t skip it—it’s the secret to that restaurant-quality look.
- Olive Oil (or avocado oil): For searing the chicken. You need a high-smoke-point oil here, so olive oil works, but avocado oil is even better if you have it.
- Salt and Black Pepper: Simple seasoning for the chicken before searing. Go easy on the salt since the soy sauce adds plenty.
- Optional Garnishes: Sliced green onions, sesame seeds, or a pinch of red pepper flakes for heat. These aren’t essential, but they make the dish look like you tried (even though you didn’t).
That’s it. Seven ingredients (plus garnishes) and you’ve got dinner. I love recipes like this—ones that prove you don’t need a specialty grocery run to eat well. I’ve made this with honey from the farmer’s market and with the squeeze bear from the grocery store. Both were delicious. Don’t overthink it.
Equipment Needed
You don’t need a kitchen full of gadgets for this one. Here’s what you’ll actually use:
- A Large Skillet (12-inch, preferably cast iron or stainless steel): This is your workhorse. You need enough surface area to sear the chicken without overcrowding. Cast iron holds heat beautifully and gives you that golden crust, but a good stainless steel pan works too. Non-stick is fine, but you won’t get quite as much browning.
- Tongs: For flipping the chicken and moving it around the pan. A spatula works, but tongs give you more control, especially when the sauce gets sticky.
- A Sharp Knife and Cutting Board: For mincing the garlic. A microplane works too if you want the garlic to almost dissolve into the sauce.
- A Small Bowl: For mixing the sauce ingredients together before adding them to the pan. This saves you from scrambling while the chicken is cooking.
- A Meat Thermometer (optional but recommended): Chicken thighs are done at 165°F, but honestly? I go by look and feel more than temperature for this recipe. The thighs are small and cook fast, so a thermometer isn’t strictly necessary.
I’ve made this recipe in a beat-up non-stick skillet and in my prized cast iron. Both work, but the cast iron gives you that extra bit of crust that I’m addicted to. If you don’t have one, no worries—just make sure your pan is hot before you add the chicken. That’s the real secret.
Preparation Method
Let’s get cooking. This comes together fast, so have everything ready before you start. Trust me—you don’t want to be mincing garlic while your chicken is burning.
- Pat the chicken thighs dry with paper towels. This is non-negotiable. Wet chicken won’t brown, and you want that golden crust. Season both sides generously with salt and pepper.
- Heat your skillet over medium-high heat with 1 tablespoon of olive oil. Let it get hot—shimmering hot, not smoking hot. You should see the oil ripple when you tilt the pan.
- Sear the chicken thighs skin-side down (if using skin-on) for 4-5 minutes without moving them. Let the crust develop. Flip and cook for another 3-4 minutes. The chicken should be golden-brown and almost cooked through. Transfer to a plate and set aside. Don’t wipe the pan—those browned bits are flavor gold.
- Reduce the heat to medium-low and add the minced garlic. Stir constantly for about 30 seconds, until fragrant. Garlic burns fast, so don’t walk away. If it starts to brown too quickly, take the pan off the heat for a second.
- Add the honey, soy sauce, and a splash of water (about 2 tablespoons) to the pan. Stir everything together, scraping up those browned bits from the bottom. This is called deglazing, and it’s where the flavor lives.
- Return the chicken thighs to the pan, spooning some of the sauce over each piece. Let them simmer in the sauce for 5-7 minutes, flipping once, until the sauce has thickened and reduced by about half. The chicken should be cooked through and the sauce should coat the back of a spoon.
- Remove from heat and stir in 1 tablespoon of butter until melted and glossy. This gives the sauce that beautiful sheen and rich mouthfeel.
- Garnish with sliced green onions, sesame seeds, or red pepper flakes if you’re feeling fancy. Serve immediately over rice, noodles, or with a side of steamed vegetables.
A few things I’ve learned the hard way: Don’t crowd the pan when searing. If your skillet is too small, cook the thighs in two batches. Overcrowding drops the pan temperature and you’ll end up steaming the chicken instead of browning it. Also, keep an eye on the sauce in the last few minutes—it can go from perfectly sticky to burnt sugar in about 30 seconds. When it starts to look thick and glossy, you’re there.
The chicken should feel firm but not hard when pressed, and the sauce should cling to the meat like a glaze, not run off like a puddle. If it’s too thin, let it simmer another minute. If it’s too thick, add a splash of water and stir.
Cooking Tips & Techniques
I’ve made this recipe enough times to know where things can go wrong. Here’s what I’ve learned so you don’t have to make the same mistakes.
Get the pan hot enough. This is the number one mistake I see. If your pan isn’t hot when you add the chicken, you won’t get that golden crust. The crust isn’t just for looks—it adds texture and depth of flavor. Test the heat by flicking a drop of water into the pan. If it sizzles and evaporates immediately, you’re ready.
Don’t move the chicken too early. When you first put the chicken in the pan, it will stick. That’s normal. Let it cook undisturbed for 4-5 minutes, and it will release naturally when the crust is formed. If you try to flip it too soon, you’ll tear the skin and lose all that beautiful browning.
Watch the garlic like a hawk. Garlic burns faster than you think. I once looked away for “just a second” to grab the soy sauce, and by the time I turned back, my garlic was black and bitter. Keep it moving in the pan, and if it starts to brown too quickly, lower the heat or take the pan off the burner for a moment.
Let the sauce reduce properly. This is where patience pays off. The sauce needs time to thicken and concentrate. If you pull the chicken too early, you’ll have thin, watery sauce that doesn’t cling. Give it those full 5-7 minutes, and you’ll be rewarded with that sticky, glossy finish.
Use the right honey. I’ve tried this with different honeys, and the flavor does vary. A darker honey like buckwheat will give a stronger, almost molasses-like flavor. A lighter honey like clover is more neutral and lets the garlic shine. Both are delicious—just know what you’re going for.
Double the sauce if you’re a sauce person. I am. I always double the sauce ingredients (except the butter—one tablespoon is plenty) because I want extra to drizzle over rice or vegetables. Just be aware that it will take a few extra minutes to reduce.
Variations & Adaptations
One of the best things about this recipe is how flexible it is. Here are a few ways to make it your own.
Spicy Honey Garlic Chicken: Add 1/2 teaspoon of red pepper flakes or a drizzle of sriracha to the sauce. The heat cuts through the sweetness beautifully. I’ve also used a spoonful of gochujang (Korean chili paste) for a deeper, more complex heat.
Lemon Honey Garlic Chicken: Add the juice of half a lemon and a few strips of lemon zest to the sauce. The acidity brightens everything up and balances the honey. This version is especially good in spring and summer.
Garlic and Ginger Version: Add 1 teaspoon of freshly grated ginger along with the garlic. Ginger and honey are a classic combination, and the warmth of the ginger adds another layer of flavor. I make this version when I’m feeling under the weather—it’s soothing and a little bit medicinal.
Baked Version: If you don’t want to stand over the stove, you can bake this. Sear the chicken as directed, then transfer everything to a baking dish and bake at 400°F for 15-20 minutes, basting halfway through. The sauce won’t reduce as much, so you might want to simmer it on the stovetop while the chicken bakes.
Dairy-Free Version: Skip the butter at the end. The sauce won’t be quite as glossy, but it’ll still be delicious. You can also use a dairy-free butter substitute if you have one.
Low-Carb/Keto Version: Replace the honey with a sugar-free honey substitute or use a combination of monk fruit sweetener and a little water. The texture won’t be exactly the same, but the flavor is surprisingly close.
I’ve tried the spicy version more times than I can count. There’s something about that sweet-heat combination that I just can’t resist. It’s my go-to when I’m cooking just for myself.
Serving & Storage Suggestions
This dish is incredibly versatile when it comes to serving. Here’s how I like to do it.
Serving Temperature: Serve the chicken hot, straight from the pan. The sauce is at its best when it’s warm and glossy. Let the chicken rest for just a minute or two after cooking—this lets the juices redistribute so every bite is tender.
What to Serve With It: Steamed jasmine rice is the classic choice. The rice soaks up all that extra sauce, and honestly, that’s my favorite part. You could also serve it over noodles, quinoa, or cauliflower rice for a lower-carb option. A simple green vegetable like steamed broccoli or green beans rounds out the meal nicely. For a heartier option, try it with roasted potatoes or a simple side salad. If you’re looking for another quick and satisfying skillet dinner, check out my quick ground beef zucchini skillet—it’s another one-pan wonder that comes together in no time.
Storage: Store leftovers in an airtight container in the refrigerator for up to 4 days. The sauce will thicken as it cools, which is actually a good thing—it makes the chicken even more flavorful the next day. I’ve been known to eat the leftovers cold, straight from the fridge. Don’t judge.
Reheating: The best way to reheat is in a skillet over medium-low heat with a splash of water or chicken broth. This loosens the sauce and prevents the chicken from drying out. You can also reheat in the microwave, but the texture won’t be quite as good. If you’re in a hurry, the microwave works fine—just cover the plate with a damp paper towel to add moisture.
Freezing: This recipe freezes beautifully. Let the chicken cool completely, then transfer to a freezer-safe container or bag. It will keep for up to 3 months. Thaw overnight in the refrigerator and reheat as directed above. The sauce might separate a little after freezing, but a quick stir will bring it back together.
Flavor Development: Here’s a secret: this dish actually tastes better the next day. The flavors have time to meld and deepen, and the sauce continues to penetrate the chicken. If you can plan ahead, make it a day in advance and reheat it for dinner. Your future self will thank you.
Nutritional Information & Benefits
This recipe isn’t just delicious—it’s also surprisingly balanced. Here’s a rough breakdown per serving (based on 4 servings, using skin-on chicken thighs).
- Calories: Approximately 380-420 per serving
- Protein: 28-32 grams
- Fat: 22-26 grams
- Carbohydrates: 18-22 grams (mostly from honey)
- Fiber: 0 grams
- Sugar: 16-18 grams (natural from honey)
Health Benefits: Chicken thighs are a great source of high-quality protein, which supports muscle repair and keeps you feeling full. They also contain B vitamins, particularly B6 and B12, which are important for energy metabolism. Garlic is known for its immune-boosting properties and contains compounds that may help reduce inflammation. Honey, while still a sugar, contains antioxidants and has antibacterial properties. Just remember—moderation is key.
Dietary Considerations: This recipe is naturally gluten-free if you use tamari or coconut aminos instead of soy sauce. It’s also dairy-free if you skip the butter. For a lower-carb option, serve with cauliflower rice or steamed vegetables instead of regular rice. If you’re watching your sodium, use low-sodium soy sauce and go easy on the added salt.
Allergens: This recipe contains soy (from the soy sauce) and dairy (from the butter). Both can be easily substituted as noted above. It’s also nut-free and egg-free.
Personally, I love that this recipe feels indulgent without being over-the-top. It’s the kind of meal that satisfies a craving for something rich and savory, but it won’t leave you feeling heavy or guilty. That’s a win in my book.
Conclusion
These Easy One-Pan Honey Garlic Chicken Thighs are the kind of recipe that earns a permanent spot in your dinner rotation. They’re fast enough for a busy Tuesday, impressive enough for guests, and simple enough that you don’t need to think twice. The sticky, glossy sauce, the tender chicken, the minimal cleanup—it all adds up to a meal that just works.
I’ve made this recipe more times than I can count, and it never gets old. It’s the one I turn to when I’m tired, when I’m short on time, or when I just want something that feels like comfort food without the fuss. And every time, it delivers.
Now I want to hear from you. Have you tried this recipe? Did you add your own twist? Did you double the sauce like I always do? Drop a comment below and let me know how it turned out. And if you loved it, share it with a friend who needs a quick dinner win. Happy cooking!
If you’re looking for another quick and satisfying chicken dinner, you might also enjoy my easy lemon garlic chicken sheet pan dinner—it’s another one-pan meal that’s perfect for busy nights. For something with a similar sweet-savory vibe, my crispy air fryer honey garlic chicken wings are a game-day favorite. And if you’re in the mood for a complete meal in one pot, try my easy bento chicken teriyaki lunch box for a fun and portable option.
Frequently Asked Questions
Can I use chicken breasts instead of thighs?
You can, but I don’t recommend it. Chicken breasts cook faster and dry out more easily, especially when you’re reducing the sauce. If you do use breasts, pound them to an even thickness and reduce the cooking time by a few minutes. Check for doneness at 160°F and let carryover cooking take them to 165°F.
Can I make this recipe in the slow cooker?
You can, but the texture will be different. The chicken won’t get that golden-brown crust, and the sauce won’t reduce as much. If you want to try it, sear the chicken first, then transfer everything to the slow cooker and cook on low for 4-6 hours. Thicken the sauce on the stovetop before serving.
How do I prevent the sauce from burning?
Keep the heat at medium-low once you add the sauce, and stir occasionally. The sauce has honey in it, which burns easily at high temperatures. If you notice it starting to darken too much, take the pan off the heat for a moment. A little patience goes a long way here.
Can I double this recipe?
Absolutely. Just make sure you have a large enough skillet—you don’t want to overcrowd the pan. If your skillet is too small, cook the chicken in batches and then combine everything at the end. Double the sauce ingredients too, and give it a few extra minutes to reduce.
What can I use instead of honey?
Maple syrup is the best substitute, but it’s thinner and won’t give you quite the same sticky glaze. Brown sugar dissolved in a little warm water works in a pinch. Agave nectar is another option, but it’s sweeter, so use a little less. Just keep in mind that the flavor and texture will be slightly different with any substitute.
Pin This Recipe!
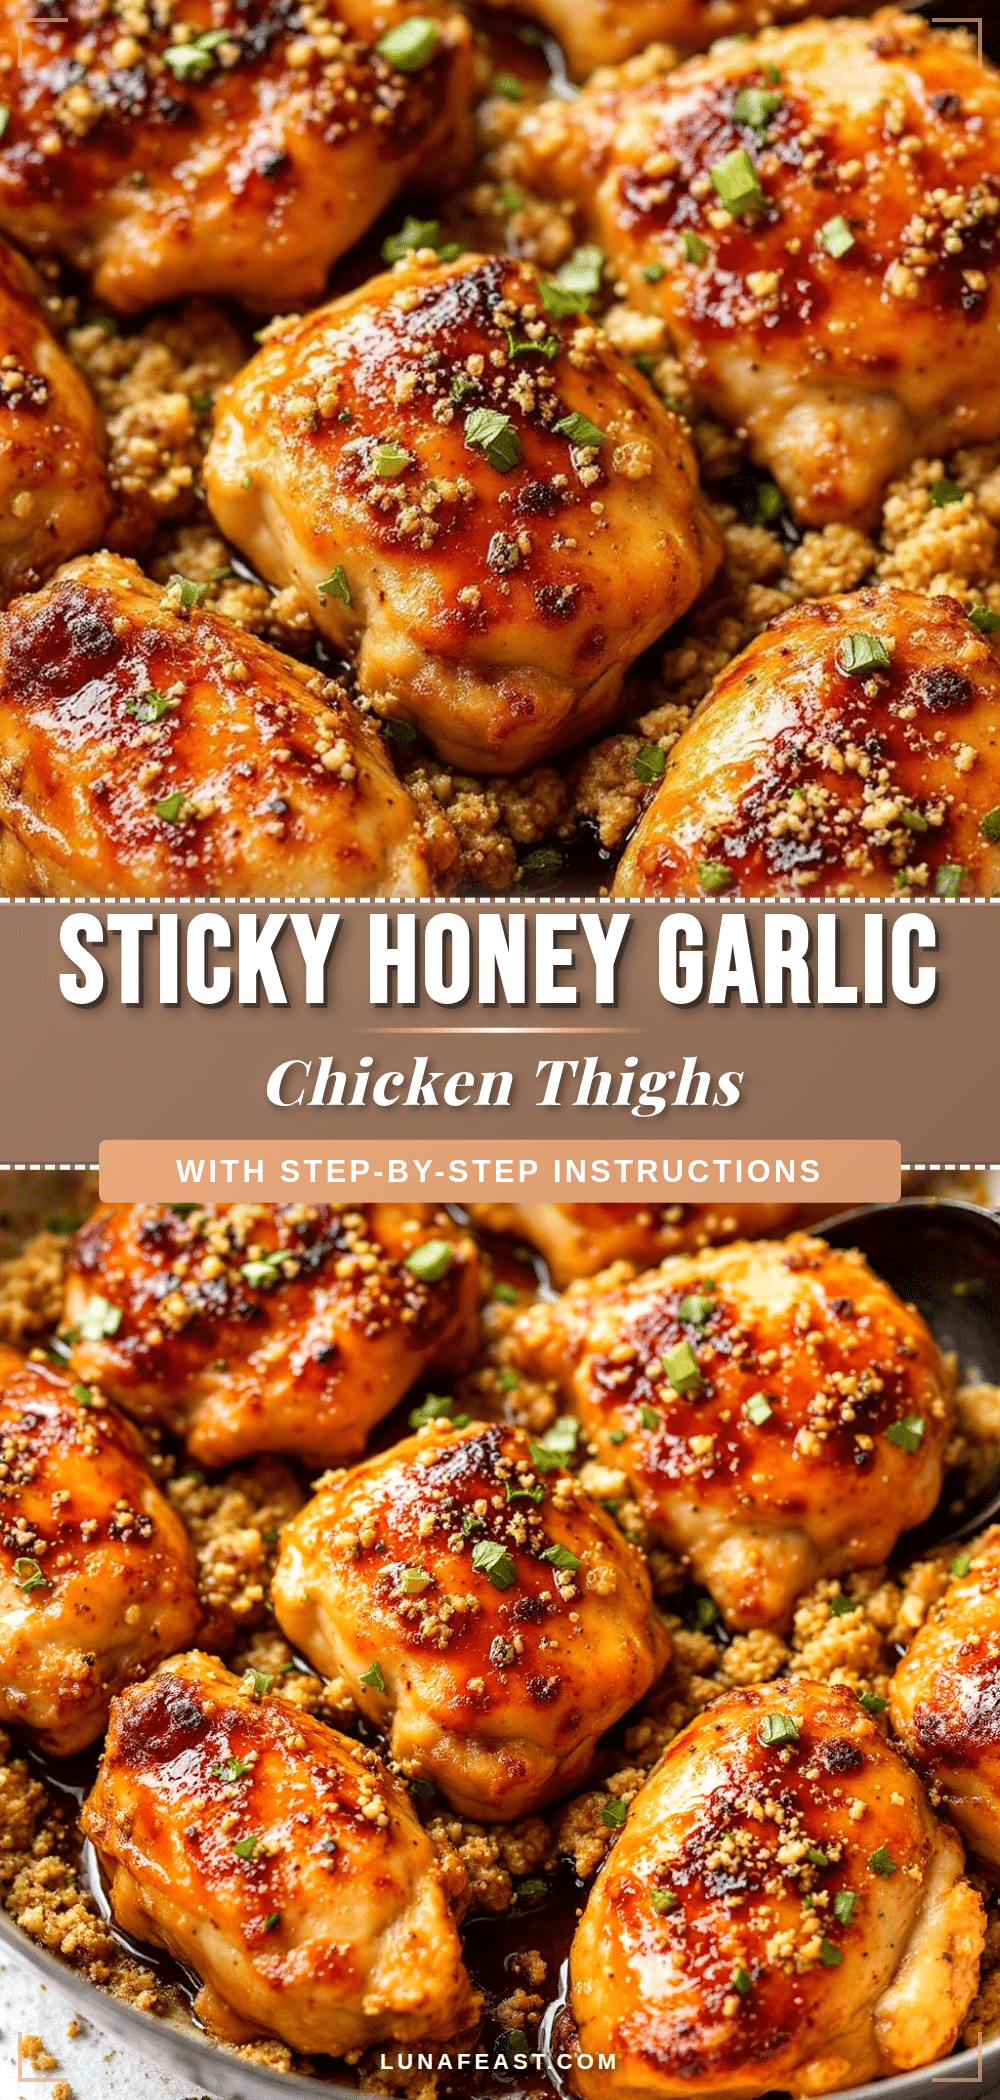
Easy One-Pan Honey Garlic Chicken Thighs (Best 20-Minute Dinner!)

These Easy One-Pan Honey Garlic Chicken Thighs are the perfect weeknight dinner—ready in just 20 minutes with a sticky, glossy sauce that’s both savory and sweet. Minimal cleanup and maximum flavor make this a recipe you’ll turn to again and again.
- Prep Time: 5 minutes
- Cook Time: 15 minutes
- Total Time: 20 minutes
- Yield: 4 servings 1x
- Category: Main Course
- Cuisine: American
Ingredients
- 1.5 lbs boneless, skin-on or skinless chicken thighs (about 4–6 thighs)
- 1/3 cup honey
- 4–5 cloves garlic, minced
- 3 tablespoons low-sodium soy sauce
- 1 tablespoon unsalted butter
- 1 tablespoon olive oil (or avocado oil)
- Salt and black pepper to taste
- Optional garnishes: sliced green onions, sesame seeds, red pepper flakes
Instructions
- Pat the chicken thighs dry with paper towels. Season both sides generously with salt and pepper.
- Heat a large skillet (12-inch, preferably cast iron or stainless steel) over medium-high heat with 1 tablespoon of olive oil. Let it get shimmering hot.
- Sear the chicken thighs skin-side down (if using skin-on) for 4-5 minutes without moving them. Flip and cook for another 3-4 minutes until golden-brown and almost cooked through. Transfer to a plate and set aside.
- Reduce heat to medium-low and add the minced garlic. Stir constantly for about 30 seconds until fragrant.
- Add the honey, soy sauce, and 2 tablespoons of water to the pan. Stir together, scraping up any browned bits from the bottom.
- Return the chicken thighs to the pan, spooning some sauce over each piece. Simmer for 5-7 minutes, flipping once, until the sauce has thickened and reduced by about half.
- Remove from heat and stir in 1 tablespoon of butter until melted and glossy.
- Garnish with sliced green onions, sesame seeds, or red pepper flakes if desired. Serve immediately over rice, noodles, or with steamed vegetables.
Notes
For best results, don’t crowd the pan when searing—cook in batches if needed. Watch the garlic carefully as it burns quickly. The sauce can go from perfectly sticky to burnt in about 30 seconds, so keep an eye on it. Double the sauce ingredients if you want extra for drizzling. This dish tastes even better the next day as flavors meld.
Nutrition
- Serving Size: 1 serving (about 1 c
- Calories: 400
- Sugar: 17
- Sodium: 520
- Fat: 24
- Saturated Fat: 7
- Carbohydrates: 20
- Protein: 30
Keywords: honey garlic chicken, one-pan chicken, quick chicken dinner, chicken thighs, easy weeknight dinner, sticky chicken, 20-minute meal


