Butter pats smeared across a cold pan while the oven beeped impatiently. I had exactly one hour before guests arrived, a can of pumpkin puree staring at me from the counter, and absolutely no plan. The yellow cake mix box had been sitting in the pantry for months—bought on a whim, forgotten, the kind of thing you shove behind the canned beans and pretend doesn’t exist. And then it hit me. Not a fancy layered dessert. Not something requiring a stand mixer and three bowls. Just dump everything in a pan and let the oven do the work. Honestly? That moment of panic turned into the best decision I made all fall season.
This easy pumpkin dump cake with yellow cake mix saved my sanity that night. But more than that, it became the dessert everyone asked for by name. There’s something almost magical about how a box of yellow cake mix transforms into this buttery, crumbly topping over a silky pumpkin layer. The smell alone—cinnamon, nutmeg, warm butter—makes the whole house feel like a cozy sweater. And you don’t have to be a baker to pull it off. That’s the part I love most. It tastes like you spent hours in the kitchen, but really, you just dumped things in a pan and let fate take over.
If you’ve ever stared at a can of pumpkin and wondered what to do with it besides pie, this is your sign. This recipe is forgiving, adaptable, and somehow always turns out perfect even when you’re rushing. It’s the kind of dessert that makes people close their eyes after the first bite. And honestly, that’s the only review you need.
Why You’ll Love This Recipe
Let’s be real for a second—there are a million pumpkin desserts out there. But this one? It’s different. And here’s why you’ll keep coming back to it.
- So Easy It’s Almost Embarrassing : No mixer required. No creaming butter and sugar. No chilling dough. You literally dump ingredients into a pan, spread them around, and bake. It’s the kind of recipe you can make with a toddler “helping” or at 10 PM when a sweet craving hits.
- Pantry-Friendly Ingredients : You probably already have a can of pumpkin in the cabinet and a box of yellow cake mix in the back of the pantry. Butter and eggs are the only fresh items you’ll need. No fancy grocery runs required.
- Perfect for Fall Gatherings : Whether it’s Thanksgiving, a Halloween party, or just a cozy Sunday dinner, this dessert fits right in. It travels well, slices cleanly, and feeds a crowd without any fuss. I’ve brought it to potlucks and watched it disappear in minutes.
- Crowd-Pleaser Status : Kids love the sweet, buttery topping. Adults appreciate the warm pumpkin spice underneath. Even people who swear they don’t like pumpkin desserts end up going back for seconds. It’s that good.
- Unbelievably Delicious Texture : The magic here is the contrast. You get a soft, almost pudding-like pumpkin layer on the bottom and a crispy, crumbly, buttery topping on top. Every spoonful has both textures, and it’s honestly addictive.
What makes this recipe different from every other pumpkin dump cake out there? It’s the balance. Some versions come out too soggy or too dry. But with the right ratio of pumpkin to cake mix, plus the perfect amount of butter, you get that ideal golden crust with a creamy center. I’ve tested this more times than I care to admit, and this version never fails. It’s not just another pumpkin dessert—it’s the best version of itself.
This is the kind of dessert that makes you feel like you’ve got your life together, even when you don’t. It’s comfort food at its finest, without the stress. And honestly, isn’t that what we all need?
What Ingredients You Will Need
This recipe uses simple, wholesome ingredients that come together to create something truly special. The beauty is in the simplicity—each component plays a specific role, and together they create magic.
- Canned Pumpkin Puree (15 oz) : Make sure you’re getting pure pumpkin puree, not pumpkin pie filling. They look similar but are very different. Pumpkin pie filling already has sugar and spices added, which will throw off the whole recipe. I prefer Libby’s brand for consistent texture and flavor. Look for 100% pure pumpkin on the label.
- Evaporated Milk (12 oz) : This adds richness and creaminess to the pumpkin layer without making it too thin. Don’t substitute with regular milk or cream—evaporated milk has a concentrated creaminess that works perfectly here. It’s also shelf-stable, so you can keep a can in the pantry for last-minute baking emergencies.
- Large Eggs (3) : Eggs help bind the pumpkin mixture and give it structure. Room temperature eggs incorporate more smoothly, so pull them out of the fridge about 15 minutes before you start. If you forget, place them in a bowl of warm water for 5 minutes.
- Granulated Sugar (1 cup) : Just regular white sugar. It sweetens the pumpkin layer and helps create that silky texture. Don’t reduce the sugar too much, or the texture will be off. The pumpkin layer needs the sugar to balance the earthy pumpkin flavor.
- Pumpkin Pie Spice (2 teaspoons) : You can use store-bought or make your own. If you’re making your own, combine 1 teaspoon cinnamon, 1/2 teaspoon ginger, 1/4 teaspoon nutmeg, 1/4 teaspoon allspice, and a pinch of cloves. I actually prefer making my own blend—it tastes fresher and you can adjust it to your preference.
- Cinnamon (1 teaspoon) : Extra cinnamon because, honestly, you can never have too much. It adds warmth and depth that pumpkin pie spice alone doesn’t quite achieve.
- Salt (1/4 teaspoon) : Just a pinch to balance the sweetness and enhance all the flavors. Don’t skip it—salt makes everything taste better, even desserts.
- Yellow Cake Mix (15.25 oz box) : This is the star of the show. One standard box of yellow cake mix. Don’t prepare it according to package directions—you’re using it dry. I’ve tested this with Duncan Hines and Betty Crocker, and both work beautifully. The cake mix creates that signature crumbly topping that makes dump cake so special.
- Unsalted Butter (1 cup, or 2 sticks) : You’ll melt this and drizzle it over the dry cake mix. Unsalted butter gives you control over the salt level. If you only have salted butter, reduce the added salt to 1/8 teaspoon. The butter is what creates that golden, crispy topping, so don’t skimp here.
- Chopped Pecans (optional, 1/2 cup) : For extra crunch and a nutty flavor. Toast them lightly in a dry pan for 2-3 minutes before adding for even more depth. I sometimes add these, sometimes skip them—both versions are delicious.
One thing I’ve learned from making this recipe dozens of times: the quality of your pumpkin puree matters. Cheaper brands can be watery and result in a soggy layer. Stick with a trusted brand, and if your pumpkin puree looks watery when you open the can, drain off any excess liquid before using.
Equipment Needed
You don’t need a fancy kitchen to make this recipe. That’s part of why I love it so much. Here’s what you’ll need:
- 9×13-inch Baking Dish : Glass or ceramic works best. Metal pans can work too, but they conduct heat differently, so keep an eye on the baking time. I use a glass Pyrex dish and it always turns out perfectly.
- Large Mixing Bowl : For combining the pumpkin mixture. Any medium-to-large bowl will do.
- Whisk : For smoothing out the pumpkin mixture. A fork works in a pinch, but a whisk gives you a silkier texture with fewer lumps.
- Small Saucepan or Microwave-Safe Bowl : For melting the butter. I usually use the microwave because it’s faster, but a saucepan on the stove works just as well.
- Measuring Cups and Spoons : For accurate measurements. Baking is more precise than cooking, so take the extra 30 seconds to measure properly.
- Spatula : For spreading the cake mix evenly. A rubber spatula is ideal, but a regular spoon works too.
- Cooling Rack : Optional but helpful. Letting the cake cool on a rack prevents the bottom from getting soggy from trapped steam.
If you don’t have a 9×13 dish, you can use two 8×8 square pans instead. Just reduce the baking time by about 5-7 minutes and check for doneness earlier. I’ve also made this in a disposable aluminum pan when bringing it to potlucks—works perfectly and means no dish to wash later.
Preparation Method
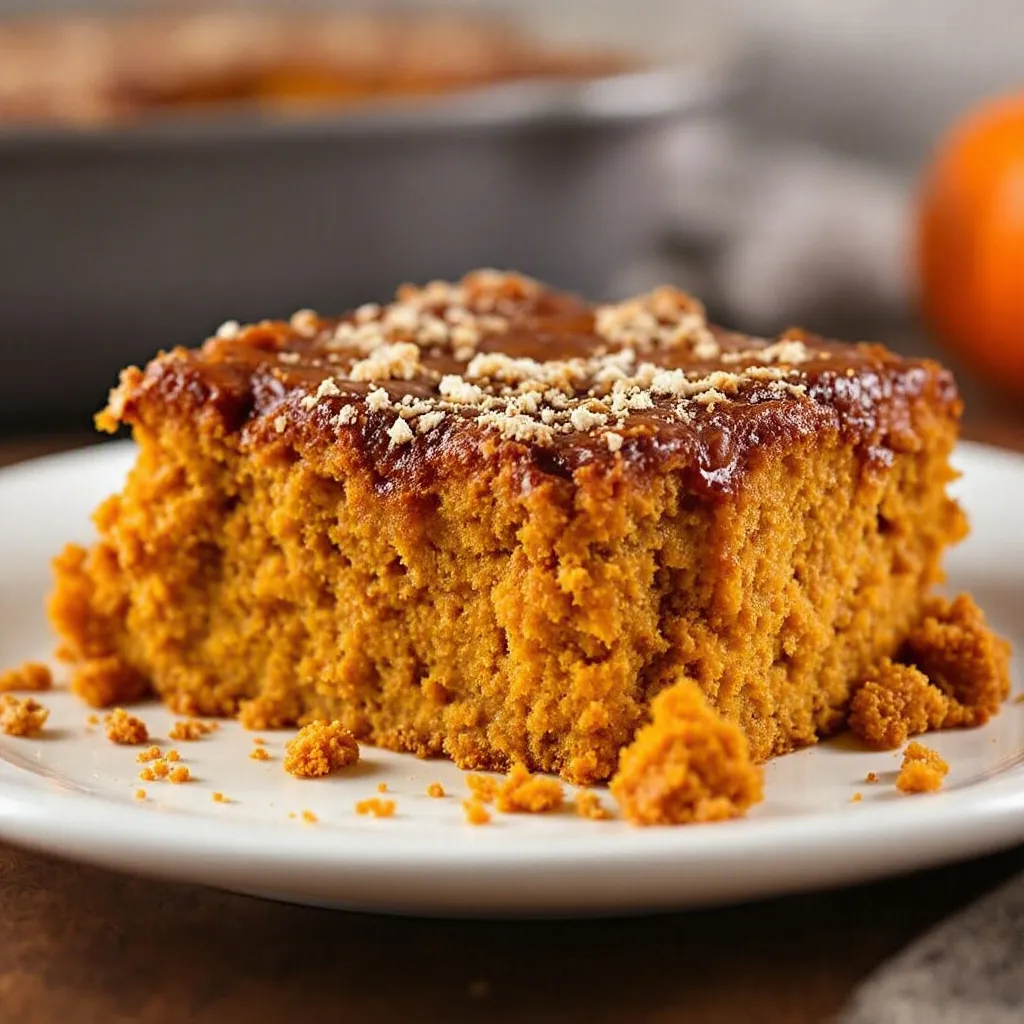
Alright, let’s get to the good part. This is where the magic happens. Follow these steps, and you’ll have a dessert that tastes like you fussed for hours when really, you just dumped and baked.
- Preheat your oven to 350°F (175°C). While it’s heating, lightly grease your 9×13 baking dish with butter or non-stick spray. I prefer butter because it adds a little extra flavor to the edges, but spray works fine too. Make sure you get the corners—nothing worse than stuck-on cake.
- In your large mixing bowl, combine the pumpkin puree, evaporated milk, eggs, sugar, pumpkin pie spice, cinnamon, and salt. Whisk everything together until smooth and well combined. You want a uniform, silky mixture with no lumps. This should take about 1-2 minutes of whisking. The mixture will be fairly thin—don’t worry, that’s normal.
- Pour the pumpkin mixture into your prepared baking dish. Use your spatula to spread it evenly across the bottom. Give the dish a gentle shake to help it settle into the corners. The layer should be about 1/2 inch deep.
- Now for the fun part—sprinkle the dry yellow cake mix evenly over the pumpkin layer. Don’t stir it in! Just dump the entire box of dry mix over the top and spread it out with your spatula or fingers. It should cover the pumpkin layer completely. Some people like to sift it for an even layer, but honestly, I just sprinkle it straight from the box. Life’s too short.
- If you’re using pecans, sprinkle them over the cake mix layer now. They’ll toast up beautifully during baking and add a lovely crunch. I usually scatter them by hand to make sure they’re distributed evenly.
- Melt your butter in a small saucepan or microwave-safe bowl. I melt mine in the microwave in 30-second bursts, stirring between each. You want it fully melted but not boiling. Drizzle the melted butter as evenly as possible over the entire surface of the cake mix. Try to cover as much of the dry mix as you can—the butter is what creates that crispy, golden topping. Don’t stir it in either; just let it soak down through the dry mix.
- Place the dish in the preheated oven and bake for 45-50 minutes. The top should be golden brown and the edges will be bubbly. You’ll know it’s done when the center is set and a toothpick inserted into the topping comes out with just a few moist crumbs. The pumpkin layer underneath will still be soft—that’s the texture you want.
- Let the cake cool on a wire rack for at least 20-30 minutes before serving. This is important! The cake needs time to set up, otherwise it’ll be too runny. I know it’s tempting to dig in right away, but trust me on this one. The texture improves dramatically as it cools.
- Serve warm or at room temperature. Spoon it into bowls and top with whipped cream or vanilla ice cream if you’re feeling fancy. The contrast between the warm cake and cold ice cream is absolutely heavenly.
A few things I’ve learned the hard way: Don’t overmix the pumpkin layer—just whisk until smooth. Overmixing can incorporate too much air and affect the texture. And whatever you do, don’t stir the cake mix into the pumpkin layer. The whole point of a dump cake is that the layers stay separate. The dry mix absorbs the butter and pumpkin moisture as it bakes, creating that signature crumbly topping. If you stir it in, you’ll end up with something closer to a regular cake, which is fine, but it’s not a dump cake.
Cooking Tips & Techniques
After making this recipe more times than I can count (and a few spectacular failures along the way), I’ve picked up some tips that make a real difference.
The butter distribution trick. One of my early attempts ended up with dry patches of cake mix because I didn’t drizzle the butter evenly. Now I melt the butter, then drizzle it in a back-and-forth pattern across the whole dish. Then I gently tilt the pan to help it spread. If you see dry spots, use a spoon to nudge a little butter over them. This small step makes a huge difference in the final texture.
Watch your oven like a hawk. Ovens run differently, and I learned this the hard way. My old oven ran hot, and I burned the topping twice before figuring it out. Start checking at the 40-minute mark. If the top is browning too quickly, tent a piece of aluminum foil loosely over the top for the last 10 minutes of baking. This protects the topping while allowing the center to finish cooking.
Let it rest, seriously. I know I mentioned this already, but it’s worth repeating. The first time I made this, I served it immediately and ended up with a soupy mess. Delicious, but soupy. Giving it 20-30 minutes to cool allows the pumpkin layer to set up properly. The texture goes from runny to perfectly creamy. Patience pays off here.
Room temperature ingredients matter. Cold eggs can make the pumpkin mixture lumpy and affect how it bakes. Take your eggs out of the fridge 15-20 minutes before starting. Same goes for the pumpkin puree if you’ve been storing it in the fridge. Room temperature ingredients blend more smoothly and create a more consistent texture.
The fork test. To check if your dump cake is done, insert a fork into the center of the topping. If it comes out with moist crumbs (not wet batter), you’re good. The pumpkin layer underneath will still be soft, but it should be set, not liquid. If the fork comes out with wet batter, give it another 5-7 minutes and check again.
One mistake I made early on was using a dark metal pan. The bottom burned before the top was golden. If you’re using a dark or non-stick pan, reduce the oven temperature by 25°F and check for doneness earlier. Glass and ceramic pans are more forgiving and give you a better result every time.
Variations & Adaptations
This recipe is incredibly forgiving, which is one of the reasons I make it so often. Here are some variations I’ve tried and loved:
Gluten-Free Version : Swap the regular yellow cake mix with a gluten-free yellow cake mix. I’ve tested this with King Arthur Flour’s gluten-free yellow cake mix, and it works beautifully. The texture is slightly different—a bit more crumbly—but just as delicious. Make sure your pumpkin pie spice is also gluten-free, as some blends contain wheat starch.
Dairy-Free Adaptation : Use a dairy-free butter substitute like Miyoko’s or Earth Balance. For the evaporated milk, you can use canned coconut milk (full fat) or oat milk. The flavor will be slightly different, but still really good. I made this for a friend with dairy allergies, and she couldn’t tell the difference.
Spice It Up : If you love warm spices, add an extra teaspoon of cinnamon and a pinch of cardamom to the pumpkin mixture. Cardamom adds a floral, slightly citrusy note that pairs beautifully with pumpkin. I tried this on a whim one Thanksgiving and it was a hit.
Chocolate Lover’s Version : Use a chocolate cake mix instead of yellow. The chocolate-pumpkin combination is surprisingly good—think pumpkin and chocolate in every bite. Top with chocolate chips before baking for extra decadence. My kids beg for this version.
Apple Pumpkin Dump Cake : Layer 2 cups of thinly sliced apples (Granny Smith or Honeycrisp work well) on top of the pumpkin mixture before adding the cake mix. The apples add texture and a tart contrast to the sweet pumpkin. This is my personal favorite fall variation.
Low-Sugar Option : Use a sugar-free yellow cake mix and reduce the granulated sugar to 1/2 cup. You can also use a sugar substitute like monk fruit sweetener, but be aware that it may affect the texture slightly. The pumpkin layer won’t be as silky, but it’ll still be tasty.
If you love fall baking as much as I do, you’ll also enjoy my cozy brown butter pumpkin bundt cake with maple glaze for when you want something a little more dressed up. And if you’re looking for a no-bake option that’s equally easy, my creamy no-bake pumpkin pie is perfect for those days when you don’t want to turn on the oven.
Serving & Storage Suggestions
This pumpkin dump cake is versatile when it comes to serving. Here’s how I like to enjoy it:
Serving Temperature : This cake is delicious warm, at room temperature, or even cold from the fridge. Warm is my personal favorite because the topping stays extra crispy and the pumpkin layer is soft and creamy. Room temperature is great for potlucks and gatherings. Cold leftovers make an amazing breakfast—don’t judge me.
Toppings : A dollop of freshly whipped cream is classic and perfect. Vanilla ice cream is a close second—the contrast between warm cake and cold ice cream is unbeatable. For something different, try a drizzle of caramel sauce or a sprinkle of cinnamon sugar on top. I’ve even served it with a scoop of pumpkin ice cream for maximum pumpkin flavor.
Complementary Dishes : This dessert pairs beautifully with a hot cup of coffee or spiced apple cider. If you’re serving it after a meal, keep the main course simple—something like my creamy crockpot cheeseburger potato soup or a simple roasted chicken works well. The rich, sweet dessert balances nicely with savory, comforting mains.
Storage Instructions : Cover the baking dish tightly with plastic wrap or aluminum foil and store in the refrigerator for up to 5 days. The topping will soften slightly as it sits, but the flavor actually improves over time. I actually think day-old dump cake is even better because the flavors have had time to meld.
Freezing : This cake freezes beautifully. Let it cool completely, then wrap the entire dish tightly in plastic wrap, followed by a layer of aluminum foil. Freeze for up to 3 months. To thaw, place in the refrigerator overnight. Reheat individual portions in the microwave for 30-45 seconds, or warm the whole dish in a 300°F oven for 15-20 minutes.
Reheating : The microwave works great for individual servings—about 30 seconds brings it back to warm and creamy. For larger portions, reheat in a 325°F oven for 10-15 minutes. If the topping has softened too much, pop it under the broiler for 1-2 minutes to crisp it up again. Just watch it carefully so it doesn’t burn.
One thing I’ve noticed: the flavors develop and deepen after a day in the fridge. The spices become more pronounced, and the pumpkin layer gets even creamier. So if you can resist eating it all the first day, you’re in for a treat the next day.
Nutritional Information & Benefits
Let’s be honest—this is a dessert, and it’s meant to be enjoyed. But there are some redeeming qualities worth mentioning.
Estimated Nutritional Values (per serving, 1/12 of recipe):
- Calories: 380
- Total Fat: 18g
- Saturated Fat: 10g
- Cholesterol: 75mg
- Sodium: 420mg
- Total Carbohydrates: 52g
- Dietary Fiber: 2g
- Sugars: 35g
- Protein: 5g
Health Benefits : Pumpkin is packed with vitamin A (over 200% of your daily needs in one serving), which supports eye health and immune function. It’s also a good source of fiber, which aids digestion and helps you feel full. The eggs add protein, and the spices (cinnamon, ginger, nutmeg) have anti-inflammatory properties. So while this isn’t health food, it’s not empty calories either.
Dietary Considerations : This recipe is vegetarian. For gluten-free, dairy-free, or low-sugar options, check the variations section above. It contains wheat (from the cake mix), dairy (butter and evaporated milk), and eggs. If you have nut allergies, simply omit the pecans.
My Perspective : I believe in enjoying desserts in moderation. This pumpkin dump cake is a treat, not an everyday food. But when you do indulge, make it count. Use quality ingredients, savor every bite, and don’t feel guilty about going back for seconds. Life’s too short for bad dessert.
Frequently Asked Questions
Can I use pumpkin pie filling instead of pumpkin puree?
I wouldn’t recommend it. Pumpkin pie filling already has sugar and spices added, which will make your dump cake overly sweet and throw off the spice balance. Stick with 100% pure pumpkin puree for the best results. If you only have pumpkin pie filling, reduce the sugar to 1/2 cup and omit the pumpkin pie spice and cinnamon.
Why is my dump cake soggy in the middle?
This usually happens for one of three reasons: you didn’t bake it long enough, you served it too soon, or your pumpkin puree was too watery. Make sure you’re baking until the center is set and the top is golden brown. Let it cool for at least 20-30 minutes before serving. If your pumpkin puree looks watery, drain off any excess liquid before using.
Can I make this in advance?
Absolutely! You can assemble the entire dish (without baking) up to 24 hours in advance. Cover and refrigerate, then bake as directed when you’re ready. You may need to add 5-10 minutes to the baking time since you’re starting from cold. Baked dump cake also keeps well in the fridge for up to 5 days.
Can I use a different cake mix flavor?
Yes! White cake mix, spice cake mix, butter pecan cake mix, or even chocolate cake mix all work beautifully. Spice cake mix is especially good because it adds extra warm spices that complement the pumpkin. If you’re using a flavored mix, you might want to adjust the spices in the pumpkin layer accordingly.
How do I know when the dump cake is done?
The top should be golden brown and the edges will be bubbly. Insert a toothpick or fork into the topping—it should come out with just a few moist crumbs, not wet batter. The pumpkin layer underneath will still be soft, but it should be set, not liquid. If in doubt, give it 5 more minutes and check again.
Conclusion
This easy pumpkin dump cake with yellow cake mix is the kind of recipe that makes you look like a hero with almost zero effort. It’s warm, comforting, and tastes like fall in every single bite. Whether you’re hosting Thanksgiving, bringing a dessert to a potluck, or just craving something sweet on a chilly evening, this recipe delivers every single time.
What I love most about this recipe is how forgiving it is. You don’t need to be a skilled baker. You don’t need fancy equipment. You just need a can of pumpkin, a box of cake mix, and a little bit of trust in the process. And honestly, that’s the kind of cooking I need more of in my life—simple, honest, and delicious.
I’d love to hear how yours turns out! Did you try any variations? Did you add extra spices or toppings? Drop a comment below and let me know. And if you loved this recipe, share it with a friend who needs a little fall comfort in their life. Happy baking, friends!
Pin This Recipe!
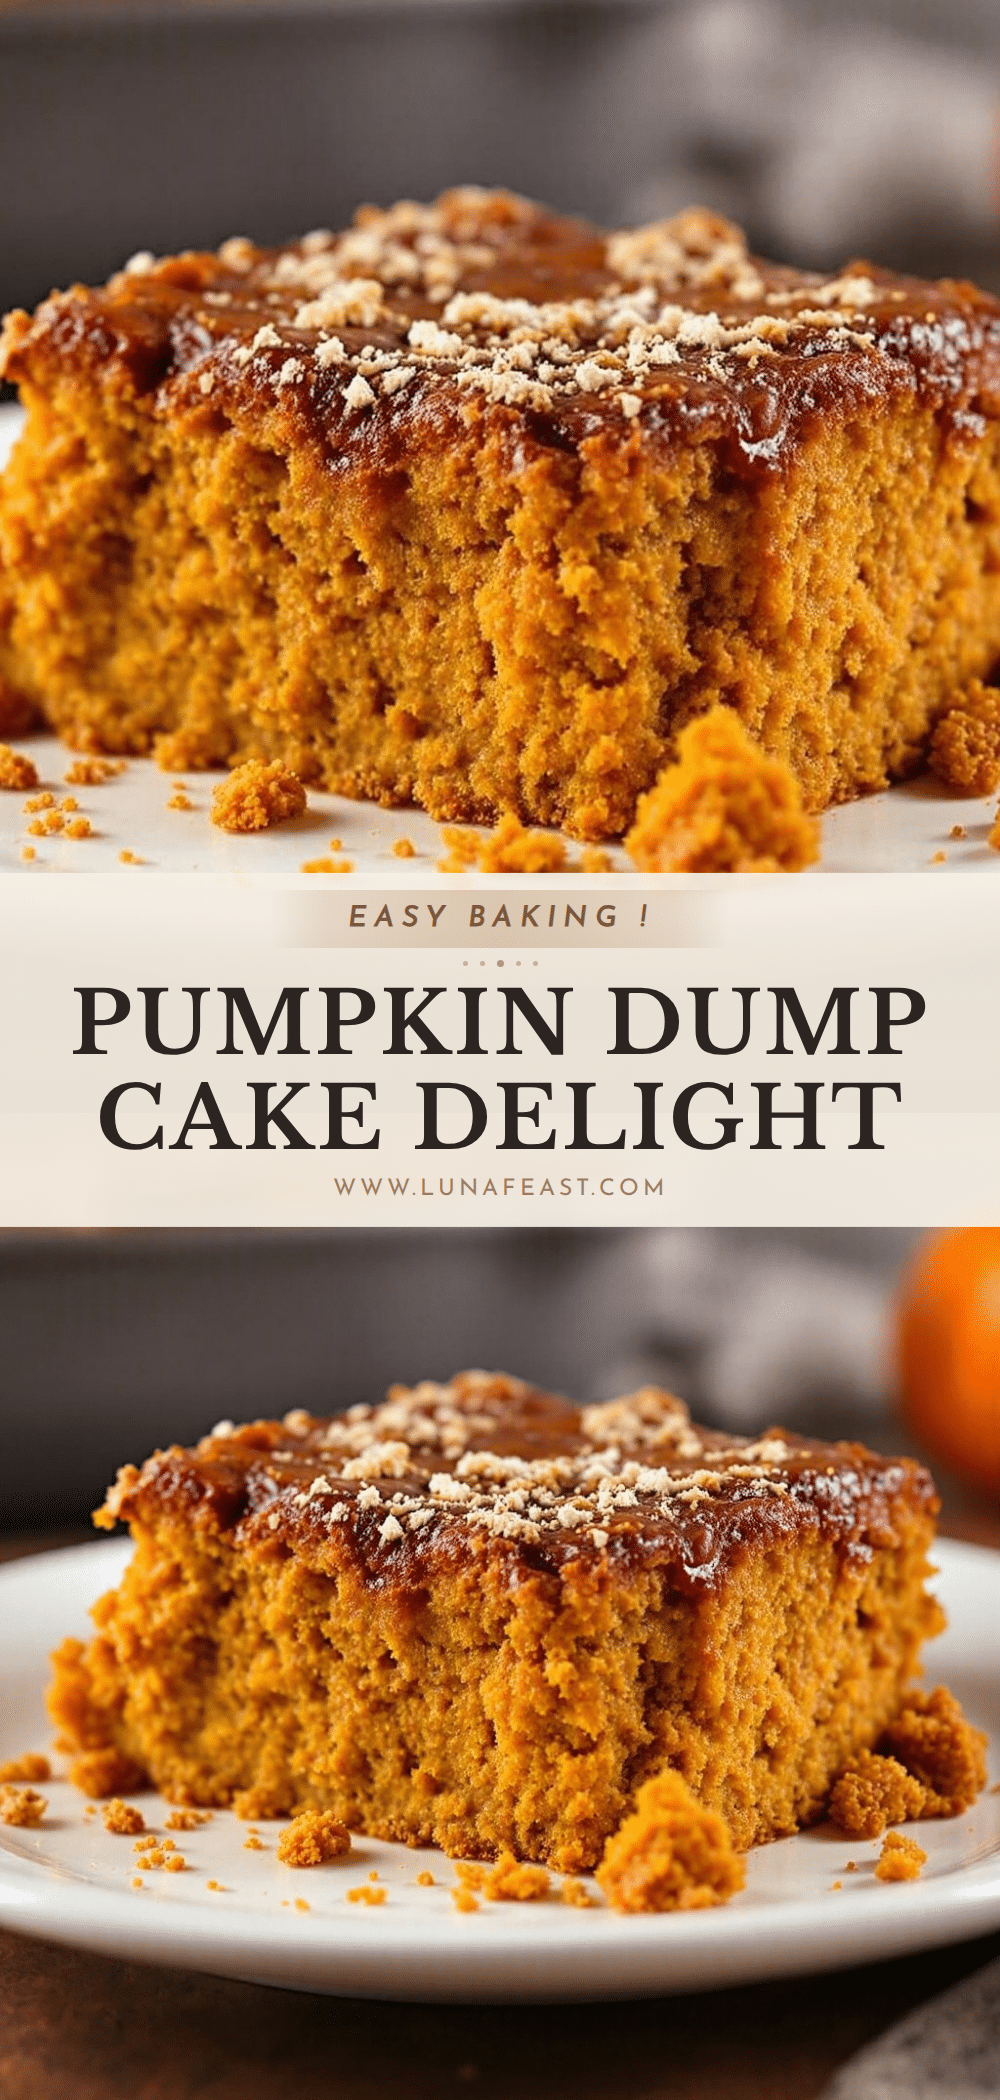
Best Easy Pumpkin Dump Cake with Yellow Cake Mix
This easy pumpkin dump cake with yellow cake mix is a simple, forgiving dessert that tastes like you spent hours in the kitchen. With a buttery, crumbly topping over a silky pumpkin layer, it’s the perfect fall treat for any gathering.
- Prep Time: 15 minutes
- Cook Time: 50 minutes
- Total Time: 1 hour 5 minutes
- Yield: 12 servings 1x
- Category: Dessert
- Cuisine: American
Ingredients
- 1 can (15 oz) pumpkin puree
- 1 can (12 oz) evaporated milk
- 3 large eggs, room temperature
- 1 cup granulated sugar
- 2 teaspoons pumpkin pie spice
- 1 teaspoon ground cinnamon
- 1/4 teaspoon salt
- 1 box (15.25 oz) yellow cake mix
- 1 cup (2 sticks) unsalted butter, melted
- 1/2 cup chopped pecans (optional)
Instructions
- Preheat your oven to 350°F (175°C). Lightly grease a 9×13-inch baking dish with butter or non-stick spray.
- In a large mixing bowl, combine the pumpkin puree, evaporated milk, eggs, sugar, pumpkin pie spice, cinnamon, and salt. Whisk until smooth and well combined, about 1-2 minutes.
- Pour the pumpkin mixture into the prepared baking dish and spread evenly with a spatula.
- Sprinkle the dry yellow cake mix evenly over the pumpkin layer. Do not stir.
- If using pecans, sprinkle them over the cake mix layer.
- Drizzle the melted butter as evenly as possible over the entire surface of the cake mix. Do not stir.
- Bake for 45-50 minutes, until the top is golden brown and the edges are bubbly. The center should be set and a toothpick inserted into the topping should come out with just a few moist crumbs.
- Let the cake cool on a wire rack for at least 20-30 minutes before serving.
- Serve warm or at room temperature, topped with whipped cream or vanilla ice cream if desired.
Notes
Use 100% pure pumpkin puree, not pumpkin pie filling. Let the cake cool for at least 20-30 minutes before serving to allow the pumpkin layer to set. For best results, use room temperature eggs. If the top browns too quickly, tent with foil for the last 10 minutes of baking. Store covered in the refrigerator for up to 5 days. Freezes well for up to 3 months.
Nutrition
- Serving Size: 1/12 of recipe
- Calories: 380
- Sugar: 35
- Sodium: 420
- Fat: 18
- Saturated Fat: 10
- Carbohydrates: 52
- Fiber: 2
- Protein: 5
Keywords: pumpkin dump cake, easy pumpkin dessert, yellow cake mix, fall dessert, Thanksgiving dessert, dump cake


