The lunchbox came home empty. Not just empty—clean. No crusts shoved to the bottom, no half-eaten apple slices. My five-year-old actually asked if I could pack “the pizza lunch” again tomorrow. That never happens.
I wasn’t trying to be a Pinterest-perfect mom that morning. I was just tired of spending seven dollars on those store-bought kits with the tiny pepperoni and cardboard-tasting crust. You know the ones. They’re convenient, sure, but the ingredient list reads like a science experiment, and honestly—my kid deserves better than that.
So I grabbed a few things from the fridge, some whole wheat crackers from the pantry, and a little container of sauce I had leftover from spaghetti night. I threw it all in a bento-style box and crossed my fingers. The result? A DIY lunchable pizza kit that was cheaper, healthier, and—according to my very picky taste-tester—way more fun to eat.
This isn’t some elaborate homemade project that takes an hour of prep. It’s a simple, real-food alternative to the packaged stuff. And it works. Whether you’re packing school lunches, prepping for a road trip, or just need a quick after-school snack that doesn’t involve a fight, this easy DIY lunchable pizza kit for kids is about to become your new best friend.
Let me show you how to make it.
Why You’ll Love This Recipe
I’ve tested this concept about a dozen times now—different crackers, different cheeses, different ways to pack the sauce so it doesn’t leak everywhere. What I landed on is the version that makes my kid actually eat all the components and ask for seconds. That’s the kind of mom-win we’re talking about here.
- Quick & Easy : This takes less than 10 minutes to assemble. Seriously. You can throw one together while you’re waiting for your coffee to brew in the morning.
- Simple Ingredients : No weird preservatives, no artificial colors, no ingredients you can’t pronounce. Just real food you probably already have in your kitchen.
- Perfect for Busy Days : School lunches, road trips, park picnics, or just a “I don’t feel like cooking” dinner for the kids. It works everywhere.
- Totally Customizable : Picky eater? No problem. You can swap out the toppings based on what your kid actually likes. Mine goes for plain cheese, but a friend’s kid loves adding mini pepperonis.
- Budget-Friendly : A single store-bought kit costs around four dollars. Homemade versions cost about a dollar per serving. That adds up fast when you’re packing lunches every day.
What makes this different from just throwing crackers and cheese in a bag? It’s the assembly experience. Kids love building their own mini pizzas at lunchtime. It turns a boring meal into something interactive. And honestly? That little bit of fun makes them actually eat it.
This recipe isn’t just about saving money—though that’s a nice bonus. It’s about giving your kid a lunch that feels special without a ton of effort on your part. And when they come home with an empty lunchbox, you’ll know you nailed it.
What Ingredients You Will Need
This recipe uses simple, everyday ingredients to create a lunch that feels like a treat. No fancy grocery runs required—you probably have most of this stuff already.
- Mini whole wheat crackers or mini pizza crusts : These are the base of your pizza. I prefer whole wheat crackers for extra fiber, but regular saltines or even mini naan bread work great. Look for round crackers that are about two inches across—they’re the perfect size for little hands.
- Pizza sauce : You can use jarred pizza sauce or make your own with canned tomato sauce and Italian seasoning. I like to use a thicker sauce so it doesn’t make the crackers soggy by lunchtime. Rao’s is my go-to brand, but any brand works.
- Shredded mozzarella cheese : Part-skim mozzarella melts beautifully and doesn’t get greasy. Pre-shredded is fine in a pinch, but freshly shredded melts better and has less anti-caking powder. My kid actually prefers the pre-shredded kind because it’s drier, so do what works for you.
- Mini pepperoni : These are optional but highly recommended. Look for the mini pepperoni rounds that are about the size of a quarter. They’re perfectly proportioned for mini pizzas. If you can’t find mini ones, just cut regular pepperoni into quarters.
- Small container for sauce : You’ll need a leak-proof container to pack the sauce separately. I use small silicone cups or mini mason jars. The key is making sure the lid seals tight.
- Optional toppings : Diced bell peppers, sliced olives, cooked crumbled sausage, mushrooms, or pineapple. Whatever your kid likes on their pizza.
One thing I learned the hard way: don’t assemble the pizzas ahead of time. The crackers get soft and sad. Pack everything separate and let them build their own at lunch. It’s way more fun that way anyway.
For the sauce, I sometimes make a big batch and freeze it in small portions. That way I always have a single serving ready to go. It takes five minutes to make and saves me from buying jarred sauce when I’m out.
Equipment Needed
The beauty of this recipe is that you don’t need much. Here’s what you’ll need to pull it together:
- Bento-style lunch box or compartment container : This is the most important piece. You want separate compartments for the crackers, cheese, pepperoni, and any other toppings. I use a three-compartment bento box and it works perfectly. If you don’t have one, you can use small silicone cups inside a regular lunch box.
- Small leak-proof container for sauce : A mini mason jar or a small silicone sauce cup works great. I’ve tried using a zip-top bag, but it always ends up leaking. Spend the few dollars on a proper container—your lunchbox will thank you.
- Cutting board and knife : For slicing any fresh toppings like bell peppers or mushrooms. A small paring knife is all you need.
- Measuring spoons : For portioning out the sauce. You don’t need to be exact, but it helps to know how much fits in your container.
- Small cookie cutters (optional) : If you want to get fancy, you can cut cheese slices into fun shapes. My kid loves star-shaped cheese on her pizza. It takes an extra 30 seconds and makes her day.
I’ve made these kits with just a regular lunch bag and some small containers from the dollar store, and it worked fine. Don’t overthink the equipment. The most important thing is that the sauce doesn’t leak and the crackers stay crunchy.
Preparation Method
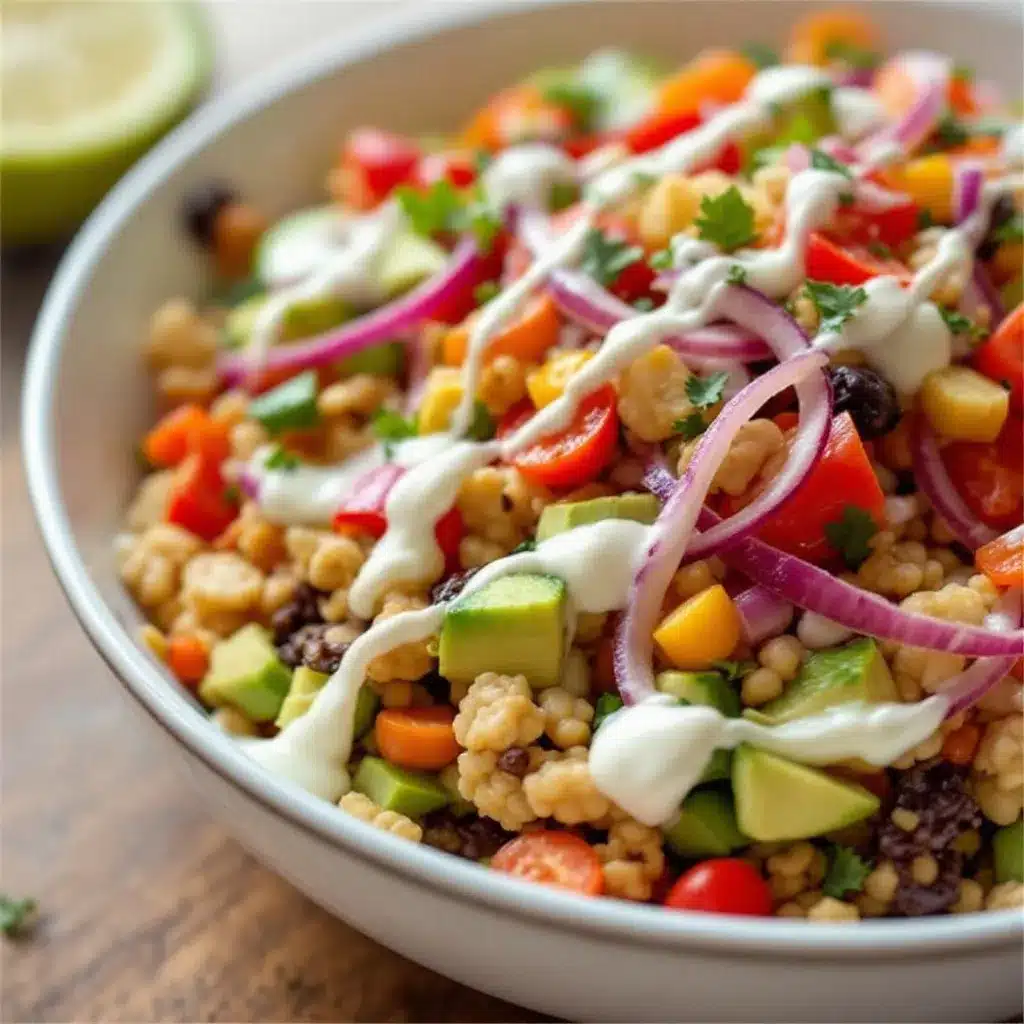
Let me walk you through exactly how I put these together. It’s simple, but a few little tricks make all the difference.
- Prep your sauce. If you’re using jarred sauce, spoon about 2-3 tablespoons into your small leak-proof container. If you’re making your own, mix 1/4 cup tomato sauce with 1/2 teaspoon Italian seasoning and a pinch of garlic powder. Let it cool completely before packing—warm sauce will make everything soggy.
- Portion your crackers. Count out about 8-10 mini crackers per serving. Place them in one compartment of your lunch box. I like to arrange them in a single layer so they don’t break. If you’re using mini naan or pita rounds, cut them into smaller pieces first.
- Measure the cheese. Sprinkle about 1/4 cup of shredded mozzarella into another compartment. Don’t pack it down—keep it loose so it’s easy for little fingers to grab. If your kid prefers slices, cut two or three small rounds of fresh mozzarella instead.
- Add the pepperoni. Count out 8-10 mini pepperoni slices and place them in a third compartment. If you’re using regular pepperoni, cut each slice into four small pieces. My kid likes hers whole, but some kids prefer smaller bits.
- Prep any extra toppings. Dice any vegetables or other toppings into small, kid-friendly pieces. About 1/4 cup total is plenty. Store them in a separate compartment or small container. I usually add diced bell peppers because my kid actually eats them this way.
- Pack it all up. Arrange everything in your bento box or lunch container. Make sure the sauce container is sealed tight and placed in a spot where it won’t tip over. I usually put it in the center of the lunch box surrounded by the other compartments for stability.
- Add a napkin and instructions. This sounds silly, but if someone else is packing your kid’s lunch, write a quick note: “Crackers + sauce + cheese + toppings = mini pizza!” My husband once packed the sauce on the side with no explanation, and my kid ate plain crackers for lunch. Learn from my mistake.
A few sensory cues to watch for: the crackers should feel dry and crisp, not soft or bendy. The cheese should be fluffy, not clumped together. The sauce should be thick enough that it doesn’t run when you tilt the container. If it’s too thin, simmer it for a few minutes to reduce it.
Cooking Tips & Techniques
I’ve made a lot of mistakes with these lunch kits. Let me save you some trouble.
Don’t assemble ahead of time. This is the biggest mistake I made at first. I thought I’d be clever and build the mini pizzas the night before. By lunchtime, the crackers were soft, the cheese was sweaty, and my kid refused to eat them. Keep everything separate until they’re ready to eat.
Choose the right cracker. Not all crackers hold up to sauce. I’ve tried saltines, Ritz, and even wheat thins. The winners are sturdy crackers like whole wheat rounds, mini naan, or even bagel thins cut into small circles. They need to be thick enough to hold moisture without turning into mush.
Thicken your sauce. If you’re using jarred pizza sauce, you might need to thicken it. Pour it into a small pan and simmer for 5-7 minutes until it reduces. You want it to be the consistency of tomato paste, not soup. A thick sauce stays put on the cracker and doesn’t make everything soggy.
Keep cheese cold. Pack the cheese compartment with a small ice pack if you’re worried about food safety. Shredded cheese can get warm and clumpy by lunchtime. I use a reusable ice pack in the lunch bag and it keeps everything perfectly chilled.
Prep in batches. On Sunday evening, I portion out sauce into small containers for the whole week. I also pre-count crackers and pepperoni into baggies. Then in the morning, I just grab a baggie of each and toss them in the lunch box. Takes 30 seconds.
Test the seal. Before you pack the sauce container, hold it upside down over the sink for a second. If it leaks, wrap the lid with plastic wrap before screwing it on. I learned this one after a very sad lunchbox incident involving marinara all over a library book.
Variations & Adaptations
One of the best things about this recipe is how flexible it is. Here are some variations I’ve tried and loved.
Gluten-Free Version : Use gluten-free crackers or mini rice cakes as the base. The rice cakes hold up surprisingly well to sauce. My friend’s son has celiac disease, and this version works great for him. Just double-check that your pepperoni and sauce are gluten-free too.
Vegetarian Version : Skip the pepperoni and load up on veggies. Diced bell peppers, mushrooms, olives, and even small broccoli florets work great. My kid actually prefers this version when I add a little sprinkle of dried oregano on top.
Protein-Packed Version : Add cooked, crumbled turkey sausage or diced grilled chicken to the toppings compartment. You can also use turkey pepperoni for a leaner option. My husband packs these for his work lunches sometimes—they’re not just for kids.
Dairy-Free Version : Use dairy-free shredded cheese or skip the cheese entirely and add extra veggies and protein. Nutritional yeast sprinkled on top gives a cheesy flavor without the dairy. My sister uses this version for her lactose-intolerant daughter and swears by it.
Breakfast Version : Swap the pizza sauce for a little cream cheese or peanut butter, and use mini bagels instead of crackers. Add some berries on the side. It’s not pizza anymore, but it’s a fun breakfast twist that my kid loves.
Bento Box Upgrade : Add a small container of apple slices or baby carrots to round out the meal. A yogurt tube or a handful of grapes makes it a complete lunch. I usually pack a small treat like a chewy chocolate chip cookie for dessert.
Serving & Storage Suggestions
These lunch kits are best eaten fresh, but there are a few ways to prep ahead.
Serving Temperature : Everything should be cold or room temperature. Don’t heat the sauce before packing—it’ll make the crackers soggy. If your kid likes warm pizza, you can pack the components separately and let them assemble and microwave at school (if a microwave is available).
Presentation : I like to arrange everything in a bento box with the compartments clearly separated. It looks more appealing than a jumble of ingredients in a bag. My kid actually eats more when the food looks organized and fun.
Storage : You can prep the components up to 5 days in advance. Keep the crackers in an airtight container at room temperature. Store the sauce, cheese, and pepperoni in separate containers in the refrigerator. Assemble the lunch kit fresh in the morning.
Freezer Instructions : You can freeze the sauce in small portions for up to 3 months. Just thaw it overnight in the refrigerator before using. Don’t freeze the crackers or cheese—they’ll lose their texture.
How Flavors Develop : The sauce actually tastes better after a day or two in the fridge. The herbs have time to meld together. I always make a double batch of sauce on Sunday and use it throughout the week.
What to Serve With It : A side of baby carrots, cucumber slices, apple slices, or a small fruit cup rounds out the meal. I also pack a creamy overnight oats cup for a filling breakfast on busy mornings. For a complete lunch, add a yogurt tube or a string cheese.
Nutritional Information & Benefits
This DIY lunchable pizza kit is a much healthier alternative to the store-bought version. Here’s a rough breakdown per serving (using whole wheat crackers, part-skim mozzarella, and mini pepperoni):
| Nutrient | Amount per Serving |
|---|---|
| Calories | 280-320 |
| Protein | 15g |
| Carbohydrates | 28g |
| Fiber | 4g |
| Fat | 14g |
| Saturated Fat | 6g |
| Sodium | 580mg |
| Calcium | 250mg |
The whole wheat crackers provide fiber for steady energy, while the cheese offers calcium and protein for growing bones and muscles. The tomato sauce is rich in lycopene, an antioxidant linked to heart health. By making this at home, you control the sodium and avoid the preservatives found in packaged lunch kits.
This recipe is naturally nut-free (if you check your cracker ingredients), making it a safe option for nut-free schools. It can be made gluten-free, dairy-free, or vegetarian with simple substitutions. Always check labels on pepperoni and sauce for hidden allergens.
From a wellness perspective, I love that this lunch feels like a treat but actually has real nutritional value. My kid thinks she’s getting a special lunch, and I know she’s getting protein, calcium, and whole grains. It’s a win-win that makes lunchtime less stressful for both of us.
Conclusion
This easy DIY lunchable pizza kit for kids has honestly changed our lunch-packing routine. No more fighting about what goes in the lunchbox. No more spending four dollars on a tiny tray of processed food. Just real ingredients, a little bit of prep, and a happy kid at the end of the day.
What I love most about this recipe is how adaptable it is. You can make it work for any kid, any diet, any schedule. Whether you’re packing for a picky eater, a food-allergic kid, or just someone who likes to build their own lunch, this kit delivers.
I’d love to hear how it works for your family. Did your kid add any weird toppings? Did you discover a cracker that works better than mine? Drop a comment below and share your version. And if you’re looking for more easy lunch ideas, check out this cheesy cheeseburger casserole that my kids devour every time.
Here’s to empty lunchboxes and happy kids. You’ve got this.
Frequently Asked Questions
Can I make these lunch kits the night before?
You can prep the components the night before, but don’t assemble the pizzas. Keep the crackers, cheese, pepperoni, and sauce in separate containers in the refrigerator. Assemble everything in the lunch box fresh in the morning to keep the crackers crunchy.
What crackers work best for these mini pizzas?
Sturdy crackers like whole wheat rounds, mini naan, or mini bagel thins work best. Avoid thin, crispy crackers like saltines or Ritz—they get soggy too quickly. I’ve had the best luck with whole wheat crackers that are about 1/4 inch thick.
How do I keep the sauce from leaking?
Use a leak-proof container with a tight-sealing lid. I recommend small silicone sauce cups or mini mason jars with screw-top lids. Before packing, test the seal by holding the container upside down over the sink. If it leaks, wrap the lid with plastic wrap before screwing it on.
Can I use homemade pizza sauce?
Absolutely! Homemade sauce is easy to make and often tastes better than jarred. Mix 1/4 cup tomato sauce with 1/2 teaspoon Italian seasoning and a pinch of garlic powder. Simmer for 5-7 minutes to thicken it, then let it cool completely before packing.
How long do these lunch kits last in the fridge?
The prepped components can be stored separately in the refrigerator for up to 5 days. Keep the crackers in an airtight container at room temperature. Assemble the lunch kit fresh each morning for the best texture and taste.
Pin This Recipe!
Easy DIY Lunchable Pizza Kit for Kids

A simple, real-food alternative to store-bought lunch kits that kids can assemble themselves. Quick to prepare, customizable, and budget-friendly.
- Prep Time: 10 minutes
- Cook Time: 0 minutes
- Total Time: 10 minutes
- Yield: 1 serving 1x
- Category: Lunch
- Cuisine: American
Ingredients
- 8–10 mini whole wheat crackers or mini pizza crusts
- 2–3 tablespoons pizza sauce
- 1/4 cup shredded mozzarella cheese
- 8–10 mini pepperoni slices (optional)
- Optional toppings: diced bell peppers, sliced olives, cooked crumbled sausage, mushrooms, pineapple
Instructions
- Prep your sauce: Spoon 2-3 tablespoons of jarred pizza sauce into a small leak-proof container. If making your own, mix 1/4 cup tomato sauce with 1/2 teaspoon Italian seasoning and a pinch of garlic powder. Let cool completely before packing.
- Portion your crackers: Count out 8-10 mini crackers per serving and place them in one compartment of your lunch box.
- Measure the cheese: Sprinkle about 1/4 cup of shredded mozzarella into another compartment.
- Add the pepperoni: Count out 8-10 mini pepperoni slices and place them in a third compartment.
- Prep any extra toppings: Dice any vegetables or other toppings into small, kid-friendly pieces (about 1/4 cup total).
- Pack it all up: Arrange everything in your bento box or lunch container. Make sure the sauce container is sealed tight.
- Add a napkin and instructions: Write a quick note explaining how to assemble the mini pizzas.
Notes
Do not assemble the pizzas ahead of time; the crackers will get soggy. Pack everything separately and let kids build their own at lunch. For best results, use sturdy crackers like whole wheat rounds or mini naan. Thicken jarred sauce by simmering for 5-7 minutes to prevent sogginess. Keep cheese cold with an ice pack.
Nutrition
- Serving Size: 1 kit
- Calories: 300
- Sugar: 4
- Sodium: 580
- Fat: 14
- Saturated Fat: 6
- Carbohydrates: 28
- Fiber: 4
- Protein: 15
Keywords: DIY lunchable, pizza kit, kids lunch, school lunch, easy lunch, homemade lunchable, bento box lunch


