The smell hit me first. It wasn’t the sweet, vanilla-heavy scent of a standard banana bread. It was nutty, almost like toasted hazelnuts or browned milk solids from a sauce. I was standing over my stove, watching the butter foam and spit, wondering if I’d actually burned my kitchen down. The milk solids at the bottom of the pan were turning a deep amber, and my heart sank. I had just wasted a stick of butter.
Then I remembered the recipe I’d bookmarked months ago, the one promising this “best ever” loaf. I scraped those browned bits into the bowl with the bananas. Honestly, I was skeptical. Would it be bitter? Too rich? I mixed it all together, the warm butter melting into the mashed fruit, creating a glossy, fragrant batter. I dumped in the walnuts, which I’d toasted separately because I was paranoid about undercooked nuts, and poured it into the pan.
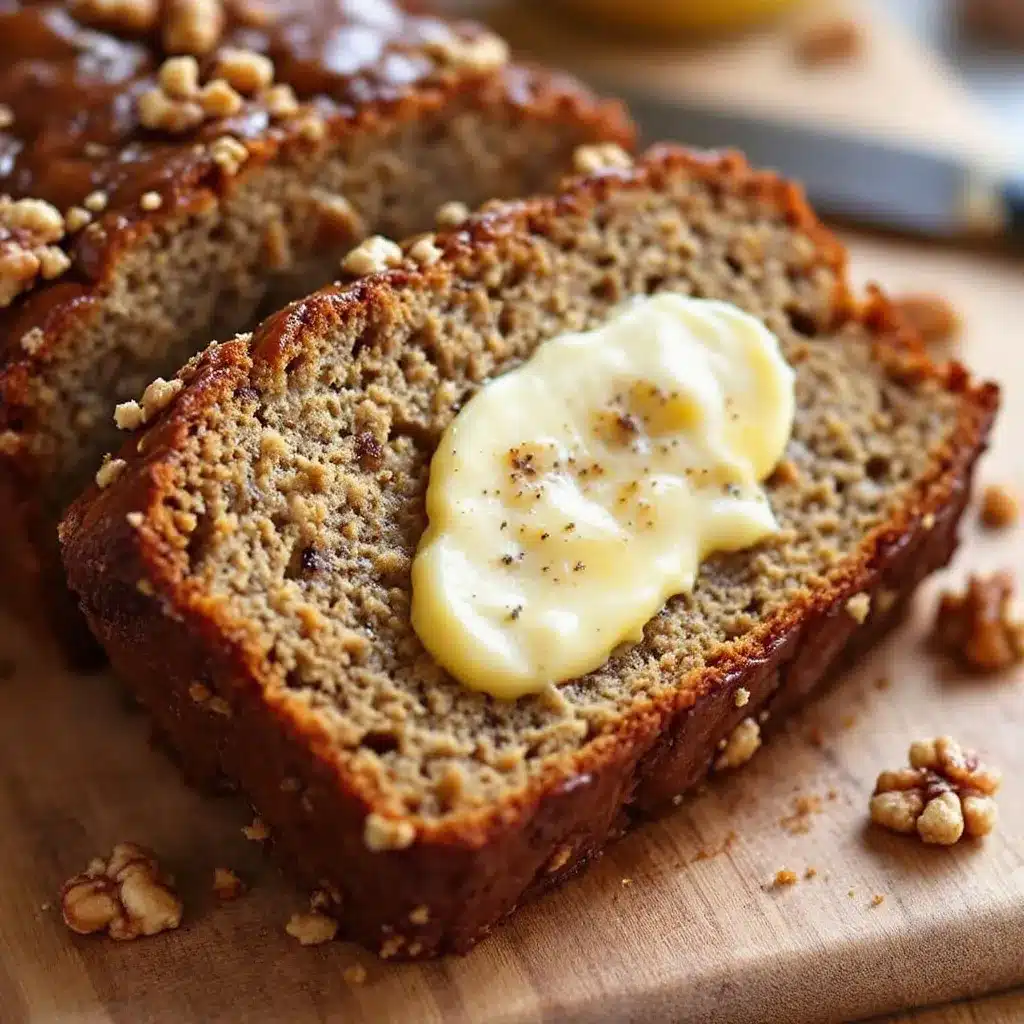
While it baked, the house filled with that same savory-sweet aroma. It smelled like a bakery, not my usual Tuesday morning scramble. When I pulled it out, the crust was perfectly golden, and the center had that satisfying jiggle. I waited, painfully, for it to cool. The first slice, warm from the oven with a little extra butter melting on top, changed everything. The texture was dense but moist, not dry like some banana breads. The brown butter added this depth you just can’t get from regular melted butter. It’s rich, but in a way that doesn’t weigh you down. I’ve made this moist pumpkin banana walnut bread before, but this version has a different soul. It’s the kind of loaf that makes you stop mid-chew and just stare at the wall. That’s the moment you know it’s good.
Why You’ll Love This Recipe
This isn’t just another banana bread recipe you’ll find buried on page three of a search result. This is the one you’ll make every time you have overripe bananas, mostly because the brown butter step changes the entire flavor profile. I spent years making standard banana breads, only to find them a bit one-note. The addition of browned butter adds a toasty, caramel-like complexity that elevates the simple ingredients. It’s the difference between a good sandwich and a great one.
- Quick & Easy: Despite the extra step of browning the butter, this recipe comes together in under 45 minutes of active time. You don’t need to be a pastry chef to pull this off. It’s perfect for busy weeknights or when you just need a treat fast.
- Simple Ingredients: You likely already have everything in your kitchen. Bananas, butter, sugar, eggs, flour, and walnuts. No fancy grocery trips needed. It’s pantry-friendly cooking at its best.
- Perfect for Gift Giving: This loaf looks and tastes impressive enough to wrap up and give to neighbors or teachers. It feels special without the stress of decorating.
- Crowd-Pleaser: Kids usually love banana bread for the sweetness, but adults appreciate the nutty depth. It bridges that gap perfectly. It’s always a hit at potlucks or brunches.
- Unbelievably Delicious: The texture is moist and tender, not dense or gummy. The walnuts add a necessary crunch that contrasts with the soft crumb. It’s comfort food reimagined.
What makes this recipe different is the technique. Most people skip browning their butter because it sounds like work. But that step creates Maillard reaction compounds that add a savory note to balance the sweet bananas. It’s a small effort for a huge payoff. If you’ve ever tried my easy cinnamon sugar apple fritter bread, you know I love bold flavors, but this one is more subtle and sophisticated. It’s the kind of bread that makes you close your eyes after the first bite. It’s nostalgic but new.
What Ingredients You Will Need
This recipe relies on the quality of a few key components because there isn’t much hiding behind the flavors. The brown butter is the star, so use good quality unsalted butter. Salted butter can work, but you’ll need to adjust the added salt. For the bananas, you want them to be as overripe as possible. Brown skins mean maximum sweetness and easier mashing. The walnuts add texture, but you can swap them for pecans if you prefer.
For the Batter
- Unsalted Butter (113g / 1/2 cup): High-quality butter makes a difference here. I recommend using a European-style butter for higher fat content, which browns more beautifully.
- Ripe Bananas (3 medium, approx. 350g mashed): Look for bananas with black spots. The riper, the sweeter. If they aren’t ripe enough, bake them in the oven at 300°F (150°C) for 15 minutes to soften them.
- Granulated Sugar (100g / 1/2 cup): You can use brown sugar for a deeper molasses flavor, but white sugar keeps the crumb lighter. I stick with white for consistency.
- Eggs (2 large, room temperature): Room temperature eggs emulsify better into the butter mixture. Cold eggs can cause the batter to separate slightly.
- Vanilla Extract (1 tsp): Use pure vanilla extract, not imitation. It adds warmth that complements the toasted nuts.
For the Dry Mix
- All-Purpose Flour (150g / 1 1/4 cups): Spoon and level your flour. Scooping directly from the bag packs it down and leads to dry bread.
- Baking Soda (1/2 tsp): Ensure it’s fresh. Old baking soda won’t give you the rise you need.
- Salt (1/4 tsp): Just enough to balance the sweetness.
- Cinnamon (1/2 tsp): Optional, but it adds a cozy background note. Skip it if you want a pure banana-walnut flavor.
For the Topping
- Walnuts (60g / 1/2 cup, chopped): Toasting them beforehand is crucial. Raw nuts can taste bland in the final loaf.
- Coarse Sugar (optional): A sprinkle on top before baking adds a crunchy, crackly crust.
For sourcing, I always pick up my walnuts from a local market where they turn over stock frequently. Stale nuts ruin the flavor. If you can’t find walnuts, pecans are a great substitute, or you can omit them for a nut-free version, though the texture suffers slightly.
Equipment Needed
You don’t need much fancy gear for this, but having the right tools makes the process smoother. A medium saucepan is essential for browning the butter. A non-stick or stainless steel pan works best so you can see the color change clearly. A wooden spoon or heat-resistant spatula is good for scraping the browned milk solids.
For mixing, a large bowl and a hand mixer or stand mixer are helpful, though a whisk works fine. You’ll need a standard 9×5 inch loaf pan. I prefer dark metal pans because they conduct heat well and create a nicer crust, but glass pans work too—you just might need to lower the oven temperature by 25°F. A cooling rack is necessary to stop the cooking process once the bread is out. If you don’t have a cooling rack, a wire oven rack works in a pinch. Avoid using plastic containers for cooling, as trapped steam can make the bottom soggy.
Preparation Method
Start by preheating your oven to 350°F (175°C). Grease your 9×5 inch loaf pan with butter or cooking spray, and line it with parchment paper for easy removal. This step is non-negotiable if you want clean slices.
Next, brown the butter. Place the butter in your saucepan over medium heat. It will melt and then start to foam. Keep it moving, stirring constantly with a wooden spoon. Watch it closely. The foam will subside slightly, and you’ll see brown specks forming at the bottom. The smell will change from buttery to nutty. This takes about 5-7 minutes. As soon as it smells like toasted nuts, remove it from the heat and pour it into a heat-proof bowl to stop the cooking. This is critical; residual heat will burn the butter if you leave it in the pan.
While the butter cools for a minute, mash your bananas in a large mixing bowl. You want them smooth, with no large chunks left. Stir in the browned butter, sugar, eggs, and vanilla extract. Whisk until the mixture is smooth and slightly glossy. The butter will solidify a bit as it cools, so don’t panic if it looks curdled. Just keep mixing.
In a separate bowl, whisk together the flour, baking soda, salt, and cinnamon. Gradually add the dry ingredients to the wet mixture. Use a spatula to fold them in gently. Stop as soon as no streaks of flour remain. Overmixing develops gluten and leads to tough bread. Fold in the toasted walnuts now.
Pour the batter into your prepared loaf pan. Smooth the top with the spatula. If you’re using coarse sugar for the topping, sprinkle it evenly over the batter. Bake for 55-65 minutes. Check at 50 minutes. If the top is browning too quickly, tent it loosely with aluminum foil. The bread is done when a toothpick inserted into the center comes out clean or with just a few moist crumbs. Do not overbake, or it will be dry.
Let the bread cool in the pan for 10 minutes, then transfer it to a wire rack to cool completely. This step is hard, but slicing warm banana bread can make it gummy. Wait at least 30 minutes before slicing.
Cooking Tips & Techniques
Browning butter is an art, not a science. The biggest mistake people make is walking away. It goes from perfect to burnt in seconds. If you smell smoke, you’ve gone too far. Start over. The color should be amber, like honey. If it’s dark brown, it’s likely bitter.
Another common error is using underripe bananas. Green bananas have no sweetness and a starchy texture. Use bananas that are mostly brown or black. If you’re worried about waste, freeze ripe bananas in their peels. Thaw them before peeling and mashing. They release more water, so you may need to reduce the flour slightly.
Toast your walnuts. Raw nuts in banana bread can taste dusty. Toasting them in a dry skillet for 3-5 minutes brings out their oils and crunch. Let them cool completely before chopping to avoid crumbling.
Don’t skip the resting time. Banana bread continues to cook as it rests. Cutting it too soon releases steam and makes the texture dense. Patience is key. Also, store your bread properly. Wrap it tightly in plastic wrap once completely cool to retain moisture.
Variations & Adaptations
This recipe is a blank canvas. You can tweak it to suit your dietary needs or taste preferences. For a gluten-free version, use a 1:1 gluten-free flour blend. Make sure it contains xanthan gum, or add 1/2 tsp to prevent crumbling.
For a dairy-free option, use a high-quality plant-based butter that browns well. Coconut oil works too, but it won’t have the nutty flavor. Swap the butter for an equal amount of coconut oil, melted.
If you want a chocolate twist, fold in 1/2 cup of dark chocolate chips along with the walnuts. The bitterness of the chocolate pairs beautifully with the brown butter. You can also add a swirl of peanut butter or almond butter to the batter before baking for a marbled effect.
For a healthier spin, substitute half the flour with whole wheat flour. This adds fiber and a nuttier flavor that complements the walnuts. You might need to add a tablespoon of milk if the batter feels too thick.
I once tried adding a dash of cardamom to this recipe, and it was surprisingly good. It adds a floral note that works well with the bananas. Experiment with spices to find your favorite combination.
Serving & Storage Suggestions
Serve this bread warm, fresh from the oven, with a pat of butter melting on top. It’s perfect for breakfast or an afternoon snack. Pair it with a cup of coffee or tea. The flavors are rich, so a strong brew complements it well.
For storage, keep the bread in an airtight container at room temperature for up to 3 days. If you live in a humid climate, refrigerate it to prevent mold. In the fridge, it will last up to a week. Note that refrigeration can dry out bread, so bring it to room temperature before serving.
To freeze, wrap the whole loaf or individual slices tightly in plastic wrap, then in aluminum foil. It will keep for up to 3 months. Thaw at room temperature or warm in the microwave for 30 seconds. The flavors actually meld and improve after a day or two, making it great for meal prep.
Reheating is simple. Warm slices in a toaster oven for a few minutes to restore the crispness of the crust. Avoid the microwave if you want a crispy texture, as it will make the bread soft.
Nutritional Information & Benefits
This banana bread is a source of energy from carbohydrates and healthy fats from the walnuts and butter. Walnuts are rich in omega-3 fatty acids, which are good for heart health. Bananas provide potassium and fiber, aiding digestion.
Each slice contains approximately 250-300 calories, depending on the size and exact ingredients used. It’s not a diet food, but it’s a balanced treat. The natural sugars from the bananas provide a quicker energy boost than refined sugars.
For those with allergies, this recipe can be made nut-free by omitting the walnuts, though the texture will change. It contains gluten and dairy, so it’s not suitable for those with celiac disease or lactose intolerance without substitutions.
Personally, I view this as a mindful treat. It’s rich, so a small slice is satisfying. It’s better to enjoy a smaller portion of something delicious than to overindulge in something mediocre.
Conclusion
This brown butter walnut banana bread is worth the extra effort. The nutty depth of flavor sets it apart from standard recipes, making it a standout in any lineup. I encourage you to try it and see how the browning step transforms the dish. Feel free to customize it with your favorite nuts or spices.
I love this recipe because it’s reliable yet exciting. It’s a comfort food that feels elevated but approachable. If you make it, I’d love to hear how it turns out. Leave a comment below with your thoughts or share a photo of your creation. Tag me on social media so I can see your results.
Happy baking! I hope this loaf brings warmth and joy to your kitchen. It’s a simple pleasure that’s well worth the time.
Frequently Asked Questions
Can I use frozen bananas?
Yes, frozen bananas work great. Thaw them completely before mashing. They will be softer and release more water, so you may need to reduce the flour by a tablespoon or two.
Why is my banana bread dry?
Overbaking is the most common cause. Check the bread a few minutes before the recommended time. Also, ensure you’re using ripe bananas, which add moisture.
Can I substitute walnuts with other nuts?
Absolutely. Pecans, hazelnuts, or macadamia nuts all work well. Just toast them first for the best flavor.
How do I know when the butter is properly browned?
Look for a deep amber color and a nutty aroma. The milk solids at the bottom will be brown. Remove it from the heat immediately once you see this.
Can I make this recipe in a mini loaf pan?
Yes, but reduce the baking time to 30-40 minutes. Check for doneness with a toothpick earlier than you would for a full-sized loaf.
Pin This Recipe!
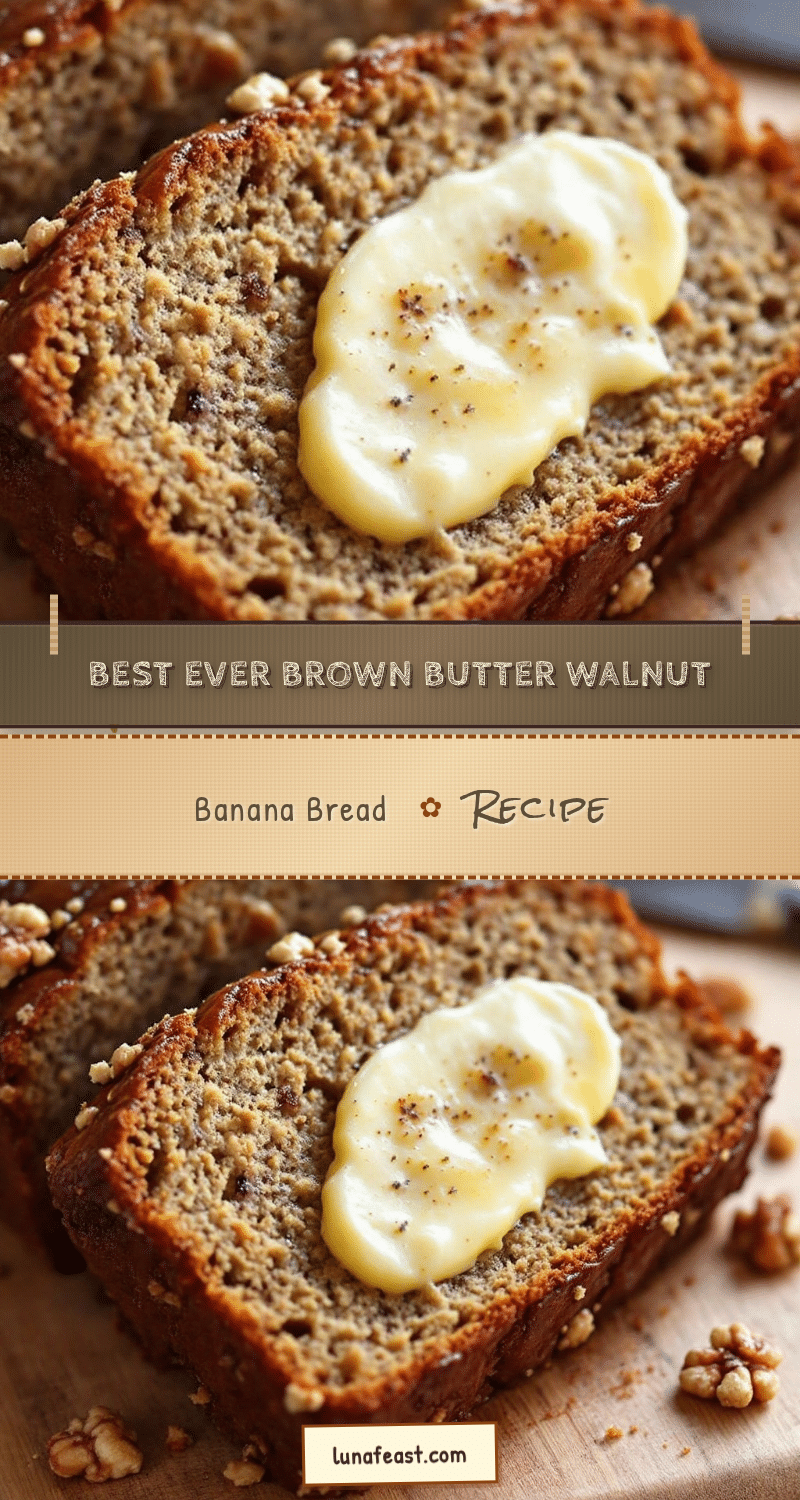
Best Ever Brown Butter Walnut Banana Bread: Easy 6-Ingredient Recipe
A moist and dense banana bread elevated by the nutty, caramel-like depth of browned butter and toasted walnuts. This easy recipe uses simple pantry ingredients for a sophisticated, crowd-pleasing loaf.
- Prep Time: 15 minutes
- Cook Time: 60 minutes
- Total Time: 75 minutes
- Yield: 8 servings 1x
- Category: Dessert
- Cuisine: American
Ingredients
- 113g (1/2 cup) unsalted butter
- 3 medium ripe bananas (approx. 350g mashed)
- 100g (1/2 cup) granulated sugar
- 2 large eggs, room temperature
- 1 tsp vanilla extract
- 150g (1 1/4 cups) all-purpose flour
- 1/2 tsp baking soda
- 1/4 tsp salt
- 1/2 tsp cinnamon (optional)
- 60g (1/2 cup) walnuts, chopped and toasted
- Coarse sugar for topping (optional)
Instructions
- Preheat oven to 350°F (175°C). Grease a 9×5 inch loaf pan and line with parchment paper.
- Brown the butter in a medium saucepan over medium heat, stirring constantly until it smells nutty and turns amber (5-7 minutes). Remove from heat immediately and pour into a heat-proof bowl to cool slightly.
- In a large bowl, mash the bananas until smooth. Whisk in the browned butter, sugar, eggs, and vanilla extract until glossy.
- In a separate bowl, whisk together the flour, baking soda, salt, and cinnamon.
- Gradually add the dry ingredients to the wet mixture, folding gently with a spatula until just combined. Do not overmix.
- Fold in the toasted walnuts.
- Pour batter into the prepared loaf pan and smooth the top. Sprinkle with coarse sugar if desired.
- Bake for 55-65 minutes, tenting with foil if the top browns too quickly. Test with a toothpick inserted in the center; it should come out clean or with moist crumbs.
- Cool in the pan for 10 minutes, then transfer to a wire rack to cool completely before slicing.
Notes
Ensure bananas are very ripe (black spots) for maximum sweetness and moisture. Toast walnuts beforehand for better flavor and crunch. Do not overmix the batter to avoid tough bread. Let the bread cool completely to prevent a gummy texture. Store in an airtight container at room temperature for up to 3 days or freeze for up to 3 months.
Nutrition
- Serving Size: 1 slice
- Calories: 275
- Sugar: 20
- Sodium: 180
- Fat: 14
- Saturated Fat: 7
- Carbohydrates: 35
- Fiber: 2
- Protein: 4
Keywords: banana bread, brown butter, walnut bread, easy recipe, baking, breakfast, snack, gluten-free option, dairy-free option


