Flour dusted the counter like snow in July when the oven timer screamed for attention. I was supposed to be prepping for a work call, but my seven-year-old had just discovered a box of heart-shaped cupcake pans and decided now was the time to bake. The kitchen looked like a bakery exploded, and the red food coloring was already staining my apron. I didn’t have time to scour the pantry for obscure ingredients. I just needed something sweet, something festive, and something that wouldn’t take three hours to mix.
Let’s face it, Valentine’s Day baking often feels like a chore disguised as romance. You want to impress, but you also want to survive the day. These Easy Red Velvet Heart Cupcakes came together in the chaos. The batter was thick and vibrant, smelling faintly of cocoa and vanilla. I rushed the icing, barely letting it chill, but the cream cheese tang cut through the sweetness perfectly. When I pulled them out of the oven, the kitchen was filled with a warmth that had nothing to do with the thermostat.
My daughter didn’t care about the messy counter. She only cared that the cupcakes were shaped like hearts. That moment, covered in red streaks and flour, stuck with me. It wasn’t about perfection. It was about the joy of making something simple together. These cupcakes became our tradition because they are forgiving. They taste incredible even if you rush. And honestly, that is the best kind of recipe. It lets you be human while still creating something beautiful.
Why You’ll Love This Recipe
I’ve spent years testing cupcake recipes, from dense chocolate versions to airy vanilla sponges. This red velvet heart cupcake recipe stands out because it balances ease with genuine flavor. It isn’t just a box mix with red dye added. The addition of buttermilk and vinegar creates a tender crumb that melts in your mouth. I tested this recipe with different brands of cocoa powder, and the result is always a rich, velvety texture that rivals bakery versions.
Here is why this recipe earns a permanent spot in your rotation:
- Quick & Easy: The whole process takes under 45 minutes. You can mix, bake, and ice before the kids even get home from school. It is perfect for busy weeknights or last-minute holiday surprises.
- Simple Ingredients: You likely have everything in your kitchen already. Flour, sugar, butter, eggs, buttermilk, and red food coloring are pantry staples for most bakers. No fancy grocery trips needed.
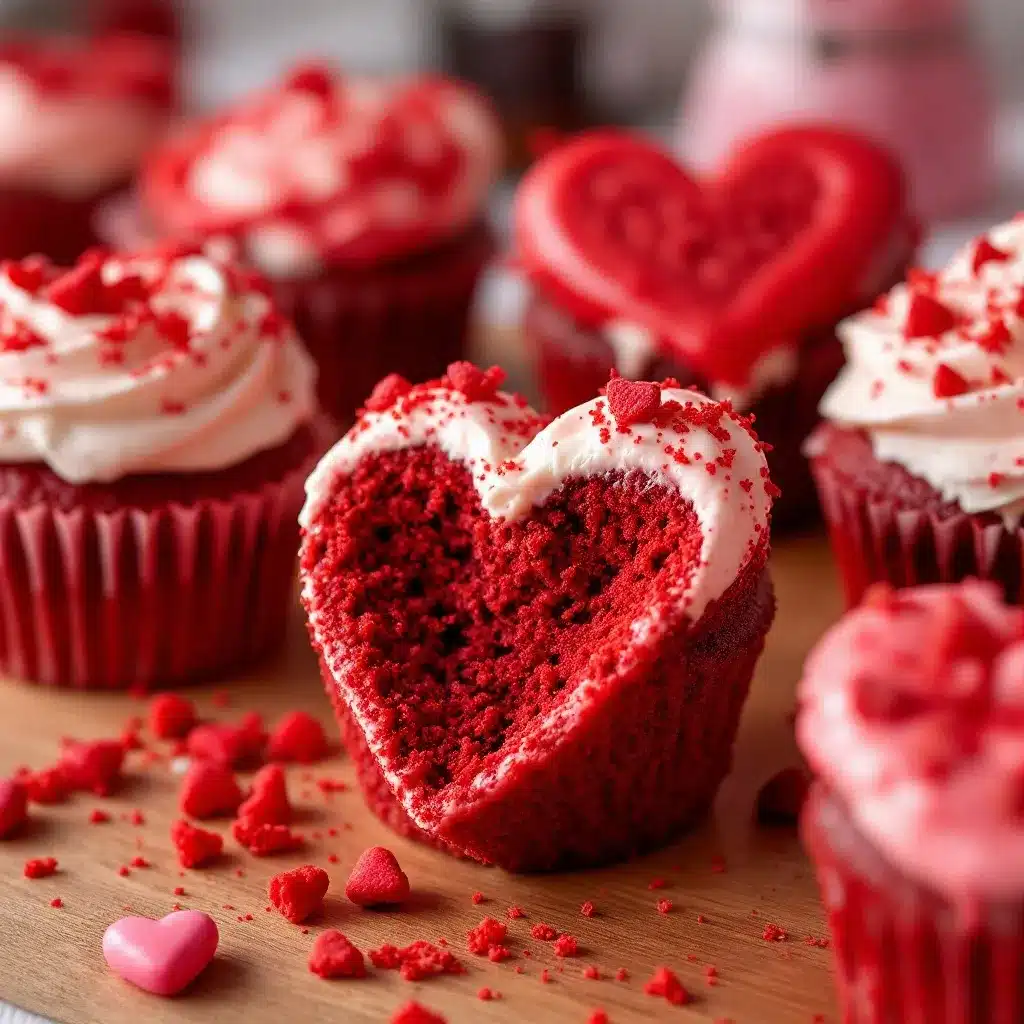
- Perfect for Valentine’s Day: The heart shape makes these ideal for school exchanges, office parties, or cozy date nights at home. They are visually striking without being difficult to execute.
- Crowd-Pleaser: Kids love the shape, and adults love the cream cheese frosting. I’ve served these to picky eaters and food critics alike, and the reviews are always rave.
- Unbelievably Delicious: The combination of cocoa and buttermilk creates a unique flavor profile. It is not overly sweet, which prevents sugar fatigue after the second bite. The texture is next-level comfort food.
What makes this recipe different is the balance of acid. The vinegar reacts with the baking soda to create lift, while the buttermilk tenderizes the gluten. This isn’t just another version; it is my best version. It is the kind of cupcake that makes you close your eyes after the first bite. It is comfort food reimagined—faster than a scratch cake, but with the same soul-soothing satisfaction. Perfect for impressing guests without stress, or turning a simple afternoon into something memorable.
What Ingredients You Will Need
This recipe uses simple, wholesome ingredients to deliver bold flavor and satisfying texture without the fuss. The key to a great red velvet cupcake is not just the color, but the balance of cocoa and dairy. You do not need expensive specialty items. Good quality butter and fresh buttermilk make all the difference in the final crumb.
For the Cupcakes
- All-purpose flour: 2 cups (250g). Provides the structure for the tender crumb.
- Granulated sugar: 1 ½ cups (300g). Sweetens the batter and helps with browning.
- Unsalted butter: ½ cup (113g), softened. Adds richness and moisture. I recommend Kerrygold for its superior flavor profile.
- Eggs: 2 large eggs, room temperature. Helps bind the ingredients and adds structure.
- Buttermilk: 1 cup (240ml). The acidity tenderizes the flour and reacts with baking soda. Use full-fat for best results.
- Vinegar: 1 tablespoon white distilled vinegar. Essential for the chemical reaction that creates lift and the signature tang.
- Baking soda: 1 teaspoon. The leavening agent that makes the cupcakes rise.
- Cocoa powder: 1 tablespoon unsweetened. Adds a subtle chocolate note without overpowering the red color.
- Red food coloring: 2 tablespoons liquid or gel. Gel gives a more vibrant color without thinning the batter.
- Salt: ½ teaspoon. Enhances the overall flavor profile.
- Vanilla extract: 1 teaspoon. Adds warmth and depth to the vanilla-cocoa blend.
For the Cream Cheese Frosting
- Cream cheese: 8 ounces (225g), full-fat, softened. Do not use light cheese; it will be runny.
- Butter: ½ cup (113g), softened. Balances the tang of the cheese.
- Powdered sugar: 2 to 3 cups (240-360g). Adjust for desired sweetness and consistency.
- Vanilla extract: 1 teaspoon. Complements the cupcake flavor.
If you are dairy-free, you can swap the butter and buttermilk for high-fat coconut alternatives. For a gluten-free option, use a 1:1 gluten-free flour blend. Look for firm, small-curd cottage cheese if you want to blend it into the frosting for extra tang and protein, though standard cream cheese is classic.
Equipment Needed
You do not need a professional kitchen to make these cupcakes. A few basic tools will get you the best results.
- Heart-shaped cupcake pans: Essential for the theme. Standard 12-cavity pans work well. I use non-stick pans because cleanup is easier.
- Muffin tin: If you cannot find heart-shaped pans, regular round pans work fine. The flavor remains the same.
- Electric mixer: Handheld or stand mixer. Creaming the butter and sugar by hand is possible but tiring. A mixer ensures a light, airy texture.
- Mixing bowls: Two large bowls for separating wet and dry ingredients.
- Cooling rack: Allows air circulation to prevent soggy bottoms. Wire racks are best.
- Piping bags or spoons: For applying the frosting. A simple spoon works if you are in a rush.
For maintenance, wash your mixing bowls immediately after use to prevent sugar from hardening. If you use non-stick pans, hand wash them to preserve the coating. Budget-friendly options include using silicone heart-shaped molds placed in regular muffin tins. They are durable and easy to store.
Preparation Method
Follow these steps carefully to ensure your cupcakes rise properly and taste amazing.
- Preheat and Prep (5 minutes): Preheat your oven to 350°F (175°C). Line your heart-shaped cupcake pans with paper liners. This prevents sticking and makes cleanup instant.
- Mix Dry Ingredients (2 minutes): In a medium bowl, whisk together the flour, cocoa powder, baking soda, and salt. Sifting is optional but recommended to remove lumps. Whisk until evenly combined.
- Cream Butter and Sugar (3 minutes): In a large bowl, beat the softened butter and granulated sugar on medium-high speed. Beat for 3 minutes until the mixture is pale and fluffy. This step incorporates air, which is crucial for texture.
- Add Eggs and Vanilla (2 minutes): Add eggs one at a time, beating well after each addition. Mix in the vanilla extract. Scrape down the sides of the bowl to ensure even mixing.
- Combine Wet Ingredients (1 minute): In a separate small bowl, mix the buttermilk, vinegar, and red food coloring. The vinegar will cause the mixture to bubble slightly. This is normal.
- Combine All Ingredients (3 minutes): With the mixer on low, alternate adding the dry ingredients and the buttermilk mixture to the butter mixture. Start and end with the dry ingredients. Mix only until combined. Overmixing leads to tough cupcakes.
- Fill Pans (2 minutes): Divide the batter evenly among the liners. Fill each about 2/3 full. Use a spoon or ice cream scoop for consistency.
- Bake (18-20 minutes): Place in the oven. Bake for 18-20 minutes. The cupcakes are done when a toothpick inserted into the center comes out clean or with a few moist crumbs. Do not overbake.
- Cool Completely (30 minutes): Let cupcakes cool in the pan for 5 minutes, then transfer to a wire rack. Let them cool completely before frosting. Warm cupcakes will melt the frosting.
- Make Frosting (5 minutes): Beat softened cream cheese and butter until smooth. Gradually add powdered sugar and vanilla. Beat on high until fluffy.
- Frost and Serve: Pipe or spread frosting onto cooled cupcakes. Garnish with heart sprinkles if desired.
Cooking Tips & Techniques
Baking is a science, and small details matter. Here are professional tips to ensure success.
- Room Temperature Ingredients: Cold butter and eggs will not cream properly. Take them out of the fridge 30 minutes before baking. This ensures a smooth, emulsified batter.
- Do Not Overmix: Once you add the flour, mix until just combined. Lumps are okay. Overmixing develops gluten, resulting in dense, rubbery cupcakes.
- Check Your Oven: Ovens vary. Use an oven thermometer to verify the temperature. If your cupcakes burn on top but are raw inside, your oven is too hot. Lower the temp by 25°F.
- Food Coloring Choice: Gel food coloring is more concentrated than liquid. It provides vibrant color without adding extra liquid, which can throw off the batter consistency. If using liquid, add a few drops at a time.
- Frosting Consistency: If the frosting is too thick, add a teaspoon of milk. If it is too thin, add more powdered sugar. The frosting should hold its shape when piped.
I once made these cupcakes using cold butter, and they turned out dense as bricks. Never skip the creaming step. It creates the air pockets that make them light. Also, let the cupcakes cool completely. Frosting warm cupcakes is a rookie mistake that leads to a mess.
Variations & Adaptations
This recipe is flexible. You can adapt it to suit different tastes or dietary needs.
- White Chocolate Red Velvet: Add ½ cup of white chocolate chips to the batter for extra sweetness and texture.
- Strawberry Red Velvet: Replace ¼ cup of buttermilk with strawberry puree. This enhances the fruity notes and reduces the need for artificial coloring.
- Gluten-Free: Use a high-quality 1:1 gluten-free flour blend. Add ½ teaspoon of xanthan gum if the blend does not include it.
- Dairy-Free: Use coconut oil instead of butter and coconut yogurt instead of buttermilk. The flavor will be slightly coconutty but still delicious.
- Mini Cupcakes: Fill mini liners ½ full and bake for 10-12 minutes. Perfect for party portions.
I often add a swirl of strawberry jam to the center of the batter before baking. It creates a hidden surprise in every bite. For a nut-free version, avoid adding nuts to the frosting. These adaptations make the recipe versatile for any occasion.
Serving & Storage Suggestions
Presentation matters, especially for heart-shaped treats. Serve these cupcakes at room temperature for the best flavor and texture. Cold frosting can be waxy.
- Pairing: Serve with a cup of hot coffee or tea. The bitterness balances the sweetness. They also pair well with a glass of milk or a light red wine.
- Storage: Store leftovers in an airtight container at room temperature for up to 2 days. If your kitchen is very warm, refrigerate them.
- Refrigeration: If refrigerated, let them sit at room temperature for 30 minutes before serving. This softens the frosting and enhances the flavor.
- Freezing: Freeze unfrosted cupcakes in an airtight container for up to 3 months. Thaw overnight in the fridge. Frost after thawing.
- Flavor Development: The flavors meld and deepen after 24 hours. These cupcakes often taste better the next day.
For a party, arrange them on a tiered stand. The red color pops against white or gold backgrounds. They are also great for gift-giving. Box them up with a ribbon for a thoughtful homemade gift.
Nutritional Information & Benefits
While these are treats, understanding their nutritional profile helps with planning. Each cupcake contains approximately 250 calories.
- Carbohydrates: 35g, primarily from sugar and flour.
- Fat: 12g, from butter and cream cheese.
- Protein: 3g, from eggs and dairy.
- Fiber: 1g.
The cocoa powder provides antioxidants, though the amount is small. Buttermilk offers calcium and probiotics. For a lighter option, reduce the sugar in the frosting by ¼ cup. Use a lighter cream cheese blend. These cupcakes are indulgent but manageable in moderation. They are not a health food, but they are a joyful occasional treat.
Conclusion
These Easy Red Velvet Heart Cupcakes are more than just a recipe. They are a reminder that baking can be fun, fast, and forgiving. You do not need to be a professional chef to make something beautiful. The chaos of the kitchen can turn into a moment of connection. I love this recipe because it brings people together. Whether you are baking for a child or a partner, the effort shows.
I encourage you to try this recipe and make it your own. Add sprinkles, change the frosting, or try a variation. Share your creations with friends and family. Leave a comment below with your tips or photos. I love seeing how you adapt the recipe. Baking is better when shared.
So, put on some music, grab your mixing bowl, and start baking. The results will be worth the mess. Happy Valentine’s Day, or any day you want a sweet treat.
FAQs
Can I use liquid food coloring instead of gel?
Yes, but you will need more liquid to get the same vibrant color. This can thin the batter. Gel is preferred for its intensity and consistency. If using liquid, add it gradually.
Why did my cupcakes sink in the middle?
This usually happens from overmixing or opening the oven door too early. Ensure you mix until just combined and do not open the oven during the first 15 minutes of baking.
Can I make the batter ahead of time?
It is best to bake the batter fresh. If you must prepare ahead, store the batter in the fridge for up to 12 hours. Let it come to room temperature before baking.
How do I store leftover frosting?
Store frosting in an airtight container in the fridge for up to 5 days. Let it come to room temperature and beat it again before using to restore its fluffy texture.
Are these cupcakes suitable for school Valentine exchanges?
Yes, they are perfect. They are bite-sized and visually appealing. Just be sure to check school policies regarding nuts or dairy if you have allergies in the classroom.
Pin This Recipe!
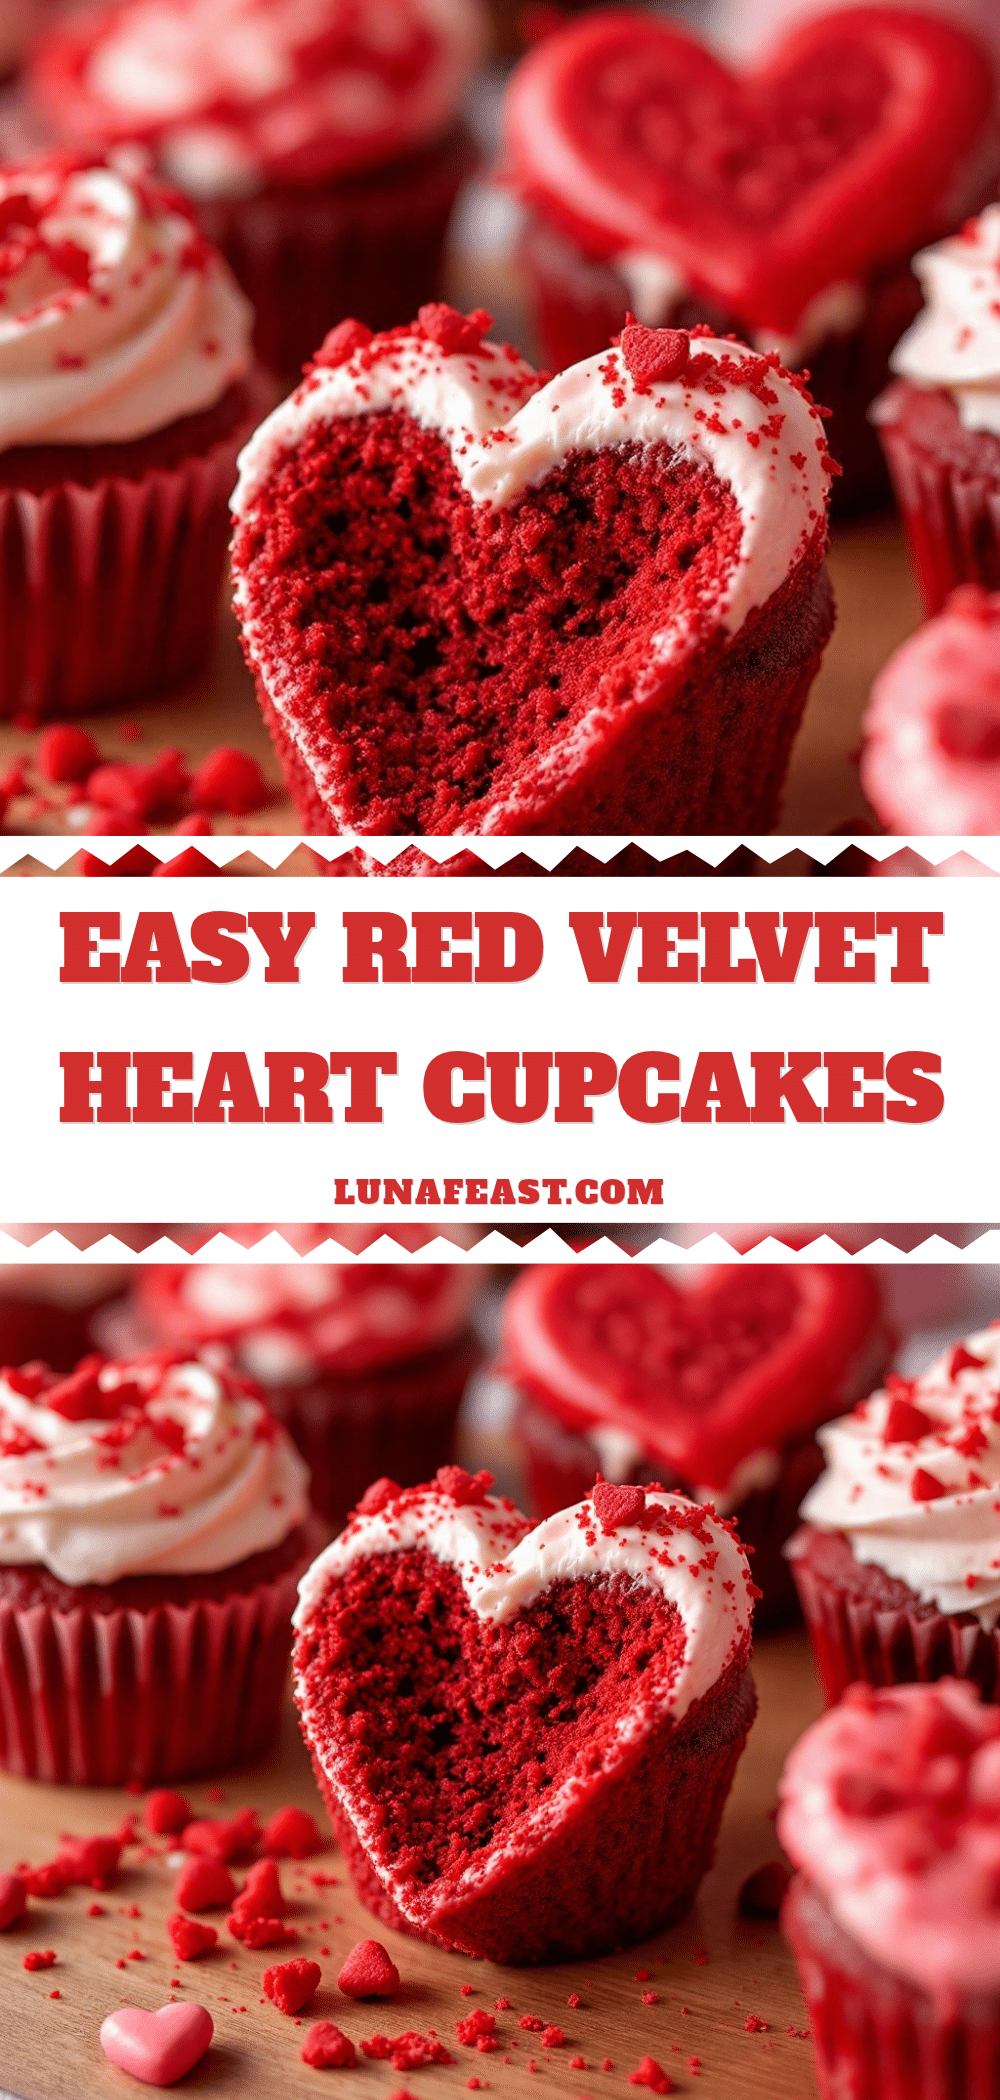
Easy Red Velvet Heart Cupcakes
These easy red velvet heart cupcakes are a festive Valentine’s Day treat that balances ease with genuine flavor. Made with simple pantry staples like buttermilk and cocoa, they feature a tender crumb and rich cream cheese frosting, perfect for busy bakers.
- Prep Time: 15 minutes
- Cook Time: 20 minutes
- Total Time: 45 minutes
- Yield: 12 servings 1x
- Category: Dessert
- Cuisine: American
Ingredients
- 2 cups (250g) all-purpose flour
- 1 ½ cups (300g) granulated sugar
- ½ cup (113g) unsalted butter, softened
- 2 large eggs, room temperature
- 1 cup (240ml) buttermilk
- 1 tablespoon white distilled vinegar
- 1 teaspoon baking soda
- 1 tablespoon unsweetened cocoa powder
- 2 tablespoons red food coloring (gel or liquid)
- ½ teaspoon salt
- 1 teaspoon vanilla extract
- 8 ounces (225g) full-fat cream cheese, softened
- ½ cup (113g) butter, softened
- 2 to 3 cups (240-360g) powdered sugar
- 1 teaspoon vanilla extract
Instructions
- Preheat oven to 350°F (175°C) and line heart-shaped cupcake pans with paper liners.
- In a medium bowl, whisk together flour, cocoa powder, baking soda, and salt.
- In a large bowl, beat softened butter and granulated sugar on medium-high speed for 3 minutes until pale and fluffy.
- Add eggs one at a time, beating well after each addition, then mix in vanilla extract.
- In a separate small bowl, mix buttermilk, vinegar, and red food coloring.
- With the mixer on low, alternate adding the dry ingredients and the buttermilk mixture to the butter mixture, starting and ending with dry ingredients. Mix only until combined.
- Divide batter evenly among liners, filling each about 2/3 full.
- Bake for 18-20 minutes or until a toothpick inserted into the center comes out clean.
- Let cupcakes cool in the pan for 5 minutes, then transfer to a wire rack to cool completely.
- Beat softened cream cheese and butter until smooth, then gradually add powdered sugar and vanilla, beating on high until fluffy.
- Pipe or spread frosting onto cooled cupcakes and garnish with heart sprinkles if desired.
Notes
Ensure ingredients are at room temperature for best results. Do not overmix the batter to avoid tough cupcakes. Gel food coloring provides more vibrant color without thinning the batter. Store leftovers in an airtight container at room temperature for up to 2 days, or freeze unfrosted cupcakes for up to 3 months.
Nutrition
- Serving Size: 1 cupcake
- Calories: 250
- Sugar: 28
- Sodium: 150
- Fat: 12
- Saturated Fat: 7
- Carbohydrates: 35
- Fiber: 1
- Protein: 3
Keywords: red velvet cupcakes, valentine's day baking, heart cupcakes, cream cheese frosting, easy baking, holiday treats


