It was 3:14 AM on a Tuesday in October, and the only thing I wanted was a sugar cookie that didn’t taste like cardboard. The house was completely silent, save for the hum of the refrigerator and the distant, lonely howl of a wind that had picked up out of nowhere. My kids were asleep, and the Halloween decorations were still stacked in boxes in the garage, but my brain was already racing through the geometry of ghost shapes and the chemistry of creamed butter.
You know how it is. You’re trying to plan ahead, trying to be that organized parent who labels everything and preps ingredients on Sunday, but life has a way of turning your schedule into a suggestion. I had run out of time to make the fancy pumpkin spice breads or the complex layered cakes. I needed something fast, something cute, and something that wouldn’t require a degree in structural engineering to assemble. Honestly, I just wanted to bake something that looked like it had been made with love, even if my love was currently being tested by exhaustion.
I started with the basics. Flour, sugar, butter, eggs. Simple stuff. But there is a specific kind of magic that happens when you mix these together at odd hours of the night. The dough comes together in a soft, pliable ball that feels like playdough but smells like vanilla and comfort. I rolled it out thin, using a ghost-shaped cutter I’d bought three years ago and forgotten about until this exact moment. They were dusty, but they worked.
The smell of baking sugar cookies fills a house in a way that other baked goods just don’t. It’s sweet, but not cloying. It wraps around you. As they baked, turning a pale golden at the edges, I realized I wasn’t just making a snack. I was making a memory. A small, edible moment of peace before the chaos of the holiday season truly began. These Ghost-Shaped Pumpkin Sugar Cookies aren’t just about the Halloween aesthetic. They are about that quiet satisfaction of creating something beautiful when you least expect it.
I let them cool on the wire rack, the metal clicking softly against the stone counter. When I finally took a bite, warm and slightly crumbly, I knew this was the recipe. It’s simple, it’s forgiving, and it tastes like a late-night hug. If you’ve ever found yourself staring into the fridge at 2 AM, wondering what to make for your family’s morning treat, this is your answer. It’s not fancy, but it’s perfect.
Why You’ll Love This Recipe
Let’s be honest for a second. Most sugar cookies out there are either too hard, like you’re chewing on a rock, or too soft, like they’re falling apart before they even hit your plate. I’ve tested dozens of recipes over the years, from my time helping my aunt in her bakery to my own kitchen disasters. This recipe strikes that rare, perfect balance. It’s sturdy enough to hold its shape during decoration but tender enough to melt in your mouth. You know that feeling when you bite into something and it just… works? That’s this cookie.
- Quick & Easy: This comes together in under 30 minutes of active time. If you are a busy parent or just someone who hates spending hours in the kitchen, this is your best friend. No overnight chilling required if you’re in a rush.
- Simple Ingredients: You likely already have everything in your pantry. Flour, sugar, butter, eggs, vanilla. No obscure flours or weird extracts. Just good, honest baking staples.
- Perfect for Halloween Parties: Whether it’s a classroom party, a trick-or-treat swap, or a spooky dinner party, these cookies are a crowd-pleaser. They are visually striking but approachable.
- Unbelievably Delicious: The texture is next-level. Crisp edges, soft center. It’s comfort food reimagined for the spooky season. It’s the kind of cookie that makes you close your eyes after the first bite.
- Great for Kids: Let’s face it, kids love the shape. But more importantly, they love helping to frost them. This recipe is forgiving enough that even a wobbly hand can make a cute ghost. It builds confidence in young bakers.
What makes this recipe different from the rest is the addition of a touch of pumpkin spice. It’s subtle. You won’t taste a giant chunk of pumpkin, but you will taste the warmth of cinnamon and nutmeg that ties into the fall season. It elevates the classic sugar cookie without turning it into a pumpkin cookie. It’s a clever twist that keeps things interesting without complicating the process. It’s not just another version—it’s your best version.
Connect emotionally with why this works. This recipe isn’t just good; it’s nostalgic. It reminds me of school bake sales and Halloween mornings. It’s perfect for impressing guests without stress, or turning a simple Tuesday night into something memorable. Plus, if you need a break from sweets, you can pair these with our classic creamy tomato soup for a surprisingly delicious savory-sweet contrast, though you probably won’t share.
What Ingredients You Will Need
This recipe uses simple, wholesome ingredients to deliver bold flavor and satisfying texture without the fuss. The beauty of a sugar cookie is that the quality of your ingredients really shines through. You don’t need anything fancy, but you do need quality. Here is what you’ll need to make these adorable ghosts.
For the Cookie Dough
- All-purpose flour: 2 ½ cups (315g). I recommend Gold Medal or King Arthur for best texture. Don’t use cake flour; it’ll be too tender. You want structure.
- Unsalted butter: 1 cup (226g), softened to room temperature. This is crucial. Cold butter won’t cream properly with the sugar, and your cookies will be dense.
- Granulated sugar: 1 cup (200g). This provides the crisp edges.
- Brown sugar: ½ cup (100g), packed. This adds moisture and a hint of caramel flavor. Light or dark brown sugar both work fine.
- Large eggs: 2, room temperature. Cold eggs can shock the butter and break the emulsion. Let them sit out for 30 minutes if you forgot.
- Vanilla extract: 2 teaspoons. Use real vanilla, not imitation. It makes a huge difference in flavor depth.
- Baking powder: 1 teaspoon. This helps the cookies puff up slightly.
- Baking soda: ½ teaspoon. This aids browning and spread.
- Salt: 1 teaspoon. To balance the sweetness.
- Pumpkin pie spice: 1 teaspoon. This is the secret weapon. It adds that warm, autumnal note without making it a pumpkin cookie. If you don’t have it, use ½ tsp cinnamon and ¼ tsp nutmeg.
For the Vanilla Buttercream Frosting
- Unsalted butter: ½ cup (113g), softened. Again, room temperature is key.
- Powdered sugar: 2-3 cups (240-360g). Sift this if it’s lumpy. You want silky smooth frosting.
- Heavy cream: 2-3 tablespoons. Adjust for consistency.
- Vanilla extract: 1 teaspoon.
- Salt: A pinch.
If you want to get fancy with the decorations, you can use white royal icing or colored fondant. But honestly, a simple vanilla buttercream is easier and tastes better. For a gluten-free option, you can use a 1:1 gluten-free flour blend, though the texture might be slightly more crumbly. If you’re dairy-free, swap the butter for a high-quality vegan butter stick, but be aware that the flavor won’t be quite as rich.
Equipment Needed
You don’t need a lot of fancy gear to make these cookies, but having the right tools makes the process much less stressful.
- Mixer: A stand mixer is ideal for creaming the butter and sugar, but a hand mixer works perfectly fine. If you’re mixing by hand, bring your arms!
- Baking Sheets: Standard half-sheet pans. Light-colored aluminum sheets are best because they promote even browning. Dark sheets can cause the bottoms to burn.
- Parchment Paper: Always line your baking sheets. It prevents sticking and makes cleanup a breeze. No scrubbing required.
- Rolling Pin: A standard wooden rolling pin is fine. If you have a guide ring, use it to keep the dough thickness consistent.
- Ghost Cookie Cutter: You can buy these at any craft store or online. Make sure it’s a shape you like. I like simple, rounded ghosts. If you don’t have one, you can cut squares and round the top corners with a knife.
- Wire Cooling Rack: Essential for cooling cookies evenly. If you don’t have one, you can use an upside-down baking sheet.
- Spatula: For frosting. An offset spatula is nice for smooth edges, but a butter knife works in a pinch.
Budget-friendly tip: If you don’t want to invest in a specific ghost cutter, just use a small bowl or glass to cut circles, then trim the top to look like a ghost. It’s rustic and charming. Also, keep your baking sheets in good condition. Warped sheets can cause uneven baking. If yours are bent, consider buying new ones—they are worth it.
Preparation Method
Let’s get into the nitty-gritty. Making these cookies is straightforward, but attention to detail matters. Here is how you do it right.
- Prep your station: Preheat your oven to 350°F (175°C). Line two large baking sheets with parchment paper. Set them aside. This step is non-negotiable if you want even baking.
- Cream the butter and sugars: In the bowl of your stand mixer (or a large mixing bowl), beat the softened butter, granulated sugar, and brown sugar on medium-high speed for about 3-4 minutes. You want the mixture to be light, fluffy, and pale in color. This incorporates air, which helps the cookies rise. If you are mixing by hand, this will take about 7-10 minutes of arm workout.
- Add wet ingredients: Add the eggs one at a time, beating well after each addition. Scrape down the sides of the bowl with a spatula to ensure everything is incorporated. Add the vanilla extract and pumpkin pie spice. Mix on low until combined.
- Mix dry ingredients: In a separate medium bowl, whisk together the flour, baking powder, baking soda, and salt. This ensures there are no clumps of leavening agents in your final dough.
- Combine wet and dry: Gradually add the dry ingredients to the wet ingredients on low speed. Mix just until the flour disappears. Do not overmix! Overmixing develops gluten, which makes cookies tough. If you mix too much, you’ll get hard cookies. Stop as soon as you see no more streaks of flour.
- Chill the dough (Optional but recommended): If your dough feels too sticky or warm, cover it and chill it in the refrigerator for 30 minutes. This makes it easier to roll out. If it’s cool and firm, you can skip this step.
- Roll out the dough: On a lightly floured surface, roll the dough out to about ¼-inch thickness. Dust your rolling pin with flour to prevent sticking. Roll from the center outwards.
- Cut the shapes: Dip your ghost cutter in flour, then press firmly into the dough. Lift the cutter straight up. Use a small offset spatula or your fingers to gently transfer the ghost shapes to the prepared baking sheets. Leave about 2 inches between cookies, as they will spread slightly.
- Bake: Bake for 10-12 minutes. The cookies should look set around the edges but still slightly soft in the center. They will firm up as they cool. Do not overbake! They will continue to cook on the hot pan after you take them out of the oven.
- Cool: Let the cookies cool on the baking sheet for 5 minutes, then transfer them to a wire rack to cool completely. If you frost them while they are warm, the frosting will melt and slide off. Patience is key here.
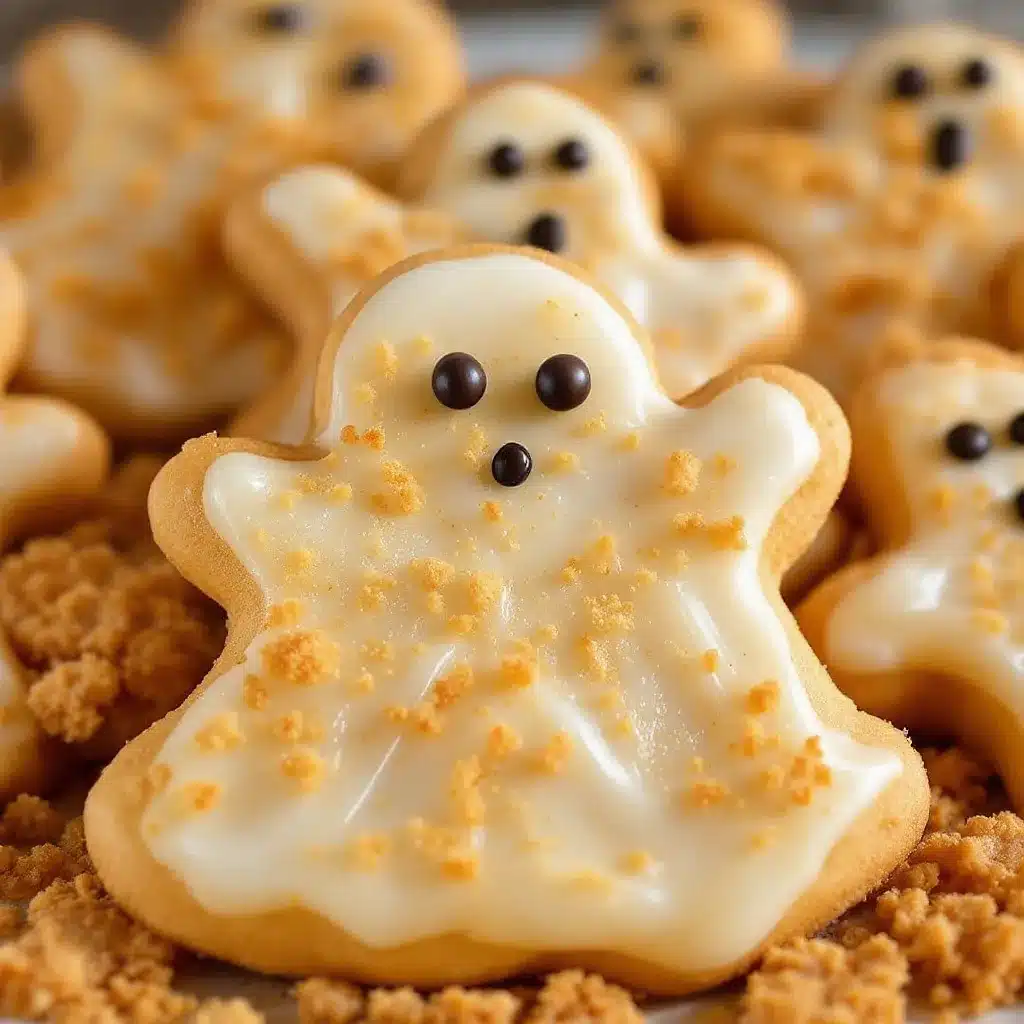
- Frost: Once completely cool, make your buttercream. Beat the butter until creamy, then gradually add powdered sugar, cream, vanilla, and salt. Beat on high for 3 minutes until fluffy. Pipe or spread onto the cookies. Use black icing or edible markers to draw faces. Add orange dots for eyes if you want a pumpkin-ghost hybrid look.
Personal tip: If you are making a large batch, keep the unused dough chilled in the fridge. It’s easier to roll out cold dough. Just bring it out for 10 minutes before you need it.
Cooking Tips & Techniques
I’ve made my fair share of mistakes in the kitchen, and some of them were burned cookies. Here are some pro tips to help you avoid common pitfalls.
Butter Temperature is Everything: Your butter should be soft enough to leave an indent when you press it, but not so soft that it’s melting. If it’s too cold, it won’t cream properly. If it’s too soft, the cookies will spread too much and become flat. Room temperature is the sweet spot.
Don’t Overmeasure Flour: The most common mistake in baking is packing too much flour into the measuring cup. This leads to dry, crumbly cookies. Spoon the flour into your measuring cup and level it off with a knife. Do not scoop directly from the bag.
Consistent Oven Temperature: Ovens can be inaccurate. If your cookies are baking unevenly, consider buying an oven thermometer. It’s cheap and can save you a lot of frustration. If your oven runs hot, lower the temperature by 25 degrees.
Multitasking: While the cookies are baking, you can start preparing the frosting. This saves time. Also, if you are rolling out dough, keep a light dusting of flour on your surface. Too much flour will dry out the cookies; too little will make them stick.
Testing for Doneness: The edges should be lightly golden. The center should still look slightly underbaked. They will firm up as they cool. If you wait until they look fully done in the oven, they will be dry. Trust the process.
Troubleshooting: If your cookies spread too much, your butter was too soft, or your baking sheet was too warm. Chill your sheets between batches. If they are too cakey, you might have used too much baking powder or overmixed the dough.
Variations & Adaptations
While the classic ghost shape is adorable, there are many ways to tweak this recipe to suit your needs or taste preferences.
- Gluten-Free: Swap the all-purpose flour for a 1:1 gluten-free flour blend. Add ½ teaspoon of xanthan gum if your blend doesn’t include it. The texture may be slightly more delicate.
- Dairy-Free: Use vegan butter sticks instead of regular butter. The flavor won’t be as rich, but they will still be delicious. You can also use dairy-free milk in the frosting.
- Orange Frosting: Instead of white frosting, add orange gel food coloring to the buttercream. It looks like a mini pumpkin and is super cute for Halloween.
- Chocolate Chips: Add ½ cup of white chocolate chips or orange-colored chocolate chips to the dough before baking. It adds a nice surprise inside.
- Mini Cookies: Use a smaller cutter to make bite-sized cookies. Reduce the baking time to 6-8 minutes. These are perfect for party trays and portion control.
I once tried making these with whole wheat flour, and they were too dense. Stick to all-purpose flour for the best texture. If you want a healthier option, you can reduce the sugar by ¼ cup, but they won’t be as crisp. It’s a trade-off. I always recommend sticking to the original recipe for the best results, then experimenting once you’ve mastered the basics.
Serving & Storage Suggestions
These cookies are best served at room temperature. If you store them in the fridge, let them come to room temperature before eating for the best texture.
Storage: Store cookies in an airtight container at room temperature for up to 5 days. Place a slice of bread in the container with the cookies to keep them soft. If you want to freeze them, freeze the baked cookies (without frosting) in a freezer-safe bag for up to 3 months. Thaw at room temperature before frosting.
Pairing: These cookies go great with a hot cup of coffee or a glass of cold milk. For a fall-themed spread, pair them with our easy baked pumpkin donuts for a double dose of autumn flavor. Or, if you’re hosting a spooky party, serve them alongside our best old-fashioned meatloaf for a hearty dinner and sweet treat combo.
Reheating: You don’t need to reheat sugar cookies. They are best fresh. If they have gone stale, you can warm them in the microwave for 10 seconds, but they are usually fine at room temperature.
Flavors Over Time: The flavors of the pumpkin spice actually deepen after a day or two. If you make these ahead of time, they might taste even better on day two. Just make sure they are stored properly to stay fresh.
Nutritional Information & Benefits
While these are definitely a treat, they are made with simple ingredients. Each cookie (assuming 24 cookies per batch) contains approximately 150 calories. They provide carbohydrates for energy and a small amount of fat from the butter.
Health Benefits: Butter contains vitamins A, D, E, and K. Eggs are a great source of protein and choline. Pumpkin pie spice contains cinnamon, which has antioxidant properties.
Dietary Considerations: These cookies are not gluten-free or dairy-free unless modified. They contain eggs and wheat. If you have allergies, please use the substitutions mentioned in the variations section.
Personal Wellness Perspective: I believe in balance. Enjoying a sweet treat like this can be a mindful moment. It’s about savoring the flavor and the experience, not just consuming calories. Make them with love, and they will taste better.
Conclusion
These Ghost-Shaped Pumpkin Sugar Cookies are more than just a Halloween treat. They are a reminder that baking can be simple, fun, and rewarding, even on the busiest nights. The combination of classic sugar cookie flavor with a hint of pumpkin spice is perfect for the season. They are easy to make, easy to decorate, and easy to love.
I encourage you to try this recipe and make it your own. Experiment with different frosting colors, add sprinkles, or try different shapes. Baking is a creative process, and there are no wrong answers. I love this recipe because it brings me joy, and I hope it brings you joy too.
If you make these cookies, please share them with me! I’d love to see your creations. Leave a comment below with your thoughts, or tag me on social media. Don’t forget to share this recipe with your friends and family. Happy baking, and happy Halloween!
FAQs
Can I freeze the cookie dough?
Yes! You can scoop the dough into balls and freeze them on a baking sheet. Once frozen, transfer them to a freezer bag. Bake them straight from frozen, adding 1-2 minutes to the baking time.
Why did my cookies spread too much?
This usually happens if the butter was too soft or the oven wasn’t hot enough. Make sure your butter is room temperature, not melted. Also, chill your baking sheets between batches if they get warm.
Can I use margarine instead of butter?
It’s not recommended. Margarine has a higher water content, which can make the cookies cakey or cause them to spread too much. Real butter gives the best flavor and texture.
How do I keep the frosting from cracking?
Make sure your cookies are completely cool before frosting. If they are even slightly warm, the heat will melt the frosting and cause it to crack. Also, ensure your frosting is thick enough to hold its shape.
Can I make these cookies ahead of time?
Yes, you can bake and freeze the cookies (without frosting) up to 3 months in advance. Thaw them at room temperature and frost them when you are ready to serve.
Pin This Recipe!
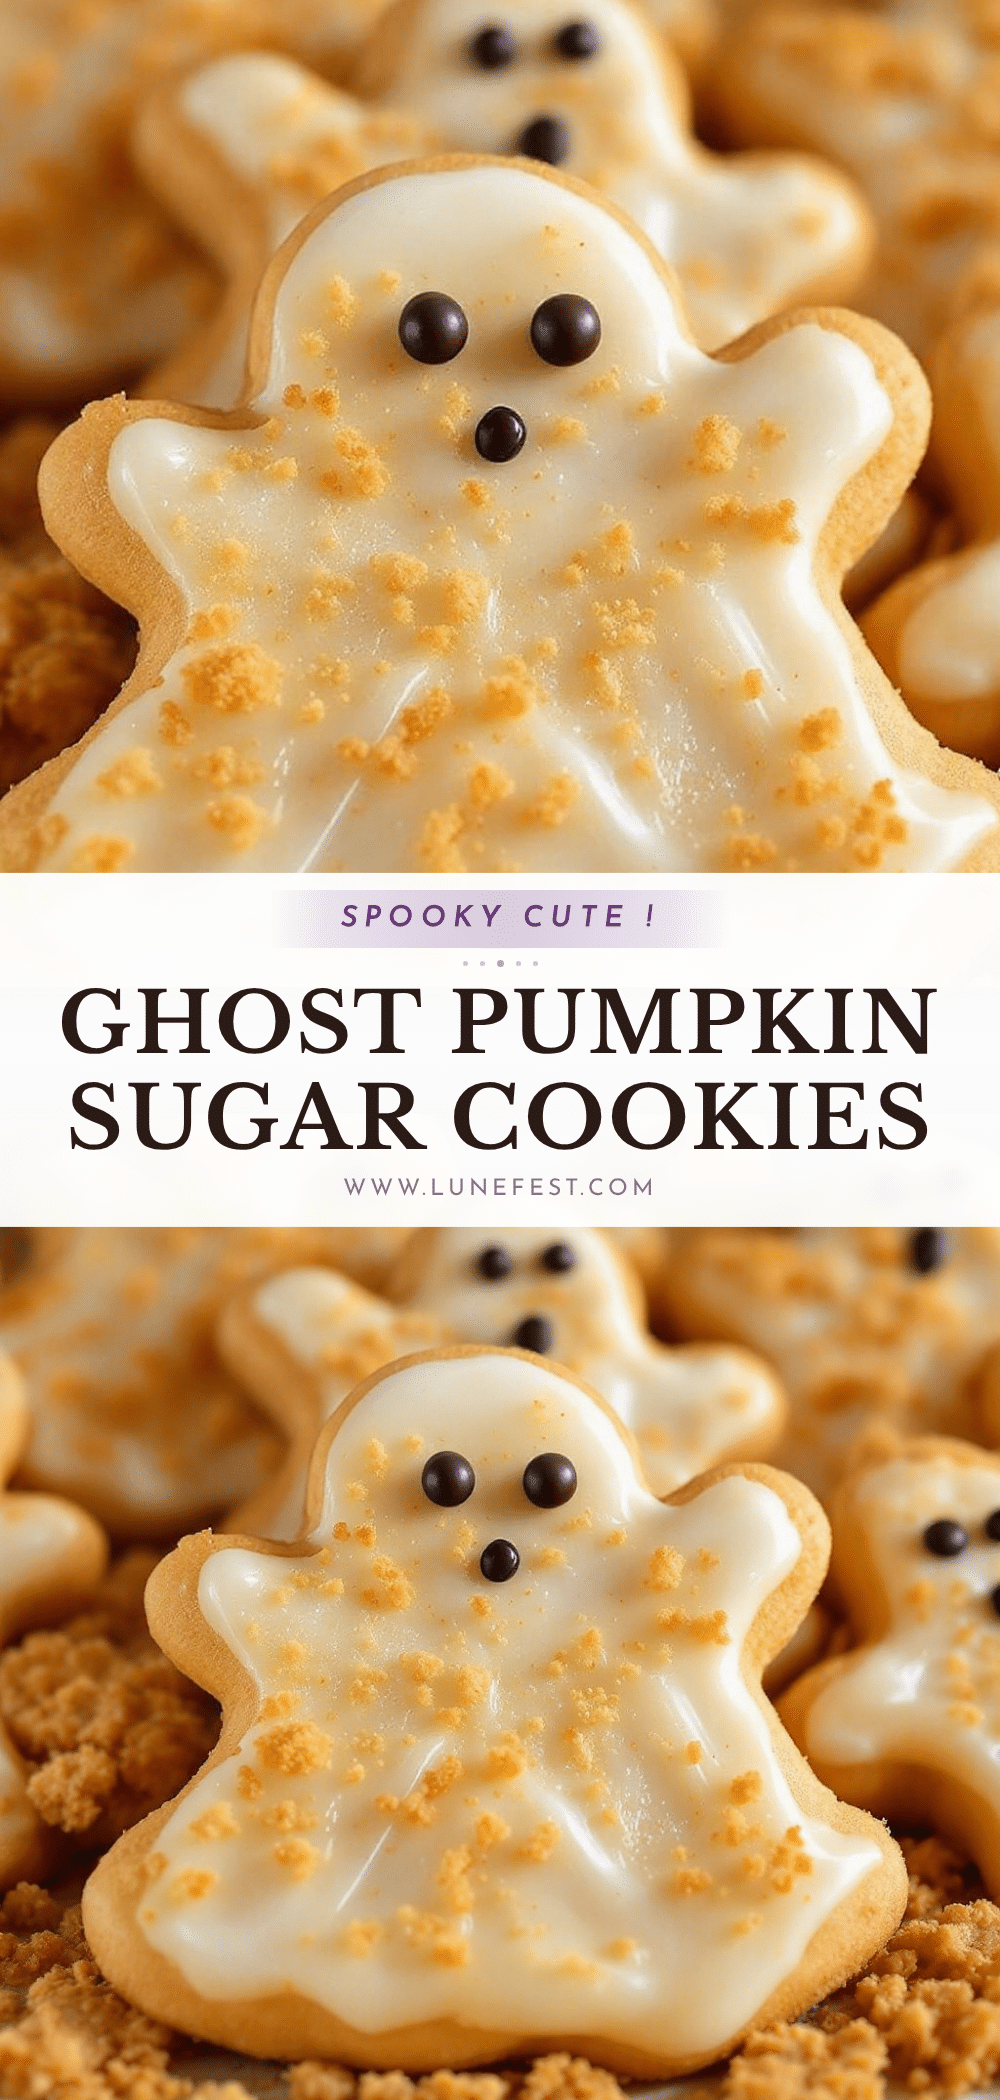
Ghost-Shaped Pumpkin Sugar Cookies

These easy, cute Halloween sugar cookies feature a classic buttery dough with a hint of pumpkin spice, shaped into adorable ghosts and topped with vanilla buttercream. Perfect for busy parents and kids alike.
- Prep Time: 30 minutes
- Cook Time: 12 minutes
- Total Time: 45 minutes
- Yield: 24 cookies 1x
- Category: Dessert
- Cuisine: American
Ingredients
- 2 ½ cups (315g) all-purpose flour
- 1 cup (226g) unsalted butter, softened to room temperature
- 1 cup (200g) granulated sugar
- ½ cup (100g) packed brown sugar
- 2 large eggs, room temperature
- 2 teaspoons vanilla extract
- 1 teaspoon baking powder
- ½ teaspoon baking soda
- 1 teaspoon salt
- 1 teaspoon pumpkin pie spice
- ½ cup (113g) unsalted butter, softened (for frosting)
- 2–3 cups (240-360g) powdered sugar (for frosting)
- 2–3 tablespoons heavy cream (for frosting)
- 1 teaspoon vanilla extract (for frosting)
- A pinch of salt (for frosting)
Instructions
- Preheat oven to 350°F (175°C) and line two large baking sheets with parchment paper.
- In a stand mixer or large bowl, beat softened butter, granulated sugar, and brown sugar on medium-high speed for 3-4 minutes until light and fluffy.
- Add eggs one at a time, beating well after each addition. Scrape down the sides of the bowl. Add vanilla extract and pumpkin pie spice; mix on low until combined.
- In a separate bowl, whisk together flour, baking powder, baking soda, and salt.
- Gradually add dry ingredients to wet ingredients on low speed, mixing just until flour disappears. Do not overmix.
- If dough is sticky, cover and chill in refrigerator for 30 minutes (optional but recommended).
- On a lightly floured surface, roll dough to ¼-inch thickness.
- Dip ghost cookie cutter in flour and press firmly into dough. Transfer shapes to prepared baking sheets, leaving 2 inches between cookies.
- Bake for 10-12 minutes until edges are set but centers are still slightly soft.
- Let cookies cool on baking sheet for 5 minutes, then transfer to a wire rack to cool completely.
- For frosting, beat softened butter until creamy. Gradually add powdered sugar, cream, vanilla, and salt. Beat on high for 3 minutes until fluffy.
- Pipe or spread frosting onto cooled cookies. Use black icing or edible markers to draw faces.
Notes
Ensure butter is at room temperature but not melted for proper creaming. Spoon flour into measuring cups and level off to avoid dry cookies. Cookies continue to cook on the hot pan after removal from the oven, so do not overbake. Store in an airtight container at room temperature for up to 5 days.
Nutrition
- Serving Size: 1 cookie
- Calories: 150
- Sugar: 14
- Sodium: 120
- Fat: 7
- Saturated Fat: 4
- Carbohydrates: 22
- Fiber: 0.5
- Protein: 2
Keywords: Halloween cookies, pumpkin spice sugar cookies, ghost cookies, easy baking, kids baking, fall recipes, sugar cookies


