That text came through at 4:15 PM on a Tuesday. I was staring at the clock, knowing my stomach was about to growl loud enough to wake the neighbors. My husband was already at the gym, and the kids were probably fighting over the iPad. The last thing I wanted was to stand over a stove, stirring something that required three different pots and a mountain of cleanup later. I just wanted food. Good food. Something warm and comforting that didn’t feel like a chore.
I opened the fridge and saw a bag of boneless, skinless chicken thighs sitting next to a box of long-grain white rice. It wasn’t much. But I also had some frozen mixed vegetables and a jar of chicken broth. Honestly, it was the perfect setup for a lazy night. I didn’t have the energy to chop a dozen different veggies or marinate anything for hours. I just needed to throw it all together and let the oven do the heavy lifting.
So I grabbed a large baking dish, tossed everything in with some simple seasonings, and slid it into the oven. Twenty minutes later, the smell of savory chicken and fluffy rice filled the house. When I pulled it out, the rice had absorbed all that rich chicken broth, and the thighs were tender and juicy. My kids came running because they smelled it. They didn’t even notice the lack of fancy plating. They just dug in. That night, the question about washing dishes didn’t matter because we were too busy eating. This Easy One-Pan Chicken Thigh and Rice Bake became our go-to for weeks. It’s reliable, it’s cheap, and it actually tastes like you tried.
I’ve made this recipe at least a dozen times since then. Sometimes I add peas, sometimes I use brown rice (though it takes longer). But the base is always the same. It’s the kind of meal that feels like a hug on a plate. You know, that feeling when you come home from a long day and the house smells like dinner is ready? That’s what this is. It’s simple, it’s satisfying, and it leaves you with just one pan to wash. And let’s face it, that’s the real luxury.
Why You’ll Love This Recipe
Let’s be real for a second. Weeknight cooking can feel like a second job. You’re tired, you’re hungry, and the idea of chopping vegetables and managing multiple timers is enough to make you order takeout. But takeout is expensive, and it’s rarely as good as something made with care. This Easy One-Pan Chicken Thigh and Rice Bake changes the game. It’s not just another chicken recipe; it’s a complete meal solution that respects your time and your wallet.
- Quick & Easy: From start to finish, this takes less than an hour. You spend about 10 minutes prepping and the rest of the time waiting. It’s perfect for those busy weeknights when you need food on the table fast.
- Simple Ingredients: You don’t need a trip to a specialty store. The ingredients are things you likely already have in your pantry or freezer. Chicken thighs, rice, broth, and some basic spices. That’s it. No weird sauces or hard-to-find items.
- Perfect for Families: This recipe is a crowd-pleaser. Kids usually love rice and chicken, and the mild seasoning keeps it approachable. Adults appreciate the tender meat and flavorful rice. It’s a safe bet for picky eaters.
- Unbelievably Delicious: The secret is the chicken thighs. Unlike breasts, which can dry out, thighs stay juicy even when baked. The rice absorbs the savory juices from the meat and the broth, creating a dish that is moist and full of flavor without being heavy.
- Less Cleanup: This is the biggest selling point. You use one baking dish. One. No pots to scrub, no pans to soak. Just scoop and eat. It makes the whole process feel less like a chore and more like a treat.
What makes this different from other one-pan meals? It’s the balance. A lot of one-pan recipes end up soggy or bland. Here, the rice cooks in the broth, so it’s never dry. The chicken gets a little bit of color on top, adding texture. It’s comfort food that doesn’t weigh you down. I’ve tested this with different types of rice and different cuts of chicken, and this combination is the winner. It’s reliable. It’s the kind of recipe you can make on autopilot when you’re exhausted, and it still comes out perfect. It’s not just good; it’s the kind of meal that makes you forget how tired you were. It’s practical, it’s tasty, and it brings everyone to the table without the stress.
What Ingredients You Will Need
This recipe relies on simple, wholesome ingredients to deliver bold flavor and satisfying texture without the fuss. The magic happens because the rice cooks directly in the seasoned broth, absorbing all that savory goodness. You don’t need fancy spices or expensive cuts of meat. Here is what you’ll need to make this work.
- Chicken Thighs: Use boneless, skinless chicken thighs. They are more forgiving than breasts and stay juicy during baking. I prefer looking for thighs that are relatively uniform in size so they cook evenly. If you can find organic or free-range, that’s even better for flavor.
- Long-Grain White Rice: Standard long-grain white rice works best here. It stays fluffy and doesn’t get too sticky. Do not use instant rice unless you adjust the liquid, but fresh is always better. I usually buy a large bag since I use it for other meals like one-pan apple cider braised pork chops too.
- Chicken Broth: Low-sodium chicken broth is key. You want to control the salt level. Use a good quality broth; it makes a difference. If you don’t have broth, water with bouillon cubes works, but the flavor won’t be as deep.
- Butter: A tablespoon or two of butter adds richness. It helps the rice become creamy and adds a nice mouthfeel. Salted or unsalted works, just adjust the added salt accordingly.
- Onion: One medium yellow onion, diced. This adds sweetness and depth. Don’t skip it; it’s the flavor base. If you’re sensitive to onion, you can use onion powder, but fresh is preferred.
- Garlic: Two cloves of fresh garlic, minced. Garlic powder is a backup, but fresh garlic gives that aromatic punch that makes the dish smell amazing while it bakes.
- Dried Herbs: I use a mix of dried thyme and dried parsley. Thyme pairs beautifully with chicken, and parsley adds a bit of color. You can also use an Italian seasoning blend if that’s what you have on hand.
- Seasoning: Salt and black pepper. Basic stuff. Maybe a pinch of paprika if you want a little color and smokiness.
- Vegetables (Optional): I often throw in a cup of frozen peas or diced carrots. They add nutrition and color. Frozen veggies are convenient because they don’t need chopping. You can also use fresh broccoli florets if you prefer.
- Cheese (Optional): A little shredded cheddar or parmesan on top at the end adds a nice salty kick. It’s not traditional, but it’s delicious if you like cheesy rice dishes.
Keep in mind that the ratio of rice to liquid is crucial. For this recipe, the standard ratio applies, but the chicken releases some moisture, so you might want to reduce the broth slightly if you prefer firmer rice. Taste your broth before adding it; if it’s very salty, you won’t need to add extra salt to the dish. This flexibility makes it easy to adapt based on what you have in your fridge.
Equipment Needed
You don’t need a lot of fancy tools for this recipe. The beauty of a one-pan bake is its simplicity. Here is what you’ll need to get started.
- Large Baking Dish: A 9×13 inch baking dish is ideal. Glass or ceramic works well because it heats evenly. I prefer my Pyrex dish because I can see the bottom browning. If you don’t have a 9×13, a large roasting pan works too, but the layer might be thinner, so check for doneness earlier.
- Mixing Spoon or Spatula: Just something sturdy to stir the ingredients together in the dish. A wooden spoon is fine, but a silicone spatula is easier to clean.
- Measuring Cups and Spoons: Standard measuring tools for the rice and broth. Precision helps here, especially with the liquid ratio.
- Knife and Cutting Board: For dicing the onion and mincing the garlic. Keep it simple; a standard chef’s knife does the job.
- Oven: Obviously, you need an oven that preheats to 375°F (190°C). Make sure your oven rack is in the center position for even cooking.
If you don’t have a large baking dish, you can use two smaller casserole dishes, but you’ll need to adjust the cooking time slightly. Also, if you’re using a metal pan, keep an eye on the top so it doesn’t brown too quickly. A glass dish is more forgiving for beginners. No special equipment is required, which is part of why this recipe is so accessible.
Preparation Method
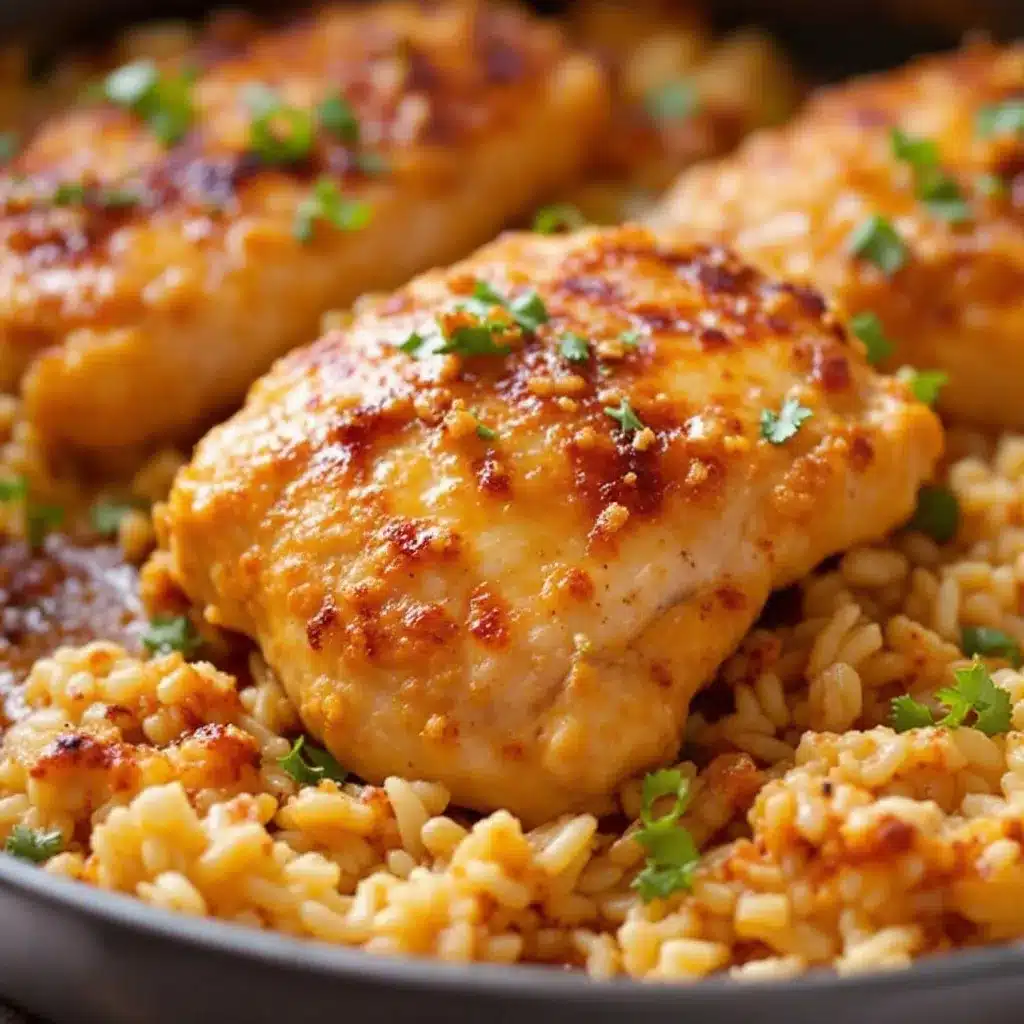
Getting this Easy One-Pan Chicken Thigh and Rice Bake ready is straightforward. There’s no complex technique involved, just simple assembly. Here is how to do it step-by-step.
- Preheat the Oven: Start by preheating your oven to 375°F (190°C). This ensures the oven is hot and ready when the dish goes in, promoting even cooking. Take about 10 minutes for this step.
- Prepare the Dish: Lightly grease your 9×13 inch baking dish with a little butter or cooking spray. This prevents sticking and makes cleanup even easier. You can use a paper towel to spread the grease evenly if you’re using butter.
- Sauté Aromatics (Optional but Recommended): While the oven heats, you can quickly sauté the diced onion and minced garlic in a pan for 2-3 minutes until soft. This step adds depth. If you’re in a huge rush, you can skip this and just add them raw, but sautéing is worth the extra minute.
- Combine Rice and Broth: In the baking dish, combine the uncooked rice, chicken broth, butter, and dried herbs (thyme and parsley). Stir well to distribute the herbs. The liquid should cover the rice by about half an inch.
- Add Chicken and Veggies: Place the chicken thighs on top of the rice mixture. Nestle them in so they are partially submerged. Scatter the diced onion, garlic, and any frozen vegetables over the top. The chicken will release juices as it cooks, which will flavor the rice.
- Season: Sprinkle salt and black pepper over the chicken and rice. If you’re using paprika, add it now. Be generous with the seasoning on the chicken, as the rice will absorb some of the flavor.
- Bake: Cover the dish tightly with aluminum foil. This traps steam and helps the rice cook through without drying out the chicken. Bake for 30 minutes.
- Uncover and Finish: Remove the foil and bake for another 15-20 minutes. This allows the chicken to brown and the top to get slightly crispy. Check that the chicken reaches an internal temperature of 165°F (74°C) and the rice is tender.
- Rest and Serve: Let the dish rest for 5 minutes before serving. This allows the rice to firm up slightly and the juices to redistribute. Stir gently before serving to mix the rice and chicken together.
Keep an eye on the dish during the last 10 minutes of baking. If the top is browning too fast, tent it loosely with foil. The rice should be tender but not mushy, and the chicken should be juicy. If the rice is still hard but the chicken is done, add a splash of water, cover, and bake for 5 more minutes.
Cooking Tips & Techniques
There are a few tricks I’ve learned over the years to make this recipe consistently good. The biggest mistake people make is using the wrong rice or too much liquid.
- Rice Choice Matters: Stick to long-grain white rice. Short-grain or sushi rice will become too sticky and gummy. Brown rice takes longer to cook and requires more liquid, so it’s not ideal for this quick bake unless you adjust the time.
- Don’t Skimp on Liquid: The rice needs enough liquid to cook. If your chicken thighs are very lean, they won’t release much moisture, so rely on the broth. If you’re using fatty thighs, you might have extra liquid, but it usually evaportates enough during baking.
- Check for Doneness: Taste a grain of rice near the end of cooking. It should be tender with no hard center. If it’s chewy, it needs more time. The chicken should be opaque and easy to shred with a fork.
- Resting is Key: Letting the dish rest for 5 minutes is crucial. It allows the rice to absorb any remaining liquid and settle. If you serve it immediately, the rice might be a bit loose.
- Seasoning Adjustment: Taste the broth before baking. If it’s bland, add more salt. If it’s salty, skip the added salt. This prevents the final dish from being too salty or too bland.
I once made this with instant rice by mistake, and it turned into a mushy mess. Learn from my error. Also, if you’re using a glass dish, be careful when removing it from the oven as it can be very hot. Use oven mitts and a sturdy tray to carry it. These small details make a big difference in the final result.
Variations & Adaptations
One of the best things about this recipe is how easy it is to tweak. You can make it your own with a few simple changes.
- Vegetable Boost: Add diced carrots, peas, or corn. Frozen mixed vegetables are perfect because they cook quickly and add color. I love adding peas for a pop of green.
- Spicy Kick: Add a teaspoon of cayenne pepper or red pepper flakes to the rice mixture. This gives it a nice heat that balances the mild chicken.
- Herb Swap: Instead of thyme, try using rosemary or sage. These herbs pair well with chicken and add a different aromatic profile. Sage is especially good in the fall.
- Cheesy Version: Stir in a cup of shredded cheddar cheese at the end. It melts into the rice and makes it incredibly creamy. This is a hit with kids.
- Gluten-Free: This recipe is naturally gluten-free if you use gluten-free broth and verify your rice is certified gluten-free. It’s a great option for those with dietary restrictions.
I’ve also tried adding a splash of soy sauce for an Asian-inspired twist, using ginger and garlic instead of thyme. It’s a nice variation when you want something different. The base recipe is flexible enough to handle these changes without falling apart. Just keep an eye on the liquid levels when adding wet ingredients like soy sauce.
Serving & Storage Suggestions
This dish is best served hot, straight out of the oven. It pairs well with a simple green salad or steamed broccoli. I often serve it with crusty bread to soak up any extra juices.
- Storage: Leftovers can be stored in an airtight container in the refrigerator for up to 3 days. The rice will firm up as it cools, which is normal.
- Reheating: Reheat in the microwave with a splash of water to loosen the rice. You can also reheat it in the oven at 350°F covered with foil for 15-20 minutes.
- Freezing: This dish freezes well. Portion it into individual containers and freeze for up to 3 months. Thaw in the refrigerator overnight before reheating.
- Flavor Development: The flavors actually improve overnight as the rice continues to absorb the seasonings. It’s often better the next day.
If you’re meal prepping, this is a great option. It reheats well and keeps you full for hours. Just make sure to label your containers with the date so you know when to eat them. It’s a reliable meal for busy days ahead.
Nutritional Information & Benefits
This Easy One-Pan Chicken Thigh and Rice Bake is a balanced meal. Chicken thighs provide protein and healthy fats, while rice offers carbohydrates for energy. The vegetables add fiber and vitamins.
- Protein: Chicken thighs are a good source of protein, which helps build and repair muscle.
- Carbohydrates: Rice provides energy. Using white rice makes it easily digestible, while brown rice offers more fiber.
- Fats: Chicken thighs contain monounsaturated fats, which are heart-healthy. The butter adds richness.
- Vitamins: The vegetables, especially if you add carrots or peas, provide vitamins A and C.
Keep in mind that the nutritional values can vary based on the specific ingredients used, such as the salt content of the broth or the size of the chicken thighs. This recipe is not suitable for those with allergies to chicken or rice, though substitutions can be made for most other allergens. It’s a wholesome, comforting meal that fits into a balanced diet.
Conclusion
There’s something really satisfying about a meal that comes together so easily but tastes like you spent hours on it. This Easy One-Pan Chicken Thigh and Rice Bake is that meal. It’s perfect for busy weeknights, family dinners, or when you just want something comforting without the fuss. The tender chicken, flavorful rice, and minimal cleanup make it a winner every time.
I hope you try this recipe and make it your own. Feel free to add your favorite veggies or spices. It’s a blank canvas for your creativity. If you do make it, I’d love to hear how it turned out. Leave a comment below with your variations or tips. Share this recipe with friends who love easy dinners. And don’t forget to check out my slow cooker buffalo chicken sliders if you’re looking for another fun chicken dish. Thanks for reading, and happy cooking!
Frequently Asked Questions
Can I use chicken breasts instead of thighs?
Yes, you can, but chicken breasts can dry out more easily. If you use breasts, reduce the baking time by about 10 minutes and keep an eye on them to ensure they don’t overcook.
Can I use brown rice?
Brown rice takes longer to cook and requires more liquid. You’ll need to increase the baking time and add more broth. It’s best to sauté the rice first or use a pressure cooker for best results.
What if I don’t have chicken broth?
You can use water with bouillon cubes or powder. Vegetable broth also works well if you want a vegetarian version, though the flavor will be different.
How do I know when the rice is done?
The rice is done when it is tender and has absorbed most of the liquid. You can taste a grain to check. If it’s still hard, add a little water and bake for a few more minutes.
Can I freeze this recipe?
Yes, this recipe freezes well. Let it cool completely, portion it into containers, and freeze for up to 3 months. Thaw in the refrigerator before reheating.
Pin This Recipe!
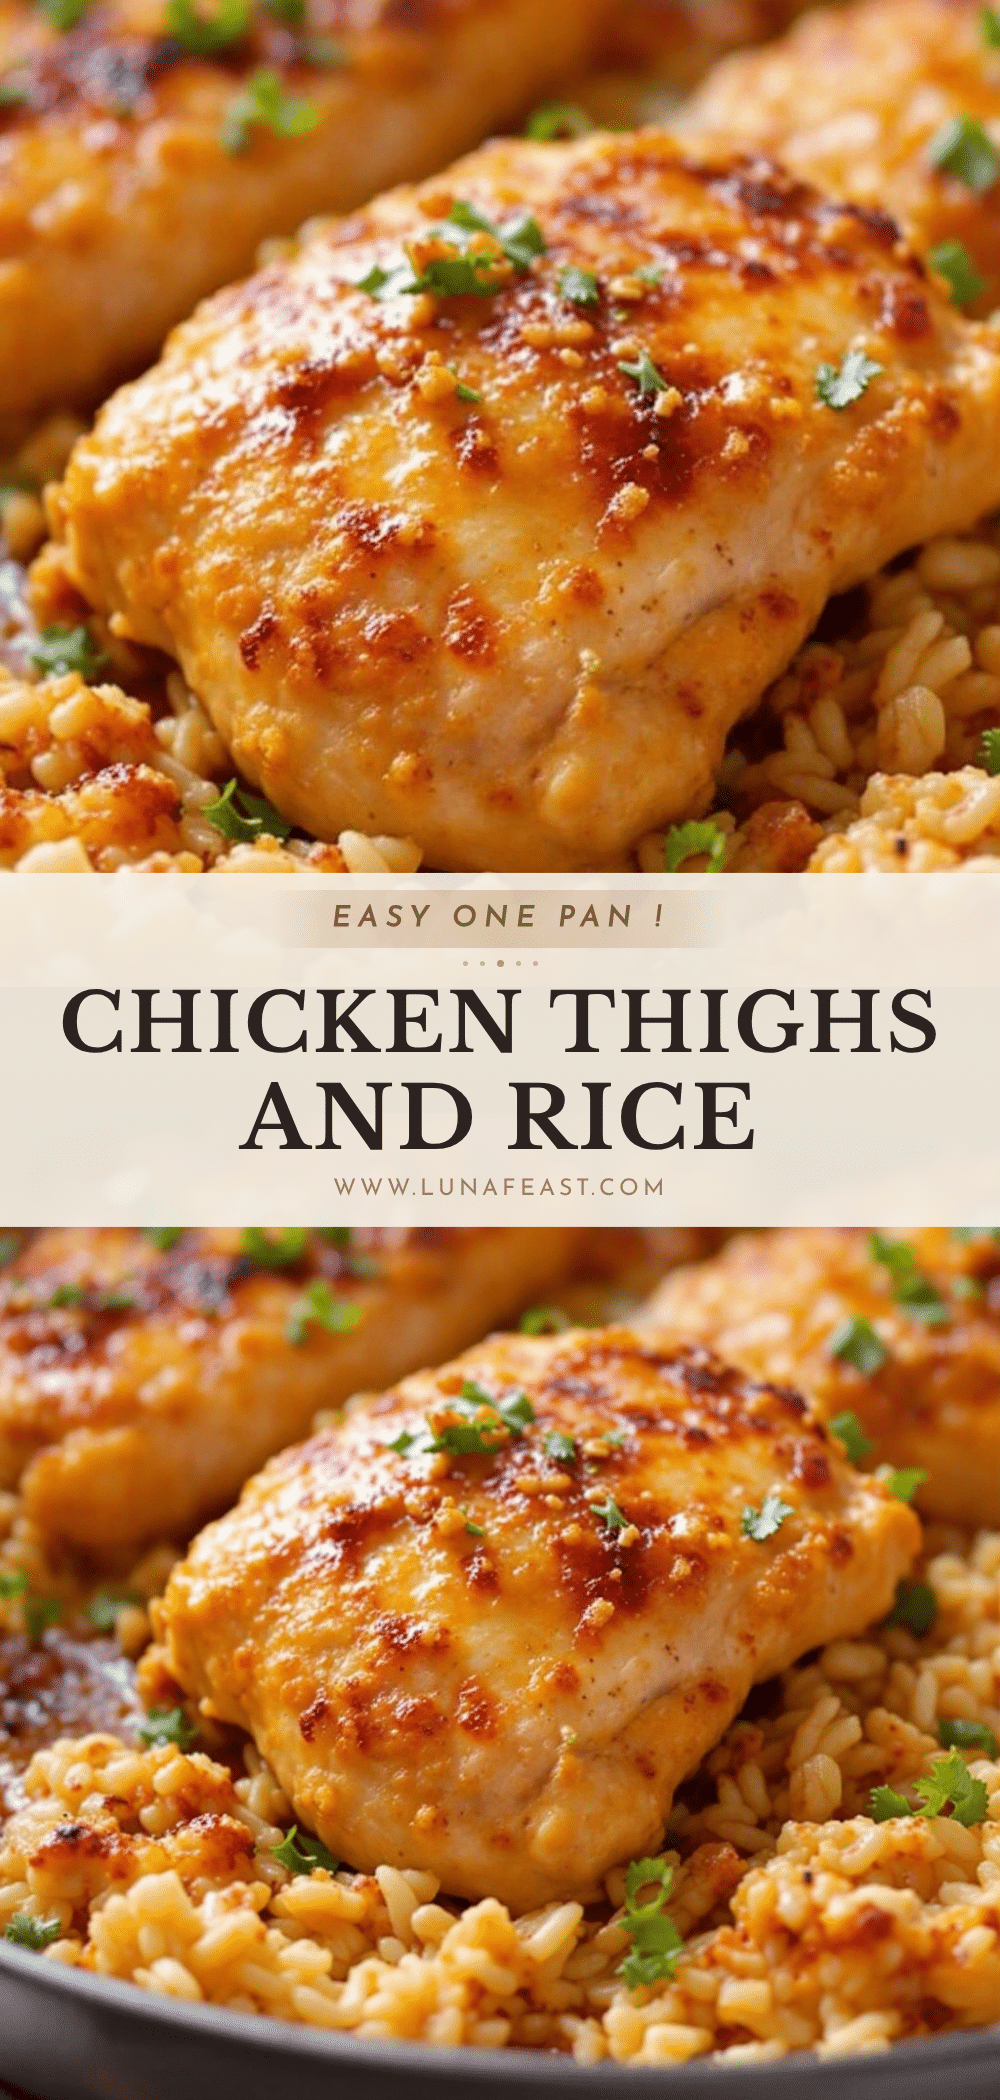
Easy One-Pan Chicken Thigh and Rice Bake

A simple, comforting weeknight dinner featuring juicy chicken thighs and fluffy rice baked together in a single dish with minimal cleanup.
- Prep Time: 10 minutes
- Cook Time: 45-50 minutes
- Total Time: 55-60 minutes
- Yield: 4 servings 1x
- Category: Main Course
- Cuisine: American
Ingredients
- Boneless, skinless chicken thighs
- Long-grain white rice
- Low-sodium chicken broth
- Butter
- 1 medium yellow onion, diced
- 2 cloves garlic, minced
- Dried thyme
- Dried parsley
- Salt
- Black pepper
- Paprika (optional)
- Frozen mixed vegetables like peas or carrots (optional)
- Shredded cheddar or parmesan cheese (optional)
Instructions
- Preheat oven to 375°F (190°C).
- Lightly grease a 9×13 inch baking dish with butter or cooking spray.
- Optional: Sauté diced onion and minced garlic in a pan for 2-3 minutes until soft.
- In the baking dish, combine uncooked rice, chicken broth, butter, and dried herbs. Stir well.
- Place chicken thighs on top of the rice mixture, nestling them in so they are partially submerged.
- Scatter diced onion, garlic, and any frozen vegetables over the top.
- Sprinkle salt, black pepper, and paprika (if using) over the chicken and rice.
- Cover the dish tightly with aluminum foil and bake for 30 minutes.
- Remove foil and bake for another 15-20 minutes until chicken reaches 165°F (74°C) and rice is tender.
- Let the dish rest for 5 minutes before serving.
Notes
The ratio of rice to liquid is crucial. If using fatty thighs, you may have extra liquid, but it usually evaporates. If the rice is still hard but the chicken is done, add a splash of water, cover, and bake for 5 more minutes. Letting the dish rest for 5 minutes is key to allow the rice to firm up.
Nutrition
- Serving Size: 1 plate with chicken
- Calories: 450
- Sugar: 2
- Sodium: 600
- Fat: 18
- Saturated Fat: 6
- Carbohydrates: 45
- Fiber: 2
- Protein: 30
Keywords: one-pan dinner, chicken thighs, rice bake, easy weeknight meal, family dinner, comfort food, gluten-free option


