It wasn’t even a competition. We were just sitting on the couch, watching the game, and I had made a batch of Crispy Roasted Pumpkin Seeds with Sea Salt. I expected maybe half of them to survive. You know how snacks go.
But they were gone in twenty minutes. Not a single stray seed left in the bottom of the bowl. He actually asked if I could make another batch for the next party. Honestly, I was a little stunned.
We’ve made these hundreds of times over the years. Usually, they’re a side project while I’m prepping something bigger. But this time, the timing was perfect. The seeds were golden, the salt was right, and the crunch was loud enough to wake the neighbors.
I remember the first time I tried roasting them myself. It was a disaster. They were soggy, chewy, and tasted like raw pumpkin. I almost threw them out. But then I figured out the trick—getting the membrane off properly and using enough fat.
Now, they’re my go-to for game day. Better than chips, lighter than nuts, and they taste like autumn in every bite. It’s funny how such a small thing can cause such a big reaction.
I don’t usually brag about snacks. But when people ask for the recipe again and again, you know you’ve nailed it. This is one of those recipes that feels like a secret weapon.
Why You’ll Love This Recipe
There is a specific kind of satisfaction that comes from turning waste into gold. Most people throw away the guts of a pumpkin, but I see potential. These roasted seeds are crunchy, savory, and incredibly addictive. Once you try them, you’ll never buy pre-packaged ones again.
- Quick & Easy: From gutted pumpkin to crunchy snack takes about 45 minutes. It’s perfect for busy weeknights or when you’re prepping for a weekend gathering.
- Simple Ingredients: You likely have everything you need right now. Pumpkin seeds, oil, salt, and an oven. No fancy grocery trips needed.
- Perfect for Game Day: Whether it’s football Sunday or just a casual hangout, these are the ultimate finger food. They pair well with crispy buffalo chicken dip football bites for a full snack spread.
- Crowd-Pleaser: Kids love the crunch, and adults appreciate the natural flavor. They are always a hit, even with picky eaters.
- Unbelievably Delicious: The texture is next-level. Unlike store-bought versions that taste stale, these are fresh and robust.
What makes this recipe different is the attention to detail. Many people skip the step of removing the stringy pulp. I don’t. I scrub those seeds until they are clean. It takes an extra ten minutes, but it makes all the difference in the final crunch.
Also, the ratio of oil to salt is critical. Too much oil, and they get greasy. Too little, and they burn. I’ve tested this dozens of times to get it just right. It’s not just another snack; it’s a better version of what you’d buy at a fancy party store.
It’s comfort food reimagined. It’s healthy, it’s satisfying, and it uses up ingredients that would otherwise go in the trash. Perfect for impressing guests without stress, or just treating yourself to something crunchy.
What Ingredients You Will Need
This recipe relies on the quality of your seeds and the simplicity of your seasonings. You don’t need a lot to make these amazing, but getting the basics right is key. The goal is to highlight the natural nutty flavor of the pumpkin seed, not mask it.
Here is what you will need to get started:
- Fresh Pumpkin Seeds (2 cups, drained): The star of the show. Use seeds from a sugar pumpkin or pie pumpkin for the best flavor. Avoid large carving pumpkins if you can; their seeds can be flatter and less flavorful.
- Extra Virgin Olive Oil (2 tablespoons): I prefer olive oil for its fruity notes, but melted butter works too if you want a richer taste. Olive oil helps the salt stick and promotes even browning.
- Fine Sea Salt (1 teaspoon): Flaky sea salt is great for finishing, but fine salt mixes better with the oil for an even coating. I like pumpkin cinnamon rolls in the fall, and these seeds are the perfect savory contrast to sweet treats.
- Garlic Powder (1/2 teaspoon): Optional, but highly recommended. It adds a savory depth that makes the seeds taste more like a gourmet snack.
- Black Pepper (1/4 teaspoon): Freshly cracked pepper adds a little heat and complexity.
- Onion Powder (1/4 teaspoon): Just a pinch. It rounds out the flavor profile without overpowering the pumpkin taste.
If you want to get fancy, you can add smoked paprika or cayenne for a kick. But for a classic taste, stick to the basics. The quality of the pumpkin matters. Look for firm, fresh seeds that are plump and green, not shriveled or yellow.
You can substitute olive oil with avocado oil if you prefer a higher smoke point. For a dairy-free option, stick with olive oil. If you are watching sodium, you can reduce the salt to half a teaspoon or use a salt-free seasoning blend.
I always recommend buying a small pumpkin from a local farm stand if you can. It supports local growers and usually yields fresher seeds than the big grocery store pumpkins, which might have been sitting in a warehouse for weeks.
Equipment Needed
You don’t need much to make these, but having the right tools makes the process smoother.
- Large Bowl: You need a bowl big enough to hold the seeds and water for washing. A 4-quart bowl works well.
- Slotted Spoon or Fine Mesh Strainer: Essential for draining the seeds after washing. A slotted spoon gives you more control to scoop them out without losing any.
- Sheet Pan: A standard 13×18 inch baking sheet is ideal. Make sure it is rimmed so the oil doesn’t spill over. Line it with parchment paper for easy cleanup, though it’s not strictly necessary.
- Pastry Brush or Spoon: To toss the seeds in oil. A brush helps coat them evenly if you are using a lot of oil, but a spoon is faster for small batches.
- Timer: Pumpkin seeds can go from golden to burnt in minutes. Keep an eye on them.
If you don’t have a large bowl, a sink with a colander works too. Just be careful not to splash water everywhere. A silicone baking mat is a nice alternative to parchment paper and is reusable, which is better for the environment.
Preparation Method
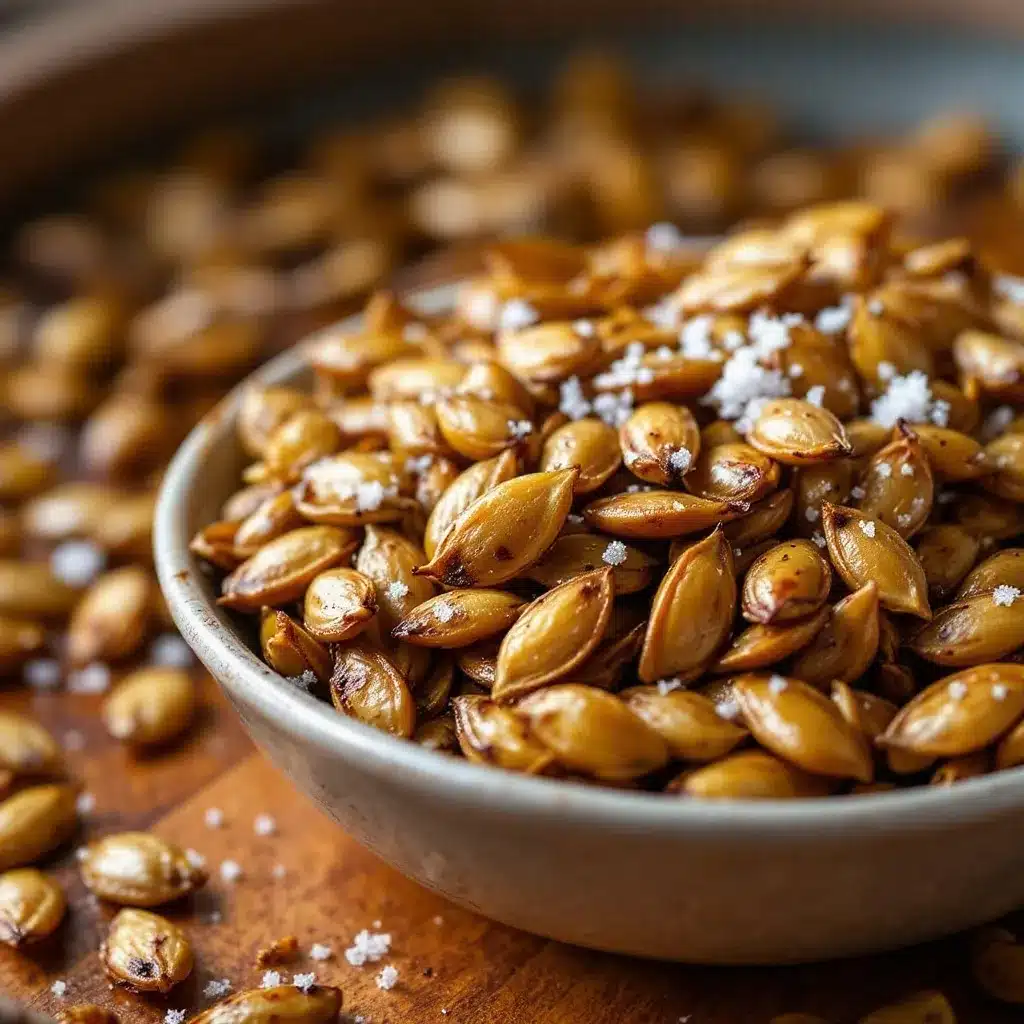
Let’s get into the nitty-gritty. This process is straightforward, but patience is key. Rushing the cleaning step is the most common mistake people make.
- Extract the Seeds (5 minutes): Cut your pumpkin in half and scoop out the guts. Use a large spoon to scrape the seeds away from the flesh. Put them in your large bowl. Don’t worry about the stringy bits yet; we will clean those off.
- Wash and Clean (10 minutes): Fill the bowl with cold water. The seeds will sink, but the pulp will float. Use your hands or a slotted spoon to skim off the floating bits. Repeat this process two or three times until the water runs clear and the seeds are mostly clean. It takes a bit of elbow grease, but trust me, it’s worth it. You want every seed to be free of pulp.
- Drain Thoroughly (5 minutes): Pour the seeds into a colander or strainer. Shake it well to remove excess water. The drier the seeds are before roasting, the crispier they will be. Wet seeds steam instead of roast.
- Preheat the Oven (10 minutes): While you are cleaning, preheat your oven to 325°F (165°C). A lower temperature ensures even cooking without burning the edges. High heat can burn the oil before the seeds are done.
- Season the Seeds (5 minutes): Spread the drained seeds onto your prepared sheet pan. Drizzle the olive oil over them. Sprinkle the salt, garlic powder, pepper, and onion powder. Use your hands or a spoon to toss them until every single seed is coated. You want a thin, even layer, not a pool of oil.
- Roast (20-25 minutes): Place the pan in the oven. Roast for 20 to 25 minutes. Stir the seeds every 10 minutes to ensure they brown evenly. They are done when they are golden brown and fragrant. They will continue to crisp up as they cool, so don’t wait until they look dark in the oven.
- Cool Completely (15 minutes): Remove the pan from the oven and let the seeds cool on the pan. This is crucial. If you move them while hot, they might break or stay soft. Let them sit until they are room temperature.
Keep an eye on them during the last five minutes. Ovens vary, so your batch might be done in 20 or 25. The smell of roasted pumpkin seeds is unmistakable. If it smells like burning, they are done.
Cooking Tips & Techniques
I’ve learned a few things the hard way while perfecting this recipe. Here are some tips to ensure your seeds come out perfectly every time.
Don’t Skip the Drying Step: After washing, pat the seeds dry with a paper towel if you can. Removing surface moisture helps them roast rather than steam. This is the secret to that professional crunch.
Watch the Temperature: 325°F is the sweet spot. If you go higher, the oil can smoke and the seeds can burn. If you go lower, they might take too long and dry out. Consistency is key.
Stir Frequently: Pumpkin seeds are small and can burn on one side if left undisturbed. Stirring them every 10 minutes ensures even browning. It’s a small effort that pays off.
Use Fresh Spices: Old spices lose their potency. If your garlic powder has been sitting in the cabinet for two years, it won’t add much flavor. Fresh spices make a noticeable difference in taste.
Cool Completely: This is where most people fail. Hot seeds are soft. They only crisp up as they cool. Be patient. If you try to store them while warm, they will get soggy in the container.
Batch Roasting: If you have a lot of seeds, don’t overcrowd the pan. Overcrowding causes steaming. Use two pans if necessary, or roast in batches. Even spacing is vital for crispiness.
Variations & Adaptations
Once you master the basic recipe, you can get creative. Here are a few variations I love.
Spicy Kick: Add a pinch of cayenne pepper or red pepper flakes. This pairs well with slow cooker buffalo chicken sliders for a spicy game day spread.
Herb Garden: Mix in dried rosemary, thyme, or parsley. Herbs add a fresh, earthy flavor that is great for salads or soups later.
Sweet & Salty: Toss the seeds with a little brown sugar and cinnamon before roasting. These are great for snacking on their own or topping yogurt.
Smoky Paprika: Add smoked paprika for a BBQ flavor. This works well with game day nacho bars.
Allergy-Friendly: These seeds are naturally gluten-free, dairy-free, and nut-free. They are a safe option for most dietary restrictions. Just check your spice labels to ensure no hidden allergens.
Serving & Storage Suggestions
These seeds are best served at room temperature. They can be made ahead and stored for later.
Storage: Once completely cool, store them in an airtight container. They will keep at room temperature for up to one week. For longer storage, keep them in the refrigerator for up to two weeks. Avoid the freezer, as the texture can change.
Serving: Serve them in small bowls as a snack. They are great with beer, wine, or a cold soda. They also make a great topping for salads, soups, or roasted vegetables.
Reheating: If they lose their crunch, you can re-crisp them in a 300°F oven for 5 minutes. Let them cool again before eating.
Nutritional Information & Benefits
Pumpkin seeds are a nutritional powerhouse. They are rich in magnesium, zinc, and healthy fats. They are also a good source of protein and fiber.
One serving (about 1/4 cup) contains roughly 150 calories. They are heart-healthy and can help support immune function. Unlike processed chips, these are a whole food snack.
They are naturally gluten-free and vegan. If you are watching your salt intake, you can control the amount of sodium by adding less salt or using a salt substitute.
Adding these to your diet is a simple way to boost your nutrient intake without adding too many calories. They are a guilt-free snack option.
Conclusion
These Crispy Roasted Pumpkin Seeds with Sea Salt are simple, delicious, and incredibly satisfying. They turn a potential waste product into a gourmet snack. I hope you try them and see why they are a favorite in our house.
Feel free to experiment with different seasonings to find your perfect blend. Whether you like them spicy, sweet, or classic, these seeds are a versatile addition to your snack rotation.
Don’t forget to share your results! I’d love to hear how you like them. If you make this recipe, leave a comment below or share a photo on social media. Tag me so I can see your creations.
Happy roasting! Let me know if you have any questions.
FAQs
Can I use seeds from a carving pumpkin?
Yes, but sugar or pie pumpkins yield seeds that are plumper and tastier. Carving pumpkin seeds can be flatter and less flavorful, but they still work well if you season them generously.
Why are my seeds chewy instead of crunchy?
This usually happens if the seeds weren’t dried enough before roasting, or if they weren’t cooked long enough. Make sure to drain them well and roast until golden brown. Also, let them cool completely before eating.
How long do roasted pumpkin seeds last?
Stored in an airtight container at room temperature, they will stay fresh and crunchy for up to one week. In the refrigerator, they can last up to two weeks.
Can I roast pumpkin seeds in an air fryer?
Yes, you can. Use 300°F for 10-12 minutes, shaking the basket every 5 minutes. Keep a close eye on them as they cook faster in an air fryer.
Do I have to use olive oil?
No, you can use melted butter, avocado oil, or even coconut oil. Olive oil adds a nice flavor, but any neutral oil or fat will work to help the seeds roast and the seasoning stick.
Pin This Recipe!
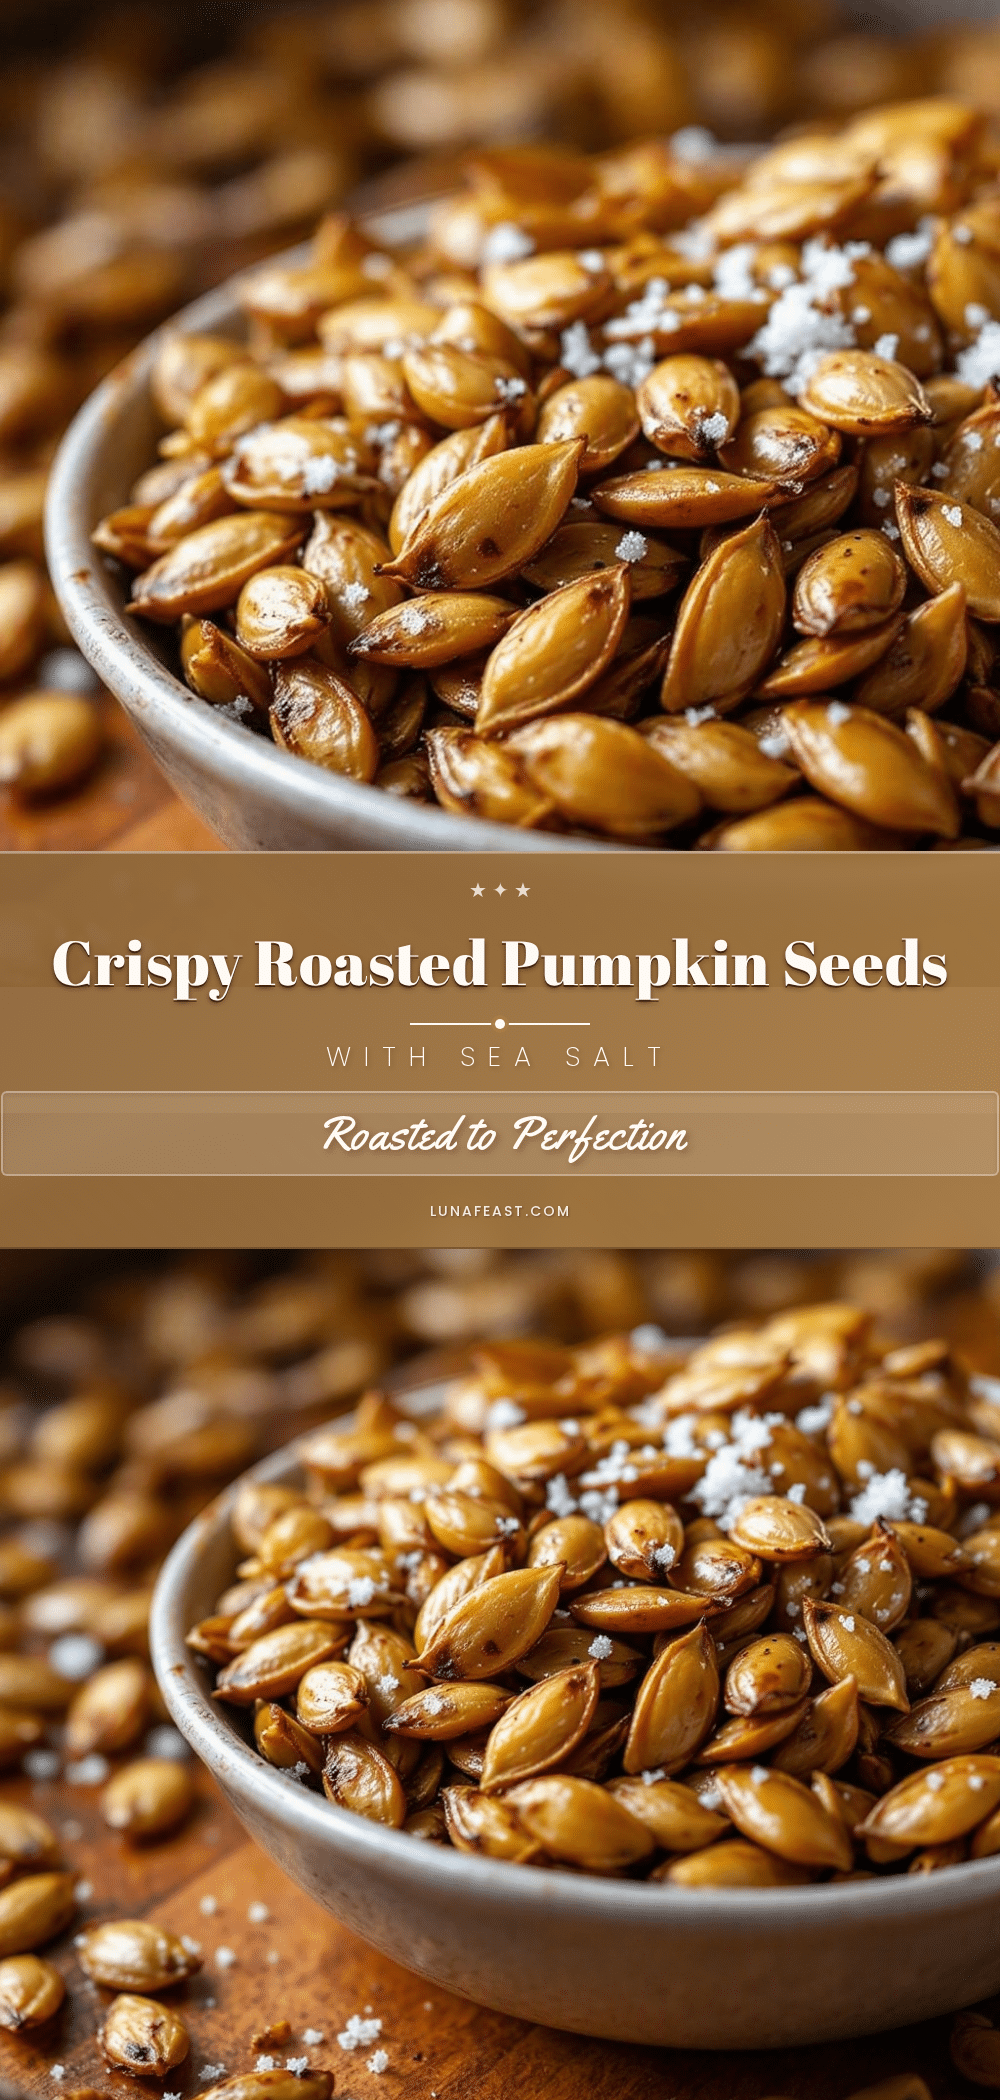
Crispy Roasted Pumpkin Seeds with Sea Salt
A simple, crunchy, and savory snack made from fresh pumpkin seeds, olive oil, and sea salt. These roasted seeds are a healthy, gluten-free alternative to chips, perfect for game day or everyday snacking.
- Prep Time: 20 minutes
- Cook Time: 25 minutes
- Total Time: 45 minutes
- Yield: 4 servings 1x
- Category: Snack
- Cuisine: American
Ingredients
- 2 cups fresh pumpkin seeds (drained)
- 2 tablespoons extra virgin olive oil
- 1 teaspoon fine sea salt
- 1/2 teaspoon garlic powder
- 1/4 teaspoon black pepper
- 1/4 teaspoon onion powder
Instructions
- Cut the pumpkin in half and scoop out the seeds into a large bowl.
- Fill the bowl with cold water. Skim off floating pulp and repeat 2-3 times until seeds are clean.
- Drain the seeds thoroughly in a colander or strainer to remove excess water.
- Preheat the oven to 325°F (165°C).
- Spread the drained seeds onto a rimmed baking sheet lined with parchment paper.
- Drizzle with olive oil and sprinkle with salt, garlic powder, pepper, and onion powder. Toss until evenly coated.
- Roast for 20-25 minutes, stirring every 10 minutes, until golden brown and fragrant.
- Remove from oven and let cool completely on the pan to ensure crispiness.
Notes
Ensure seeds are completely dry before roasting to achieve maximum crunch. Do not overcrowd the pan; roast in batches if necessary. Seeds will continue to crisp up as they cool, so do not eat them while hot. Store in an airtight container at room temperature for up to one week.
Nutrition
- Serving Size: 1/4 cup
- Calories: 150
- Sodium: 230
- Fat: 12
- Saturated Fat: 2
- Carbohydrates: 9
- Fiber: 2
- Protein: 7
Keywords: pumpkin seeds, roasted pumpkin seeds, healthy snack, game day snack, gluten-free snack, vegan snack, autumn recipe, easy snack


