It was 2009, and I was living in a place with a window that didn’t quite latch shut. The wind would howl in, rattling the frames, but inside, it was warm. I had just pulled a baking sheet out of a toaster oven that ran way too hot, and the air was thick with cheese dust and cumin. My roommates were sprawled on that sagging couch, laughing about something stupid, and the only thing that mattered was reaching for that first, perfect chip loaded with everything.
That was the moment I realized that “snack food” could actually be a meal. It didn’t need to be fancy or plated on china. It just needed to be hot, messy, and shared. I remember scraping the bottom of the pan with my fingers, not caring about the grease or the burn, just wanting that last bit of gooey goodness. Honestly, there is something deeply satisfying about eating off a sheet pan. It feels rebellious, like we are breaking all the rules of proper dining etiquette, and I love it for that.
Years later, I still make this exact version of the Ultimate Loaded Sheet Pan Nacho Bar when the mood strikes. Maybe it’s Friday night, maybe it’s a game day, or maybe I just need comfort. It brings me back to those simple, loud, happy evenings. The recipe has evolved, of course. I’ve tweaked the cheese blends and added better toppings, but the soul of it remains the same. It’s about gathering people around a single, delicious source. It’s about the joy of digging in together. And let’s face it, it’s way easier than setting a table.
Why You’ll Love This Recipe
Let’s be real for a second. Cooking for a crowd usually means spending hours in the kitchen while your guests are already eating without you. That is the last thing you want. This nacho bar is different because it turns the traditional “dip” into a main event. I’ve tested dozens of variations over the years, from using pre-shredded cheese (which I always advise against because of the anti-caking agents) to making homemade salsa from scratch. This specific combination hits the sweet spot between convenience and gourmet quality.
- Quick & Easy: You can have this on the table in under 20 minutes. It’s perfect for those last-minute dinner guests or when you just want something hearty for yourself.
- Simple Ingredients: You likely have most of this in your pantry right now. Tortilla chips, ground beef or turkey, basic spices, and a good blend of cheese. No obscure grocery trips needed.
- Perfect for Game Day: Whether you are watching the big match or just enjoying the quiet, this is the ultimate comfort food centerpiece. It pairs beautifully with my easy football charcuterie board for a full spread.
- Crowd-Pleaser: Kids love the cheese, adults love the seasoned meat, and everyone loves the freedom to pick their own toppings. It always gets rave reviews.
- Unbelievably Delicious: The texture contrast between the crunchy chip, the tender meat, and the gooey cheese is next-level comfort food. It’s the kind of bite that makes you close your eyes.
What makes this recipe stand out is the layering technique. Instead of dumping everything on top at once, we build it. This ensures every chip gets coated, preventing those sad, dry corners. It’s not just another nacho recipe; it’s your best version. It feels special, like you put in effort, but it’s actually foolproof.
What Ingredients You Will Need
This recipe relies on high-quality, accessible ingredients to deliver bold flavor without the fuss. The key is balancing the salty chips with rich cheese and savory meat. We use pantry staples that you can easily substitute if needed, making this recipe flexible for any diet or pantry situation.
- For the Base:
- 1 large bag (approx. 12-16 oz) thick-cut tortilla chips. I prefer a sturdy brand that won’t break under the weight of the toppings.
- 1 tablespoon olive oil. This helps toast the chips slightly before adding toppings.
- For the Meat Layer:
- 1 lb ground beef (80/20 fat ratio for flavor) or ground turkey for a lighter option. If you want something different, try my ultimate game day loaded nacho bar for a similar vibe.
- 1 small yellow onion, finely diced. Adds sweetness and depth.
- 2 cloves garlic, minced. Fresh is best here.
- 1 packet (1 oz) taco seasoning. I recommend the McCormick brand for consistent flavor.
- 1/2 cup water. Helps create a rich sauce for the meat.
- For the Cheese Blend:
- 2 cups shredded sharp cheddar cheese. Block cheese shreds better and melts smoother.
- 1 cup Monterey Jack cheese, shredded. This adds that creamy, stretchy quality.
- 1/2 cup queso fresco, crumbled. Adds a salty, fresh contrast.
- For the Toppings:
- 1/2 cup black beans, rinsed and drained. Canned works fine.
- 1/2 cup corn kernels. Fresh, frozen (thawed), or canned.
- 1/2 cup salsa. Mild or medium, depending on your heat preference.
- 1/4 cup sour cream. For dolloping on after baking.
- 2 green onions, thinly sliced. For freshness and color.
- 1/4 cup fresh cilantro, chopped. Optional, but recommended.
- 1 jalapeño, thinly sliced. For those who like a kick.
For the cheese, I always advise buying a block and shredding it yourself. Pre-shredded cheese is coated in cellulose to prevent clumping, which stops it from melting properly. You’ll end up with a greasy, separated mess instead of that smooth, gooey blanket we all crave. It’s a small step that makes a huge difference.
Equipment Needed
You don’t need fancy gadgets for this. A large, heavy-duty baking sheet is the star of the show. I prefer a rimmed half-sheet pan because the sides contain the cheese and juices, preventing them from dripping onto your oven floor. If you are feeding a large crowd, you might need two pans, but one is usually plenty for a family of four or a small gathering.
A large skillet is needed for browning the meat. Cast iron is great for this because it retains heat well, giving the beef a nice sear, but a stainless steel skillet works too. A wooden spoon or silicone spatula is perfect for stirring the meat without scratching the pan.
For serving, a cutting board or a large platter is useful if you want to transfer the nachos from the pan to the table. However, serving directly from the hot pan is part of the fun. Just make sure you have oven mitts ready! If you don’t have a baking sheet, you can use a large roasting pan, though the chips might get soggy faster due to the deeper sides.
Preparation Method
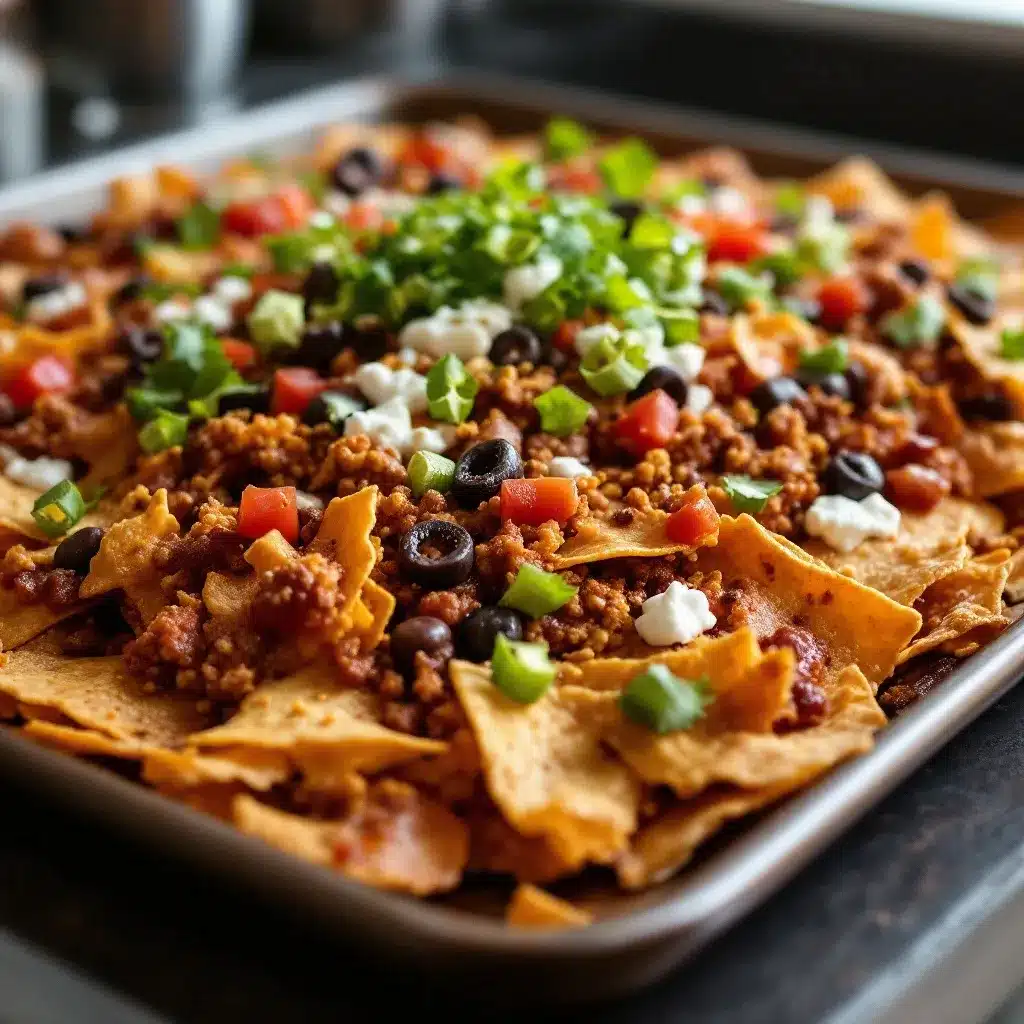
- Preheat and Prep (5 minutes): Start by preheating your oven to 400°F (200°C). Line your baking sheet with aluminum foil for easy cleanup, though it’s not strictly necessary if you are careful. Lightly spray the foil with non-stick cooking spray or drizzle a tiny bit of olive oil to prevent sticking.
- Layer the Chips (2 minutes): Spread the tortilla chips in a single layer on the baking sheet. You want them to be mostly flat, but it’s okay if they overlap slightly. This ensures even heating. If you have a lot of chips, do two layers, but be gentle so they don’t break.
- Cook the Meat (10 minutes): While the oven heats, heat a large skillet over medium-high heat. Add the ground beef (and onion if you like it soft, or add it later if you prefer crunch). Brown the meat, breaking it up with a spoon. Once browned, drain excess fat if desired, though some fat adds flavor. Stir in the taco seasoning and water. Simmer for 2-3 minutes until the sauce thickens slightly. This creates a rich, cohesive topping.
- First Cheese Layer (2 minutes): Sprinkle half of your shredded cheese blend evenly over the chips. This acts as a glue for the toppings. Then, spoon the seasoned meat mixture over the cheese, distributing it evenly. You want every bite to have some meat.
- Add Toppings and Bake (8-10 minutes): Scatter the black beans, corn, and remaining cheese over the meat. Avoid adding wet toppings like salsa or sour cream now, as they will make the chips soggy. Place the pan in the oven and bake for 8-10 minutes, or until the cheese is bubbly and starting to brown slightly at the edges.
- Finish and Serve (2 minutes): Remove from the oven. Immediately top with fresh salsa, sliced jalapeños, green onions, and cilantro. Dollop with sour cream. Serve hot, straight from the pan. Enjoy!
Keep an eye on the oven in the last few minutes. Ovens vary, and you want the cheese melted but not burnt. If you see the edges of the chips turning dark brown, take them out. Burnt chips are bitter and ruin the experience.
Cooking Tips & Techniques
One common mistake is overloading the nachos with too many wet ingredients before baking. Salsa, sour cream, and guacamole should always be added after baking. If you bake them with salsa, the chips will absorb the moisture and become limp and chewy instead of crunchy. We want that snap.
Another tip is to toast the chips lightly before adding toppings if your oven runs cold. A quick 2-minute bake of just the chips can add extra crunch. Also, when browning the meat, don’t crowd the pan. If you are making a double batch, do it in two rounds. Crowding steams the meat instead of searing it, resulting in a bland, gray texture.
For the cheese, a mix is always better than one type. Cheddar provides flavor, Monterey Jack provides melt, and Pepper Jack adds a little heat. I’ve tried using only cheddar, and it can be dry. The blend creates that perfect stretchy, gooey texture that defines a great nacho.
Timing is everything. Have all your toppings chopped and ready before you put the nachos in the oven. The baking time is short, and you don’t want to be digging for the cilantro while the cheese is bubbling over. Prep is key to a stress-free cooking experience.
Variations & Adaptations
This recipe is a canvas for your creativity. Here are a few variations I’ve tried:
- Vegetarian: Swap the ground beef for crumbled firm tofu or a plant-based ground meat alternative. Add extra vegetables like bell peppers or mushrooms to the skillet for bulk.
- Chicken: Use shredded rotisserie chicken tossed with taco seasoning instead of beef. It’s lighter and ready to use immediately.
- Seafood: For a coastal twist, use grilled shrimp or flaked salmon with a lime-cilantro slaw added after baking.
- Gluten-Free: Simply use certified gluten-free tortilla chips. Most brands are naturally GF, but always check the label.
I also like to add a layer of refried beans on top of the chips before the cheese. It adds creaminess and makes the nachos more filling. It’s a classic Mexican diner style that I really enjoy.
Serving & Storage Suggestions
Serve the nachos immediately while the cheese is still hot and gooey. They pair wonderfully with a crisp green salad or some crispy parmesan butternut squash fries for a more substantial meal. A cold beer or a margarita is the perfect drink companion.
If you have leftovers (unlikely, but possible), store them in an airtight container in the fridge for up to 2 days. Reheat in the oven at 350°F for 10 minutes to restore crunch. The microwave will make them soggy, so avoid that if you can. The flavors actually meld together nicely the next day, making them a great lunch option.
Nutritional Information & Benefits
While nachos are definitely a treat, they can be part of a balanced meal if you watch portions. The ground beef provides protein and iron, while the beans and corn add fiber and carbohydrates. Using lean turkey or chicken can reduce the saturated fat content. The cheese offers calcium, but it is also high in sodium, so be mindful if you are watching your salt intake. This recipe is not gluten-free unless you use GF chips, and it contains dairy. It’s a comforting, hearty dish that satisfies cravings without feeling too heavy if you balance it with fresh toppings like cilantro and green onions.
Conclusion
This Ultimate Loaded Sheet Pan Nacho Bar is more than just a snack; it’s a celebration of simple, shared moments. It’s easy to make, incredibly delicious, and perfect for any occasion. I love that it brings people together around the table, encouraging conversation and connection over a plate of good food. Give it a try and see how it becomes a staple in your home. Don’t forget to share your creations or ask questions in the comments below. Happy cooking!
FAQs
Can I use pre-shredded cheese?
You can, but it’s not recommended. Pre-shredded cheese contains anti-caking agents that prevent it from melting smoothly. You’ll end up with a grainy texture instead of the gooey melt you want. Buy a block and shred it yourself for the best results.
How do I keep the chips from getting soggy?
The key is to add wet toppings like salsa and sour cream after baking. Also, don’t overload the pan with too many toppings at once. Ensure the meat is drained well before adding it to the chips.
Can I make this ahead of time?
You can prep the meat and chop the toppings ahead of time. However, it’s best to assemble and bake the nachos just before serving to maintain the crunch of the chips and the melt of the cheese.
What cheese is best for nachos?
A mix of sharp cheddar and Monterey Jack is ideal. The cheddar provides flavor, while the Monterey Jack provides excellent melt. You can also add Pepper Jack for a spicy kick.
Can I freeze leftover nachos?
It’s not recommended. Freezing nachos makes the chips soggy and the cheese grainy when reheated. It’s best to enjoy them fresh. If you must, store them in the fridge and reheat in the oven, but the texture will change.
Pin This Recipe!
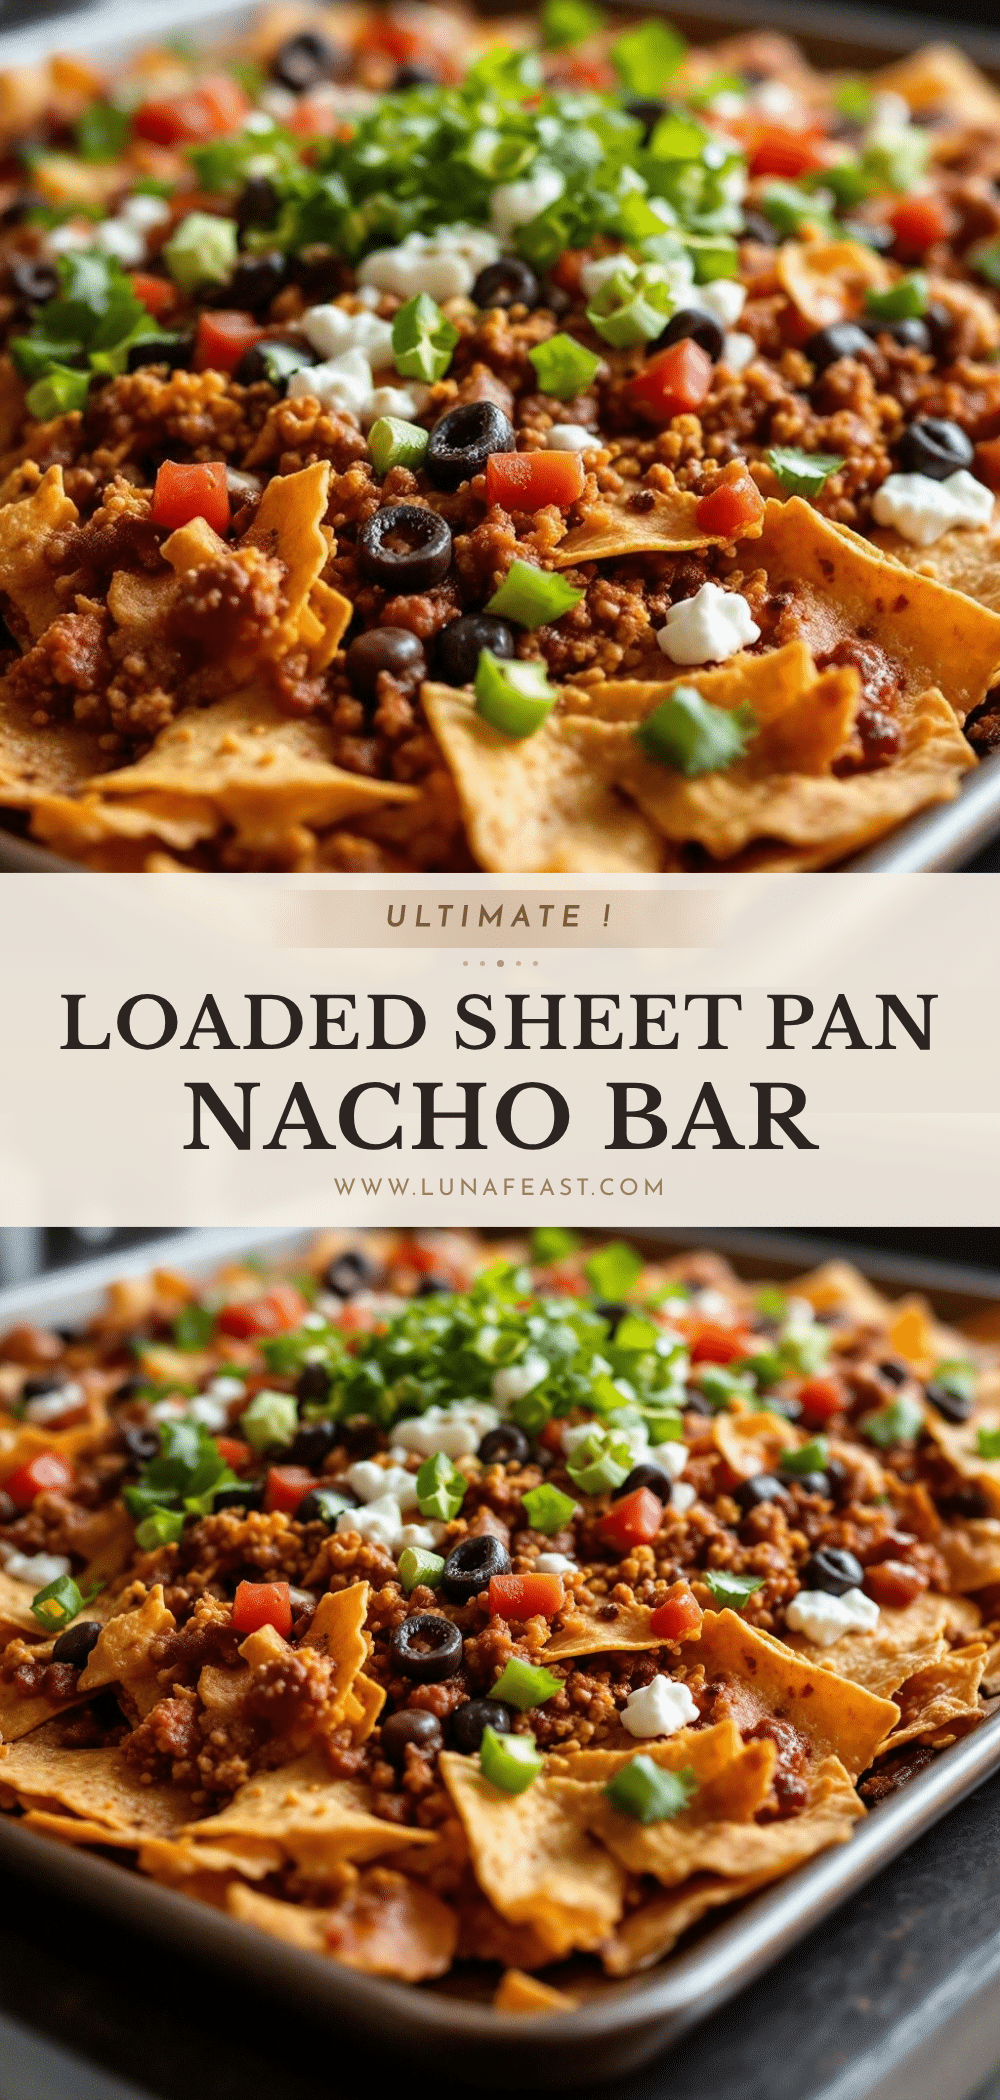
Ultimate Loaded Sheet Pan Nacho Bar
A quick, easy, and crowd-pleasing party appetizer featuring layered tortilla chips, seasoned ground beef, a three-cheese blend, and fresh toppings, baked to gooey perfection on a single sheet pan.
- Prep Time: 15 minutes
- Cook Time: 10 minutes
- Total Time: 25 minutes
- Yield: 4 servings 1x
- Category: Appetizer
- Cuisine: Mexican
Ingredients
- 1 large bag (approx. 12–16 oz) thick-cut tortilla chips
- 1 tablespoon olive oil
- 1 lb ground beef (80/20 fat ratio) or ground turkey
- 1 small yellow onion, finely diced
- 2 cloves garlic, minced
- 1 packet (1 oz) taco seasoning
- 1/2 cup water
- 2 cups shredded sharp cheddar cheese
- 1 cup Monterey Jack cheese, shredded
- 1/2 cup queso fresco, crumbled
- 1/2 cup black beans, rinsed and drained
- 1/2 cup corn kernels
- 1/2 cup salsa
- 1/4 cup sour cream
- 2 green onions, thinly sliced
- 1/4 cup fresh cilantro, chopped
- 1 jalapeño, thinly sliced
Instructions
- Preheat oven to 400°F (200°C). Line a large rimmed baking sheet with aluminum foil and lightly spray with non-stick cooking spray or drizzle with olive oil.
- Spread tortilla chips in a single layer on the prepared baking sheet.
- Heat a large skillet over medium-high heat. Add ground beef and onion; brown the meat, breaking it up with a spoon. Drain excess fat if desired.
- Stir in taco seasoning and water. Simmer for 2-3 minutes until the sauce thickens slightly.
- Sprinkle half of the shredded cheese blend evenly over the chips. Spoon the seasoned meat mixture over the cheese.
- Scatter black beans, corn, and remaining cheese over the meat. Avoid adding wet toppings like salsa or sour cream at this stage.
- Bake for 8-10 minutes, or until the cheese is bubbly and starting to brown slightly at the edges.
- Remove from oven. Immediately top with fresh salsa, sliced jalapeños, green onions, and cilantro. Dollop with sour cream.
- Serve hot, straight from the pan.
Notes
For best results, shred cheese from a block rather than using pre-shredded cheese, which contains anti-caking agents that prevent smooth melting. Add wet toppings like salsa and sour cream only after baking to keep chips crunchy. If your oven runs cold, toast the chips lightly for 2 minutes before adding toppings.
Nutrition
- Serving Size: 1/4 of the sheet pan
- Calories: 650
- Sugar: 4
- Sodium: 980
- Fat: 42
- Saturated Fat: 18
- Carbohydrates: 45
- Fiber: 6
- Protein: 28
Keywords: nacho bar, sheet pan nachos, party appetizer, game day food, easy nachos, loaded nachos, ground beef nachos, cheese dip


