That faint, sweet smell of overripe bananas — the kind that lingers in the kitchen a little too long — still takes me straight to my grandmother’s tiny apartment on a rainy Sunday afternoon. She’d pull out this dented old loaf pan, never measuring a thing, just mashing and stirring with a worn wooden spoon. No mixer, no fuss, no fancy gadgets. Just her, the bananas, and that quiet, unhurried rhythm of baking from memory. I remember watching the batter come together, thinking how simple it looked, and then waiting — impatiently — for that first warm slice with butter melting into the crumb.
That memory is exactly why I make this easy one-bowl banana bread today. It’s not about impressing anyone or following a strict set of rules. It’s about using what you have — those spotty bananas sitting on the counter — and turning them into something that feels like a hug. Honestly, I’ve tried the complicated versions with separate bowls and stand mixers, and they’re fine. But this one? This is the one I come back to. It’s the recipe that works when you’re tired, when the kids are hungry, or when you just need a quiet moment with a cup of coffee and something homemade.
This easy one-bowl banana bread has gotten me through lazy Saturday mornings, last-minute bake sale requests, and even a few stressful weeknights where I needed the smell of something good in the house. It’s forgiving, it’s fast, and it never lets you down. Trust me on this one — you’re going to want this recipe in your back pocket.
Why You’ll Love This Recipe
Let me tell you why this particular banana bread is different from all the others I’ve tried over the years. I’ve tested this recipe more times than I can count — tweaking the flour ratio, playing with the baking soda, even experimenting with different types of sugar. And every single time, I come back to this version. It’s the one that works without fail, and here’s why you’ll love it too.
- Quick & Easy: From start to finish, this comes together in about 10 minutes of active prep time. No mixer to haul out, no extra bowls to wash. Just one bowl, a spoon, and about an hour in the oven. Perfect for those moments when you need a homemade treat without the production.
- Simple Ingredients: You probably have everything already. Flour, sugar, eggs, butter, baking soda, salt, and those sad-looking bananas you’ve been avoiding. No weird specialty items, no trips to a specialty store. It’s pantry baking at its finest.
- Perfect for Any Occasion: This bread works for breakfast with a smear of butter, for an afternoon snack with coffee, or as a simple dessert with a dollop of whipped cream. It’s equally at home at a holiday brunch or a Tuesday afternoon.
- Crowd-Pleaser: I’ve brought this to potlucks, family gatherings, and neighbor gifts. It disappears fast. Kids love it, adults love it, and people always ask for the recipe. It’s that good.
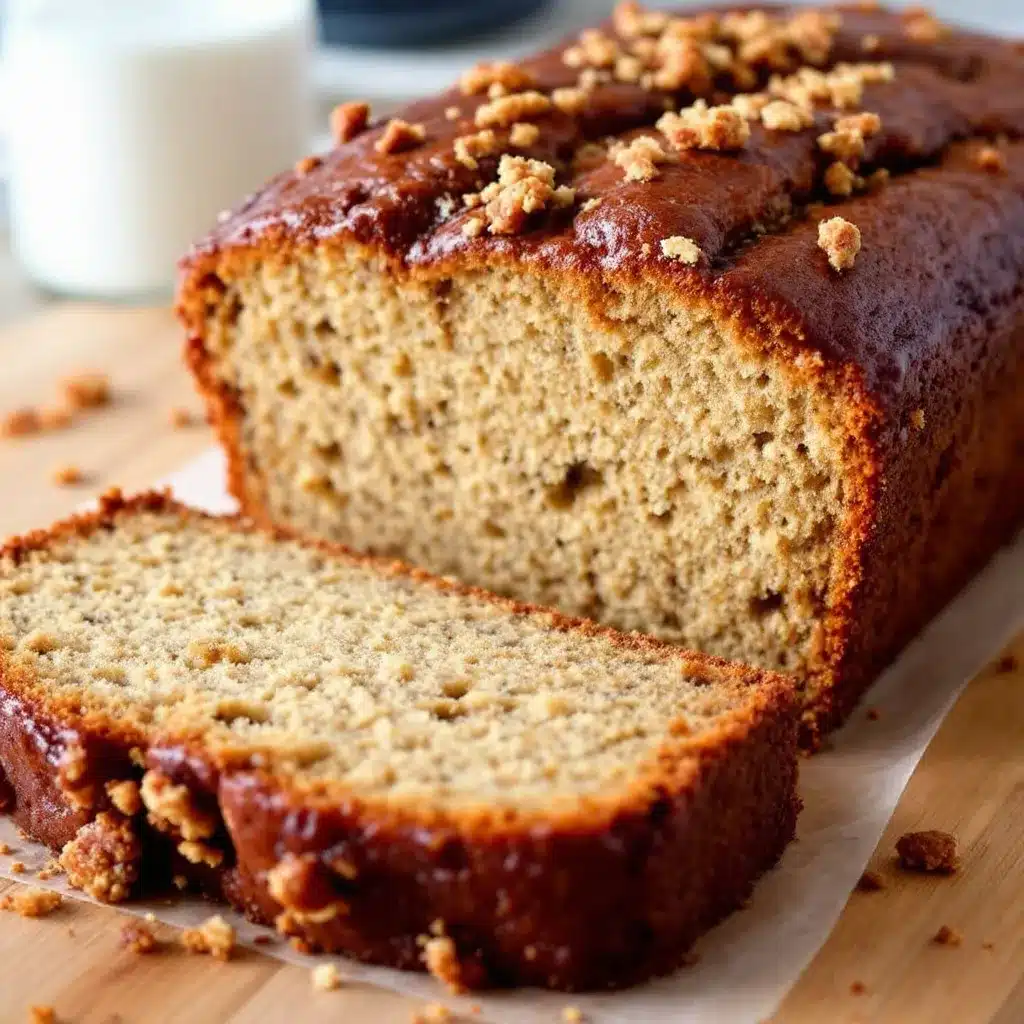
- Unbelievably Delicious: The texture is exactly what you want — moist, tender, with a slightly crisp edge. The banana flavor is front and center, not hidden behind too much sugar or spice. It’s pure, simple comfort.
What makes this recipe my best version? It’s the technique of mashing the bananas just right — leaving some small chunks for texture — and the perfect balance of butter and oil that keeps it moist for days. I’ve tried versions that were too dry, too dense, or too sweet. This one hits the sweet spot every time. It’s the kind of banana bread that makes you close your eyes after the first bite, because it tastes exactly like it should.
What Ingredients You Will Need
This recipe uses simple, everyday ingredients to create something truly special. No complicated shopping list, no hard-to-find items. Just honest, good baking staples that work together beautifully.
- Overripe Bananas — about 3 medium bananas, the spottier the better. The brown spots mean they’re sweet and soft, which is exactly what you want. If your bananas aren’t ripe enough, you can pop them in a 300°F oven for 15 minutes to speed things up.
- All-Purpose Flour — 1 ½ cups (180 grams). I use Gold Medal or King Arthur for consistent results. Spoon and level your flour — don’t scoop straight from the bag or you’ll end up with dry bread.
- Granulated Sugar — ½ cup (100 grams). Just enough to sweeten without overpowering the banana flavor. You can reduce it to ⅓ cup if your bananas are very sweet.
- Brown Sugar — ¼ cup (50 grams), packed. This adds moisture and a hint of caramel depth that granulated sugar alone can’t give. Light or dark brown sugar both work fine.
- Unsalted Butter — 6 tablespoons (85 grams), melted and slightly cooled. I prefer unsalted so I can control the salt level. If you only have salted butter, just reduce the added salt to ¼ teaspoon.
- Vegetable Oil — 2 tablespoons (30 ml). This is my secret for extra moisture. The combination of butter and oil gives you both flavor and tenderness. Any neutral oil works — canola, avocado, or grapeseed.
- Eggs — 2 large eggs, at room temperature. Cold eggs can seize the melted butter, so let them sit out for 20 minutes or warm them in a bowl of warm water for 5 minutes.
- Vanilla Extract — 1 teaspoon. Pure vanilla is best, but imitation works fine in a pinch. Don’t skip it — it rounds out the flavors beautifully.
- Baking Soda — 1 teaspoon. This is your leavening agent, and it reacts with the acidity of the bananas to help the bread rise. Make sure it’s fresh — test it by dropping a bit into vinegar; it should fizz.
- Salt — ½ teaspoon. Don’t skip this. Salt doesn’t make it salty; it makes everything else taste more like itself.
- Optional Add-Ins — ½ cup chopped walnuts, pecans, or chocolate chips. Fold them in at the end if you want a little extra texture or sweetness. I usually add walnuts because I love the crunch.
For a gluten-free version, swap the all-purpose flour with a good 1:1 gluten-free baking blend. I’ve used Bob’s Red Mill with great results. Just don’t overmix the batter, as gluten-free flours can get gummy.
Equipment Needed
You don’t need much for this recipe, which is part of its beauty. Here’s what you’ll need:
- Large Mixing Bowl — Any medium to large bowl works. I use a glass or ceramic bowl because they’re easy to clean and don’t hold onto odors.
- Wooden Spoon or Silicone Spatula — A good sturdy spoon for mashing and mixing. I prefer a wooden spoon because it feels right, but a silicone spatula works just as well.
- 9×5-inch Loaf Pan — Standard size. If you use an 8×4-inch pan, your bread will be taller and可能需要增加10-15分钟的烘烤时间。金属或玻璃材质的烤盘都可以,但金属导热更快,底部更容易上色。
- Parchment Paper — I line my loaf pan with a sling of parchment paper for easy removal. It’s not strictly necessary if you grease the pan well, but it makes life so much easier.
- Measuring Cups and Spoons — For accuracy. I know some bakers eyeball it, but for consistent results, measuring is your friend.
- Cooling Rack — Helps the bread cool evenly and prevents a soggy bottom. If you don’t have one, you can use the inverted loaf pan to prop it up.
- Fork or Potato Masher — For mashing the bananas. A fork works perfectly, but a potato masher is faster if you have one.
I’ve made this bread with nothing but a bowl and a fork, and it turned out great. Don’t let lack of fancy equipment stop you. A friend of mine once used a plastic takeout container as a mixing bowl in a pinch — and it still worked!
Preparation Method
Let’s get baking. This is straightforward, I promise. Follow these steps, and you’ll have a beautiful loaf of banana bread in about an hour.
- Preheat your oven to 350°F (175°C). Position the rack in the center of the oven. Line your 9×5-inch loaf pan with parchment paper, leaving a little overhang on the long sides for easy lifting. Or just grease it well with butter or non-stick spray.
- Mash the bananas. Peel those spotty bananas and toss them into your large mixing bowl. Mash them with a fork or potato masher until they’re mostly smooth but still have a few small lumps. You want some texture — completely smooth puree can make the bread a bit dense. Aim for something like a chunky applesauce consistency.
- Add the wet ingredients. To the mashed bananas, add the melted butter, vegetable oil, eggs, and vanilla extract. Stir everything together with your wooden spoon until it’s well combined. It will look a little separated at first, but keep stirring — it will come together into a smooth, glossy mixture. Don’t worry if it looks a bit curdled; that’s normal.
- Add the sugars. Pour in the granulated sugar and packed brown sugar. Stir until they’re fully dissolved into the wet mixture. You shouldn’t feel any grittiness when you rub a bit between your fingers. This step is important for a tender crumb.
- Add the dry ingredients. Sprinkle the flour, baking soda, and salt over the wet mixture. Now, here’s the key: stir gently, just until you don’t see any more streaks of flour. A few small lumps are totally fine. Overmixing at this stage develops gluten, which will make your bread tough and dense. You want it tender, not chewy. Fold in any add-ins like nuts or chocolate chips at this point.
- Pour and bake. Scrape the batter into your prepared loaf pan and spread it into an even layer. Give the pan a gentle tap on the counter to release any air bubbles. Bake for 50 to 60 minutes, or until a toothpick inserted into the center comes out clean or with just a few moist crumbs. If the top is browning too quickly after 40 minutes, tent it loosely with aluminum foil.
- Cool properly. Let the bread cool in the pan on a wire rack for about 15 minutes. Then, use the parchment sling to lift it out and transfer it directly to the rack to cool completely. This step is crucial — if you slice it while it’s still warm, it will crumble and fall apart. I know it’s hard to wait, but trust me.
Sensory cues to watch for: The batter should be thick and scoopable, not runny. When you stir in the flour, you should see the batter lighten slightly in color. During baking, your kitchen will fill with that incredible banana aroma — that’s usually a good sign it’s almost done. The top should be a deep golden brown and crackled beautifully.
Cooking Tips & Techniques
After making this bread dozens of times, I’ve learned a few things the hard way. Let me save you some trouble.
Don’t overmix the batter. This is the number one mistake I see. I’ve done it myself — you get a little too enthusiastic with the stirring, and suddenly you have a tough, rubbery loaf. Stir just until the flour disappears. A few streaks are okay. Really.
Use room temperature ingredients. Cold eggs and cold butter can make the batter seize up and not mix evenly. I’ve forgotten to take my eggs out of the fridge before, and the batter looked lumpy and separated. It still baked fine, but the texture wasn’t as nice. Set your eggs out 20 minutes before you start.
Check your baking soda. I once used an old box of baking soda, and my bread came out flat and dense. It was a sad, sad loaf. Baking soda loses its potency over time, so if yours has been sitting in the cabinet for more than six months, get a fresh box. It’s cheap insurance.
Use the right bananas. Green or barely yellow bananas won’t give you enough sweetness or moisture. You want them practically black — the kind you’d normally throw away. If you don’t have ripe bananas, you can bake them in their skins at 300°F for 15-20 minutes. They’ll soften up and sweeten quickly.
Let it cool completely. I know it’s tempting to cut into that warm, fragrant loaf right away. I’ve done it, and I regretted it. The bread needs time to set up, or it will be gummy and fall apart. Give it at least an hour on the cooling rack. Use that time to make a cup of coffee and clean up your one bowl.
Timing strategy: I like to mash my bananas and measure my dry ingredients before I even start mixing. Having everything ready makes the process smoother and reduces the chance of forgetting something. It also means less frantic searching for the measuring cups while your batter sits.
Variations & Adaptations
This recipe is incredibly flexible. Here are some of my favorite ways to change it up:
- Chocolate Chip Banana Bread: Fold in ½ cup of semi-sweet or dark chocolate chips. I like to toss them in a tablespoon of flour first to prevent them from sinking to the bottom. It turns this into a dessert-worthy treat.
- Nutty Walnut Banana Bread: Add ½ cup of chopped walnuts or pecans. Toast them lightly in a dry pan first for extra flavor. This is my go-to version — the crunch contrasts perfectly with the soft crumb.
- Gluten-Free Banana Bread: Substitute the all-purpose flour with a 1:1 gluten-free baking blend. I’ve used King Arthur Measure for Measure with great results. Add an extra tablespoon of milk or yogurt if the batter seems too thick.
- Vegan Banana Bread: Replace the eggs with two flax eggs (2 tablespoons ground flaxseed mixed with 6 tablespoons water) and use melted coconut oil or vegan butter instead of regular butter. It works surprisingly well.
- Spiced Banana Bread: Add 1 teaspoon of cinnamon, ½ teaspoon of nutmeg, and ¼ teaspoon of ground ginger to the flour mixture. It gives the bread a warm, cozy flavor that’s perfect for fall.
- Streusel Topping: Mix ¼ cup flour, ¼ cup brown sugar, 2 tablespoons cold butter, and a pinch of cinnamon. Sprinkle it over the batter before baking for a crunchy, buttery top.
I once made a version with shredded coconut and dried mango — it was honestly a little weird, but my kids loved it. Don’t be afraid to experiment. Banana bread is forgiving.
Serving & Storage Suggestions
This banana bread is delicious in so many ways. Here’s how to enjoy it best.
Serving: Serve it warm or at room temperature. A slice with a pat of salted butter is my favorite — the butter melts into the warm crumb and takes it to another level. For a treat, toast a slice in a skillet with a little butter until golden and crisp on the outside. It’s also wonderful with a smear of cream cheese or a drizzle of honey. Pair it with a hot cup of coffee, a glass of cold milk, or even a scoop of vanilla ice cream for dessert.
Storage: Store the bread wrapped tightly in plastic wrap or in an airtight container at room temperature for up to 4 days. The moisture from the bananas keeps it soft. If you live in a humid climate, you might want to store it in the fridge after a couple of days to prevent mold.
Freezing: This bread freezes beautifully. Wrap the cooled loaf (or individual slices) tightly in plastic wrap, then in aluminum foil, and freeze for up to 3 months. To thaw, leave it on the counter for a few hours or pop a slice in the microwave for 20 seconds. I often freeze half the loaf for later — it’s like finding a little gift to yourself.
Reheating: For that fresh-baked taste, warm slices in a 300°F oven for 5-10 minutes or in the microwave for 15-20 seconds. The flavor actually improves after a day or two as the banana flavor deepens. It’s one of those rare baked goods that tastes even better on day two.
Nutritional Information & Benefits
Here’s an approximate nutritional breakdown for one slice (assuming 10 slices per loaf):
- Calories: 220
- Fat: 9g
- Carbohydrates: 33g
- Fiber: 1g
- Sugar: 18g
- Protein: 4g
Bananas are a great source of potassium, vitamin B6, and vitamin C. They also contain fiber, which helps with digestion. The combination of butter and oil provides healthy fats that keep you satisfied. This bread is also relatively low in added sugar compared to many bakery versions.
Dietary considerations: This recipe is vegetarian. For a lower-sugar option, you can reduce the total sugar to ½ cup and use very ripe bananas for natural sweetness. For a dairy-free version, use melted coconut oil or vegan butter instead of regular butter. It contains gluten unless you use a gluten-free flour blend.
I like to think of this banana bread as a reasonable indulgence. It’s not health food, but it’s made with real ingredients and no weird preservatives. A slice with your morning coffee is a lovely way to start the day.
Conclusion
This easy one-bowl banana bread is more than just a recipe — it’s a little piece of comfort that you can make anytime. It’s the kind of baking that feels like a warm hug, whether you’re making it for a crowd or just for yourself on a quiet afternoon. The best part? You don’t need a mixer, a bunch of fancy tools, or hours of time. Just one bowl, a spoon, and a few simple ingredients.
I love that this recipe lets the bananas shine. It’s not complicated or fussy — it’s honest, homey, and absolutely delicious. Every time I make it, I think of my grandmother and her dented loaf pan, and I smile. That’s what good food does — it connects us to memories and to the people we love.
So go ahead, grab those spotty bananas on your counter, and give this recipe a try. Make it your own — add chocolate chips, throw in some nuts, or keep it plain and simple. However you make it, I promise it will be wonderful. And when you take that first warm slice with butter melting into the crumb, I hope you close your eyes and smile too. If you try it, let me know in the comments — I’d love to hear how it turned out or what twist you added. Happy baking!
Frequently Asked Questions
Can I use frozen bananas for this banana bread?
Absolutely! Thaw them completely, then drain off any excess liquid before mashing. The texture might be slightly softer, but the flavor is even more concentrated. It works perfectly.
Why did my banana bread sink in the middle?
This usually happens if the bread is underbaked or if you opened the oven door too early. Make sure your oven is at the right temperature and resist the urge to peek for the first 40 minutes. A toothpick test is your best friend.
Can I make this banana bread without eggs?
Yes, you can. Use a flax egg (1 tablespoon ground flaxseed mixed with 3 tablespoons water per egg) or ¼ cup of unsweetened applesauce per egg. The texture will be slightly denser but still delicious.
How do I know when my banana bread is done?
Insert a toothpick or a thin knife into the center. If it comes out clean or with just a few moist crumbs, it’s done. The top should be golden brown and feel springy to the touch. If the toothpick has wet batter, give it another 5-10 minutes.
Can I double this recipe?
Yes, you can easily double it. Use a larger bowl and bake in two loaf pans. The baking time might increase by 5-10 minutes, so keep an eye on it. This is great for making one to eat now and one to freeze for later.
Pin This Recipe!
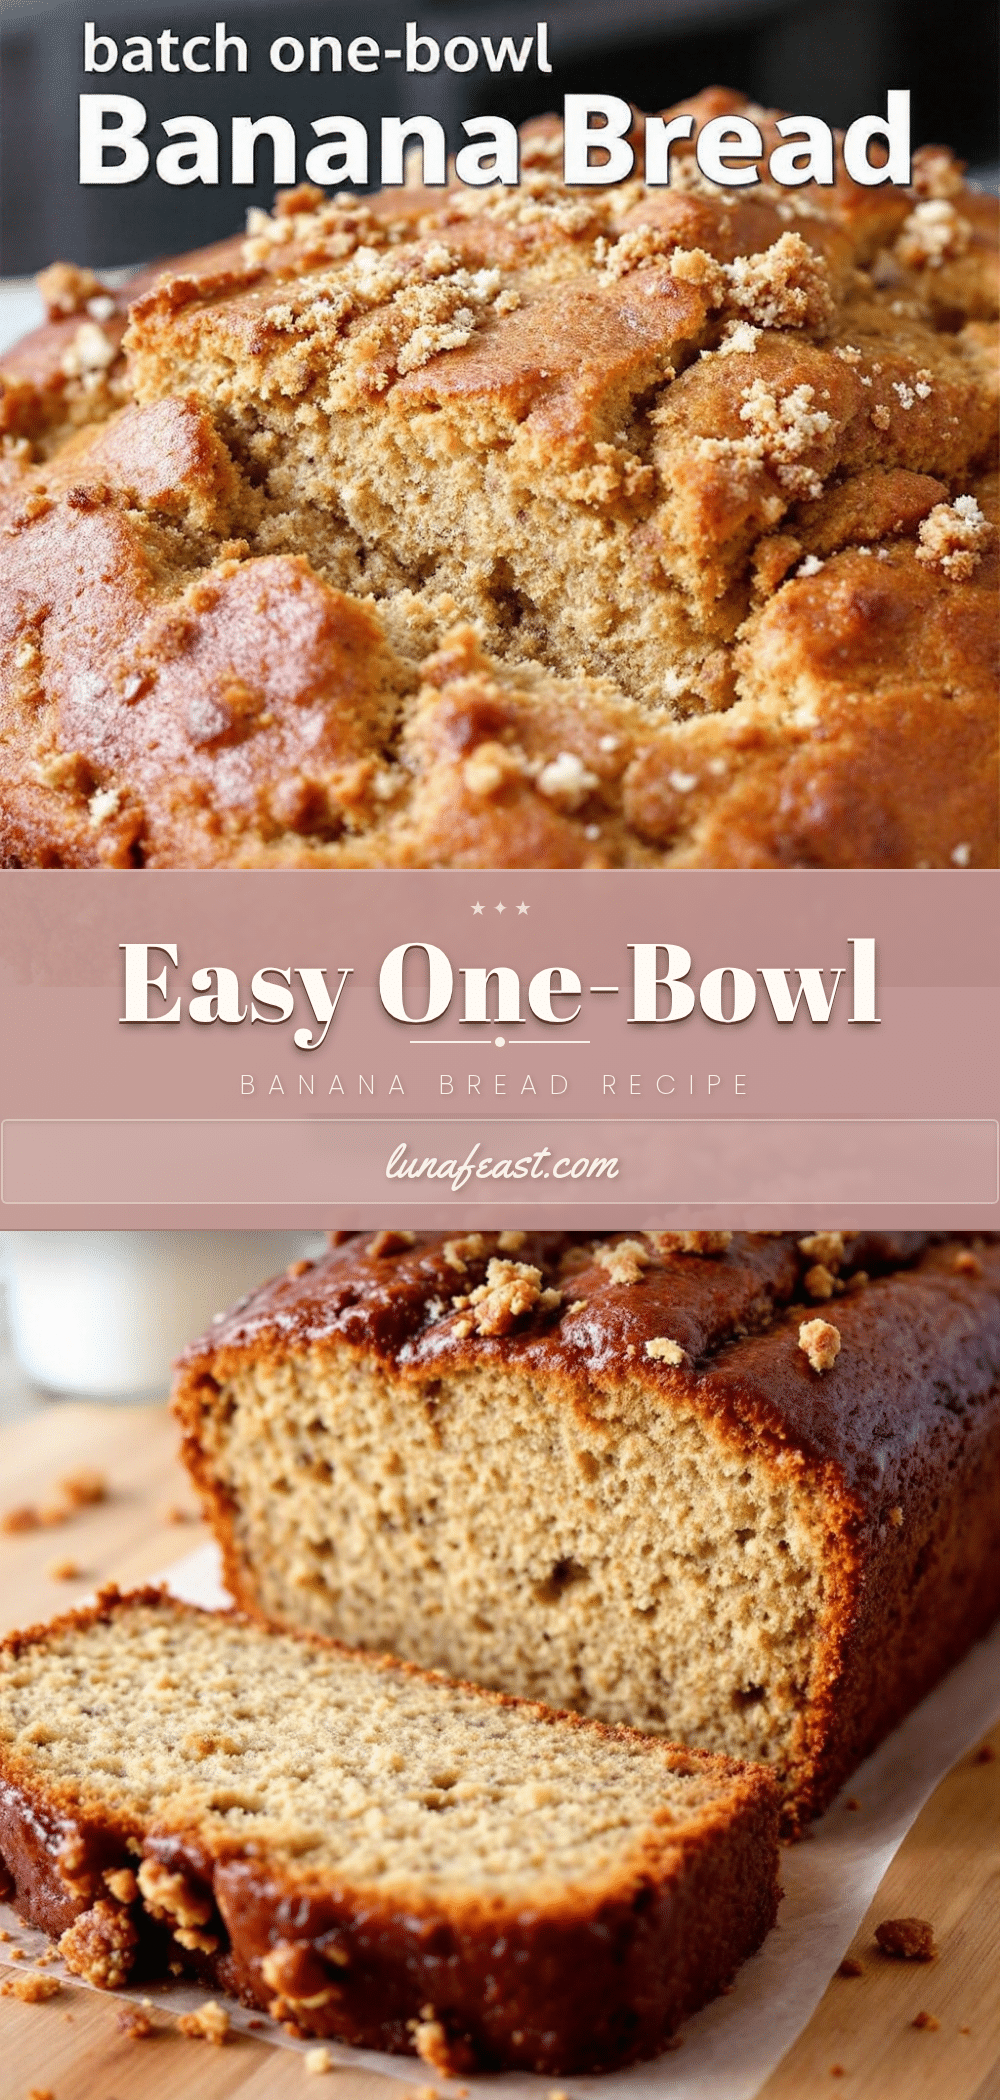
Easy One-Bowl Banana Bread Recipe For Perfect Results
This easy one-bowl banana bread is a forgiving, fast, and never-fails recipe that uses simple ingredients and no mixer. It’s perfect for using up overripe bananas and creates a moist, tender loaf with a slightly crisp edge and pure banana flavor.
- Prep Time: 10 minutes
- Cook Time: 55 minutes
- Total Time: 1 hour 5 minutes
- Yield: 10 servings 1x
- Category: Dessert
- Cuisine: American
Ingredients
- 3 medium overripe bananas (the spottier the better)
- 1 ½ cups (180 grams) all-purpose flour
- ½ cup (100 grams) granulated sugar
- ¼ cup (50 grams) brown sugar, packed
- 6 tablespoons (85 grams) unsalted butter, melted and slightly cooled
- 2 tablespoons (30 ml) vegetable oil (canola, avocado, or grapeseed)
- 2 large eggs, at room temperature
- 1 teaspoon vanilla extract
- 1 teaspoon baking soda
- ½ teaspoon salt
- ½ cup chopped walnuts, pecans, or chocolate chips (optional)
Instructions
- Preheat your oven to 350°F (175°C). Position the rack in the center of the oven. Line a 9×5-inch loaf pan with parchment paper, leaving overhang on the long sides, or grease it well with butter or non-stick spray.
- Mash the bananas in a large mixing bowl with a fork or potato masher until mostly smooth but with a few small lumps (like chunky applesauce).
- Add the melted butter, vegetable oil, eggs, and vanilla extract to the mashed bananas. Stir with a wooden spoon until well combined and smooth.
- Add the granulated sugar and packed brown sugar. Stir until fully dissolved into the wet mixture (no grittiness when rubbed between fingers).
- Sprinkle the flour, baking soda, and salt over the wet mixture. Stir gently just until no streaks of flour remain. A few small lumps are fine. Fold in any optional add-ins (nuts or chocolate chips) at this point.
- Pour the batter into the prepared loaf pan and spread evenly. Tap the pan gently on the counter to release air bubbles. Bake for 50 to 60 minutes, or until a toothpick inserted into the center comes out clean or with a few moist crumbs. If the top browns too quickly after 40 minutes, tent loosely with aluminum foil.
- Let the bread cool in the pan on a wire rack for 15 minutes. Then use the parchment sling to lift it out and transfer it directly to the rack to cool completely before slicing.
Notes
Don’t overmix the batter to avoid a tough loaf. Use room temperature ingredients for best texture. Check that your baking soda is fresh (less than 6 months old). Use very ripe, almost black bananas for maximum sweetness and moisture. Let the bread cool completely before slicing to prevent crumbling. For a gluten-free version, use a 1:1 gluten-free baking blend. For a vegan version, replace eggs with flax eggs and use melted coconut oil or vegan butter.
Nutrition
- Serving Size: 1 slice
- Calories: 220
- Sugar: 18
- Sodium: 220
- Fat: 9
- Saturated Fat: 4
- Carbohydrates: 33
- Fiber: 1
- Protein: 4
Keywords: banana bread, easy banana bread, one-bowl banana bread, moist banana bread, homemade banana bread, quick bread


