My neighbor, a woman of few words and very strong opinions about dessert, took one bite of this creamy no-bake pumpkin pie and just closed her eyes. She didn’t say a word for a solid ten seconds. Then she looked at me like I’d just handed her the secret to life itself. That’s the moment I knew this recipe was something special. Not from my own tasting, not from the picture-perfect slice on the plate, but from watching someone else experience it.
Honestly, I’d been tinkering with the idea of a no-bake pumpkin pie for a while. I love the traditional version, sure, but let’s face it—oven space during the holidays is prime real estate, and sometimes you just want something creamy and cold that doesn’t require you to babysit a crust. This version, with its silky, spiced filling and that buttery graham cracker crust, came together on a random Tuesday afternoon when I was craving fall flavors but couldn’t be bothered to turn on the oven. It was never meant to be the star of the show. But after that neighbor reaction, I knew it had found its place.
This creamy no-bake pumpkin pie is the kind of dessert that feels like a warm hug, even though it’s served cold. It’s rich without being heavy, spiced just right, and it sets up beautifully in the fridge with almost zero fuss. I’ve made it for Thanksgiving, for casual Sunday dinners, and even just because I had a can of pumpkin staring at me from the pantry. It always delivers. And the best part? You don’t need to be a pastry chef to pull it off. If you can stir and pour, you’ve got this.
Why You’ll Love This Recipe
I’ve tested this creamy no-bake pumpkin pie more times than I can count, tweaking the ratios and playing with the spices until it hit that perfect sweet spot. It’s not just another pumpkin pie recipe—it’s the one that makes people ask for the recipe before they’ve even finished their first slice.
- No Oven Required: This is the ultimate lazy-day dessert. The filling comes together on the stovetop in minutes, and the crust is a simple press-in situation. Perfect for when you’re already juggling a turkey or a ham in the oven.
- Incredibly Creamy Texture: The secret is a combination of cream cheese and whipped cream, which gives the filling a mousse-like lightness that melts in your mouth. No grainy texture here—just pure, velvety smoothness.
- Simple, Pantry-Friendly Ingredients: You probably already have most of what you need. Canned pumpkin, cream cheese, spices, and a box of graham crackers. No weird specialty items that you’ll use once and forget about.
- Make-Ahead Dream: This pie actually gets better after a day in the fridge. The flavors meld together and the filling sets up perfectly. You can make it a day or two ahead of time and cross it off your to-do list.
- Crowd-Pleaser for All Ages: I’ve served this at gatherings where half the guests swore they didn’t like pumpkin desserts. They all went back for seconds. It’s that good.
What makes this recipe different from all the others? It’s the texture, honestly. So many no-bake pumpkin pies end up too dense or too soft. This one hits that Goldilocks zone—firm enough to slice cleanly, but light and creamy on the palate. I spent a lot of time figuring out the right ratio of cream cheese to whipped cream, and the result is a filling that feels indulgent without being a brick. It’s comfort food at its finest, minus the stress.
What Ingredients You Will Need
This creamy no-bake pumpkin pie uses simple, wholesome ingredients that come together to create something truly special. Most of these are pantry staples, especially if you’re a regular fall baker. Let me walk you through what you need and why each one matters.
For the Graham Cracker Crust
- 2 cups graham cracker crumbs (about 14-16 full sheets, crushed finely) — I prefer using a food processor for even crumbs, but a rolling pin and a zip-top bag work in a pinch.
- 1/2 cup unsalted butter, melted — This binds the crumbs and adds richness. Salted butter works too, just reduce the added salt slightly.
- 1/4 cup granulated sugar — A little sweetness and helps the crust hold together.
- Pinch of salt — Balances the sweetness and enhances the buttery flavor.
For the No-Bake Pumpkin Filling
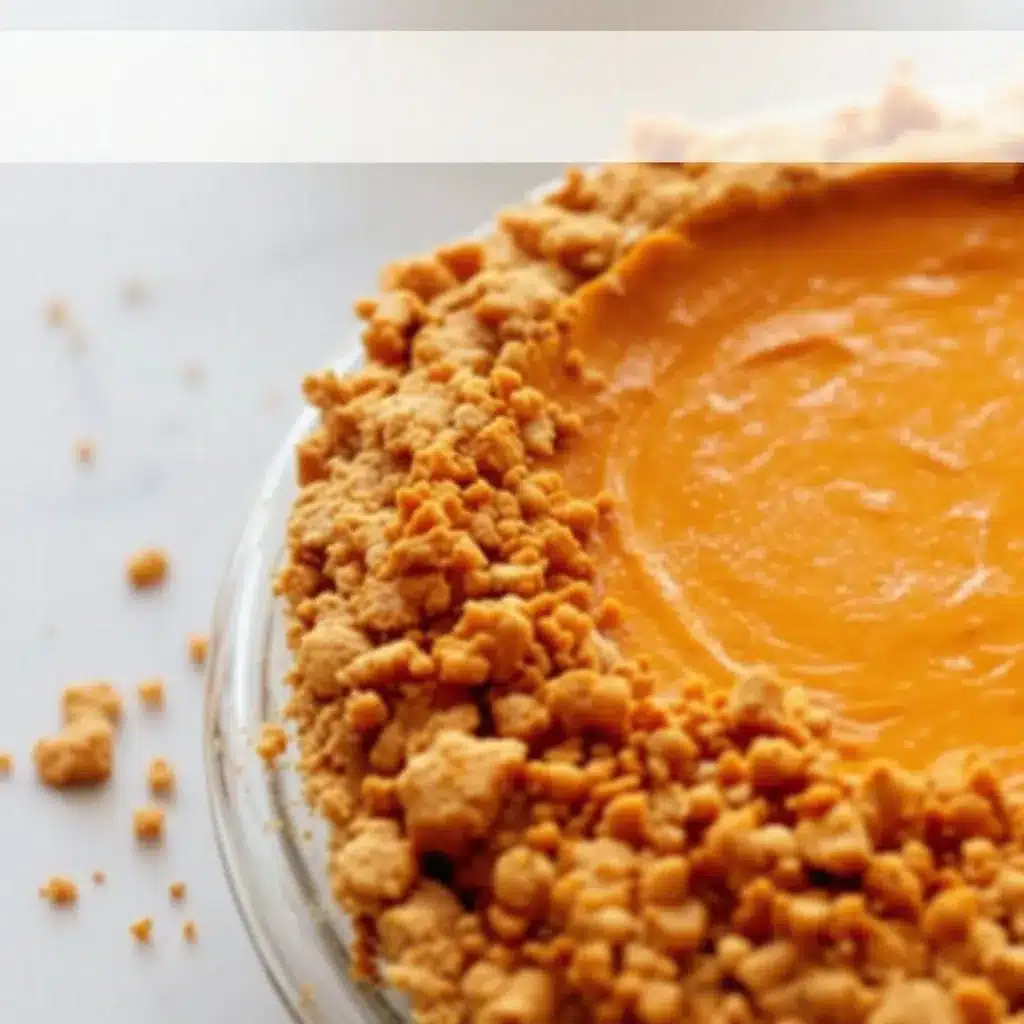
- 8 oz cream cheese, softened to room temperature — This is the backbone of the filling. Full-fat cream cheese gives the best texture and flavor. I recommend Philadelphia brand for consistent results.
- 1 cup canned pumpkin puree — Not pumpkin pie filling! Make sure you grab 100% pure pumpkin. Libby’s is my go-to for its consistent thickness and flavor.
- 1/2 cup packed light brown sugar — Adds depth and a slight molasses note that pairs beautifully with pumpkin.
- 1/4 cup granulated sugar — Balances the brown sugar and adds sweetness.
- 1 teaspoon vanilla extract — Pure vanilla, not imitation, if you can swing it.
- 1 1/2 teaspoons pumpkin pie spice — You can use store-bought or make your own with 3/4 teaspoon cinnamon, 1/2 teaspoon ginger, 1/4 teaspoon nutmeg, and a pinch of cloves.
- 1/2 teaspoon ground cinnamon — For extra warmth.
- 1/4 teaspoon salt — Don’t skip this! It makes all the flavors pop.
- 1 cup heavy whipping cream — This gets whipped into soft peaks and folded into the cream cheese mixture. It’s what gives the pie its light, airy texture.
- 2 tablespoons powdered sugar — Helps stabilize the whipped cream.
For Topping (Optional but Recommended)
- 1/2 cup heavy whipping cream — For making fresh whipped cream.
- 1 tablespoon powdered sugar — To sweeten the whipped cream.
- 1/4 teaspoon vanilla extract — For flavor.
- Ground cinnamon or nutmeg for dusting — A pretty finish.
If you’re looking for a dairy-free option, you can use a high-quality dairy-free cream cheese and coconut cream (chilled and whipped) instead of heavy cream. The texture will be slightly different but still delicious. For a gluten-free crust, simply use gluten-free graham crackers or crushed gluten-free cookies.
Equipment Needed
You don’t need a fancy kitchen to make this creamy no-bake pumpkin pie. Here’s what you’ll need:
- 9-inch pie dish — A standard glass or ceramic pie dish works great. I’ve also used a metal tart pan with a removable bottom for cleaner slices.
- Mixing bowls — You’ll need a medium bowl for the crust and a large bowl for the filling.
- Electric hand mixer or stand mixer — A hand mixer is perfect for this. A stand mixer works too, but you might need to scrape the bowl more often.
- Food processor or rolling pin — For crushing the graham crackers. A food processor is faster, but a rolling pin and a zip-top bag are just as effective.
- Rubber spatula — For folding the whipped cream into the cream cheese mixture gently.
- Measuring cups and spoons — Accuracy matters, especially with the spices.
- Plastic wrap — To cover the pie while it chills.
If you don’t have a pie dish, you can use a 9-inch springform pan for a taller pie. Just be sure to press the crust up the sides a bit. And honestly, if you’re in a pinch, a disposable aluminum pie pan from the grocery store works perfectly fine—I’ve done it plenty of times when traveling.
Preparation Method
Let’s get to the fun part. This creamy no-bake pumpkin pie comes together in a few simple steps. I’ll walk you through each one with all the little details I’ve learned from making this dozens of times.
Step 1: Make the Graham Cracker Crust
- If you’re using whole graham crackers, crush them into fine crumbs. I like to use a food processor—just pulse until you have even crumbs. Alternatively, place them in a zip-top bag and crush with a rolling pin. Aim for a consistent texture, no large chunks.
- In a medium bowl, combine the graham cracker crumbs, granulated sugar, and a pinch of salt. Stir to mix.
- Pour the melted butter over the crumb mixture and stir with a fork until all the crumbs are evenly moistened. It should look like wet sand.
- Transfer the mixture to your 9-inch pie dish. Press it firmly into the bottom and up the sides. I use the bottom of a measuring cup to get an even, compact layer. Make sure the edges are thick enough to hold the filling—about 1/4 inch is perfect.
- Place the crust in the refrigerator to set while you prepare the filling. This helps it firm up so it doesn’t crumble when you add the filling.
Step 2: Prepare the Cream Cheese Base
- In a large mixing bowl, beat the softened cream cheese with an electric hand mixer on medium speed until smooth and creamy. This takes about 1-2 minutes. Scrape down the sides of the bowl with a rubber spatula.
- Add the brown sugar and granulated sugar. Beat again until well combined and smooth, about 1 minute.
- Add the pumpkin puree, vanilla extract, pumpkin pie spice, cinnamon, and salt. Beat on medium speed until everything is fully incorporated and the mixture is smooth. It should be a beautiful, deep orange color. Scrape the bowl again to make sure there are no streaks of cream cheese.
Step 3: Make the Whipped Cream
- In a separate, clean bowl (chill it in the freezer for 10 minutes if you want extra volume), pour the 1 cup of heavy whipping cream. Add the 2 tablespoons of powdered sugar.
- Using the electric hand mixer (with clean beaters), whip the cream on medium-high speed until soft peaks form. You’re looking for peaks that hold their shape but are still soft and billowy. Be careful not to overwhip—stop as soon as you see those soft peaks. Overwhipped cream can turn into butter, and that’s not what we want here.
Step 4: Fold It All Together
- Take about 1/3 of the whipped cream and gently fold it into the cream cheese-pumpkin mixture using a rubber spatula. This lightens the mixture and makes it easier to fold in the rest.
- Add the remaining whipped cream and fold gently but thoroughly. Use a cutting motion through the center of the bowl, then scrape around the edge. Repeat until no white streaks remain. The mixture should be light, airy, and a uniform pale orange color.
- Don’t overmix! Overfolding can deflate the whipped cream and make the filling dense. Gentle is the name of the game.
Step 5: Assemble and Chill
- Remove the prepared crust from the refrigerator. Spoon the filling into the crust and spread it evenly with a spatula. Give the pie dish a gentle tap on the counter to release any air bubbles.
- Smooth the top as best you can. It doesn’t have to be perfect—you’ll be covering it with whipped cream later if you choose.
- Cover the pie loosely with plastic wrap and refrigerate for at least 6 hours, but preferably overnight. The longer it chills, the cleaner your slices will be. The filling needs time to set up properly.
Step 6: Make the Topping (Optional)
- Just before serving, whip the remaining 1/2 cup of heavy cream with 1 tablespoon of powdered sugar and 1/4 teaspoon vanilla extract until soft peaks form.
- Spread or pipe the whipped cream over the chilled pie. Dust with a light sprinkle of cinnamon or nutmeg.
And that’s it! Slice, serve, and watch everyone’s eyes light up.
Cooking Tips & Techniques
Over the years, I’ve made every mistake you can imagine with this creamy no-bake pumpkin pie. Here’s what I’ve learned so you don’t have to go through the same struggles.
Room Temperature Cream Cheese is Non-Negotiable: I know, I know, we’re all impatient. But cold cream cheese will give you lumpy filling. Leave it on the counter for at least 30 minutes before you start. If you’re in a hurry, cut it into small cubes and let it sit for 15 minutes—that helps it soften faster.
Don’t Skimp on the Chilling Time: I once tried to rush this pie and served it after only 4 hours. The slices were a mess—soft, runny, and they didn’t hold their shape. The filling needs that full 6 hours (or overnight) to set up properly. Trust the process. Your patience will be rewarded with clean, beautiful slices.
Whip the Cream Just Right: Soft peaks are the goal. If you under-whip, the cream won’t incorporate properly and the filling will be too loose. If you over-whip, you risk deflating the mixture or even ending up with butter. Watch closely and stop the mixer as soon as the cream holds its shape when you lift the beaters.
Fold, Don’t Stir: This is the most important technique for a light, airy filling. Use a rubber spatula and a gentle hand. Cut through the center of the mixture, scrape along the bottom and sides, and fold the cream over itself. Repeat until just combined. Aggressive stirring will knock the air out of the whipped cream and give you a dense, heavy pie.
Press the Crust Firmly: A loose crust will crumble when you cut the pie. Use the bottom of a measuring cup or a flat-bottomed glass to press the crumbs firmly into the dish. Pay extra attention to the edges—they need to be compact enough to hold the filling.
Make-Ahead Magic: This pie actually tastes better the next day. The spices have time to meld with the pumpkin and cream cheese, creating a deeper, more complex flavor. I often make it two days ahead of a big dinner and it’s always a hit.
Variations & Adaptations
One of the best things about this creamy no-bake pumpkin pie is how easy it is to tweak. Here are some variations I’ve tried and loved.
Gluten-Free Version
Swap the regular graham crackers for gluten-free graham crackers or crushed gluten-free cookies. I’ve used gluten-free vanilla wafers with great results. The rest of the recipe is naturally gluten-free, so you’re good to go.
Dairy-Free Version
Use a high-quality dairy-free cream cheese (like Kite Hill or Violife) and chill a can of full-fat coconut cream overnight. Scoop out the solid part (discard the liquid) and whip it just like you would heavy cream. The texture will be slightly different—a bit less firm—but the flavor is still fantastic.
Spiced-Up Version
If you like your pumpkin pie with a kick, add 1/4 teaspoon of cayenne pepper or a pinch of black pepper to the spice mix. It sounds weird, I know, but the heat plays beautifully against the sweetness and the creamy texture. I tried this on a whim and now it’s my secret weapon for fall gatherings.
Chocolate Graham Cracker Crust
For a richer flavor, swap the regular graham crackers for chocolate graham crackers. The chocolate and pumpkin spice combination is surprisingly good. You can also use crushed chocolate wafer cookies for an even deeper chocolate taste.
Mini Pie Version
This recipe works great as individual mini pies. Press the crust mixture into a muffin tin (lined with paper liners for easy removal) and fill each cup with the pumpkin filling. Chill as directed. They’re perfect for parties or portion control.
Serving & Storage Suggestions
This creamy no-bake pumpkin pie is best served cold, straight from the refrigerator. I like to take it out about 10 minutes before slicing to take the chill off slightly, but it’s still plenty firm.
For serving, I always add a generous dollop of fresh whipped cream on top. A light dusting of cinnamon or nutmeg makes it look extra pretty. If you’re feeling fancy, drizzle a little caramel sauce over the top—the combination of pumpkin, caramel, and cream is absolutely divine.
This pie pairs beautifully with a warm cup of coffee or a spiced chai latte. If you’re serving it as part of a holiday spread, it goes wonderfully with other comforting dishes. For a cozy fall dinner, try it alongside some creamy marry me chicken for a meal that feels both indulgent and satisfying. Or, if you’re planning a full dessert table, the creamy no-bake cheesecake with graham crust is another make-ahead favorite that pairs beautifully with this pie.
Storage: Cover the pie tightly with plastic wrap or aluminum foil and store it in the refrigerator for up to 5 days. The crust will stay crisp and the filling will remain creamy. I don’t recommend freezing this pie—the texture of the cream cheese and whipped cream can become grainy when thawed.
Reheating: This is a no-bake pie, so there’s no reheating involved. But if you prefer your pumpkin pie warm (I know a few people who do), you can microwave a slice for 10-15 seconds. Just know that it will soften significantly and lose its clean slice.
One thing I love about this recipe is that the flavors actually develop over time. The second day, the spices are more pronounced and the filling is even creamier. It’s one of those rare desserts that gets better with age.
Nutritional Information & Benefits
Here’s an estimated nutritional breakdown for one slice of this creamy no-bake pumpkin pie (based on 8 servings):
| Nutrient | Amount per Serving |
|---|---|
| Calories | 385 |
| Total Fat | 26g |
| Saturated Fat | 16g |
| Cholesterol | 85mg |
| Sodium | 280mg |
| Total Carbohydrates | 35g |
| Dietary Fiber | 2g |
| Sugars | 24g |
| Protein | 4g |
Pumpkin is packed with vitamin A, which is great for your eyes and immune system. It’s also a good source of fiber and antioxidants. The cream cheese and heavy cream add calcium and protein, though yes, this is definitely a treat. If you’re watching your sugar intake, you can reduce the sugar by a couple of tablespoons without affecting the texture too much.
This recipe is vegetarian and can be made gluten-free and dairy-free with the substitutions I mentioned earlier. It contains dairy and gluten in its standard form, so keep that in mind for guests with allergies.
Conclusion
This creamy no-bake pumpkin pie has become my go-to fall dessert for a reason. It’s simple, it’s reliable, and it never fails to impress. Whether you’re making it for a holiday feast, a potluck, or just because you’re craving something cozy, this pie delivers every single time.
I love how forgiving this recipe is. It doesn’t require any fancy techniques or special equipment. It’s the kind of dessert that makes you look like a hero in the kitchen with almost no effort. And honestly, that’s my favorite kind of recipe.
I’d love to hear how yours turns out! Did you try any of the variations? Did your family go silent after the first bite like my neighbor did? Drop a comment below and let me know. And if you’re looking for more no-fuss dessert ideas, check out my chewy chocolate chip cookies without brown sugar for another easy, crowd-pleasing treat. Happy baking—or, in this case, happy no-baking!
Frequently Asked Questions
Can I use fresh pumpkin instead of canned?
Yes, you can! Just make sure to cook and puree the pumpkin until it’s very smooth. Then, strain it through a cheesecloth or fine-mesh sieve to remove excess moisture. Fresh pumpkin tends to be more watery than canned, so this step is crucial to avoid a runny filling.
How long does this pie need to chill?
At least 6 hours, but overnight is best. The filling needs time to set up properly so you get clean slices. If you’re in a rush, 4 hours is the absolute minimum, but the slices won’t be as neat.
Can I freeze this no-bake pumpkin pie?
I don’t recommend it. The texture of the cream cheese and whipped cream can become grainy and watery after thawing. This pie is best enjoyed fresh from the refrigerator within 5 days of making it.
Can I use a store-bought graham cracker crust?
Absolutely. If you’re short on time, a store-bought crust works perfectly. Just keep in mind that the homemade version has a richer, buttery flavor. If using store-bought, you might want to add a little extra cinnamon or nutmeg to the filling to compensate.
Why is my filling too soft?
This usually happens if the cream cheese wasn’t fully softened, the whipped cream was under-whipped, or the pie didn’t chill long enough. Make sure your cream cheese is at room temperature, whip the cream to soft peaks, and give the pie a full 6 hours to set. If it’s still soft after that, it might be due to excess moisture in the pumpkin—try straining the pumpkin puree through a cheesecloth next time.
Pin This Recipe!
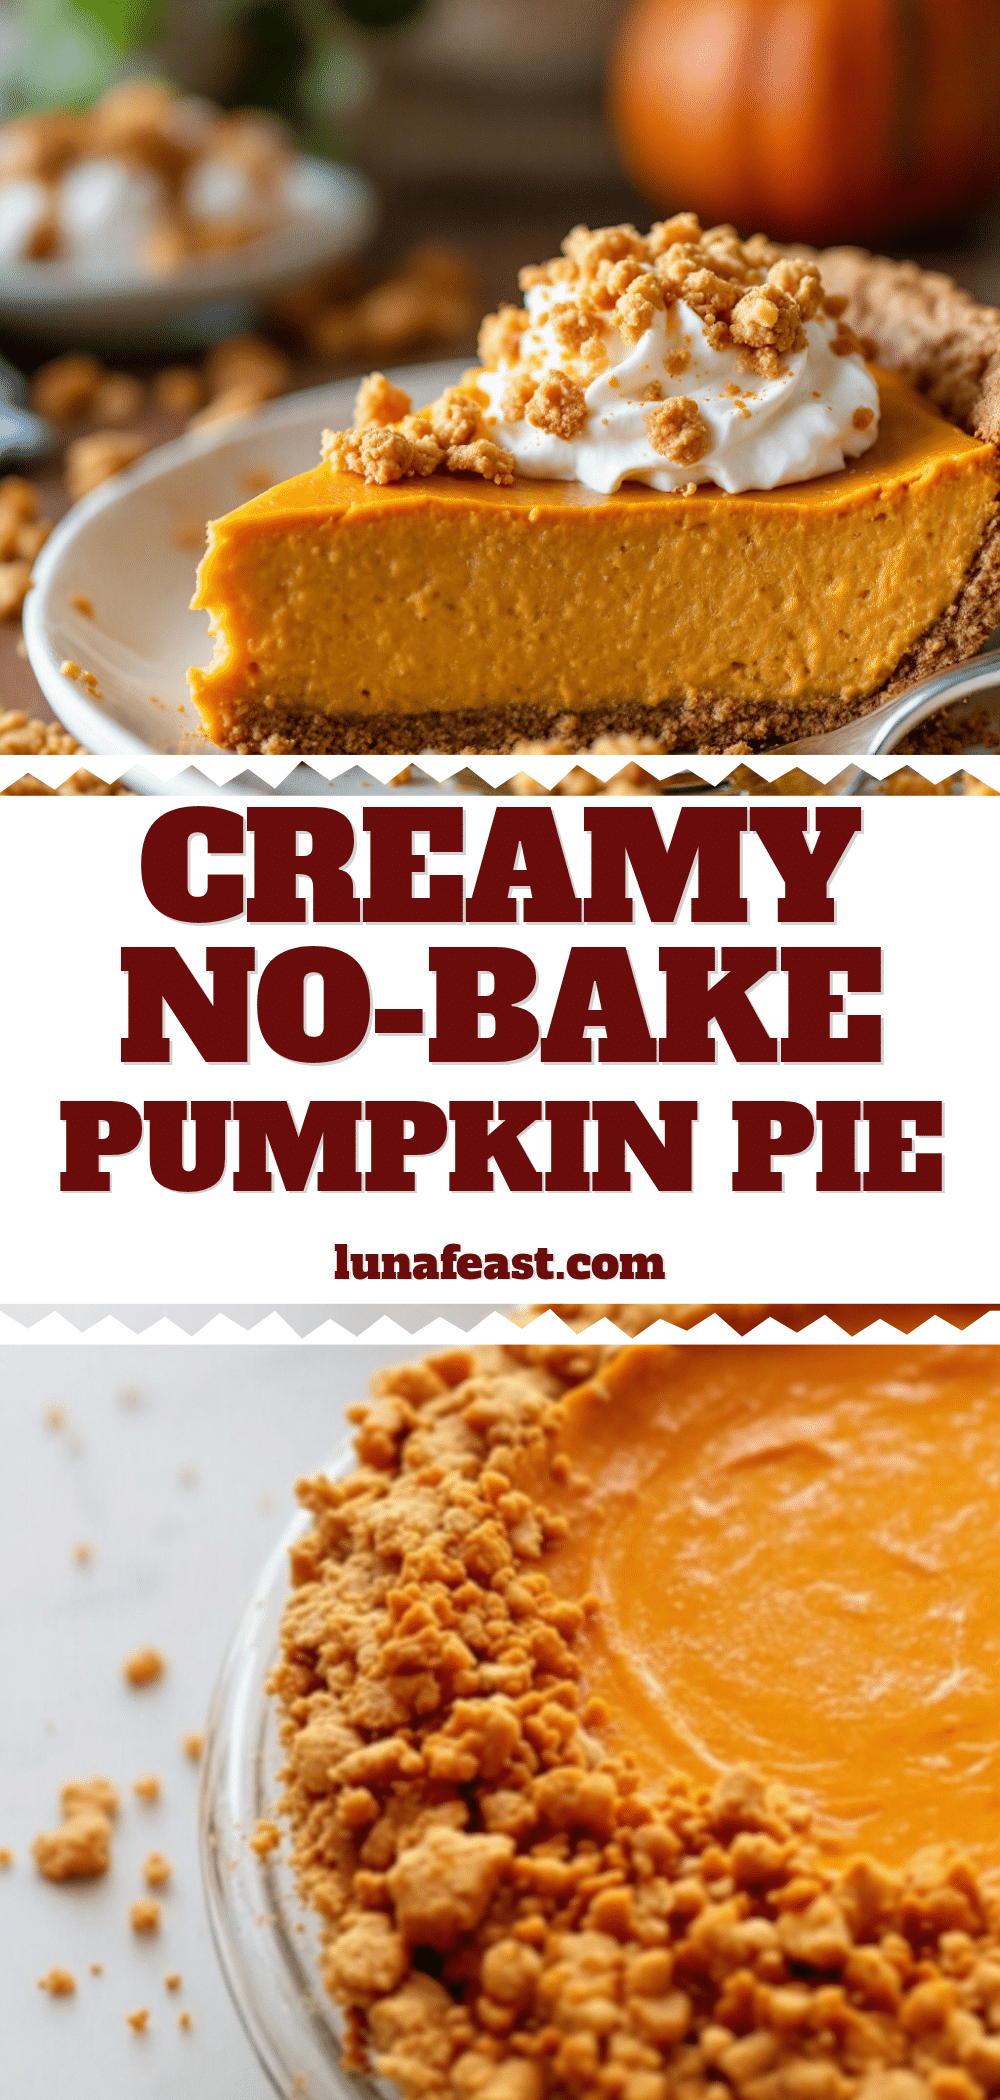
Creamy No-Bake Pumpkin Pie Easy Homemade Recipe

This creamy no-bake pumpkin pie features a silky, spiced filling and a buttery graham cracker crust. It’s a simple, make-ahead dessert that requires no oven and delivers a light, mousse-like texture that melts in your mouth.
- Prep Time: 20 minutes
- Cook Time: 0 minutes
- Total Time: 6 hours 20 minutes (includes chilling)
- Yield: 8 servings 1x
- Category: Dessert
- Cuisine: American
Ingredients
- 2 cups graham cracker crumbs (about 14–16 full sheets, crushed finely)
- 1/2 cup unsalted butter, melted
- 1/4 cup granulated sugar
- Pinch of salt
- 8 oz cream cheese, softened to room temperature
- 1 cup canned pumpkin puree (100% pure pumpkin, not pumpkin pie filling)
- 1/2 cup packed light brown sugar
- 1/4 cup granulated sugar
- 1 teaspoon vanilla extract
- 1 1/2 teaspoons pumpkin pie spice
- 1/2 teaspoon ground cinnamon
- 1/4 teaspoon salt
- 1 cup heavy whipping cream
- 2 tablespoons powdered sugar
- 1/2 cup heavy whipping cream (for topping)
- 1 tablespoon powdered sugar (for topping)
- 1/4 teaspoon vanilla extract (for topping)
- Ground cinnamon or nutmeg for dusting
Instructions
- Make the graham cracker crust: Crush graham crackers into fine crumbs using a food processor or a rolling pin and zip-top bag. In a medium bowl, combine crumbs, 1/4 cup granulated sugar, and a pinch of salt. Pour in melted butter and stir until all crumbs are evenly moistened. Press mixture firmly into the bottom and up the sides of a 9-inch pie dish. Refrigerate while preparing the filling.
- Prepare the cream cheese base: In a large bowl, beat softened cream cheese with an electric hand mixer on medium speed until smooth and creamy, about 1-2 minutes. Add brown sugar and 1/4 cup granulated sugar; beat until well combined. Add pumpkin puree, 1 teaspoon vanilla extract, pumpkin pie spice, cinnamon, and 1/4 teaspoon salt. Beat until fully incorporated and smooth.
- Make the whipped cream: In a separate chilled bowl, pour 1 cup heavy whipping cream and add 2 tablespoons powdered sugar. Whip on medium-high speed until soft peaks form. Be careful not to overwhip.
- Fold it all together: Gently fold about 1/3 of the whipped cream into the cream cheese-pumpkin mixture using a rubber spatula. Add the remaining whipped cream and fold gently until no white streaks remain. Do not overmix.
- Assemble and chill: Remove crust from refrigerator. Spoon filling into crust and spread evenly. Tap the pie dish gently on the counter to release air bubbles. Cover loosely with plastic wrap and refrigerate for at least 6 hours, preferably overnight.
- Make the topping (optional): Just before serving, whip remaining 1/2 cup heavy cream with 1 tablespoon powdered sugar and 1/4 teaspoon vanilla extract until soft peaks form. Spread or pipe over chilled pie. Dust with cinnamon or nutmeg.
Notes
Room temperature cream cheese is essential for a smooth filling. Chill the pie for at least 6 hours (overnight is best) for clean slices. Whip cream to soft peaks only; overwhipping can lead to butter. Fold gently to keep the filling light and airy. Press the crust firmly to prevent crumbling. The pie can be made 1-2 days ahead and actually tastes better the next day. For a dairy-free version, use dairy-free cream cheese and chilled coconut cream. For gluten-free, use gluten-free graham crackers.
Nutrition
- Serving Size: 1 slice
- Calories: 385
- Sugar: 24
- Sodium: 280
- Fat: 26
- Saturated Fat: 16
- Carbohydrates: 35
- Fiber: 2
- Protein: 4
Keywords: no-bake pumpkin pie, creamy pumpkin pie, easy pumpkin pie, no-bake dessert, pumpkin dessert, Thanksgiving dessert, fall dessert


